| [ Total Views: 35087 | Total Replies: 295 | Thread Id: 104364 ] |
| Pages: 1 2 3 4 5 6 .. 10 |
|
|
 NUG637 NUG637
Officially Full-On Dubber
  
Posts: 372
Threads: 24
Registered: November 2nd, 2009
Member Is Offline
Theme: UltimaBB Pro Blue ( Default )
|
| posted on March 4th, 2014 at 09:27 PM |
|
|
its not under that much tension really ad being lined both side it shouldn't move an inch…. specially with glue and rivets and thats a no to flared
guards…. i like how they look thanks…..
john…. if you go back to the beginning i drew it all out on a loft/fake floor to scale and used it to bend the shape etc…. just went by my height
(so i couldn't stand up and lay down (width) ) and worked from there with what i thought looked good….
some serious man hours being burnt up in this thing…. would be so much better with 2 sets of hands….
hoping to be driving/sleeping in this thing at valla… and leave for our trip around australia after that...
|
|
|
 vwsteve vwsteve
A.k.a.: steve
Veteran Volks Folk
karmann crazy
    
Posts: 2087
Threads: 200
Registered: July 25th, 2006
Member Is Offline
Location: Redcliffe QLD
Theme: UltimaBB Pro Navy
Mood: Busy!
|
| posted on March 5th, 2014 at 05:10 PM |
|
|
.
holy crap! amazing work
would be an interesting drive in the wind though
1 1963 356b porsche coupe
2 1960 karmann ghia cab
1 1965 karmann ghia cab
1 1966 karmann cab
1 1961 split ute
1 1967 split p/van
1 1952 standard bug
1 1963 ragtop
1 1960 ragtop
2 1954 ovals
1 1956 oval baja project
1 1957 oval flying flea
|
|
|
 NUG637 NUG637
Officially Full-On Dubber
  
Posts: 372
Threads: 24
Registered: November 2nd, 2009
Member Is Offline
Theme: UltimaBB Pro Blue ( Default )
|
| posted on March 9th, 2014 at 09:37 AM |
|
|
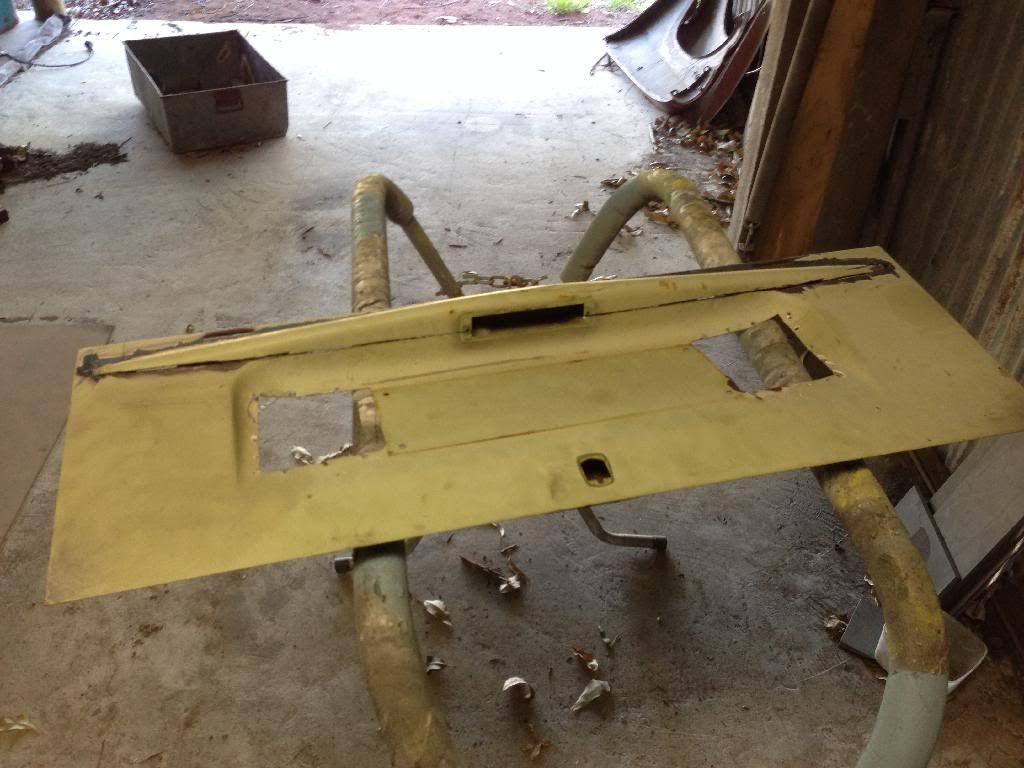
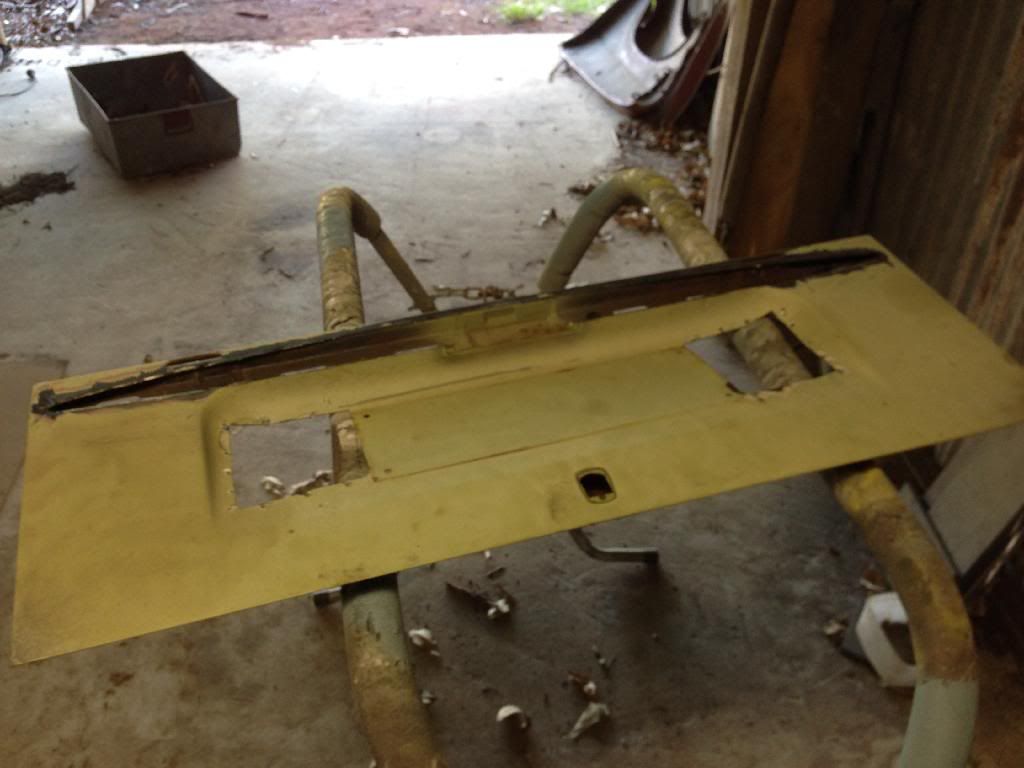
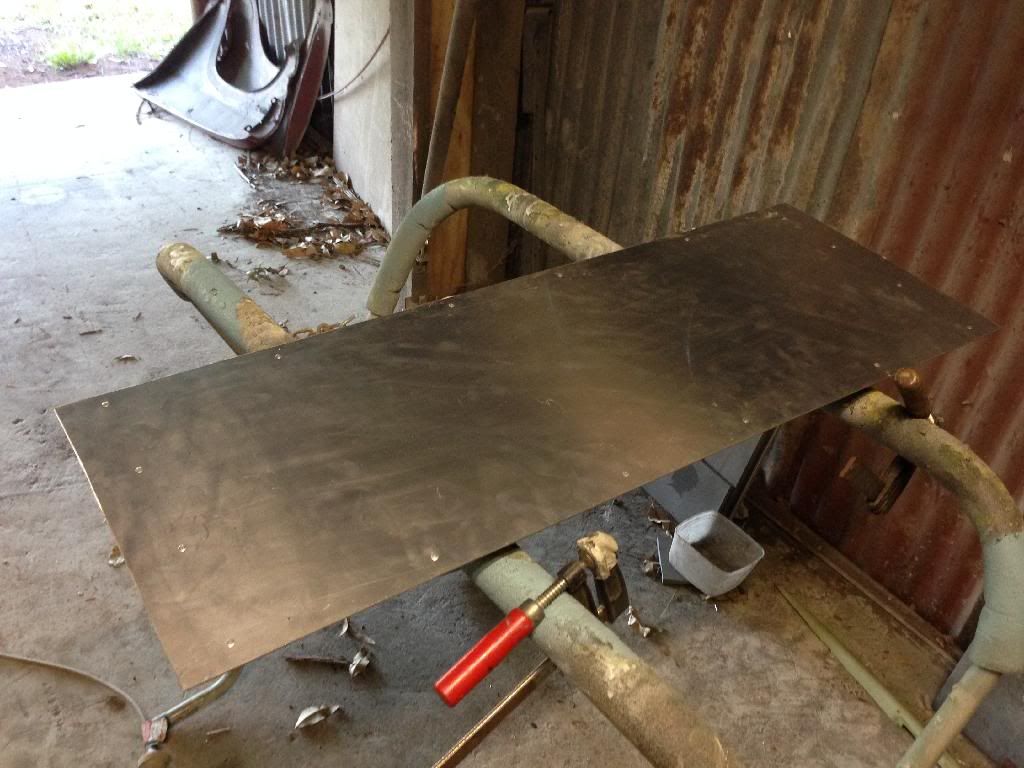
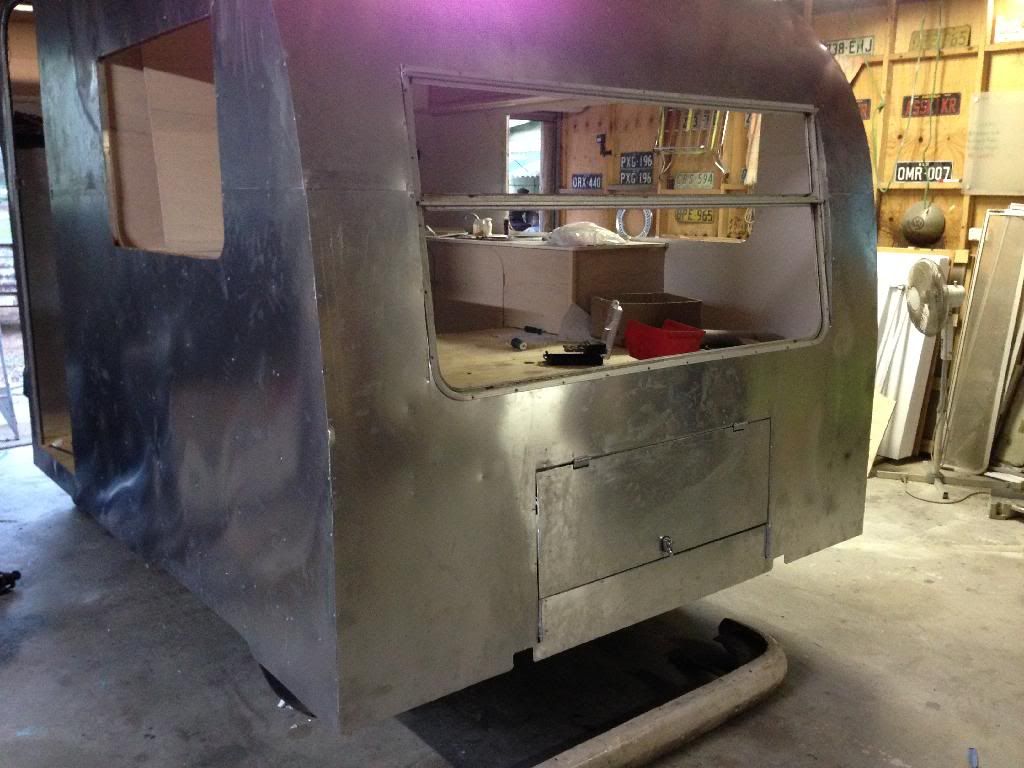
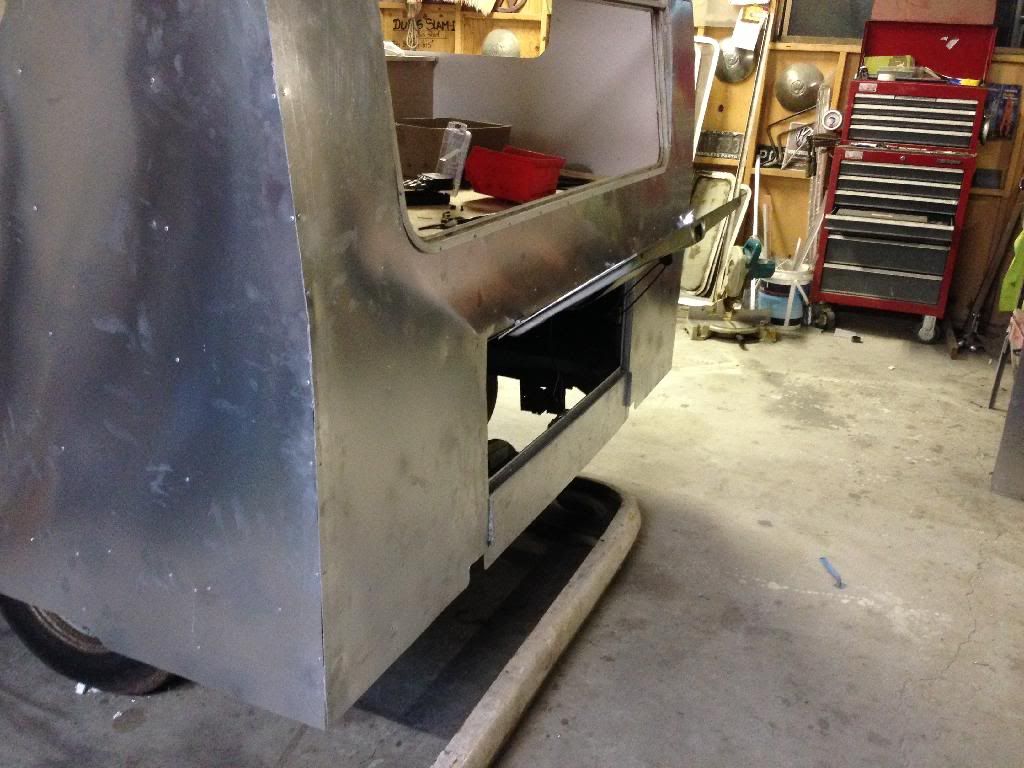
Finished lining this thing bar one sheet short for the hatch ..... Doh!
Was thinking about the engine hatch and was gonna try keep the eyebrow for the number plate light etc but that ended up in the to hard basket and I
didn't feel so bad as someone else had already gone to hack town on it anyways.... Just gotta sort out a number plate light now....
While I'm waiting for the last alloy sheet and my alloy angle to arrive I thought I would make a start on the engine even tho I haven't made up my
mind on a Combo yet liking the sounds of a stroker with stock top end... As I need to fight head winds and hills.... Not go 140k's to my
destination
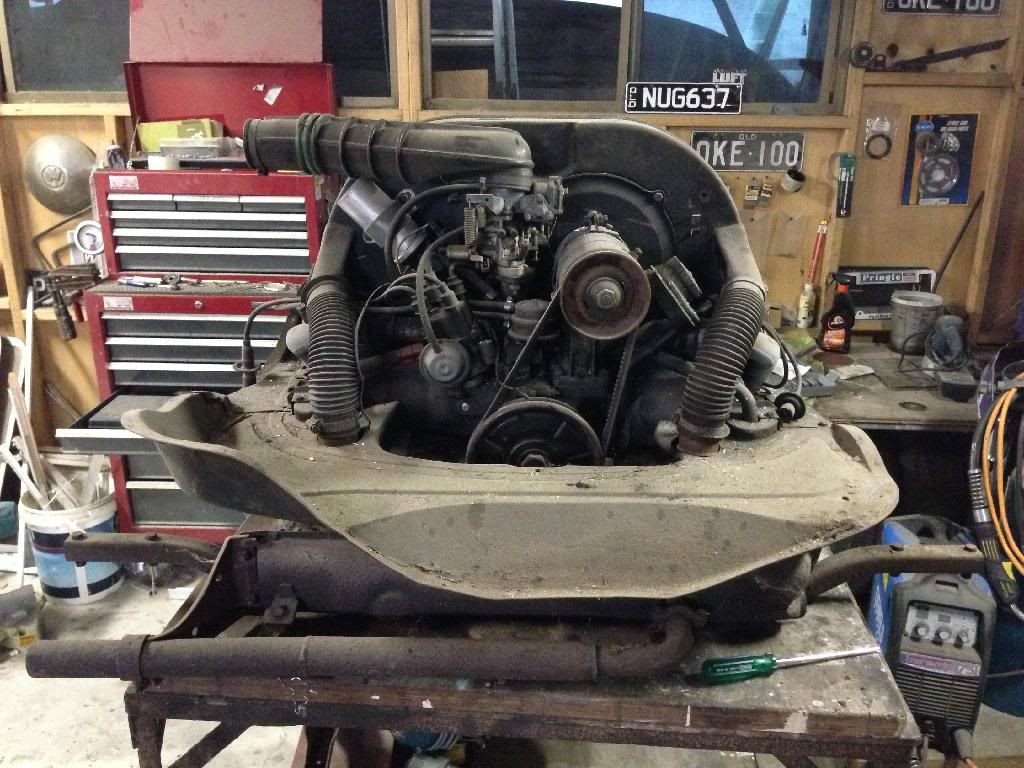
Even tho I drove this thing around the yard and up and down the street a few times I knew it felt a little sluggish but abit worse then I
thought....
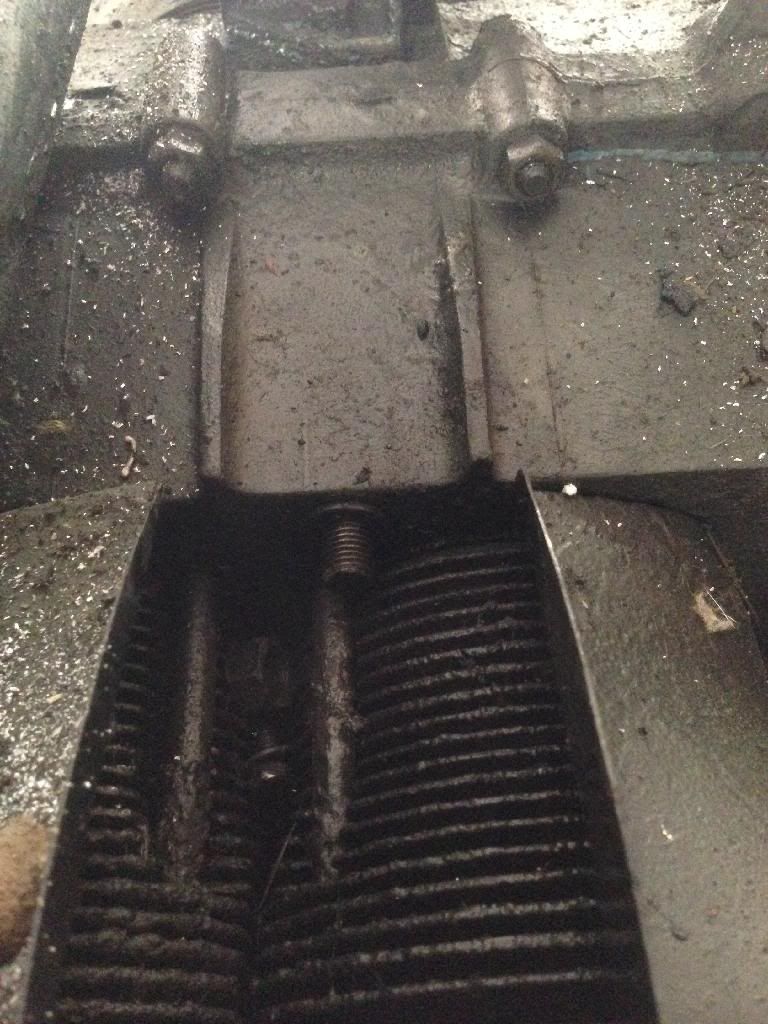
Once I pulled the shroud off I notice the nut had worked it way off number 2 bearing area... It wasn't till I got everything off that I noticed the
bottom one was gone also.... I forgot to check once I pulled it apart to see if this hadn't bashed the case out of shape... Will check first thing
tomoro now it's on my mind.
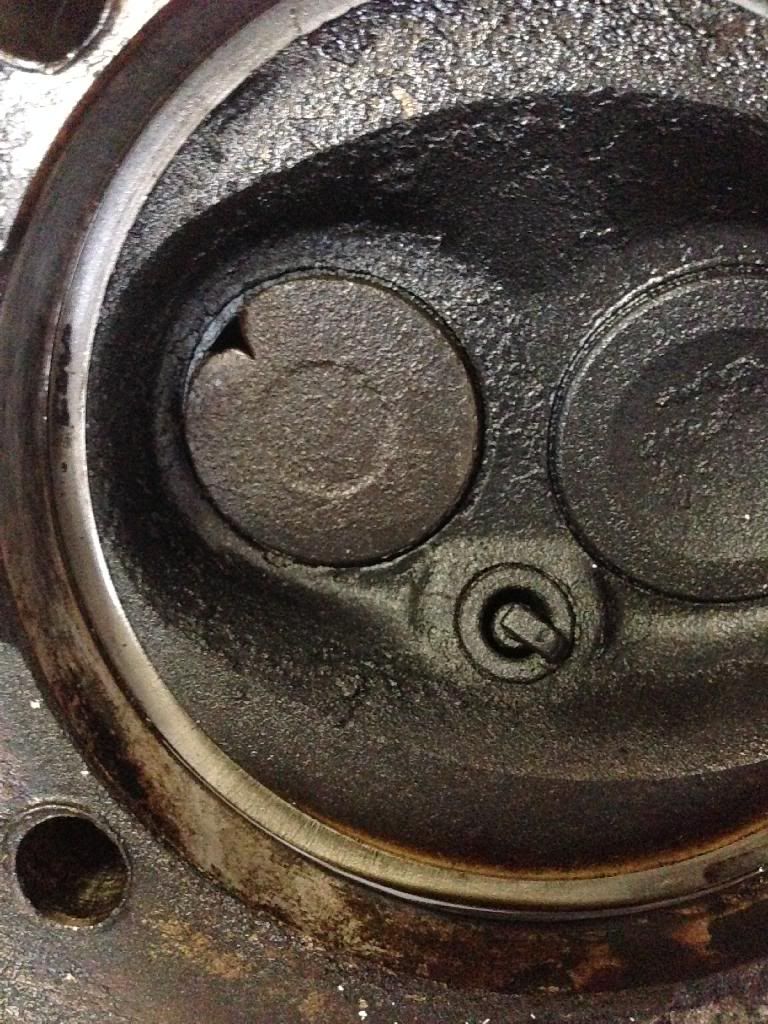
Then I pulled the heads off and found this little beauty on number 3 exhaust valve
Once I pulled the case down I noticed one of the cam bearings as shit itself to....
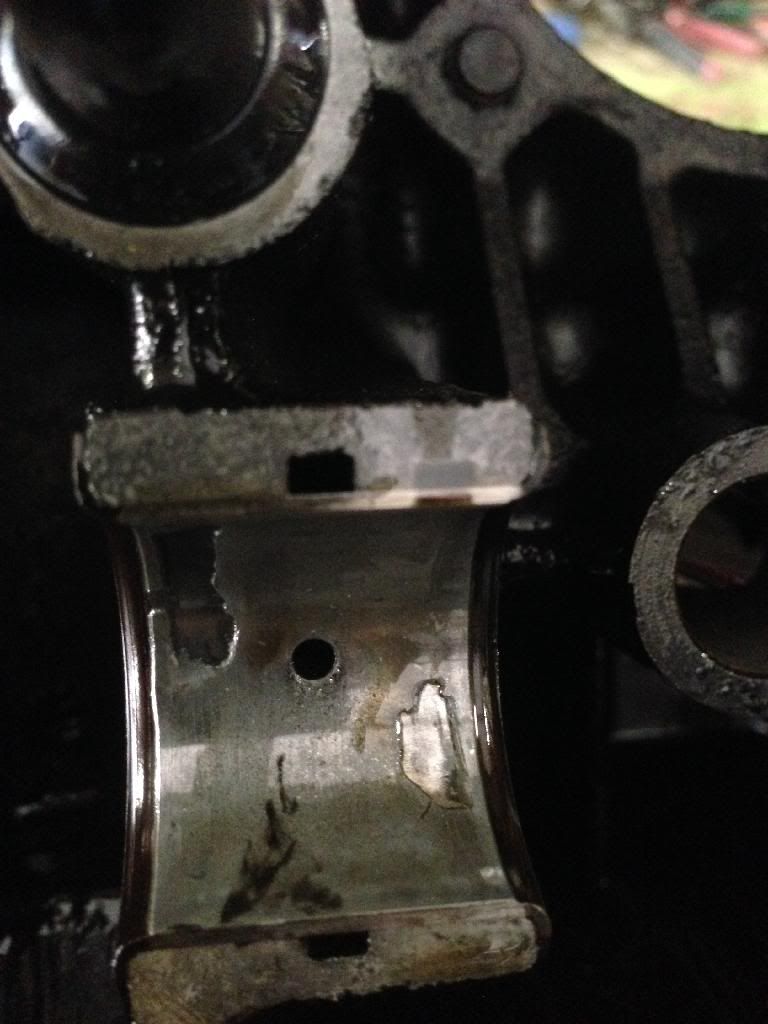
Thank fuck I didn't waste my time on trying to get this thing to perform for us just because it ran :shock:
Have been talking engines with every one I know who is "in the know" when it comes to torquey motors... And I owe a big thanks to Isaac (Ritalin
boy) and Matt berry who have been great words of wisdom as of late. 8)
|
|
|
 mactaylor mactaylor
Custom Title Time!
    
Posts: 1005
Threads: 54
Registered: August 14th, 2007
Member Is Offline
Location: Albury
Theme: UltimaBB Pro Blue
Mood: even my dog is german
|
| posted on March 9th, 2014 at 10:17 AM |
|
|
A trick i have learnt with sikaflex is if you want a nice finish is to use a potato shaped to the desired curve, the sika does not stick to the cut
face of the potato. Strange but true!
EVERLAST CONCRETE TANKS
1800 552 123
|
|
|
 Carl and Emily Carl and Emily
Officially Full-On Dubber
  
Posts: 349
Threads: 38
Registered: April 19th, 2012
Member Is Offline
Theme: UltimaBB Pro Blue ( Default )
|
| posted on March 9th, 2014 at 11:45 AM |
|
|
Ah the beauty of a vw engine.
That is,. how bad they can be and still run!
Do you think it will be done for Dubs at the Abbey?
|
|
|
 NUG637 NUG637
Officially Full-On Dubber
  
Posts: 372
Threads: 24
Registered: November 2nd, 2009
Member Is Offline
Theme: UltimaBB Pro Blue ( Default )
|
| posted on March 9th, 2014 at 01:37 PM |
|
|
Hell no! Deadline is valla... Already stretching it for that I think....!
I might try that potato trick! Thanks for tip 
|
|
|
 Carl and Emily Carl and Emily
Officially Full-On Dubber
  
Posts: 349
Threads: 38
Registered: April 19th, 2012
Member Is Offline
Theme: UltimaBB Pro Blue ( Default )
|
| posted on March 9th, 2014 at 02:06 PM |
|
|
| Quote: | Originally
posted by NUG637
Hell no! Deadline is valla... Already stretching it for that I think....!
|
but you're almost done. 
what's that I hear your say,...needs an engine rebuild!,.. you can do those in your sleep can't you.
|
|
|
 NUG637 NUG637
Officially Full-On Dubber
  
Posts: 372
Threads: 24
Registered: November 2nd, 2009
Member Is Offline
Theme: UltimaBB Pro Blue ( Default )
|
| posted on March 11th, 2014 at 11:36 AM |
|
|
Well I cleaned up the as41 case out of the bus and bolted it together and no visual gaps or signs of out of round... Got told to check the matting
surfaces around the studs that torque the bearings down for lips or grooves from movement....
Which I think this one checks out ok?
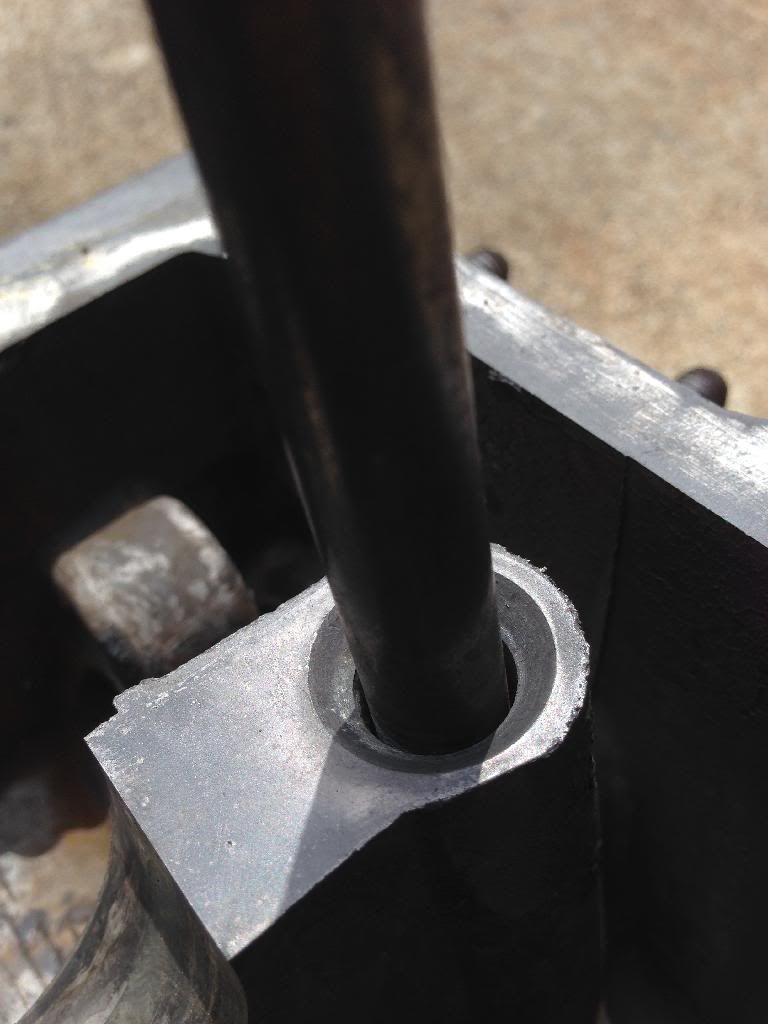
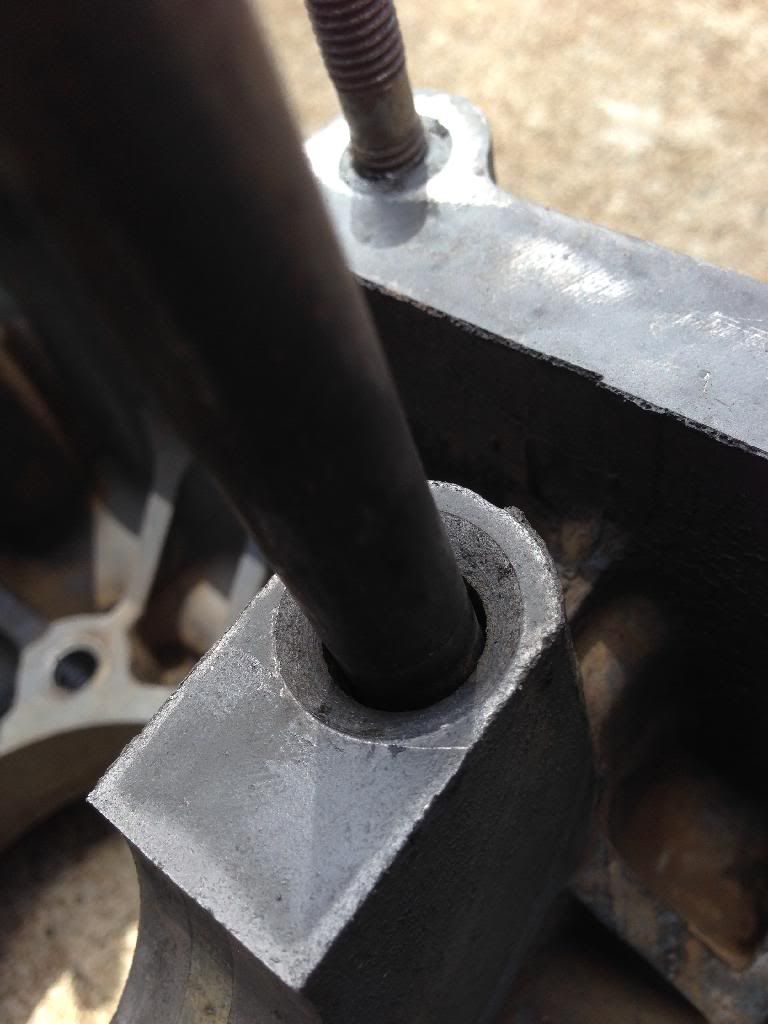
Noticed the other as41 case we had sitting around had all the studs and things taken out so a 5 minute job to open her up and look to see if it's any
better to hold a stroker.... My guess is no as this case looks to have more wear then my case with the nuts loose...
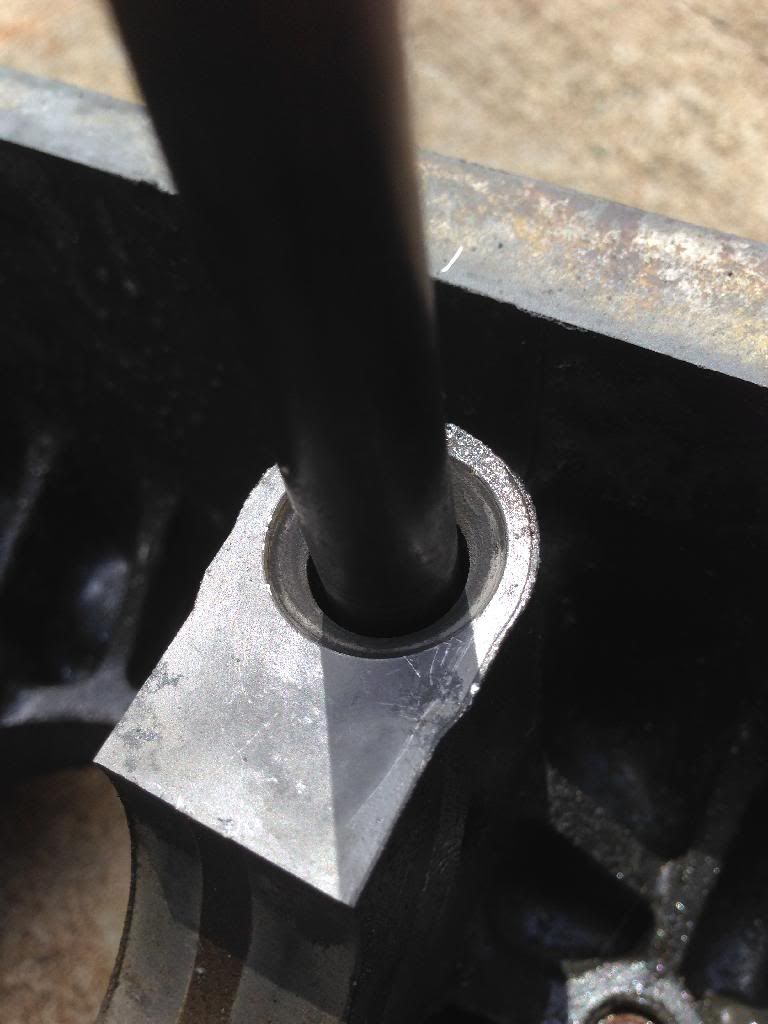
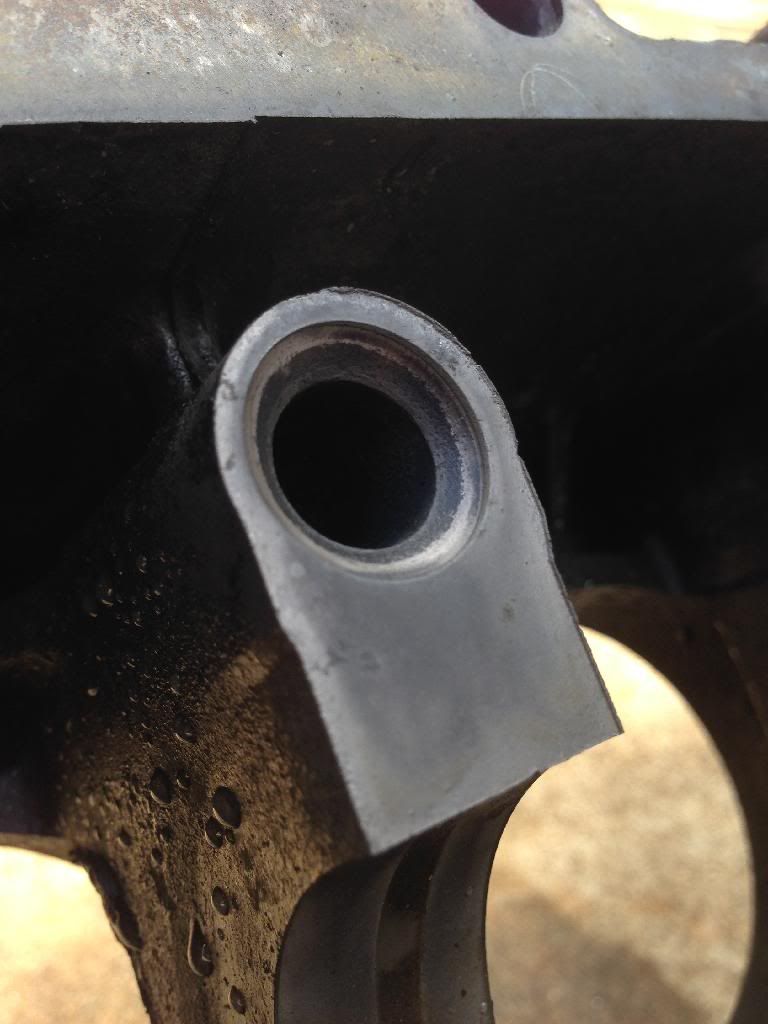
With a fairly noticeable lip suggesting the case have been rubbing...
Waiting for more materials to arrive as my first order got damaged in transit...
|
|
|
 Scottkombi Scottkombi
Officially Full-On Dubber
  
Posts: 358
Threads: 11
Registered: December 24th, 2008
Member Is Offline
Location: Terrigal NSW
Theme: UltimaBB Pro Blue ( Default )
Mood: Sick of Work
|
| posted on March 11th, 2014 at 12:23 PM |
|
|
Nice progress
88 Caravelle Syncro Camper
89 Caravelle GL microbus - 5 speed
69 Microbus
05 Mk5 Golf 1.9 TDi DSG
|
|
|
 OZ Towdster OZ Towdster
A.k.a.: Andrew Westwood
Custom Title Time!
Keen to finish some projects
    
Posts: 1921
Threads: 132
Registered: December 7th, 2003
Member Is Offline
Location: Alexandra Hills Brisbane QLD
Theme: UltimaBB Pro Yellow
Mood: Having fun in our great land
|
| posted on March 11th, 2014 at 07:18 PM |
|
|
Nugget give me a call or PM when your ready for the Sikaflex as i use it all day every day and have plenty of tricks for a neat nice job and am quite
happy to come and show you , and none of them include potato's
Don't let body work get in the way of real suspension travel
|
|
|
 NUG637 NUG637
Officially Full-On Dubber
  
Posts: 372
Threads: 24
Registered: November 2nd, 2009
Member Is Offline
Theme: UltimaBB Pro Blue ( Default )
|
| posted on March 13th, 2014 at 11:02 AM |
|
|
thanks andrew but ive already done most of it, done a fair bit of sikka work in the past so im not all bad....
few things arrived the other day so i had enough to start on the hatch....
fucked around with the door for abit trying to get a trim piece on the outside to finish it all off.... next time i will alloy an extra 3 mm to make
things easier... anythings that hinges is just so labour intensive.... i reckon i have collectively burnt up 3-4 days on a single door but thats
including making the door itself....
from one shit job to the next.... started on the hatch....
got my sheet in so fitted that to the fram and folded all the edges over by hammer (no the neatest way but good enough for up top...) then welded up
the seams..
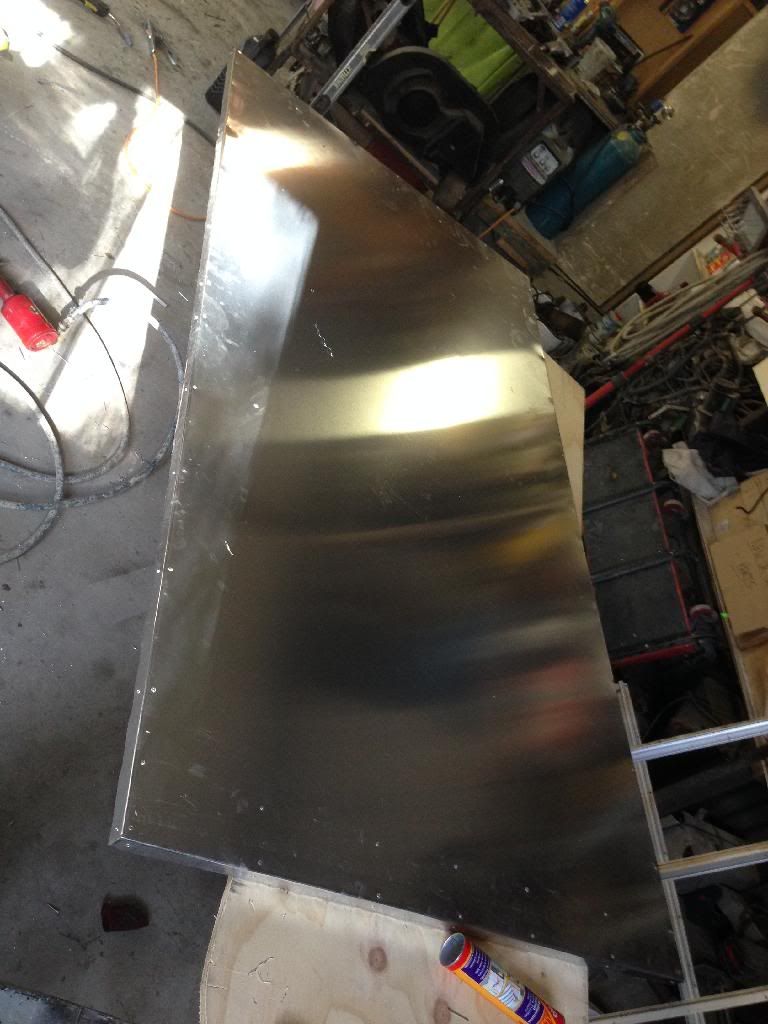
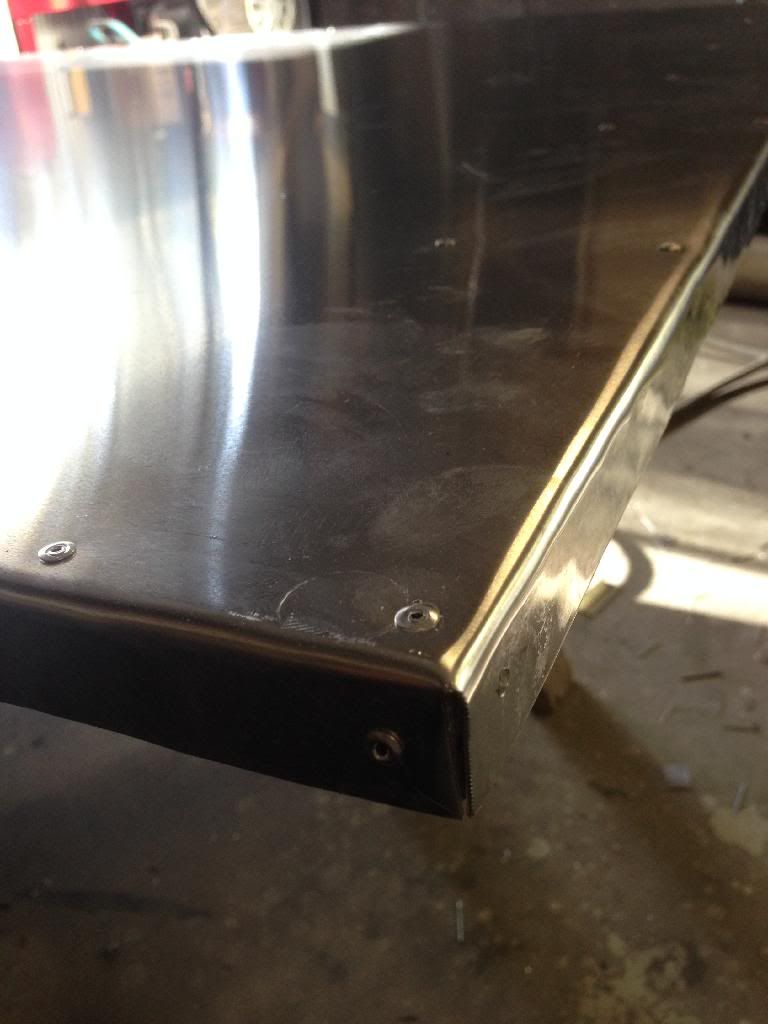
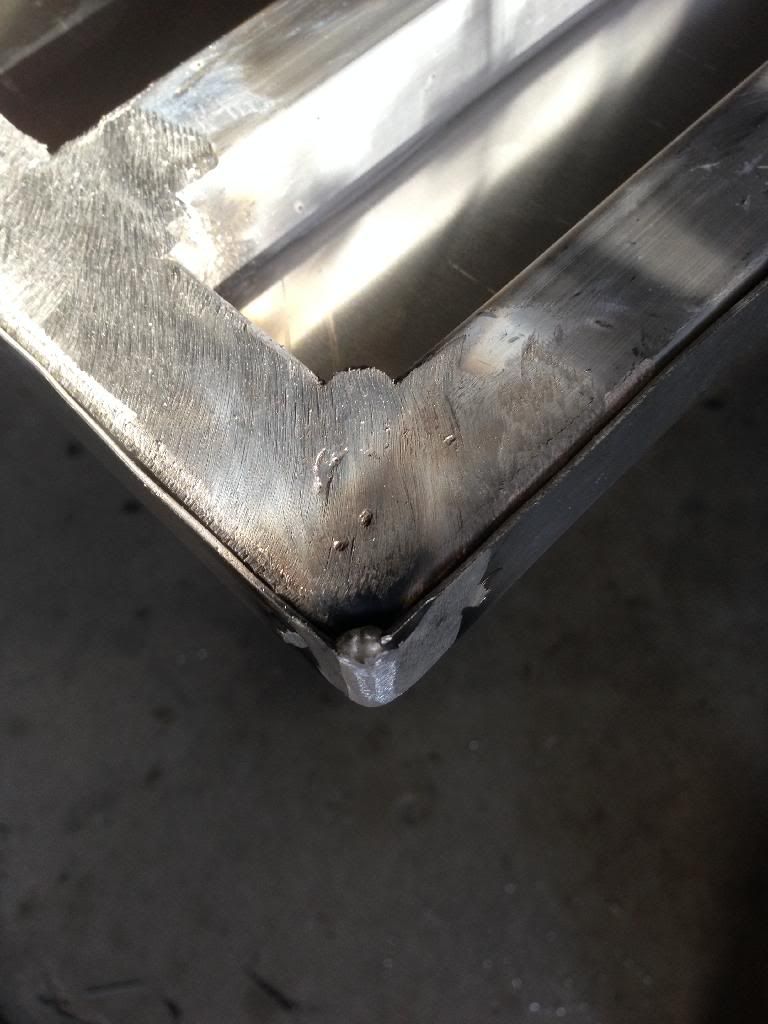
got some gas struts to help prop this up but these cant be fitted until the hatch is 100% finished....
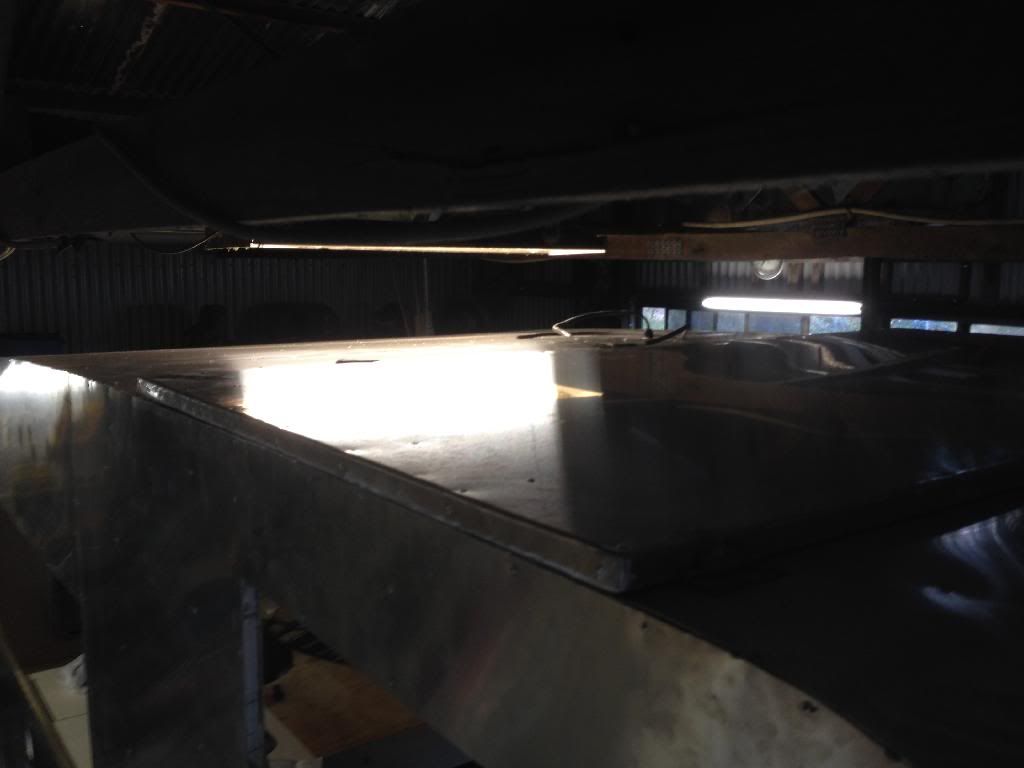
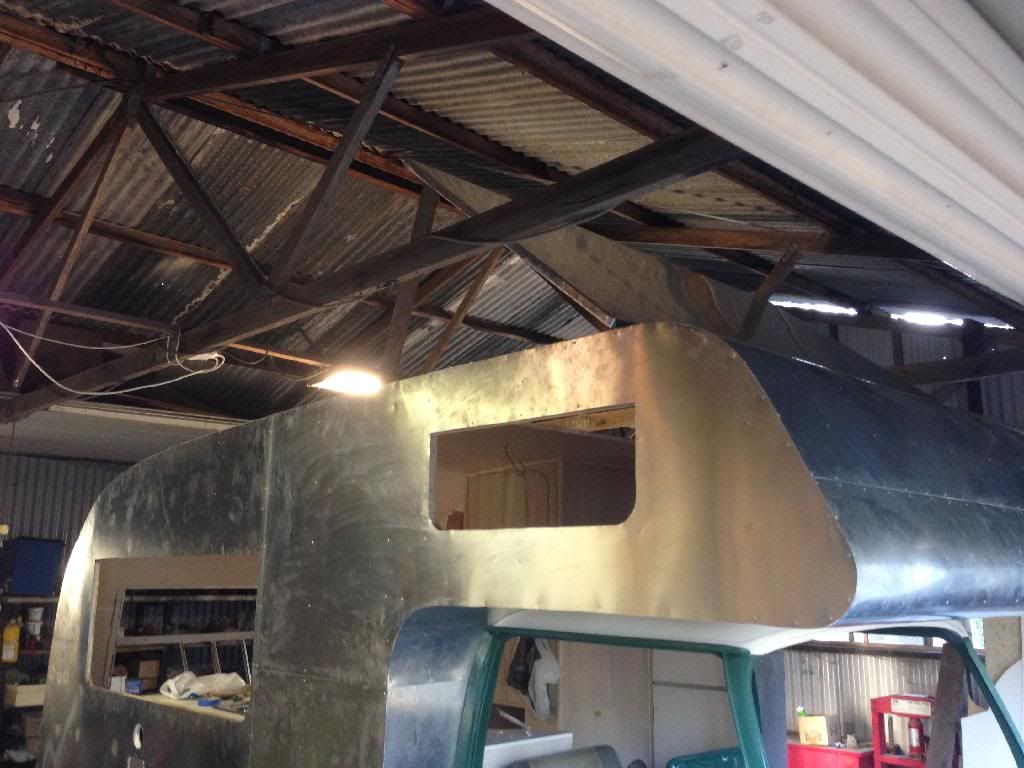
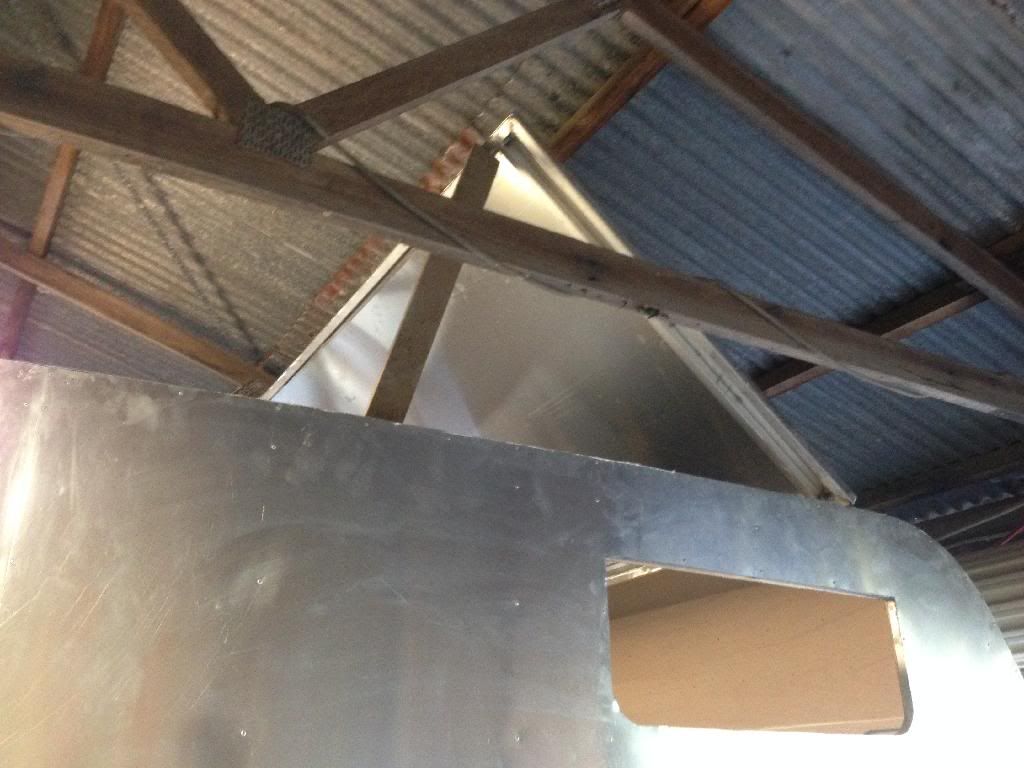
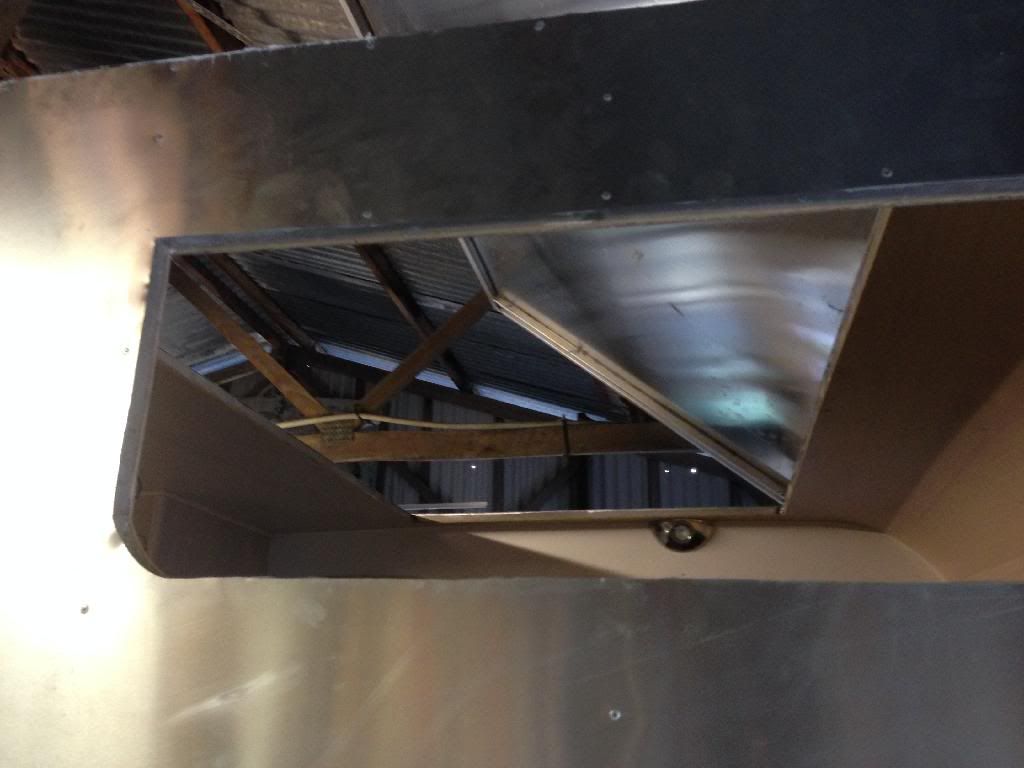
should be nice laying under the stars up there 8)
as the sheet is spanning 1100mm it got a fair bow through the middle and with the way im gonna seal it i couldnt have any framing through the middle
on the underside as it would compromise my seal... so i have decide to put the framing on the top side.... again not the prettiest but im trying my
best and being up there it shouldnt matter to much....
wanted to tapper the box section a little to make it less noticeable from the front....
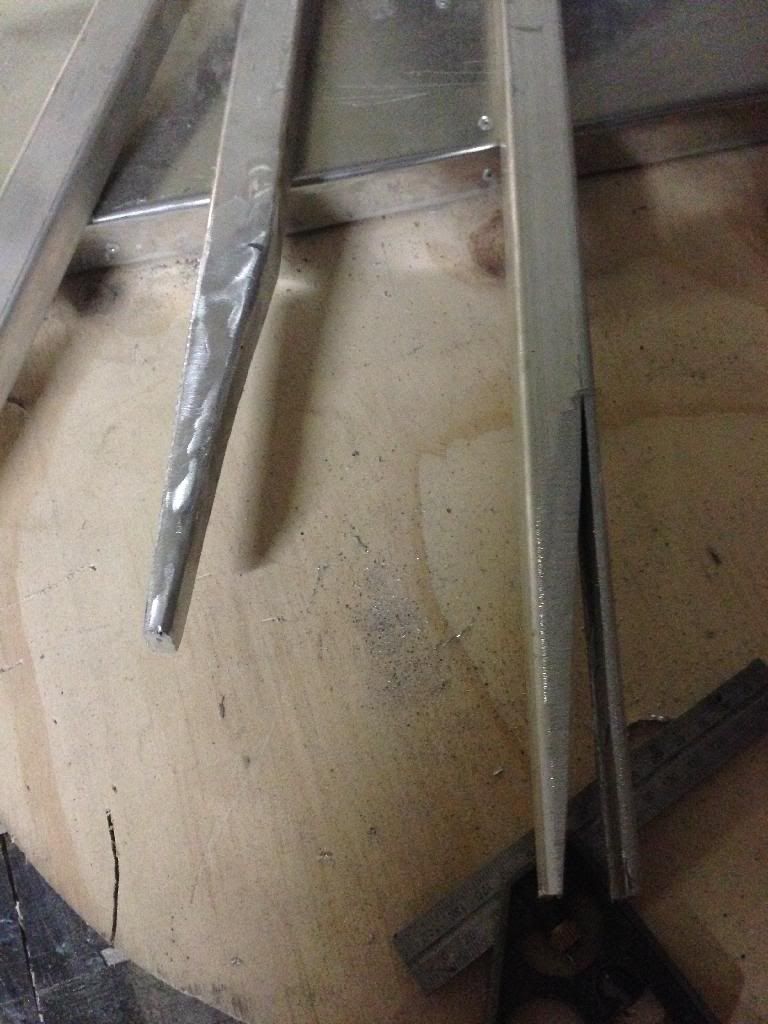
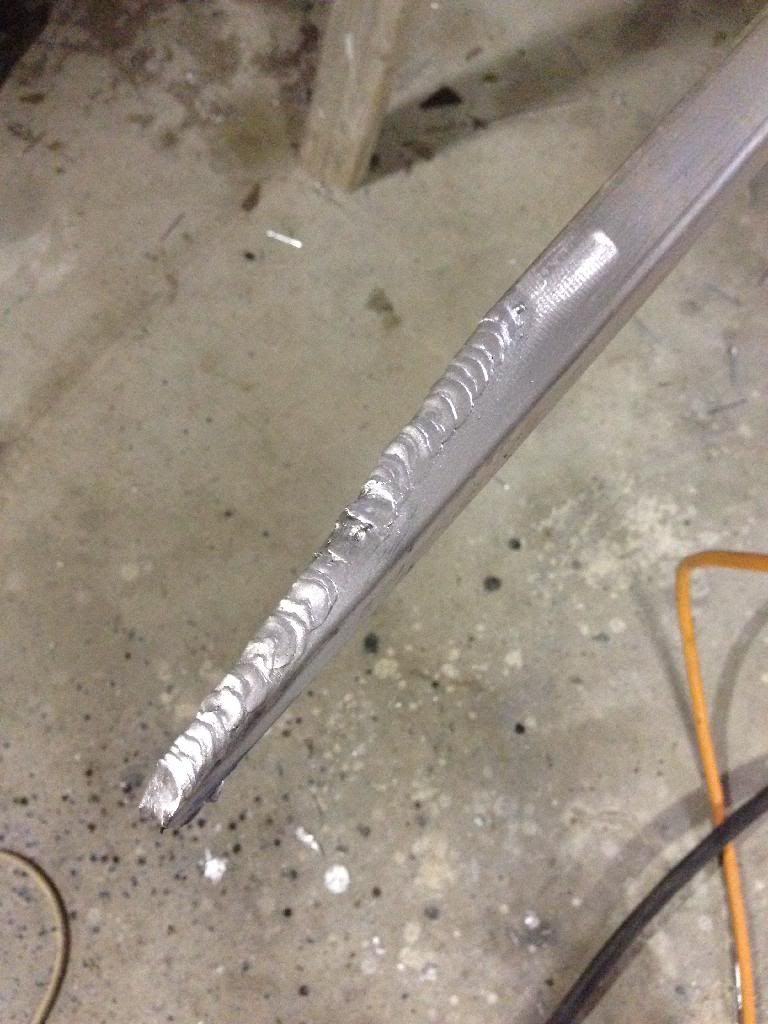
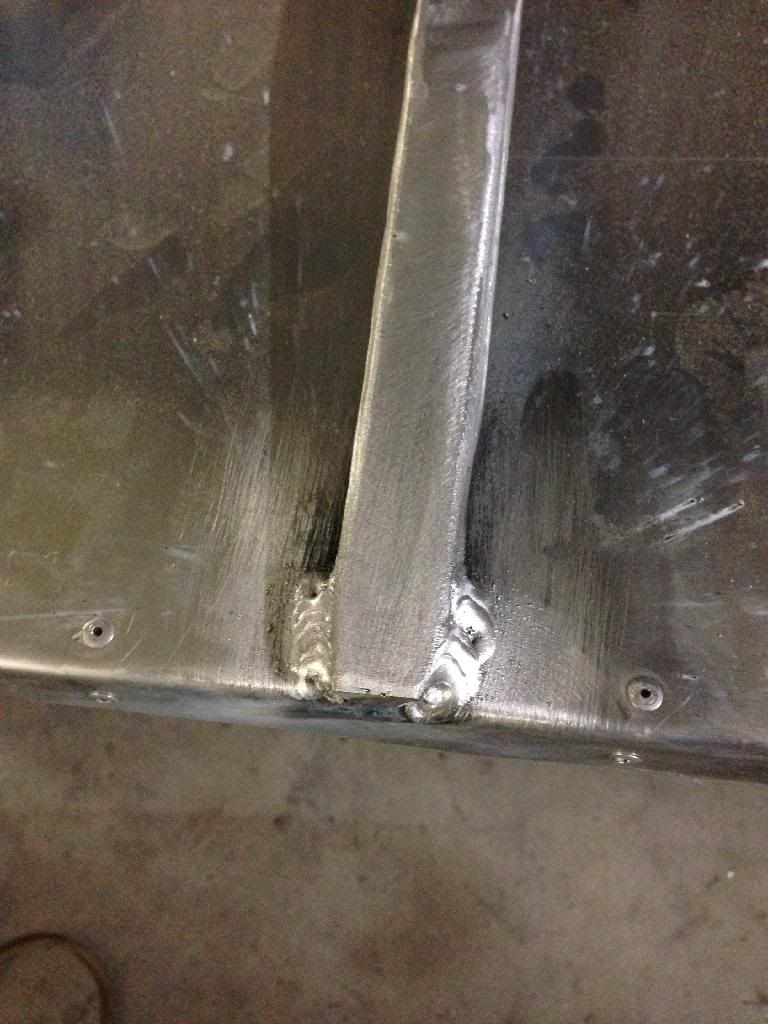
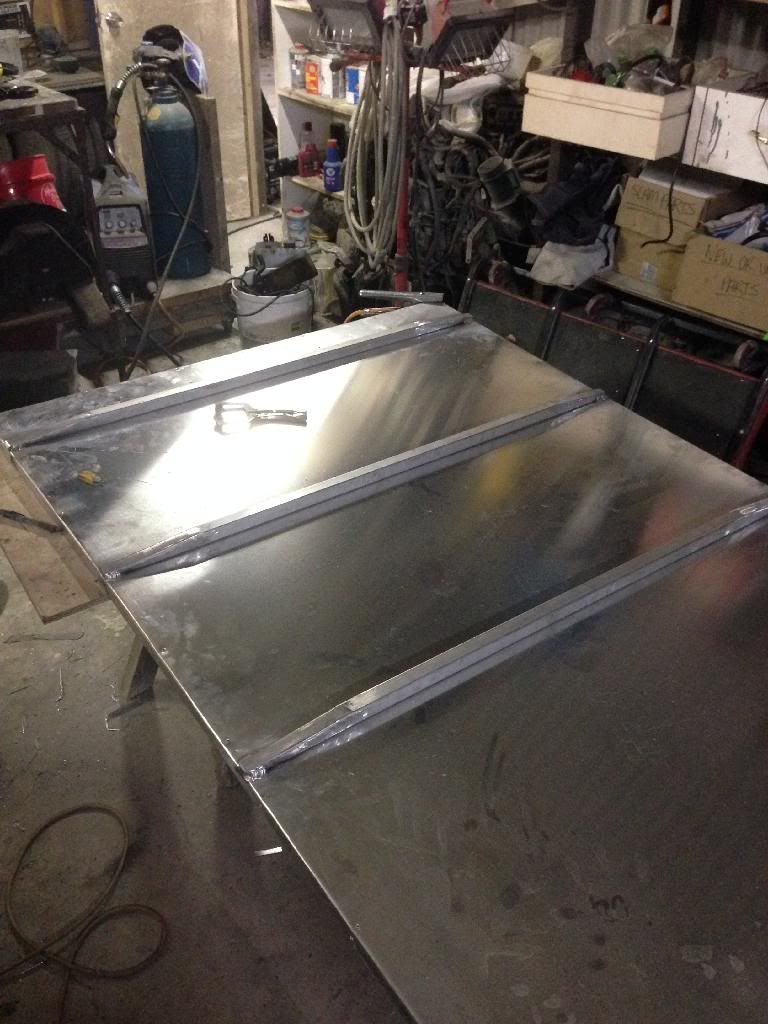
I ran out of box section at 9:30 last night so im waiting on 2 more metres of that to come in befor i can finish the outside of this dam thing....
the idea is to run and upright angle on the inside perimeter of the hole which will press up against a rubber seal on the hatch.... the upturn will
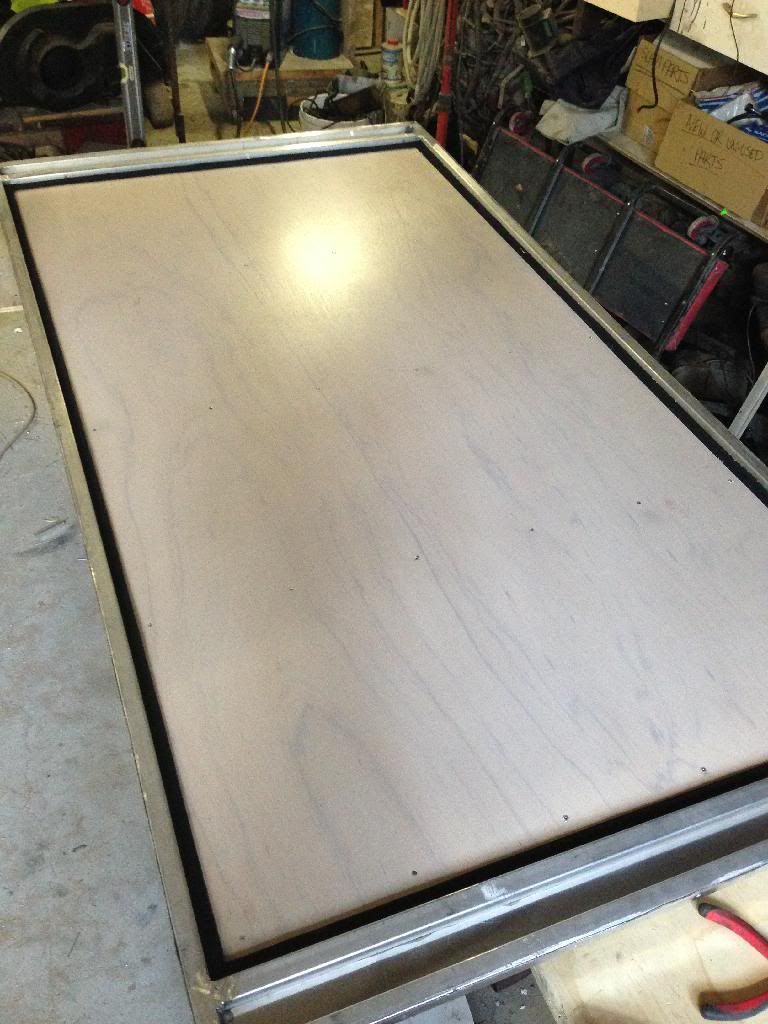
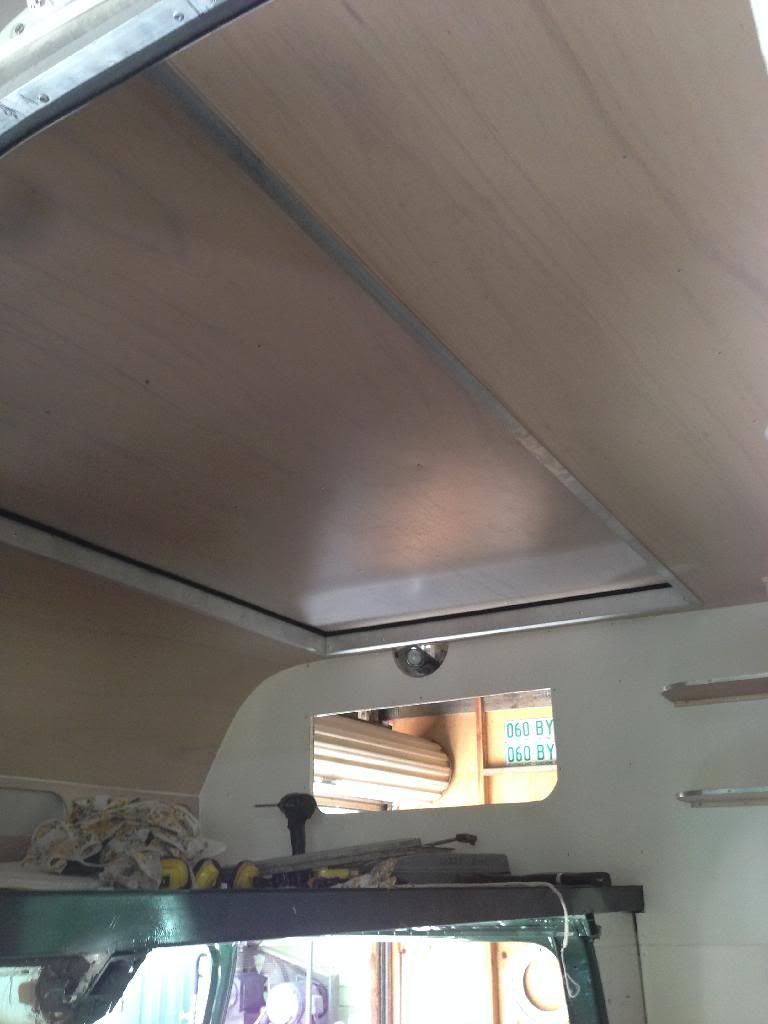
make abit of a flashing to stop water etc so i couldnt have any framing on the inside.... then i will put white washed ply on the underside of the
hatch (inside the seal) pop rivetted into the framing of the top side.... i think im confusing myself just trying to explain it so just watch and see

might have to make an air barrier on the front side for the airforce while driving doesnt push water upwards and over the flashing.... hmmmmmm
|
|
|
 11CAB 11CAB
Compulsive Aussie Vee Dubber
If ya got it....Baja it
      
Posts: 4674
Threads: 321
Registered: August 30th, 2002
Member Is Offline
Location: Brisbane Northside
Theme: UltimaBB Pro Blue
Mood: Beach'n
|
| posted on March 16th, 2014 at 09:00 PM |
|
|
Look forward to seeing this at Valla 
65 Meyers Manx
68 Country Buggy (KO 367)
68 Country Buggy (KO 669)
68 Country Buggy (KO 789)
68 Country Buggy (KO 815)
68 Baja Bug
76 Baja Kombi Twincab
|
|
|
 johndoe980 johndoe980
Commited Dubber
 
Posts: 66
Threads: 9
Registered: February 6th, 2011
Member Is Offline
Location: Logan Village, QLD
Theme: UltimaBB Pro Blue ( Default )
Mood: Can't wait to start work on my KG
|
| posted on March 16th, 2014 at 11:26 PM |
|
|
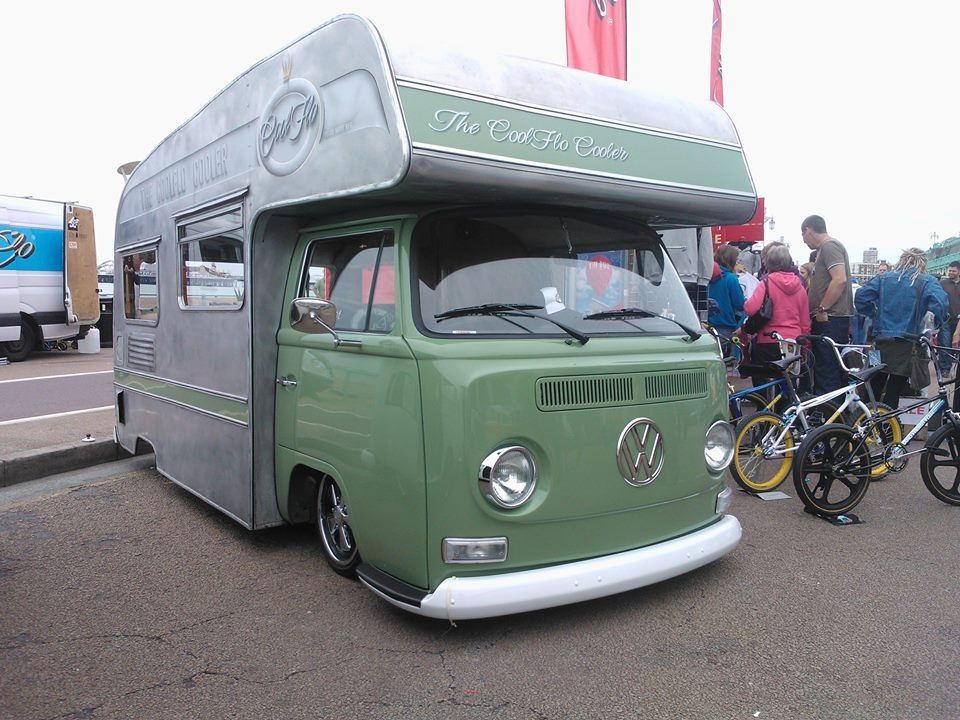
It was called "Rubber Tramp" now its "The coolFlo Cooler"
Very cool ut a bit too low.
I want one......
|
|
|
 NUG637 NUG637
Officially Full-On Dubber
  
Posts: 372
Threads: 24
Registered: November 2nd, 2009
Member Is Offline
Theme: UltimaBB Pro Blue ( Default )
|
| posted on March 17th, 2014 at 07:47 PM |
|
|
that thing needs a hatch!!!
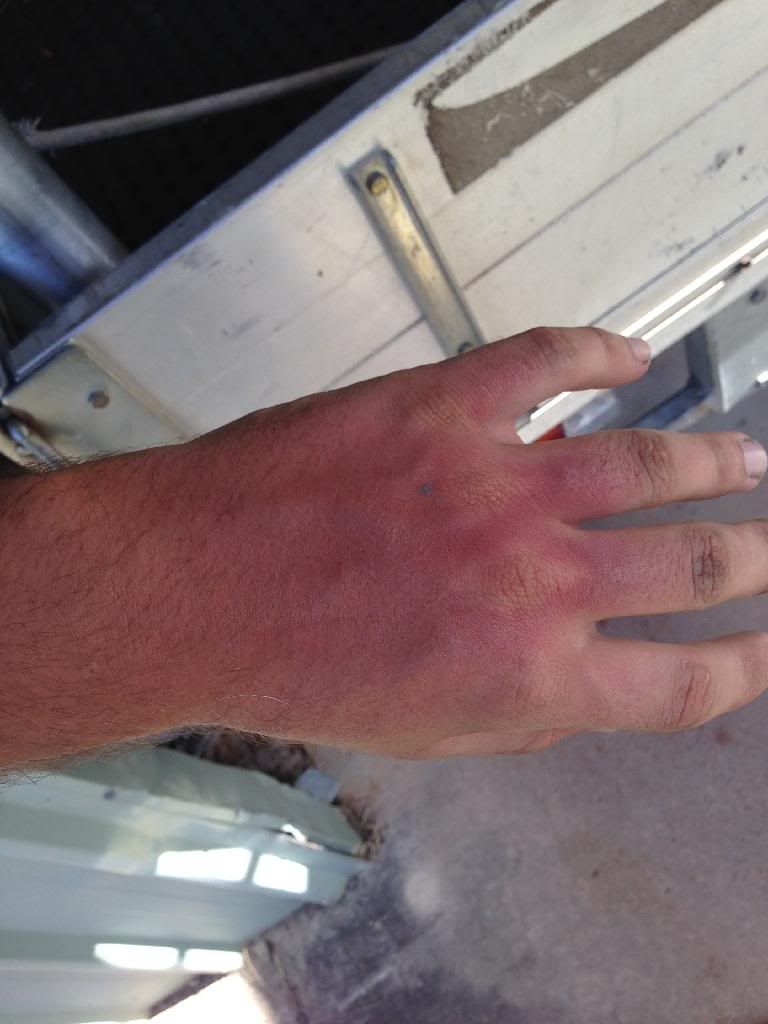
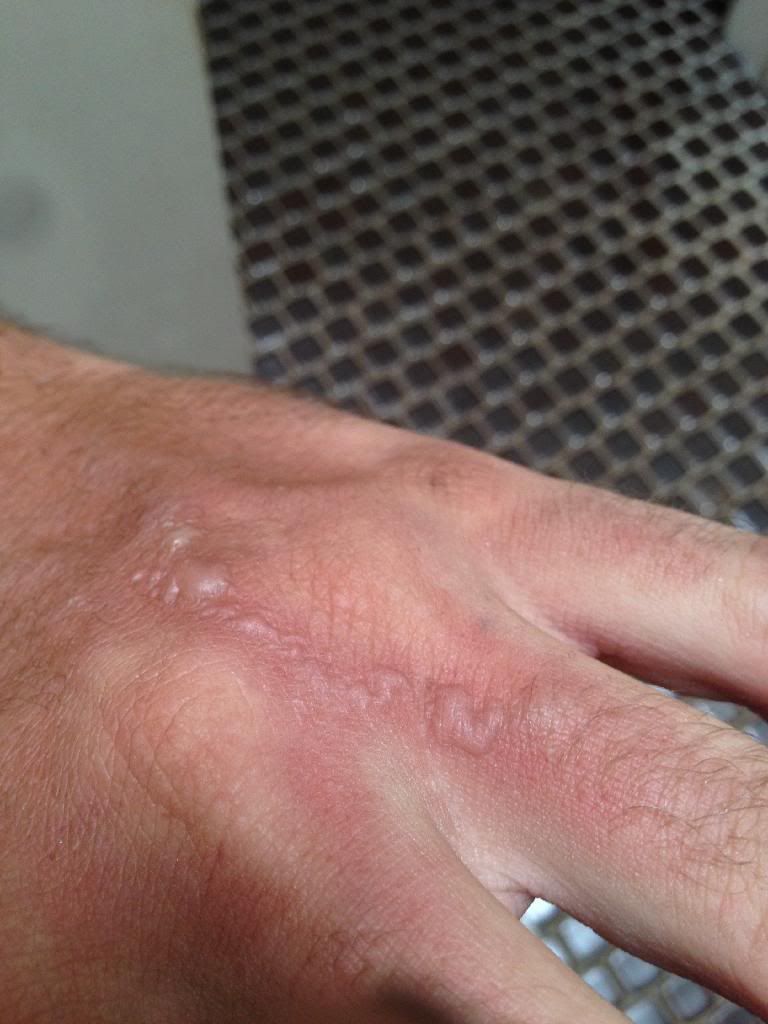
finished the ribs on the hatch which caused some serious welding burn.... alloy has such a bright flash its incredible! and i blistered like a bitch 3
days later....
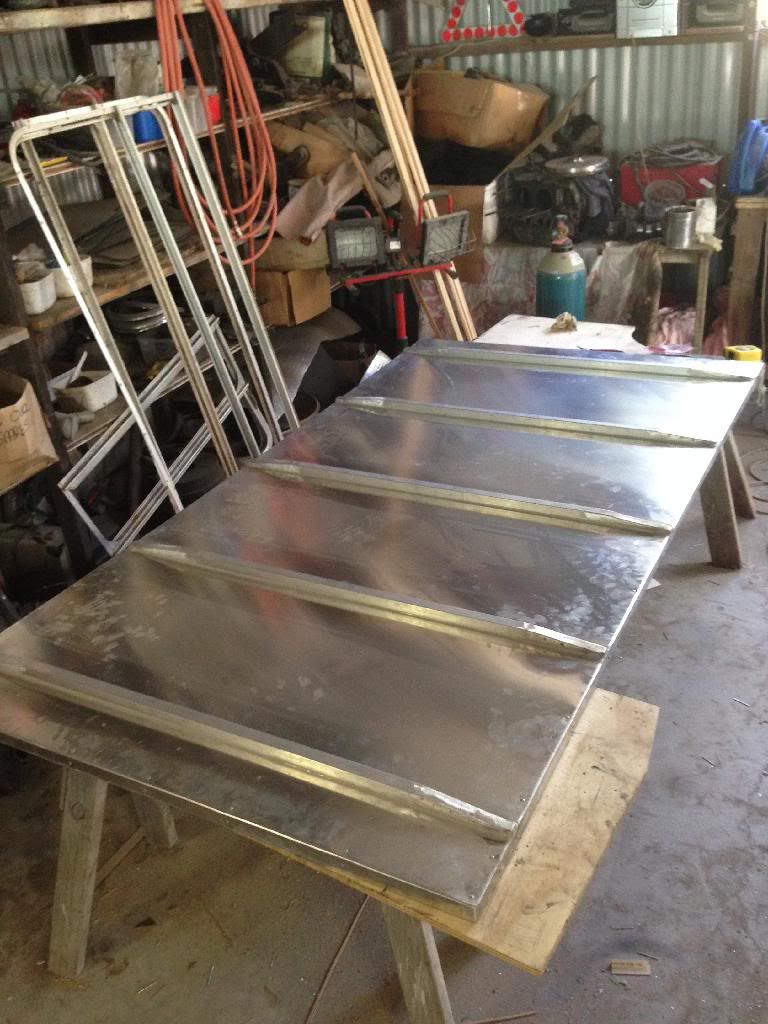
once the ribs were on it was time for the seal.... put a 50x25 3mm right angle around the hatch opening for the hatch to seal down on and act as a
flashing for water....
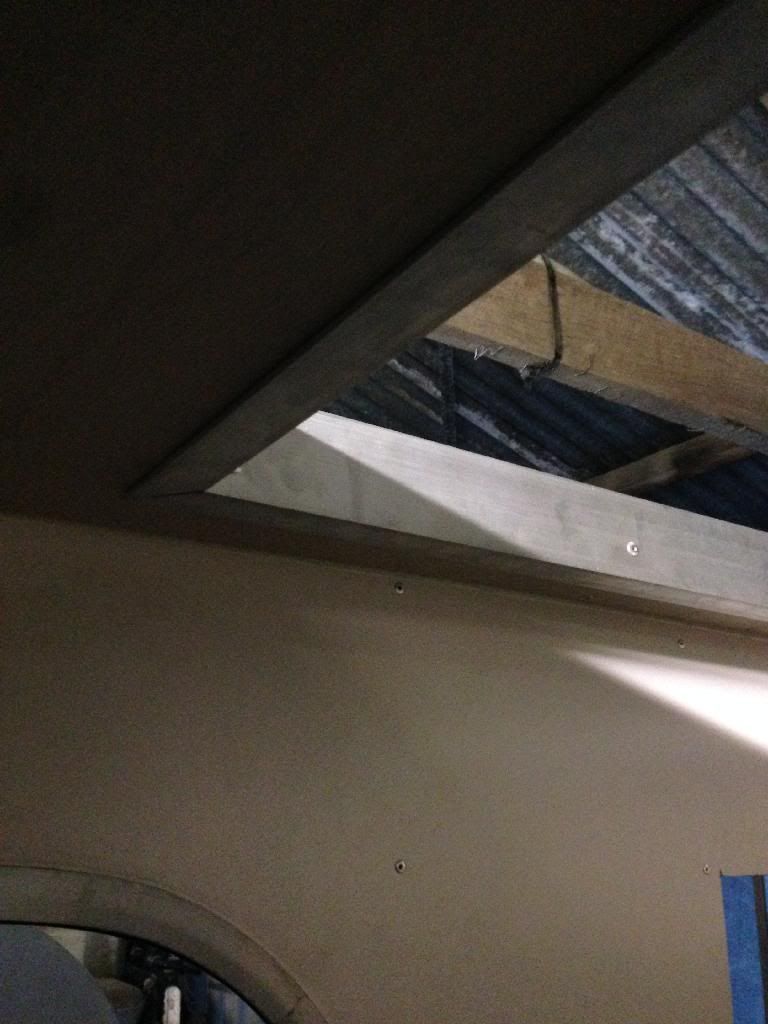
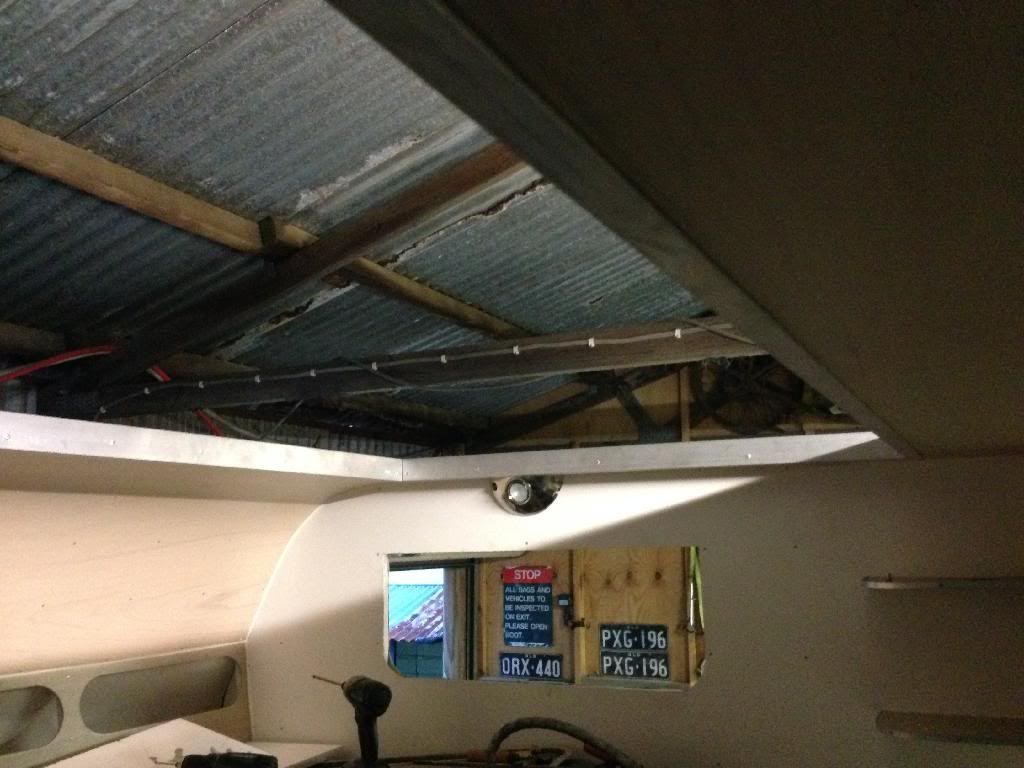
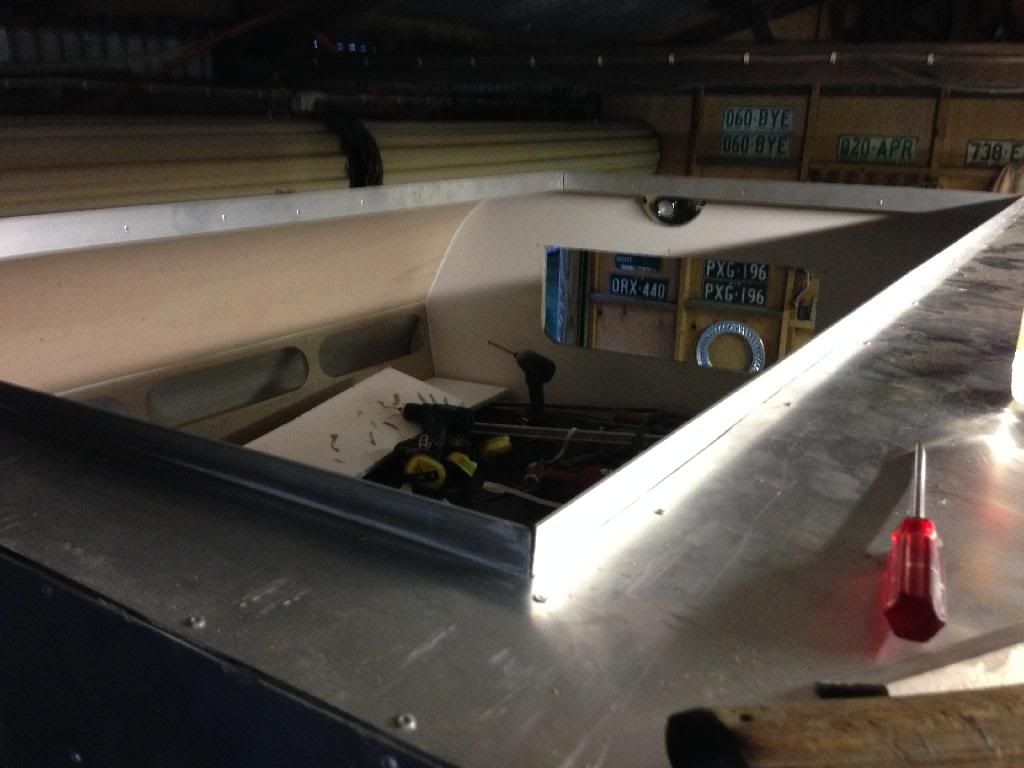
sealed it up good
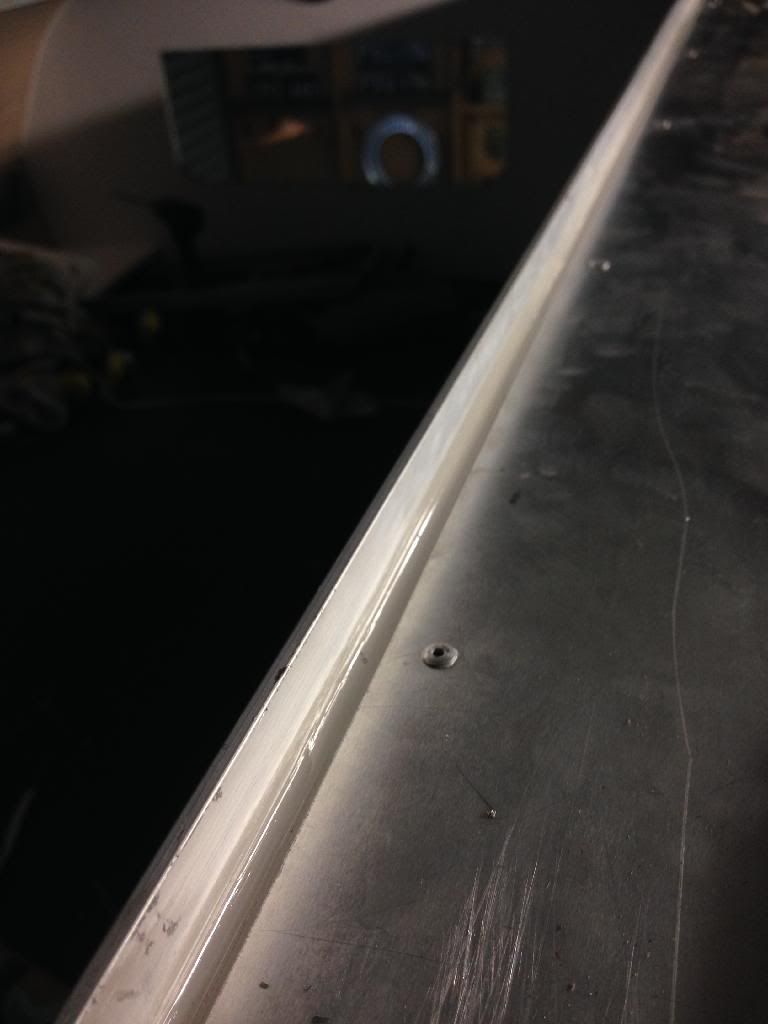
seal on the hatch...
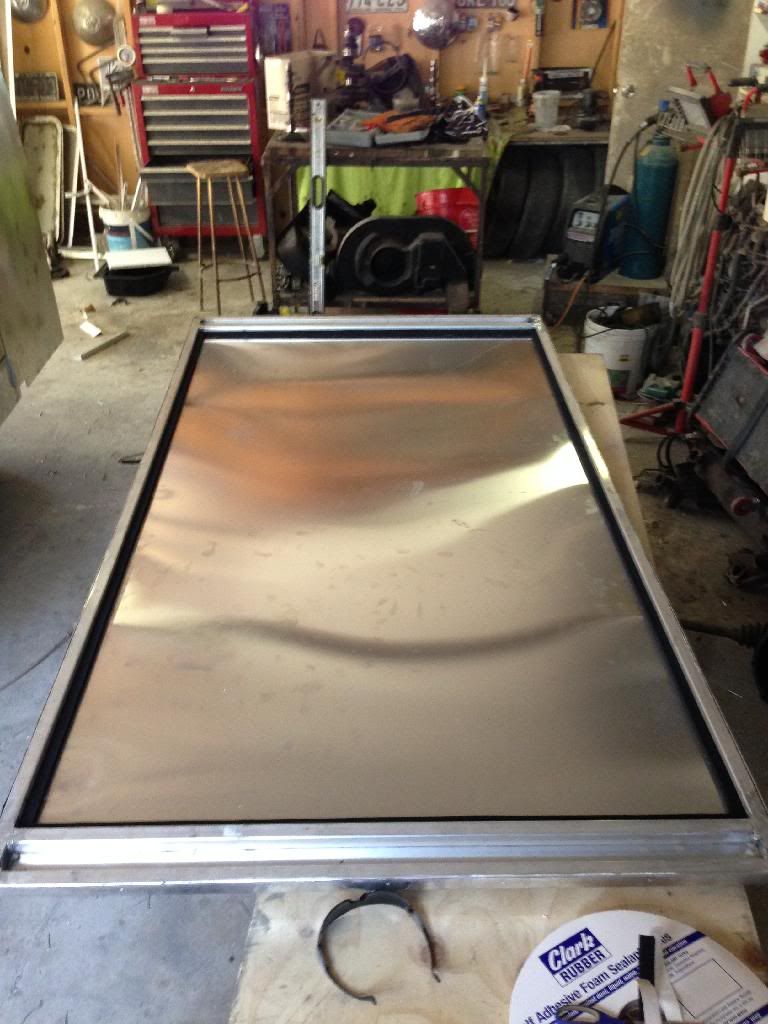
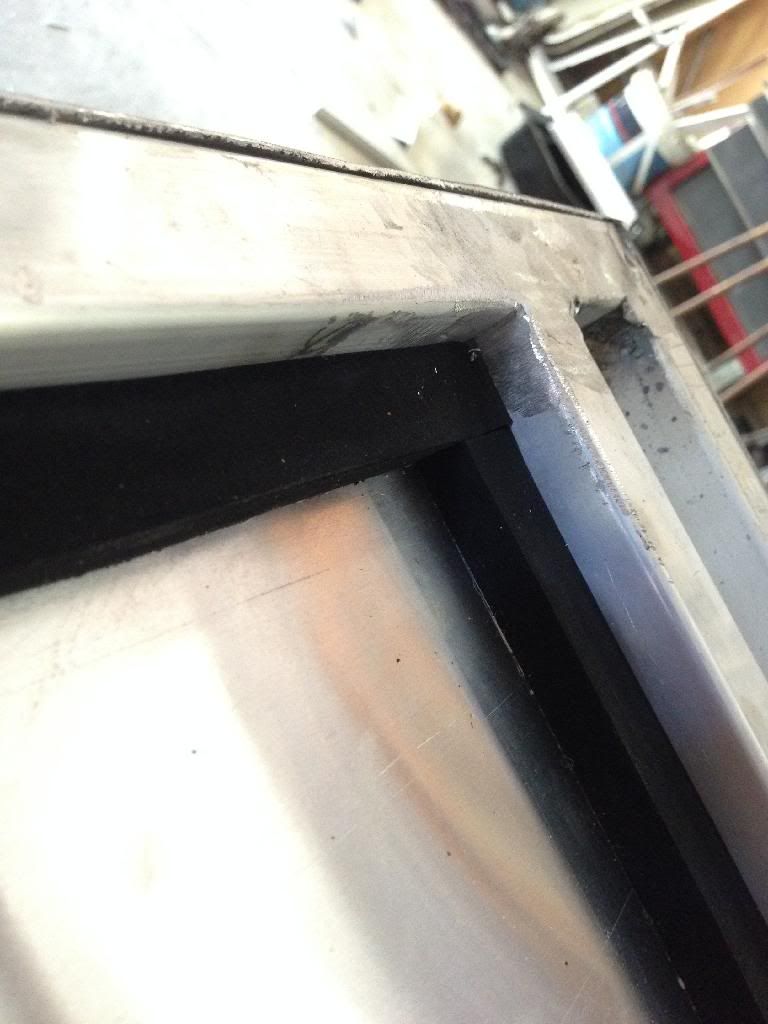
painted up the ply and got that shit on there...
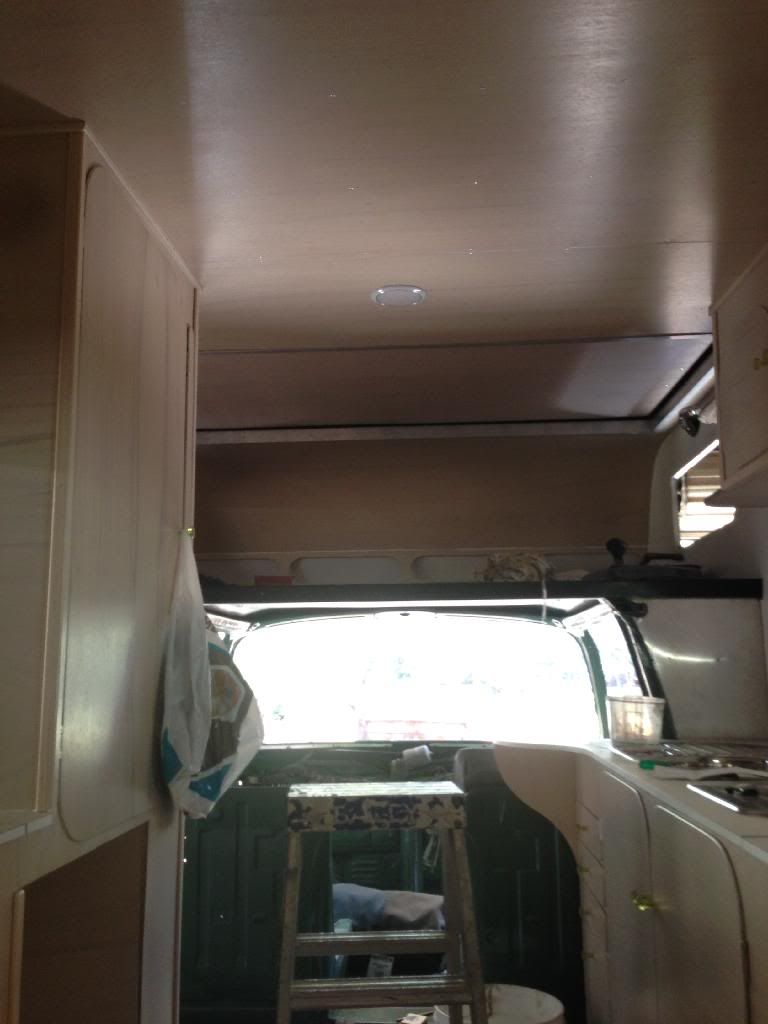
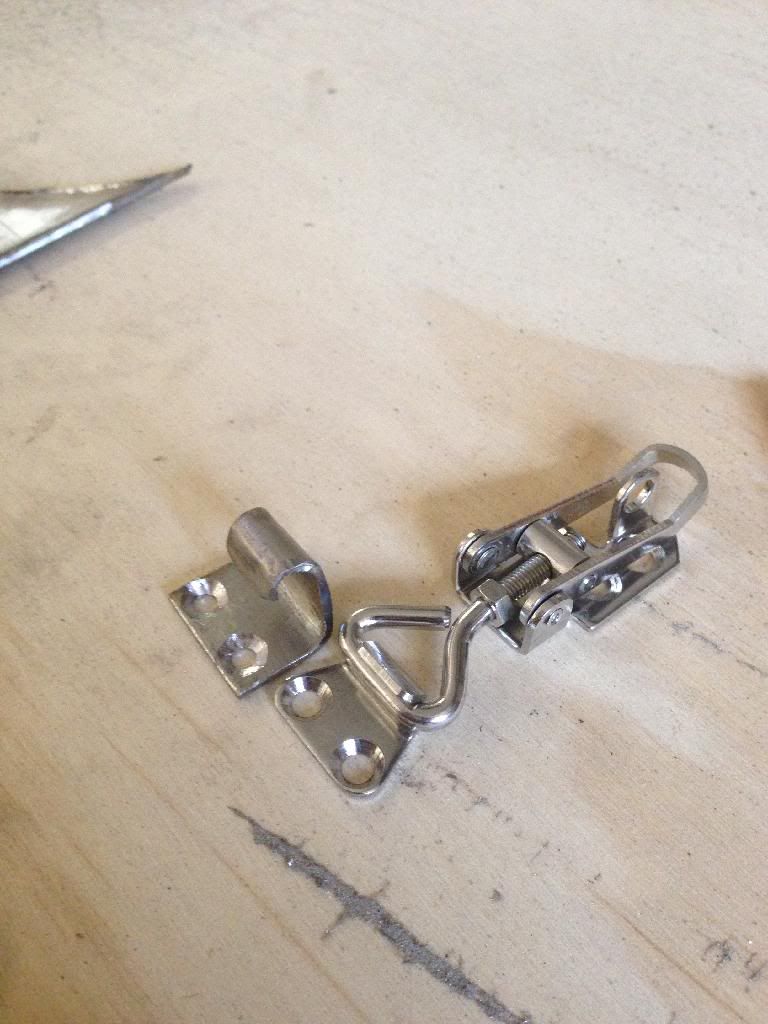
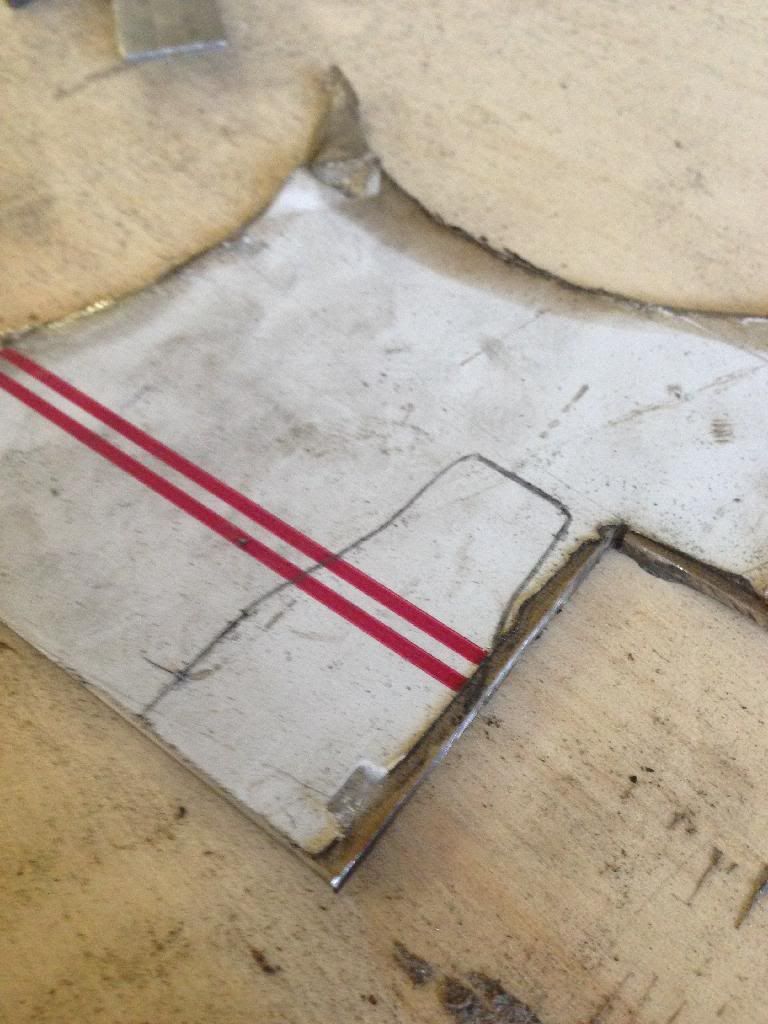
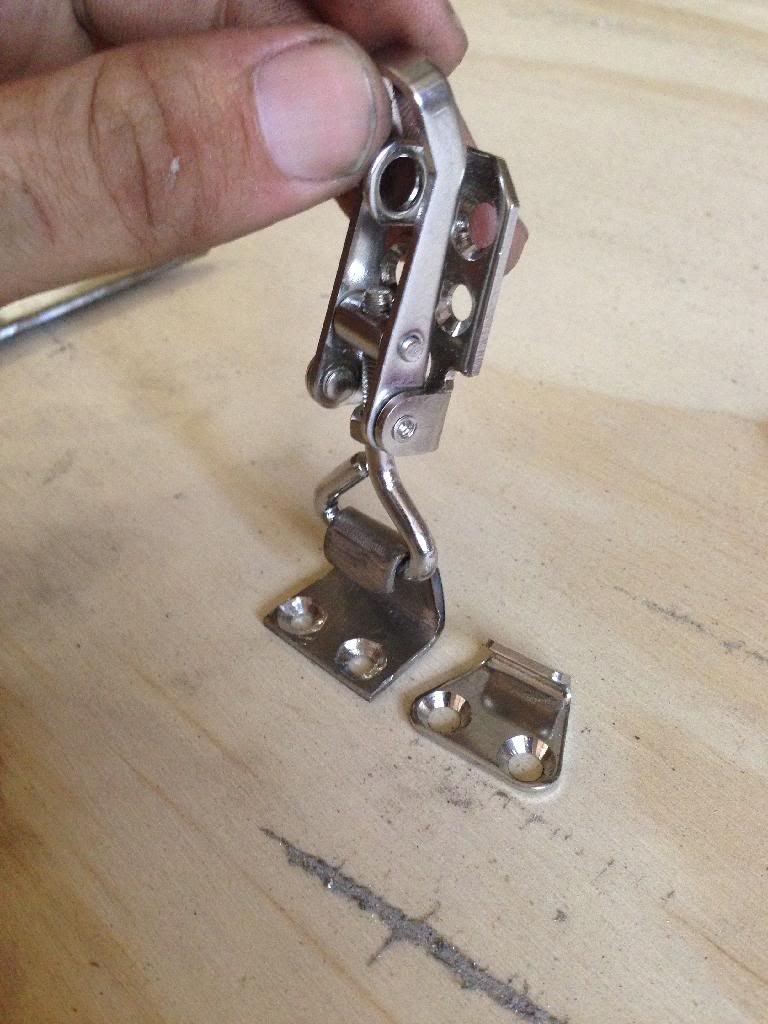
then i had to latch it down..... was original gonna run these latches on the outside cus the "hook" wouldnt work where i wanted it and the hatch
will only be used once stopped anyway so would of been easy to release it from the outside once stopped... but being a sucka for punishment... made my
own stainless hooks to run them inside the van...
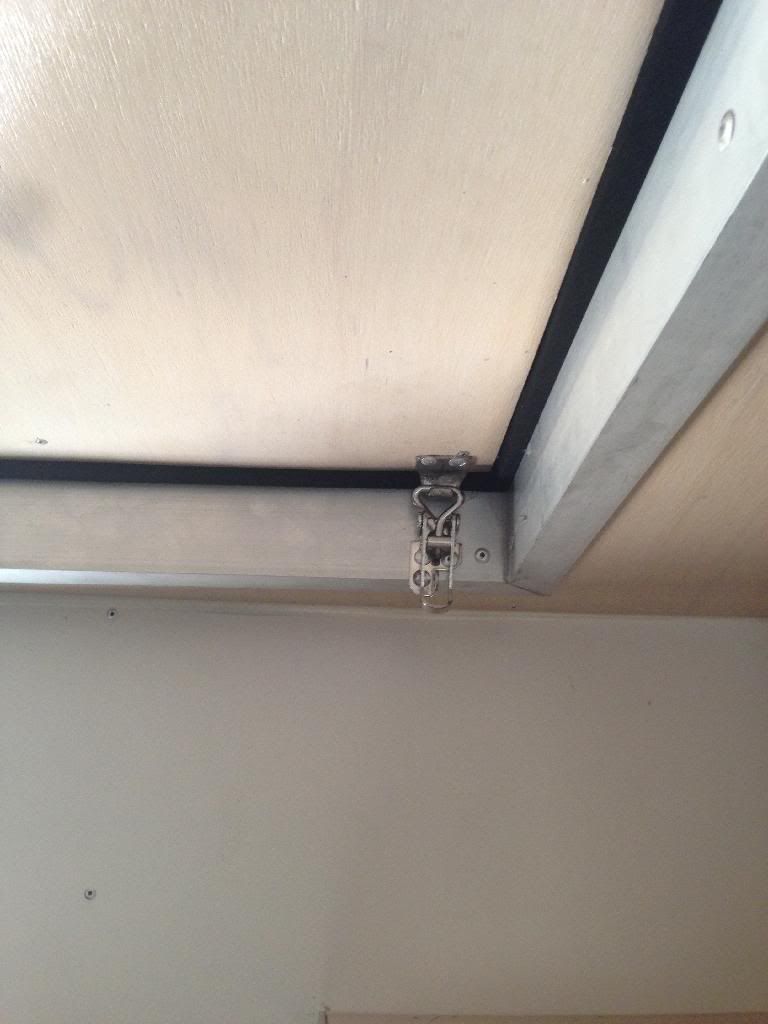
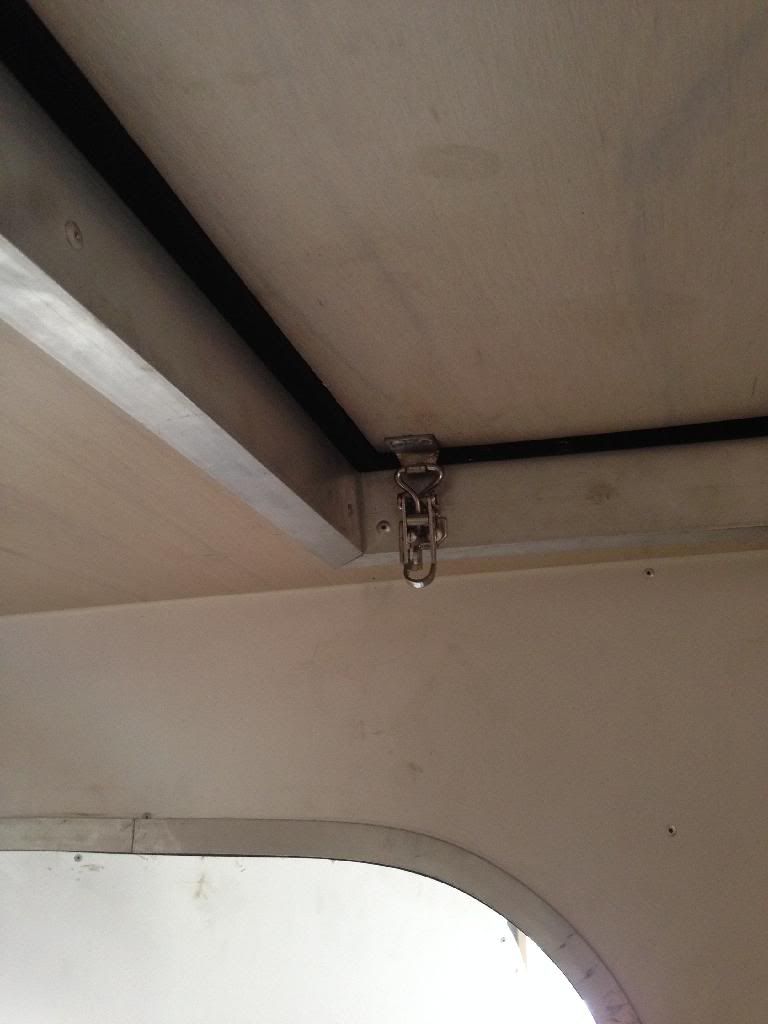
and last but not least got these gas struts on.... i initially fucked up the positioning... but with dibba picking up on my geometry error we got her
sorted.
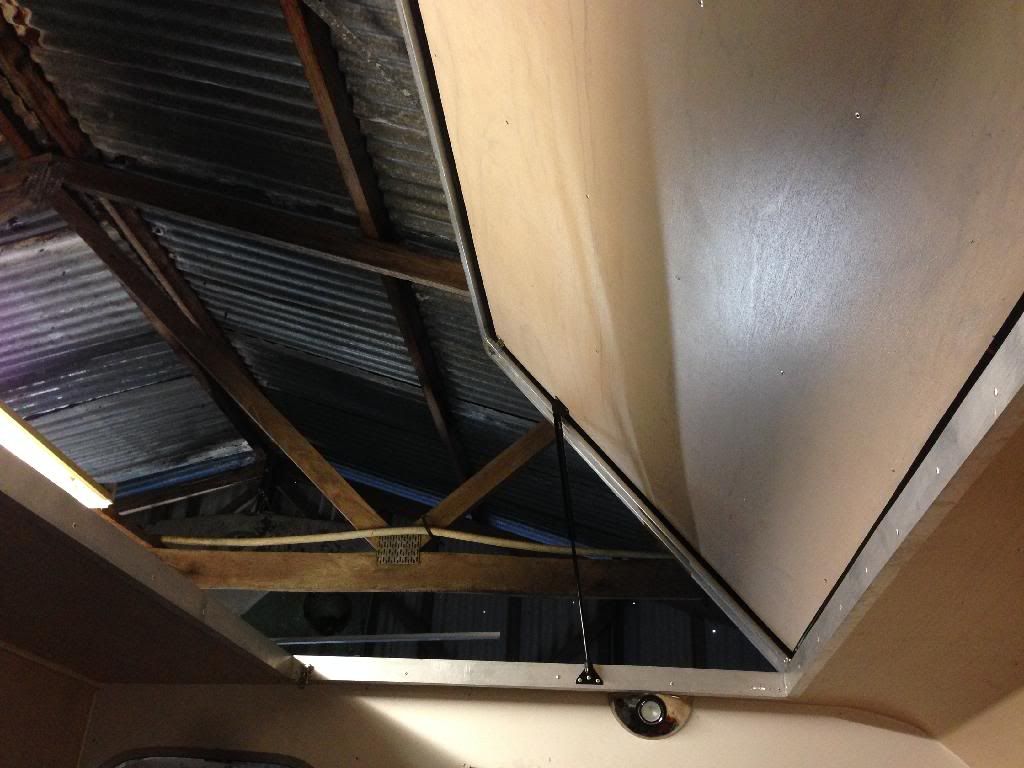
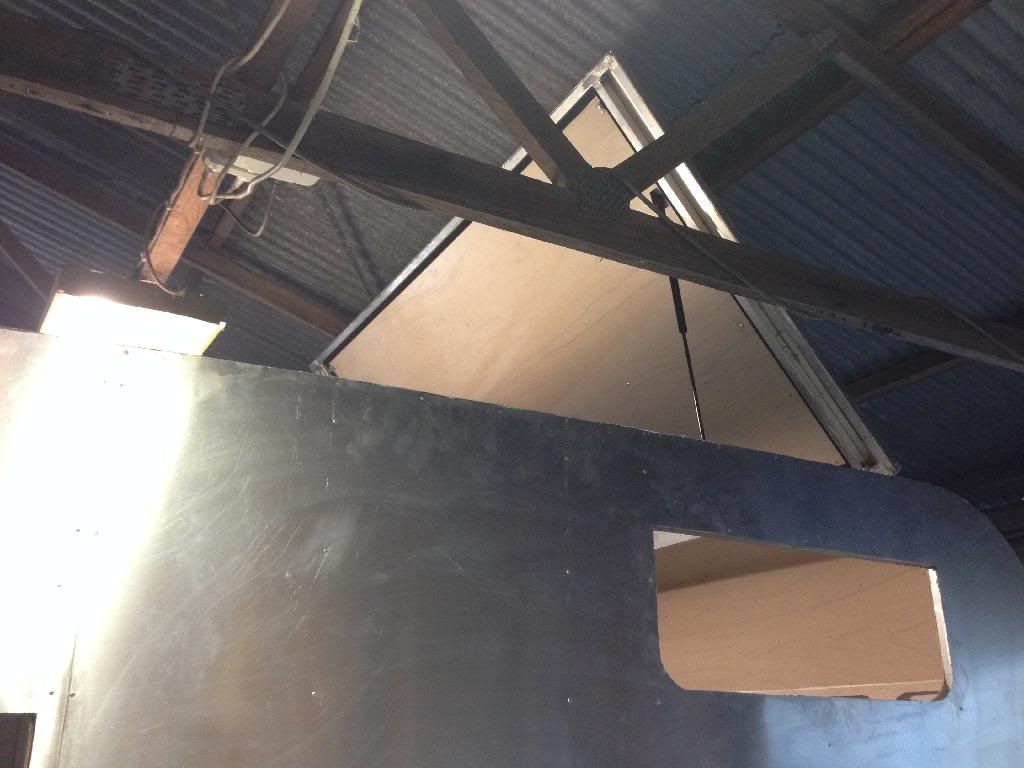
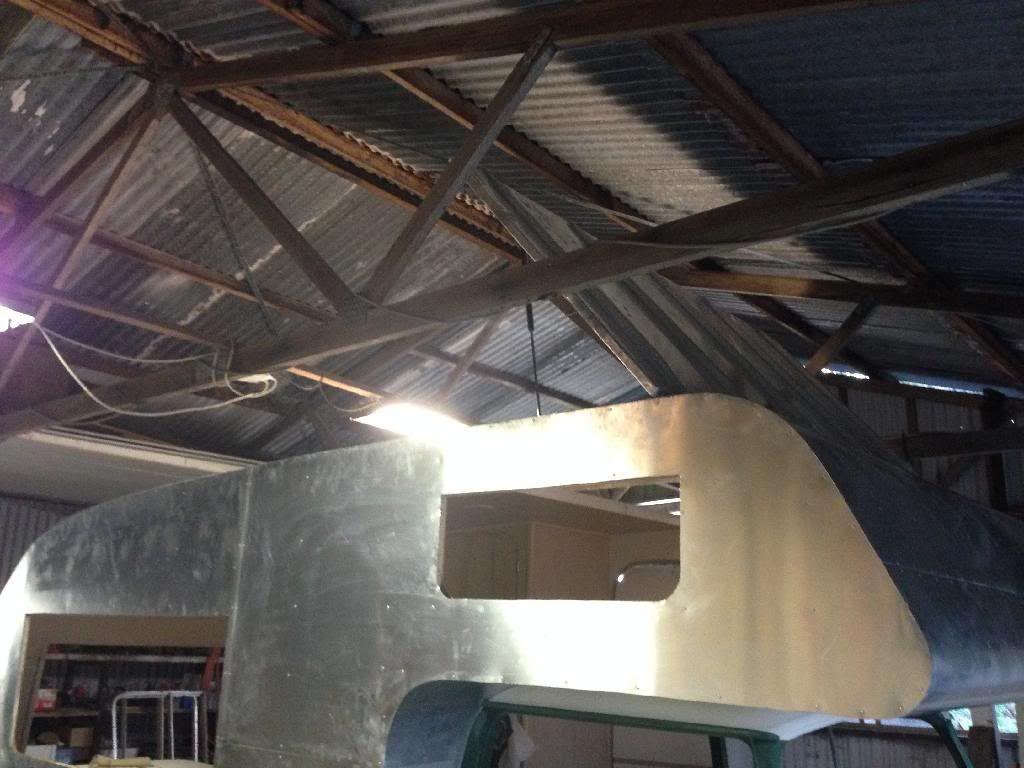
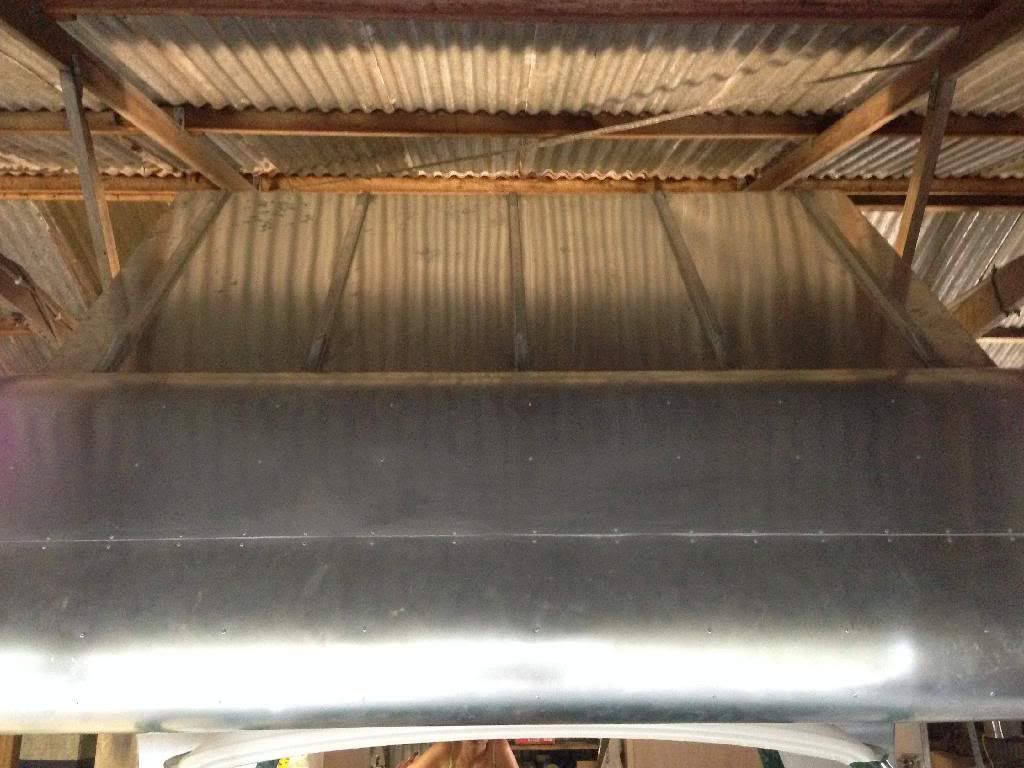
and to finish of the night i got onto the corner mouldings.... could originally only get it in powder coated white or black.... but after a few calls
got my hands on a few lengths of milled finish moulding which is no longer run in production! fuck yeah! saves having to paint them all silver....
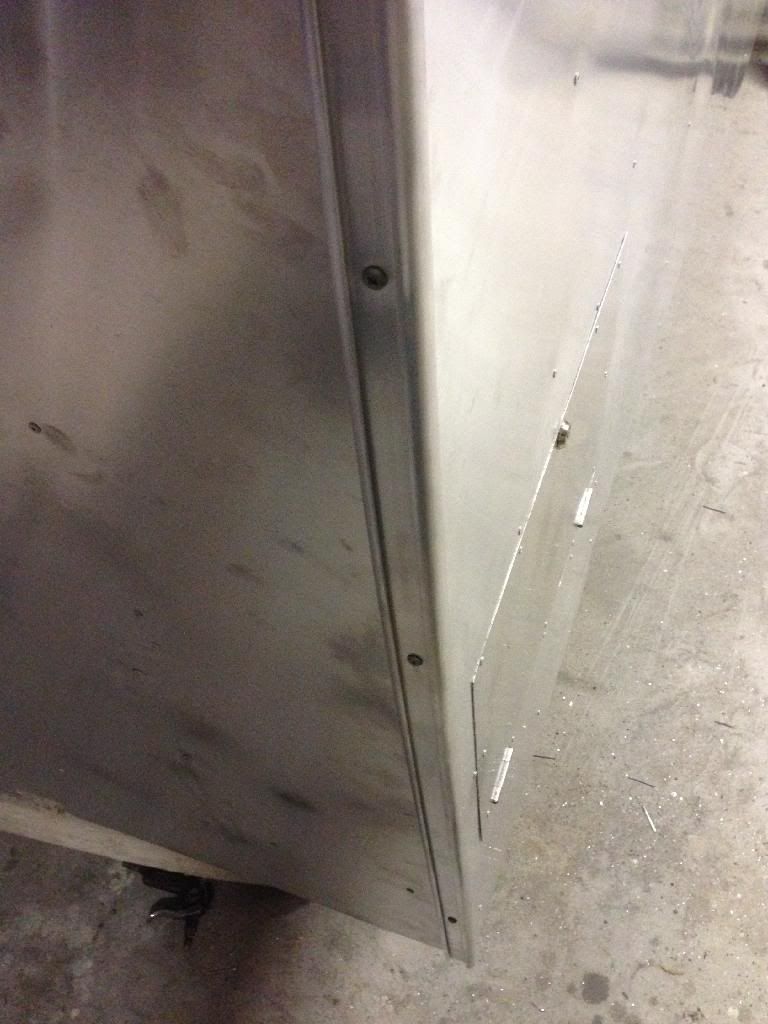
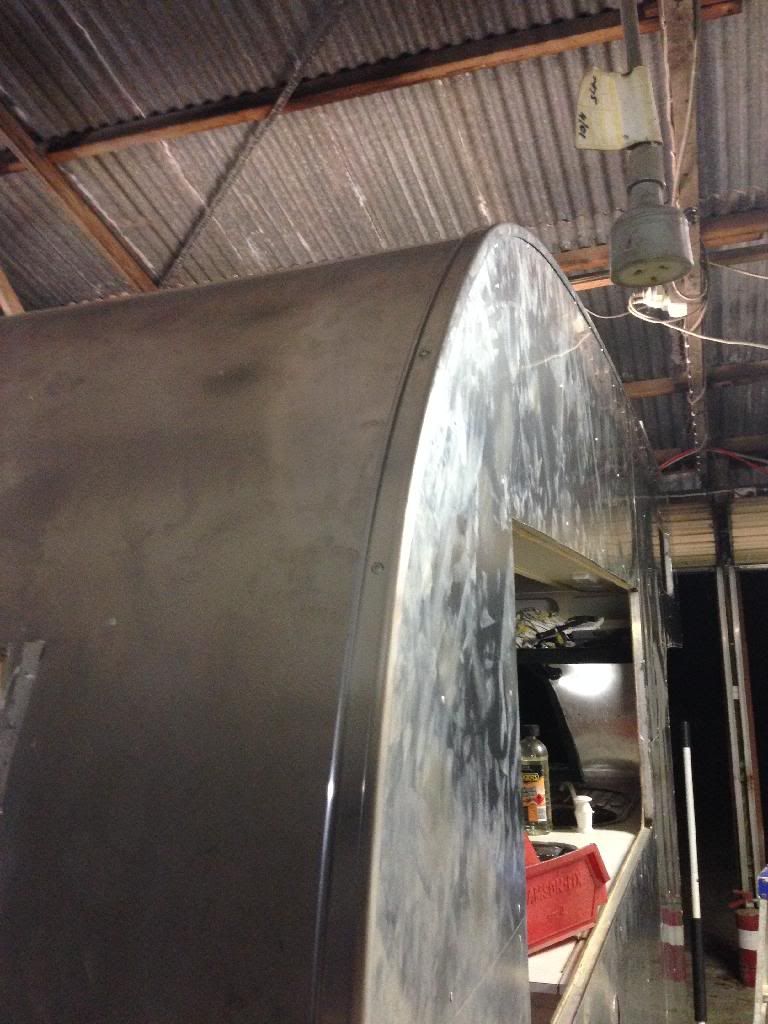
how straight it that 8)
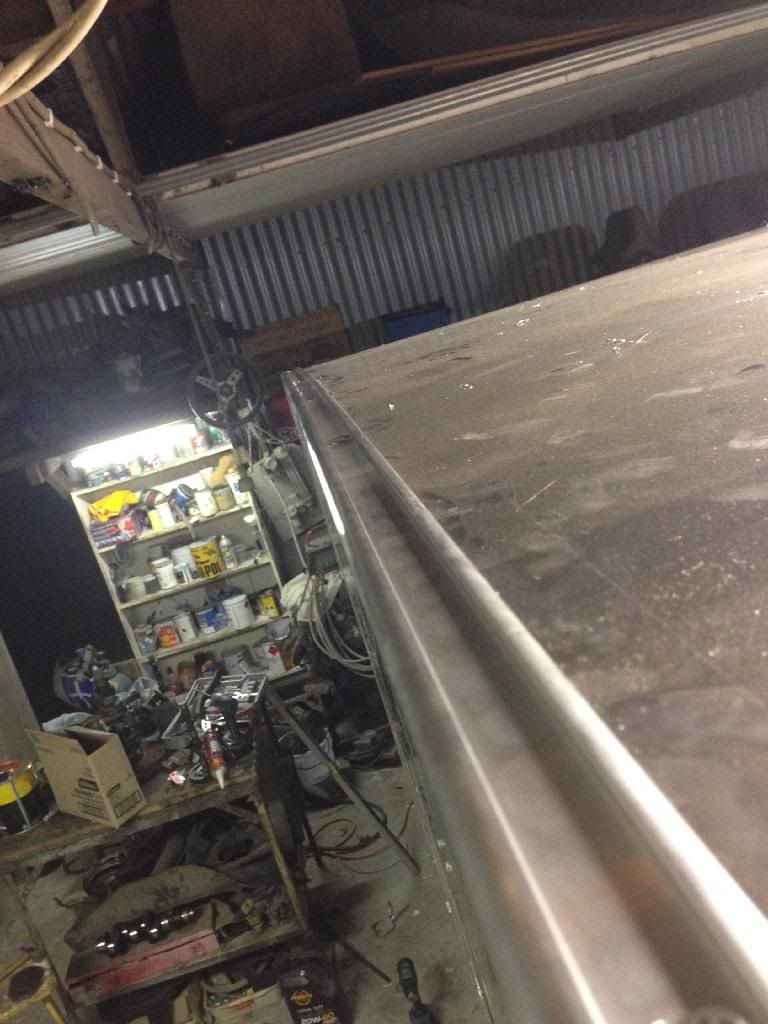
the middle section where the moulding is fixed through gets a plastic insert in either grey, white or black, the cool flow is black so im leaning
towards grey or maybe even white.... hmmmm.... feeling good
|
|
|
 NUG637 NUG637
Officially Full-On Dubber
  
Posts: 372
Threads: 24
Registered: November 2nd, 2009
Member Is Offline
Theme: UltimaBB Pro Blue ( Default )
|
| posted on March 24th, 2014 at 02:32 PM |
|
|
well i finished off the corner mouldings at the beginning of last week..... helps round the edge abit and make it look a little more finished 8) just
waiting on the plastic insert to arrive 8)
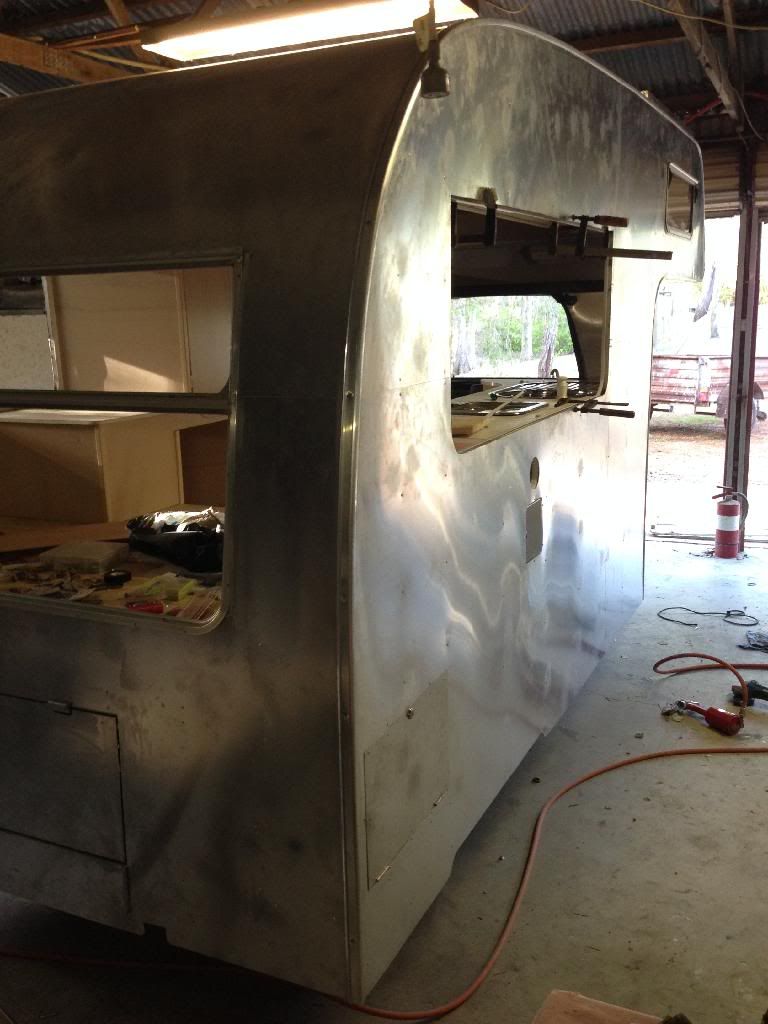
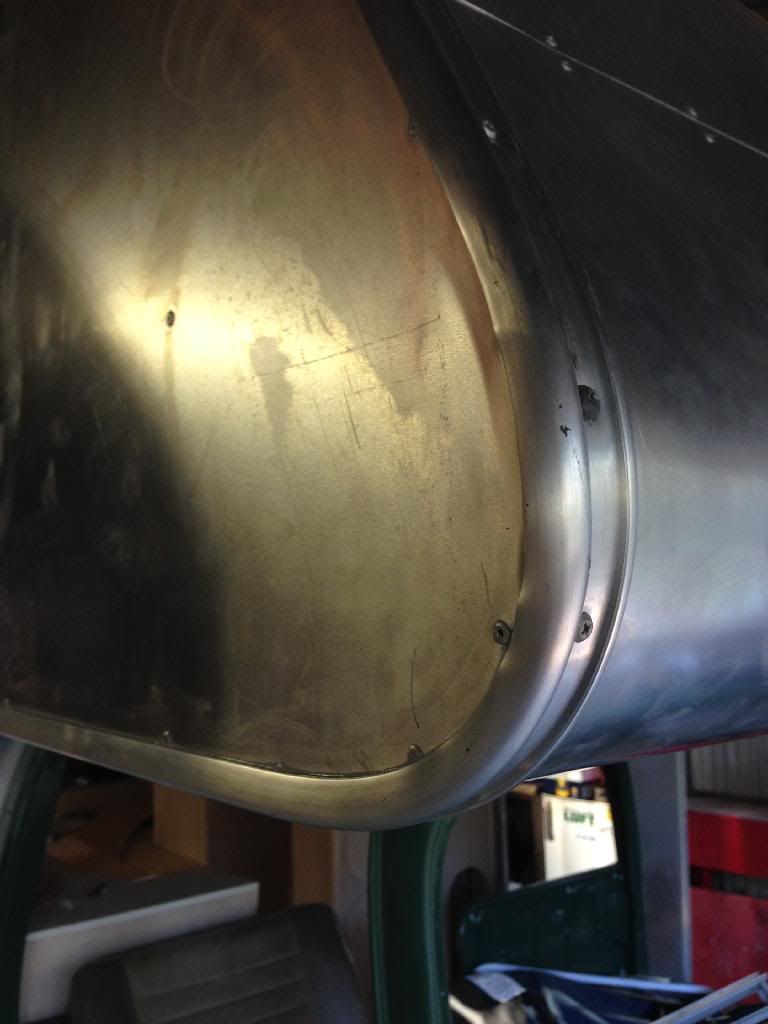
the tighter corning wanted to fuck out but with abit of hammering i got it as good as i could get it... good enough...
even tho i glued them on, i then siliconed the edge to be 100% sure no water will get under these.... thats 40meters of the shit :roll:
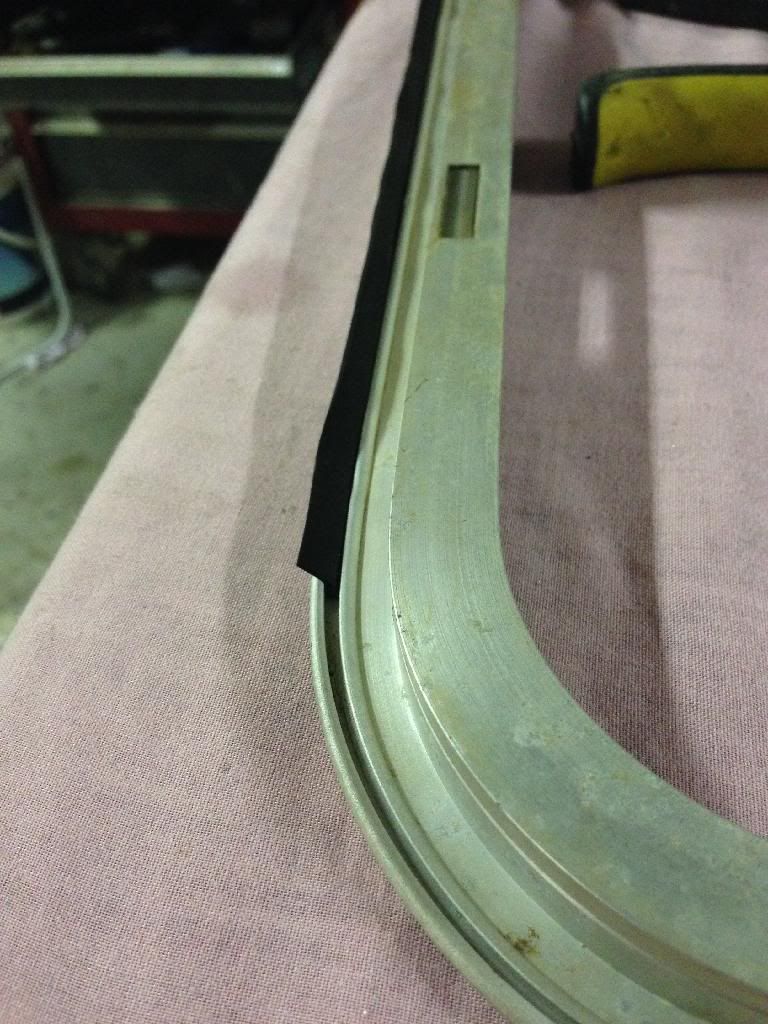
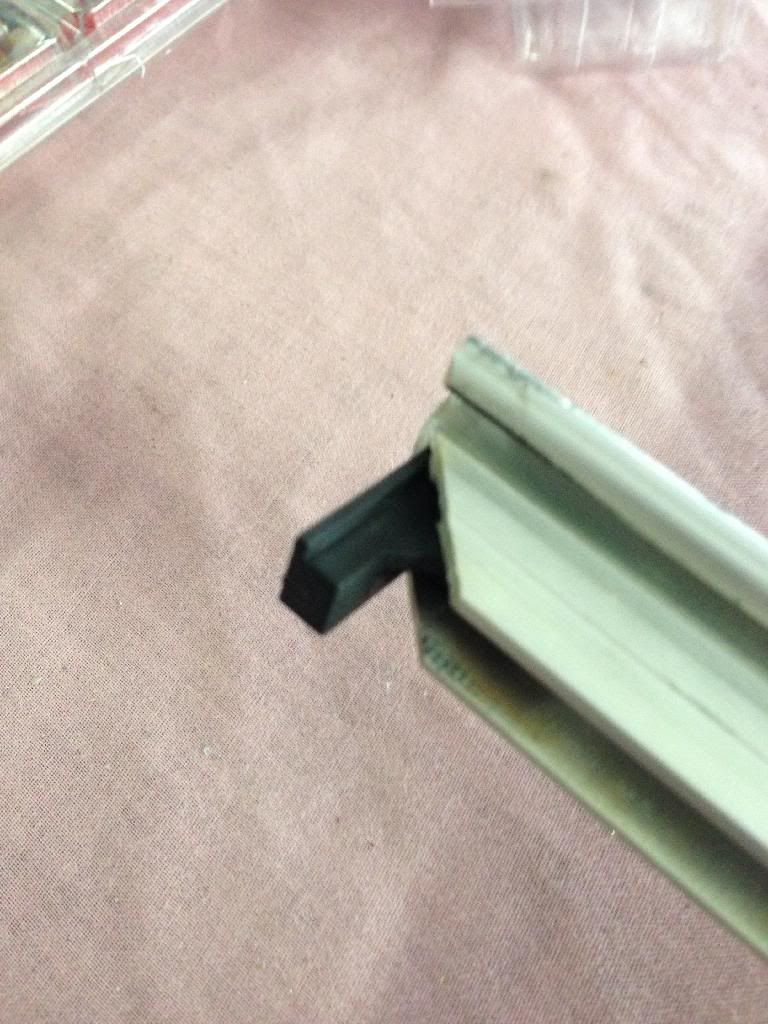
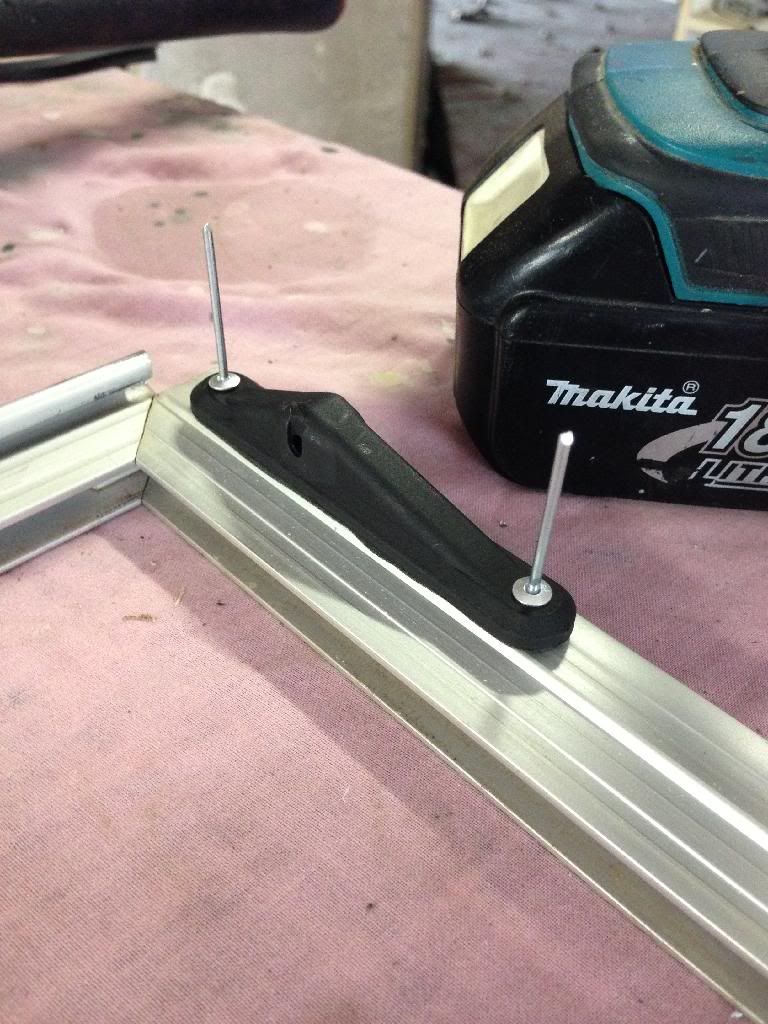
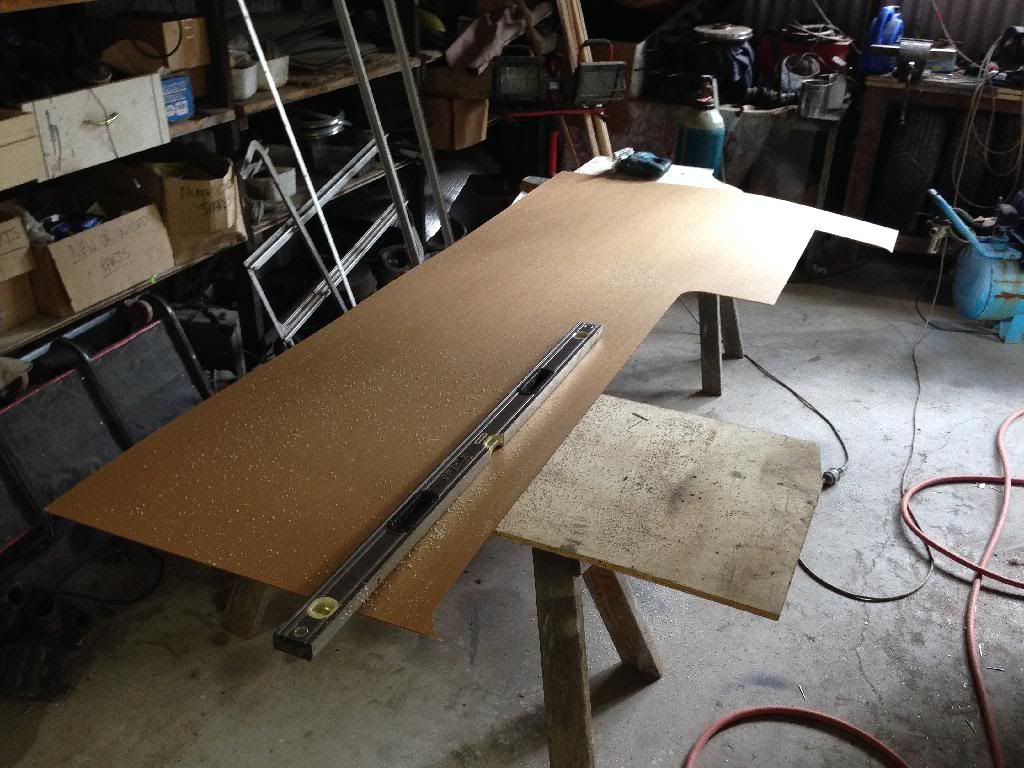
since then i have been working on shity old carvan windows... starts of with tear down... get out the hard as a rock seals, clean everything! cut new
purspex, reseal, and re assmeble with new components....
fuck me! what a shitful job.... onto day 4 of doing this and im pretty sick of it.... only one more to go 8)
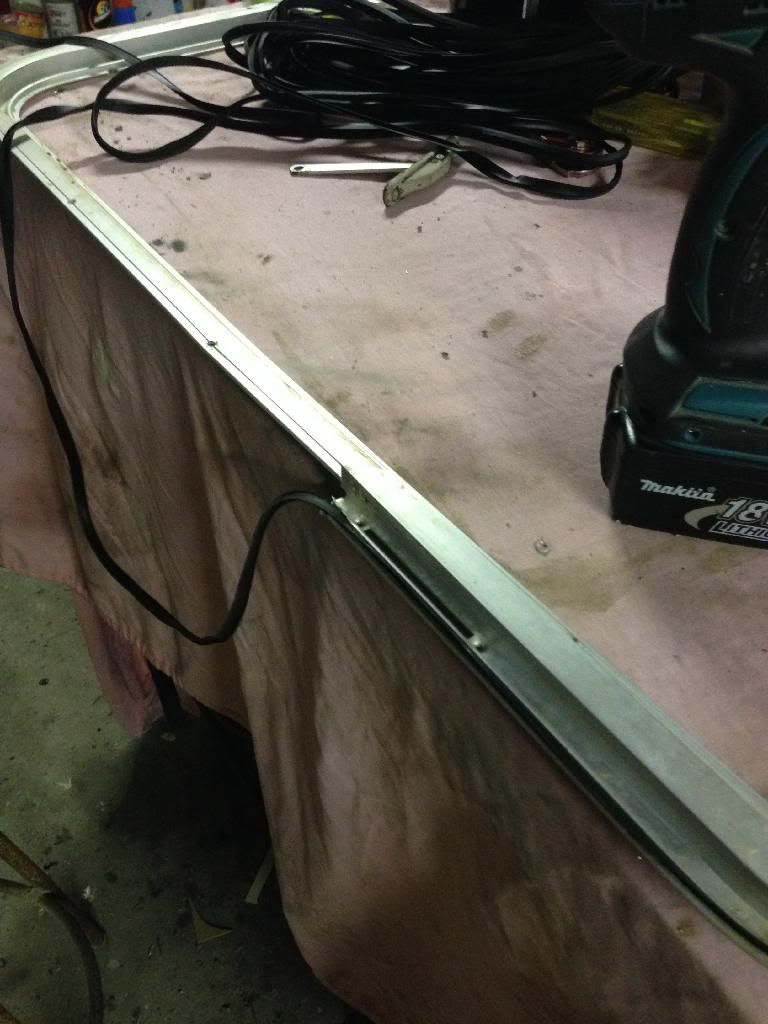
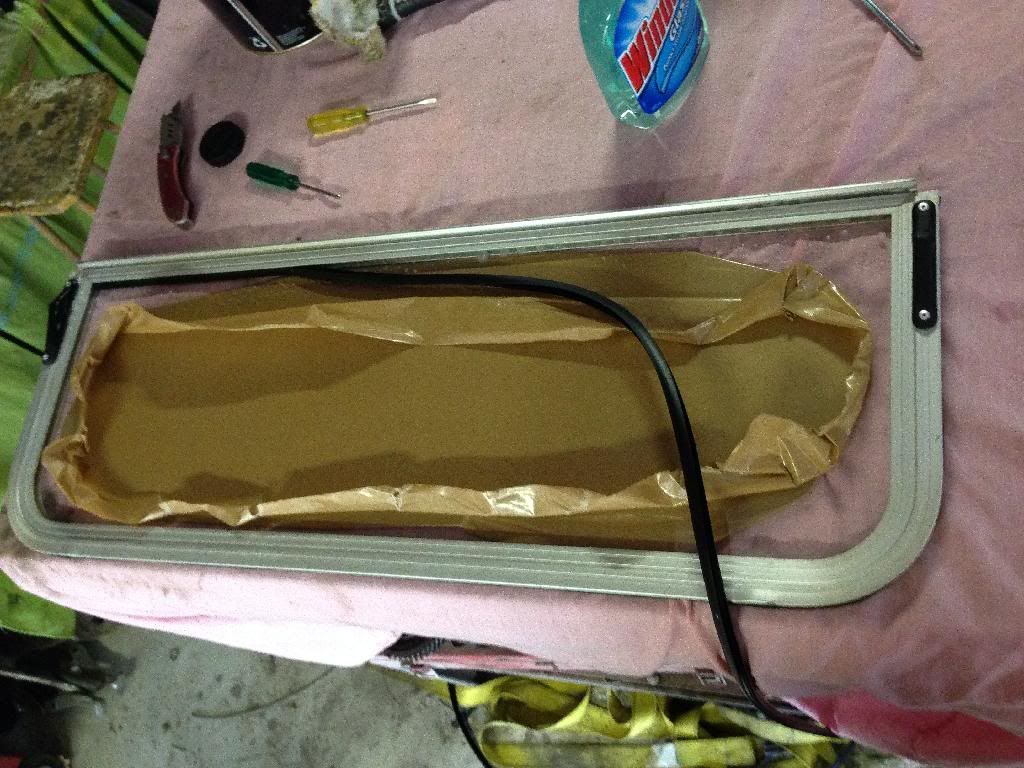
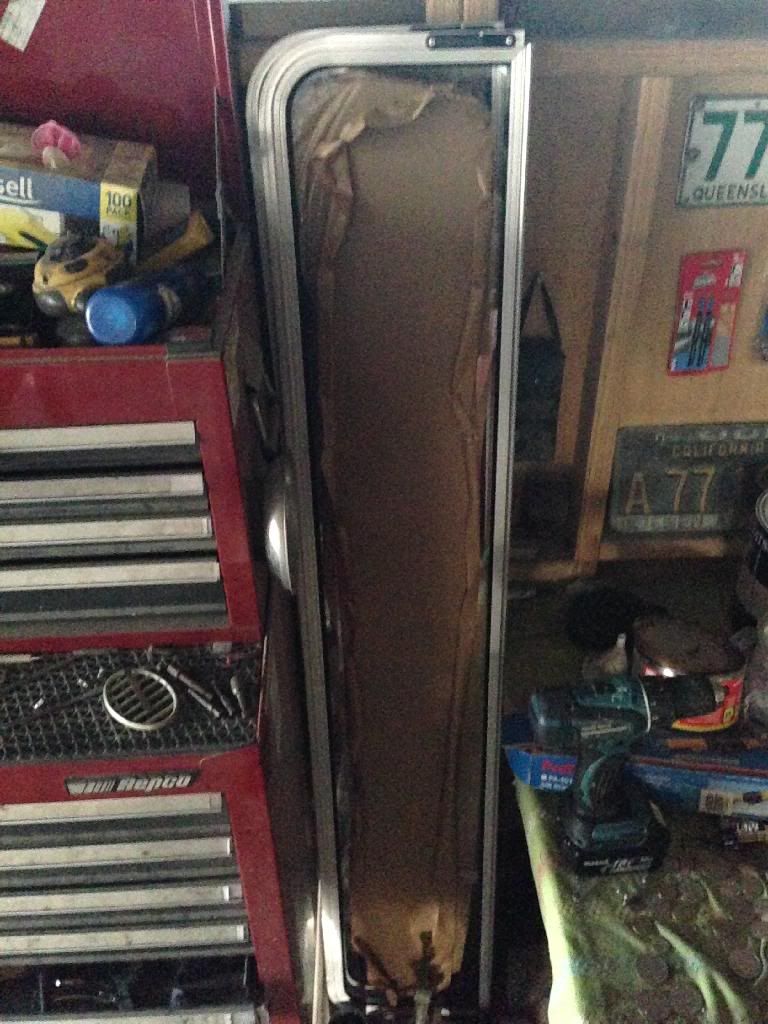
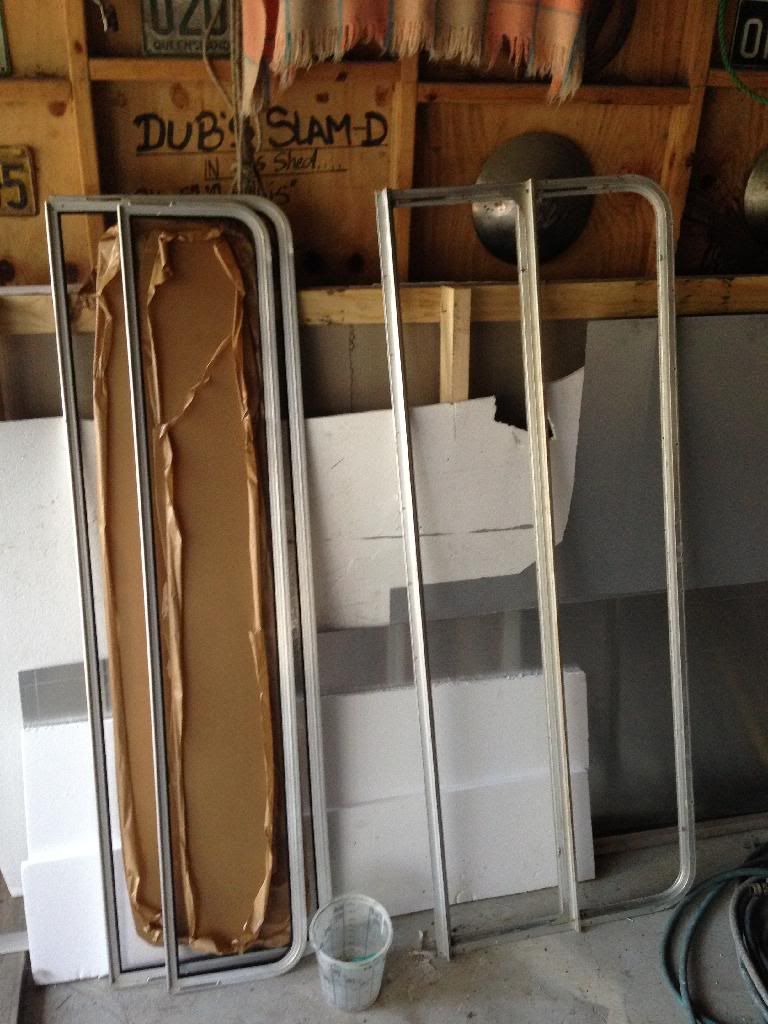
and one all done....
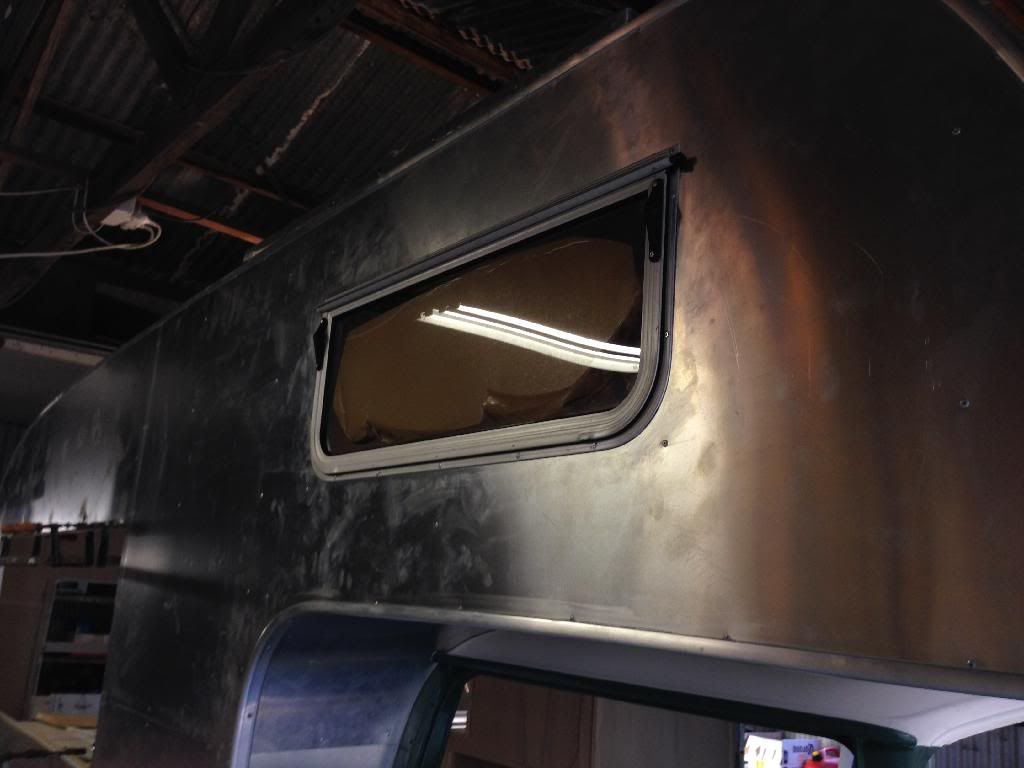
as my frame in dept is more then the window reveals i have had to make up the gaps with some white right-angle pvc cornering.... heat it up with the
blow torch and bend it to the shape of the frame then glue it to the wallas befor the window goes in....
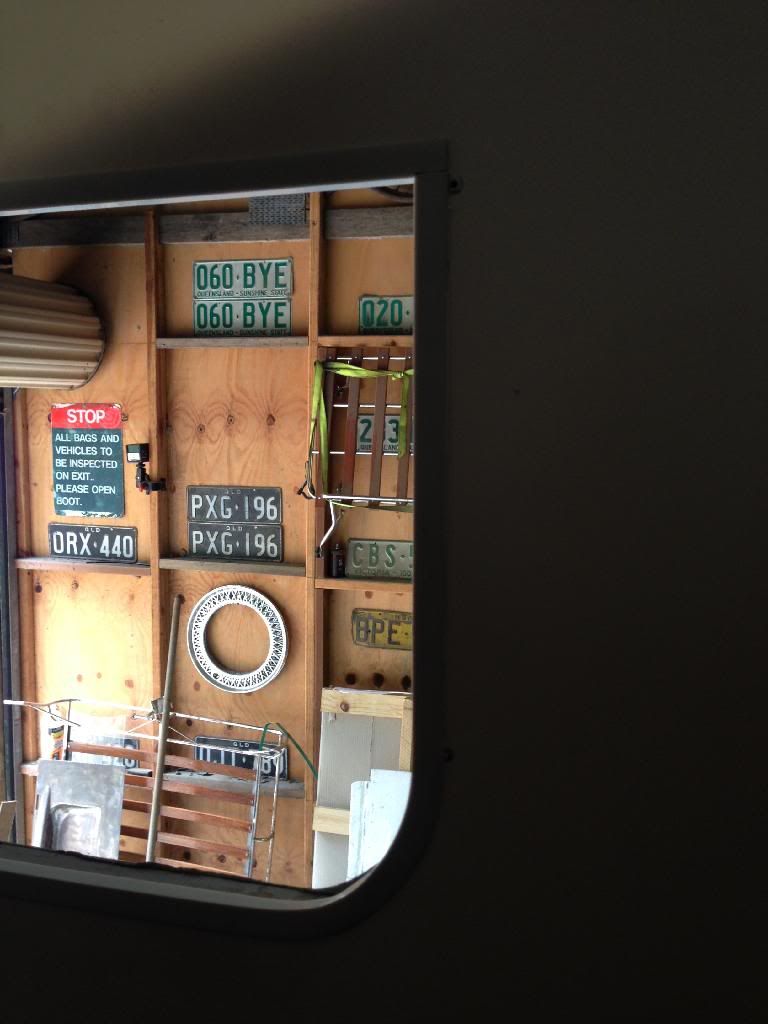
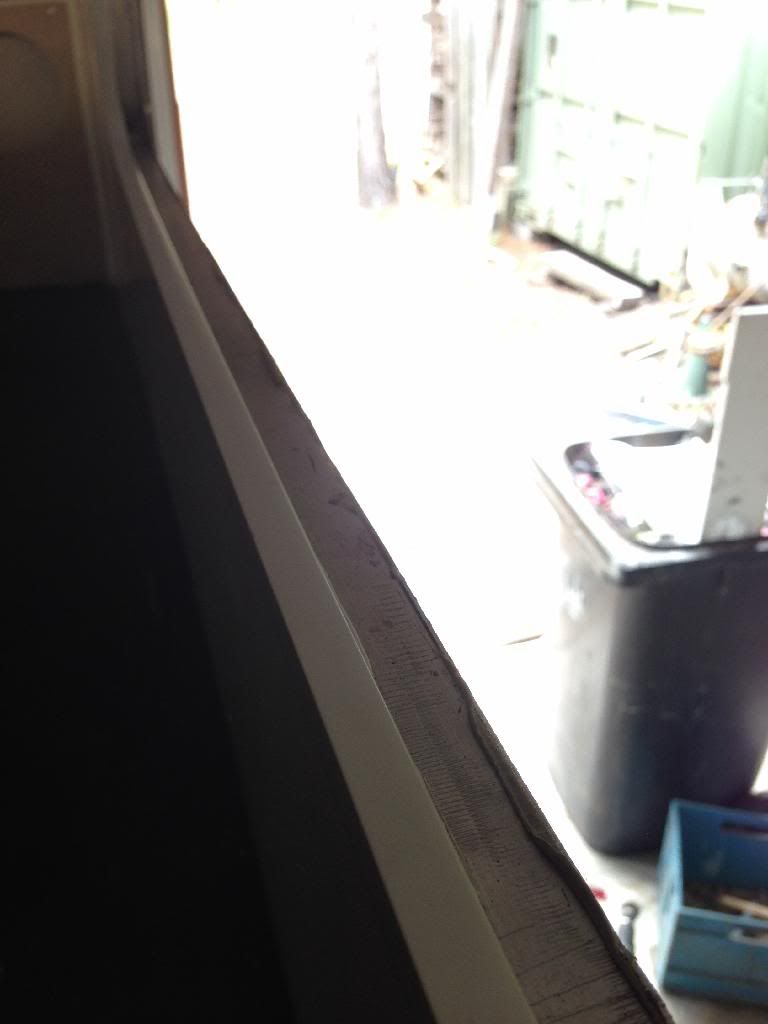
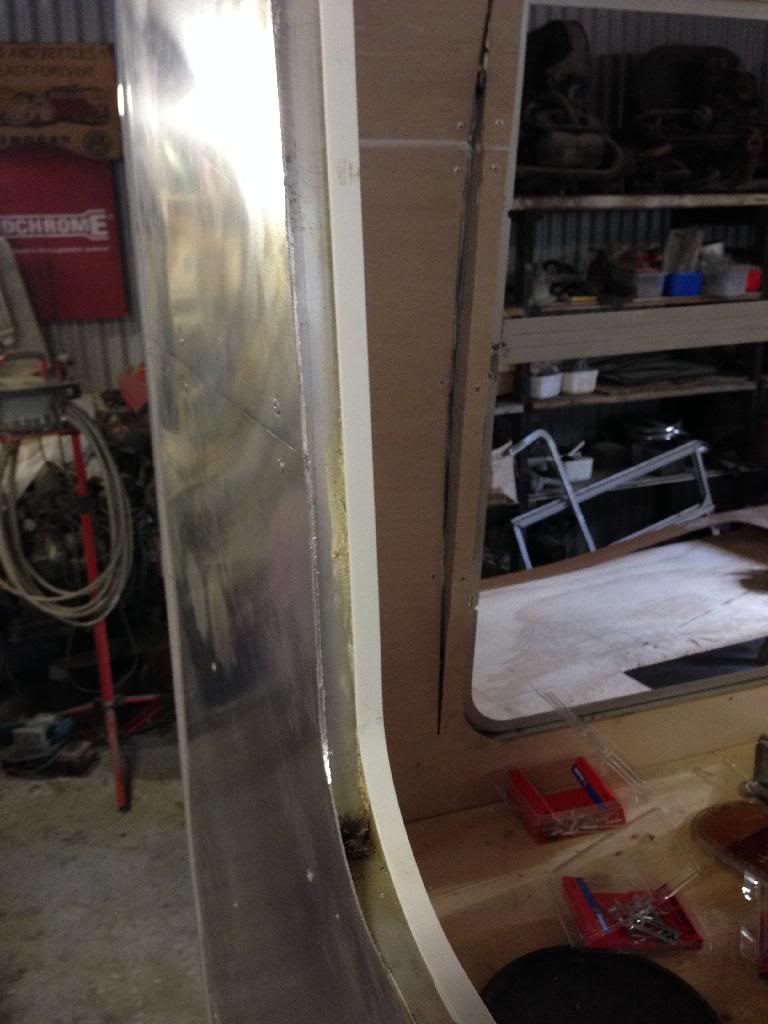
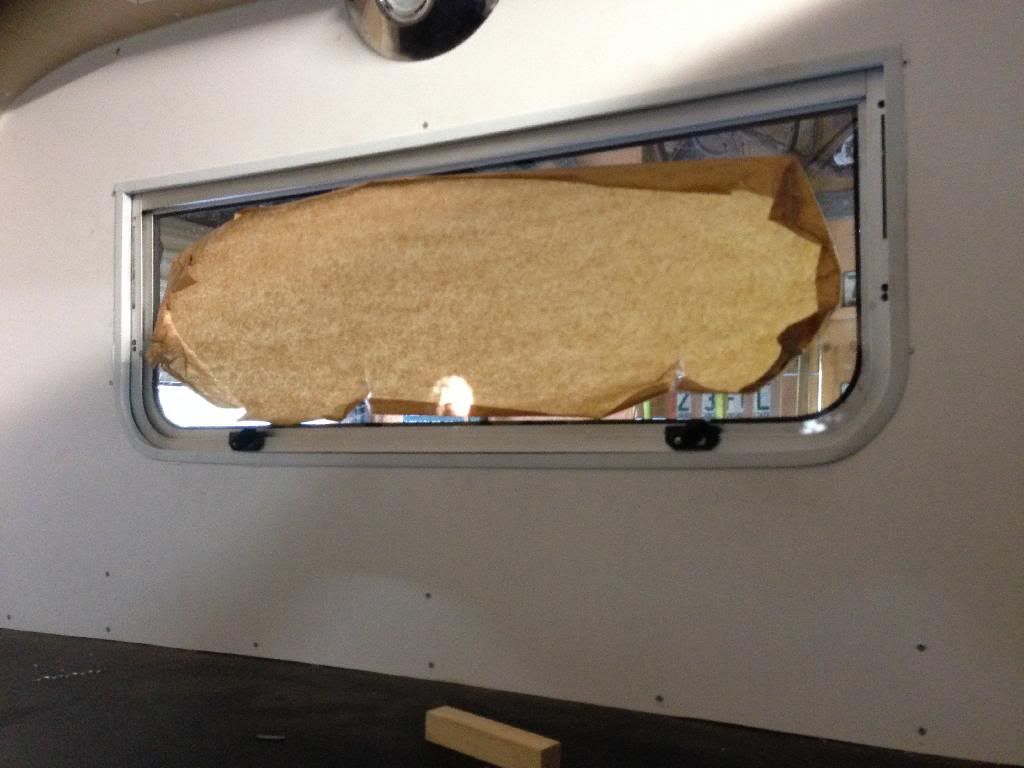
leaves me will a small gap between the alloy window frame and the Plastic architrave which im thinking i will silicone to neaten up....
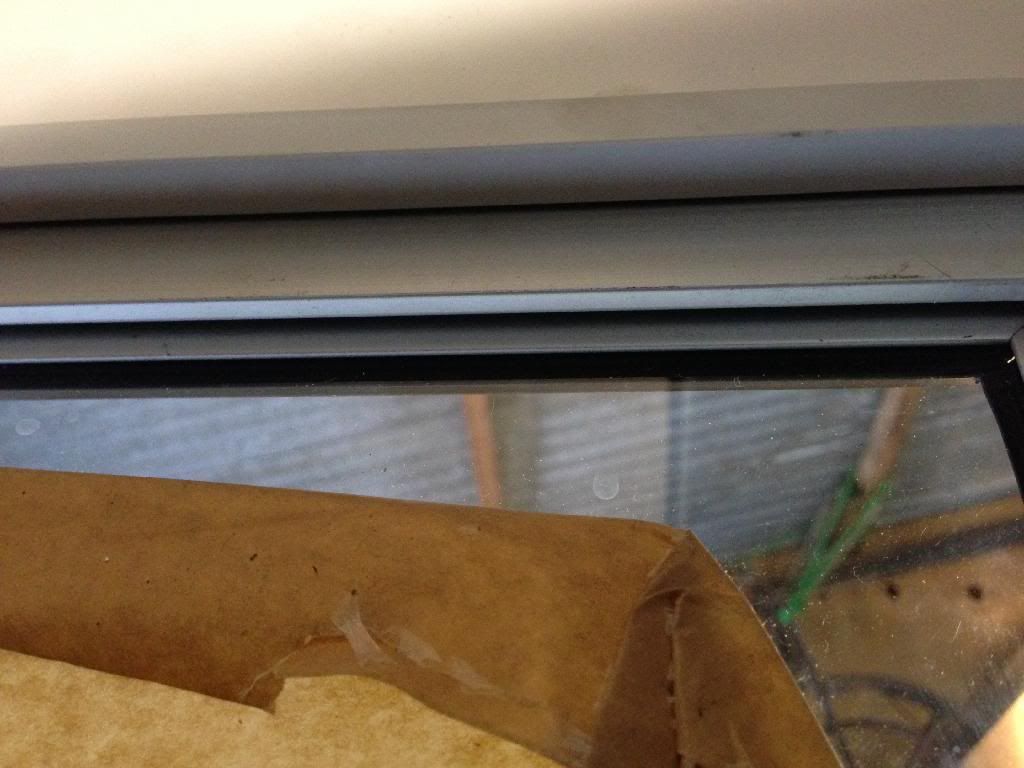
in the photo below you can see the architraves clamped inplace waiting for the glue to dry....

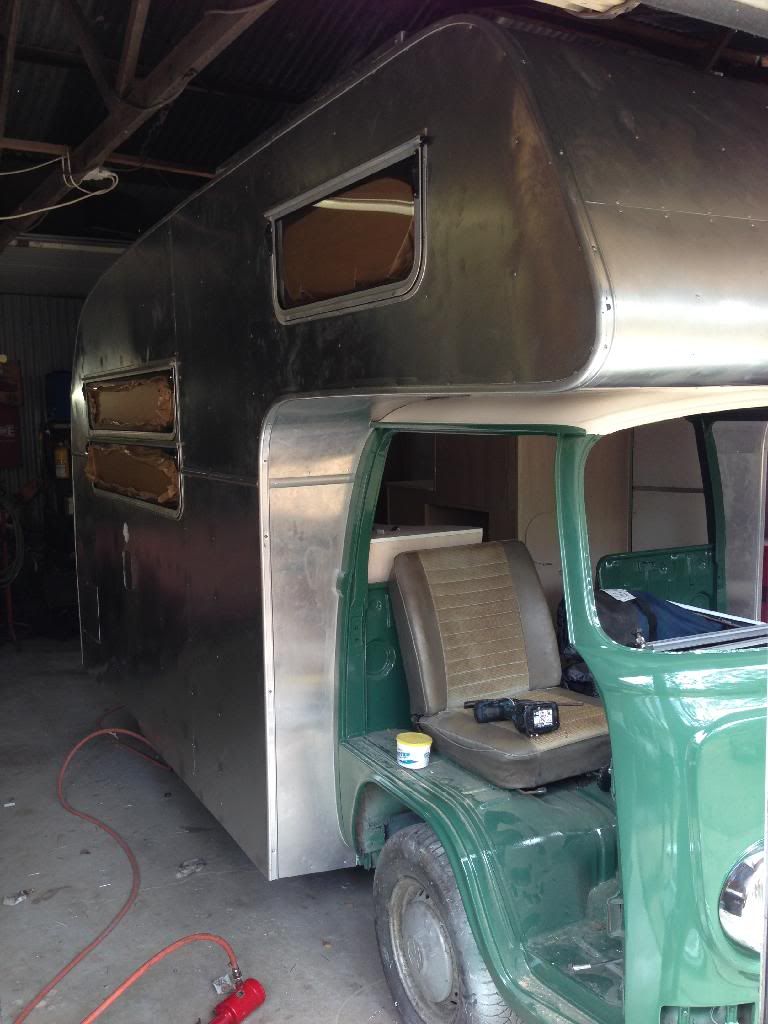
i currently have only 2 windows in but all but one rebuilt and ready to go.... once the window is in i can start on the beltline trim on the snail to
cover the horizontal join for waterproofing
and last but not least.... a few weeks ago shana and i bought our 2 mattress's.... one for the day bed 70mm and one for our bed over the cab (100mm)
i cut the day bed to shape and she took on the task of choosing some material and sewing a cover for it.... keep in mind this is the 3 time she has
ever sewn befor (did a pouch and a dog jumper befor tackling this) she smashed this out over 2 weekend and in my opinion did a ripper job! not gonna
lie... there were a few break downs but she got there in the end 8)
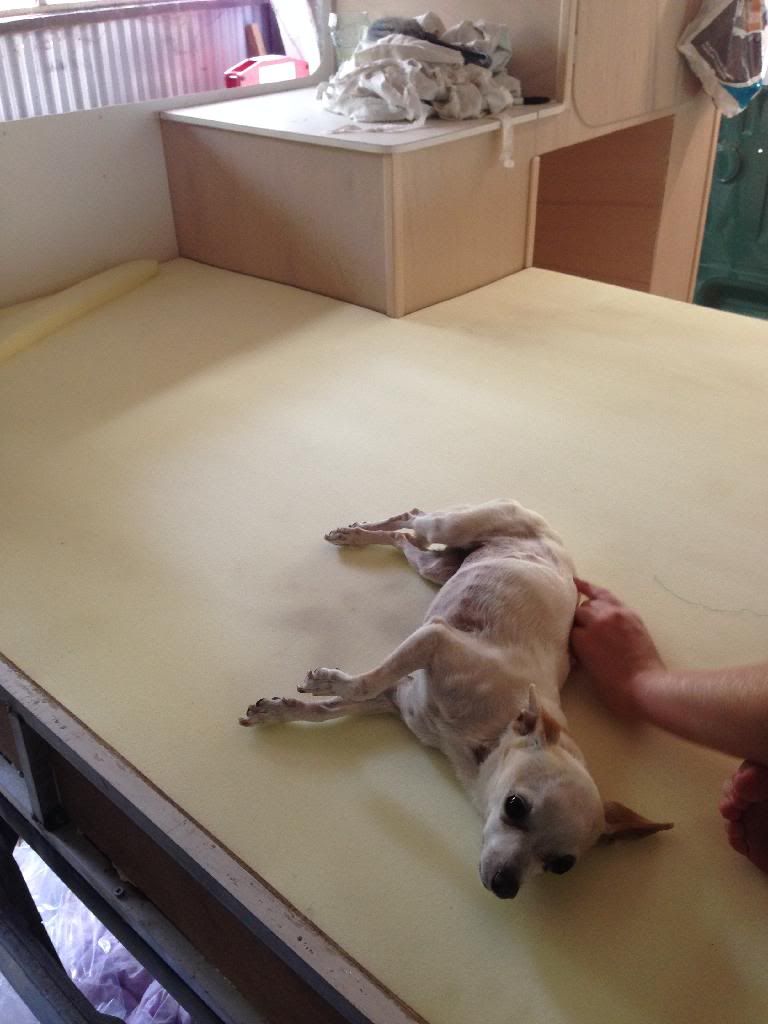
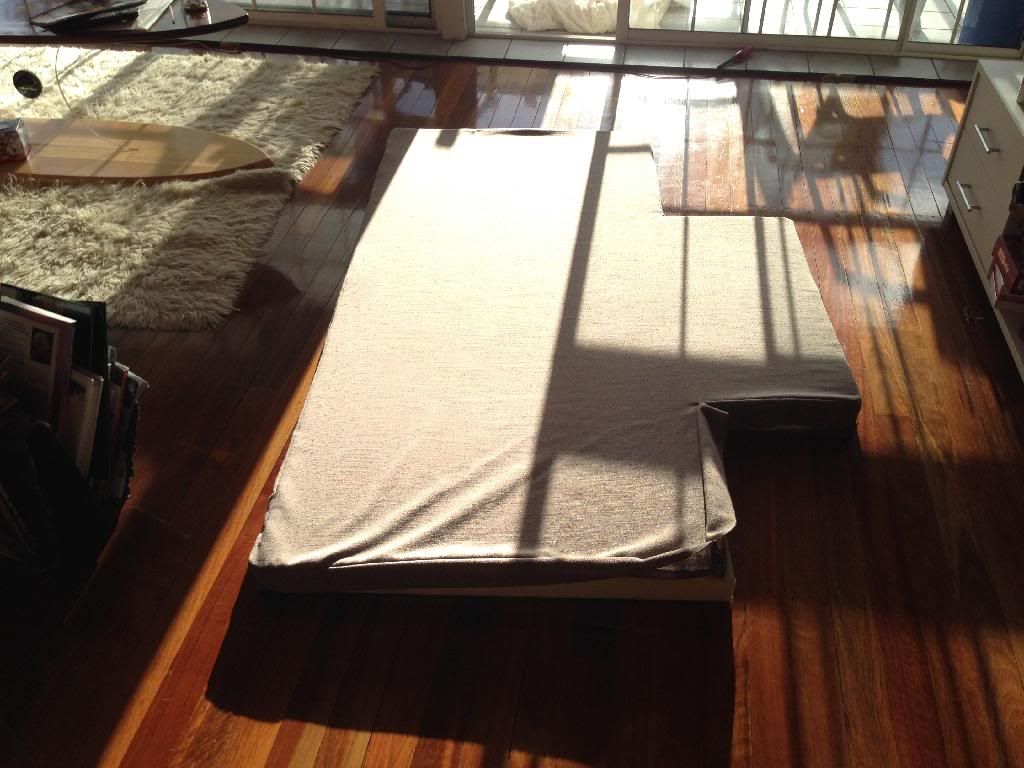
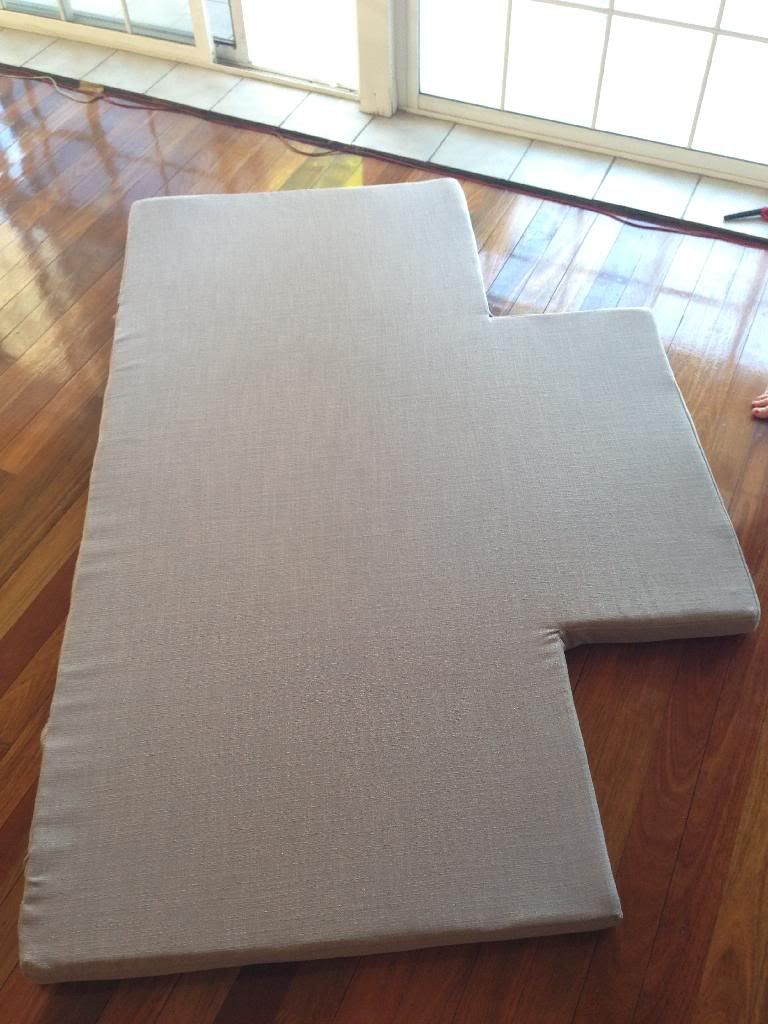
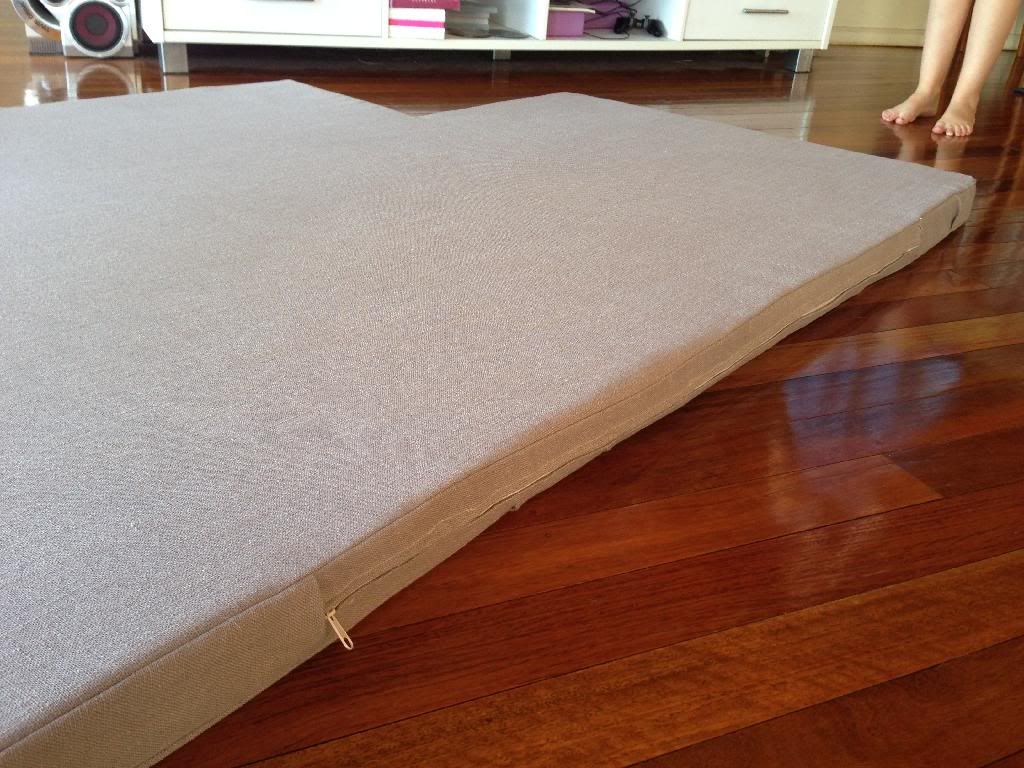
her net project is the curtains 8)
|
|
|
 pete wood pete wood
A.k.a.: figure itout
23 Windows of Awesome
       
Posts: 6828
Threads: 389
Registered: January 15th, 2004
Member Is Offline
Location: Nth Nth StMarys, Sydney
Theme: UltimaBB Pro White
Mood: upgrades = jackstands
|
| posted on March 26th, 2014 at 11:57 AM |
|
|
Great work. 
|
|
|
 vassy66T1 vassy66T1
A.k.a.: Marcus Vass
Veteran Volks Folk
Wow ... are U reading this?
    
Posts: 2120
Threads: 76
Registered: June 4th, 2003
Member Is Offline
Location: Brisvegas
Theme: UltimaBB Streamlined2
Mood: Happy to own a VW
|
| posted on March 26th, 2014 at 01:17 PM |
|
|
Looking the goods now NUG 
|
|
|
 Allbones Allbones
Officially Full-On Dubber
  
Posts: 395
Threads: 58
Registered: July 5th, 2012
Member Is Offline
Location: Ipswich QLD
Theme: UltimaBB Pro Black
|
| posted on March 26th, 2014 at 02:49 PM |
|
|
WOW. Thats all.
|
|
|
 NUG637 NUG637
Officially Full-On Dubber
  
Posts: 372
Threads: 24
Registered: November 2nd, 2009
Member Is Offline
Theme: UltimaBB Pro Blue ( Default )
|
| posted on March 26th, 2014 at 06:28 PM |
|
|
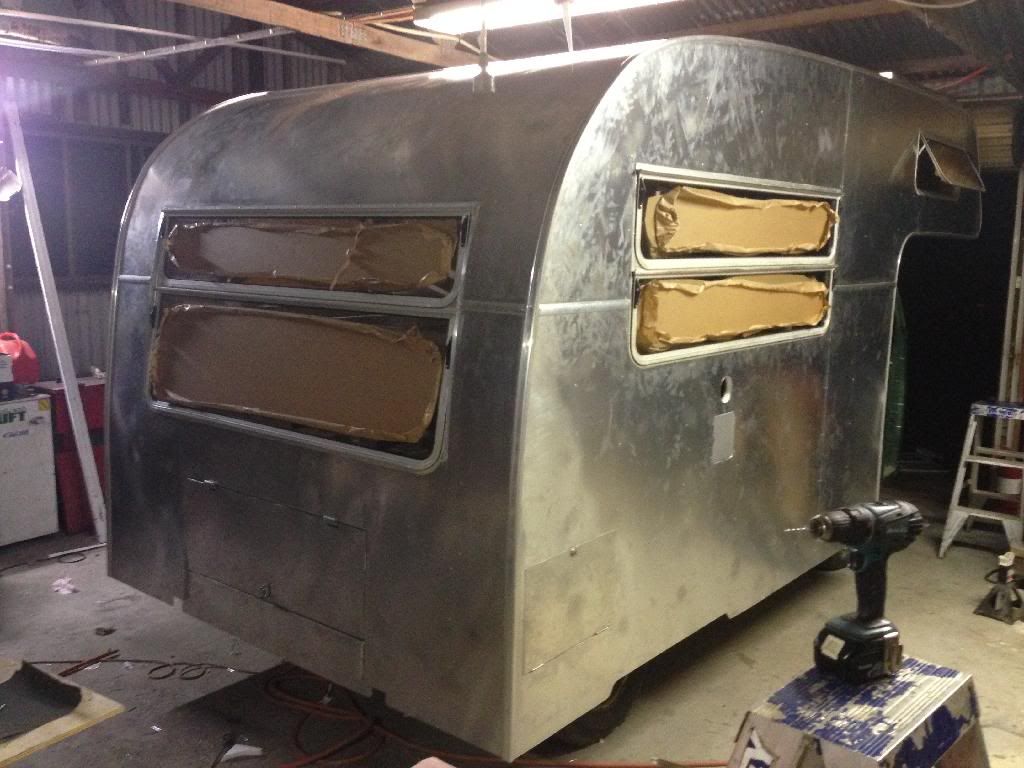
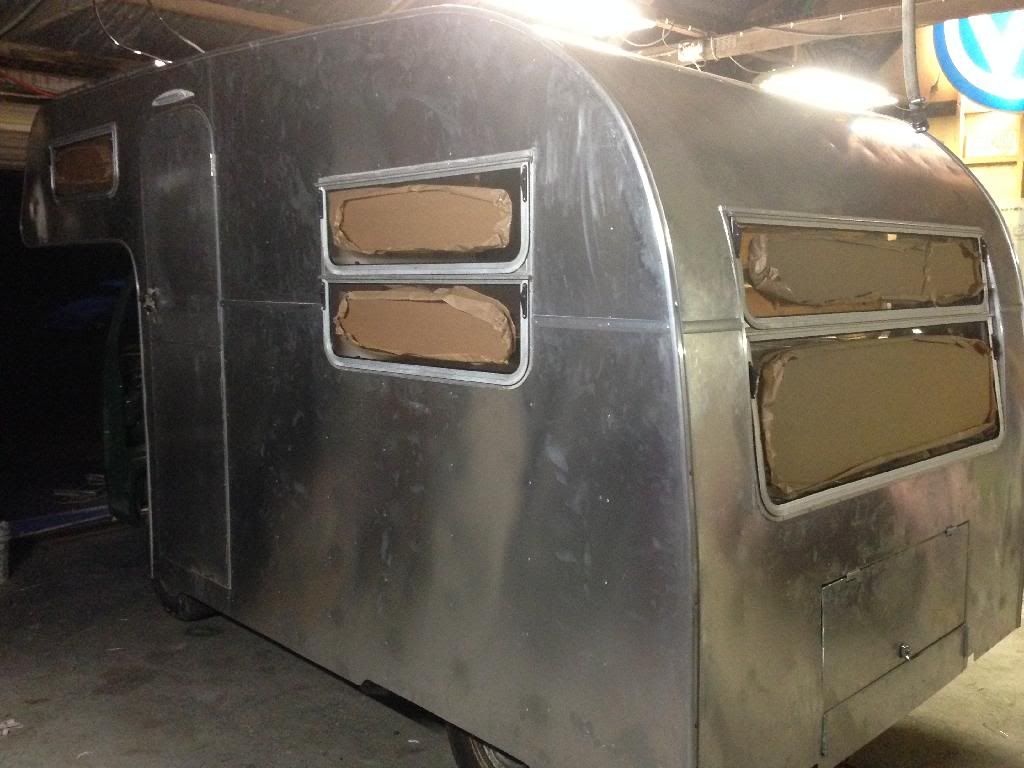
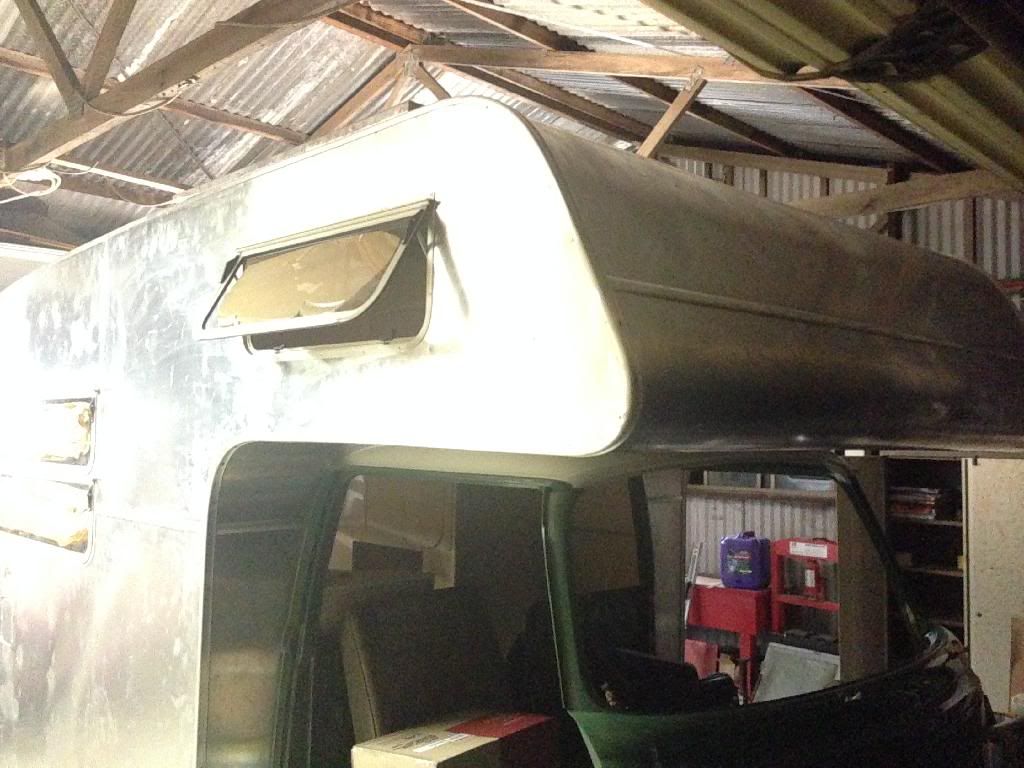
All windows done! Thank fuck! Next is dash painted and fitted.... Doors fitted and new seals then windscreen and this thing is water tight 8)
|
|
|
 oldturtle22 oldturtle22
Officially Full-On Dubber
  
Posts: 267
Threads: 57
Registered: November 26th, 2011
Member Is Offline
Location: Brisbane
Theme: UltimaBB Pro Blue ( Default )
|
| posted on March 26th, 2014 at 07:48 PM |
|
|
That looks great mate
|
|
|
 NUG637 NUG637
Officially Full-On Dubber
  
Posts: 372
Threads: 24
Registered: November 2nd, 2009
Member Is Offline
Theme: UltimaBB Pro Blue ( Default )
|
| posted on March 28th, 2014 at 06:00 PM |
|
|
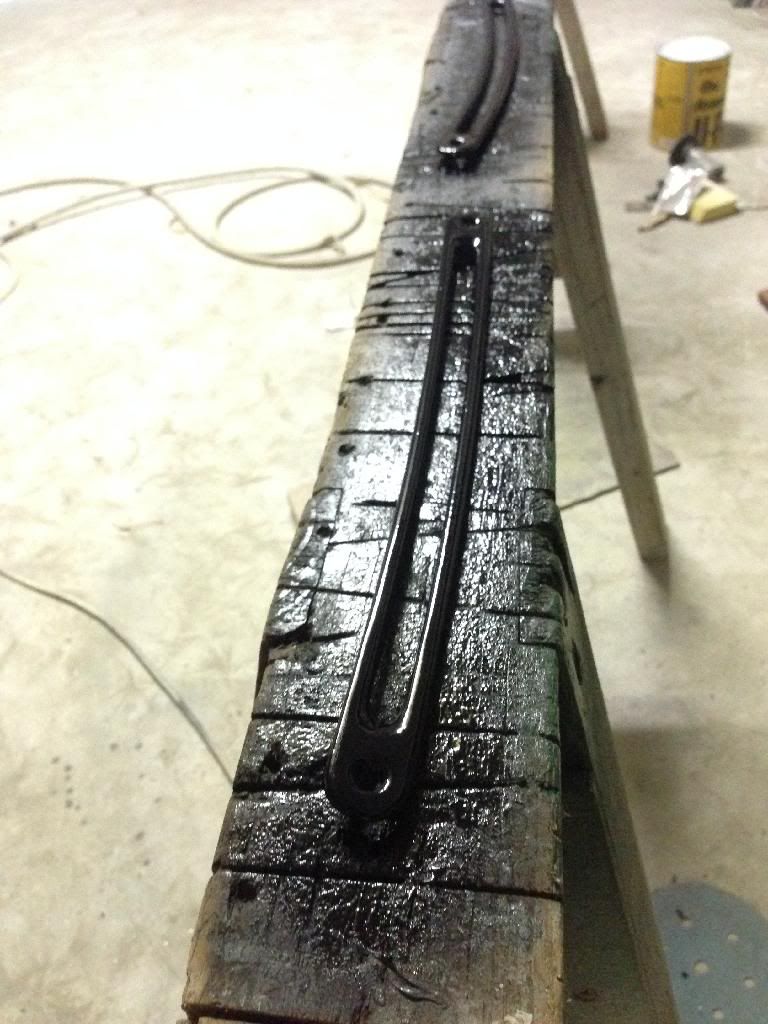
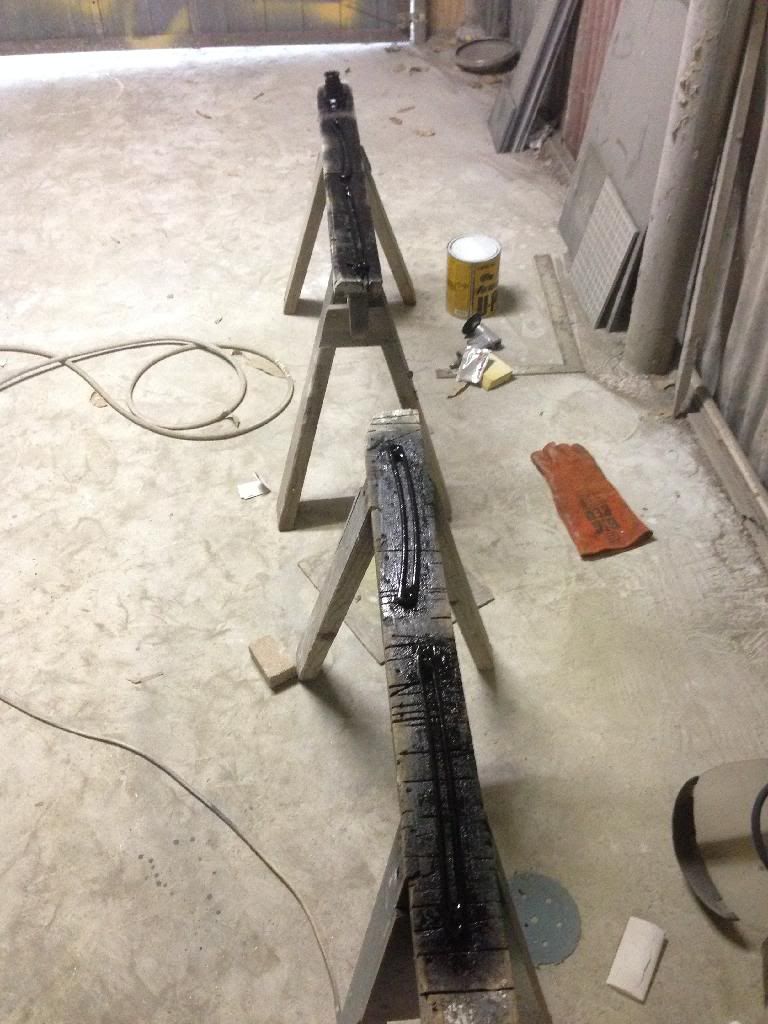
went and pick up my engine from being align bored, decked and 8mm case savers inserted yesterday big old thanks to DB... but befor i left i sanded
back the dash.... welded up half a dozen holes from aftermarket switches and got it in highbuild later last night. the dash top i went wet on wet with
high build and 2k satin black and today i blocked back the dash.... wet sanded it and layed some colour along with abit more black for dash
components... and my rusty shifter.....
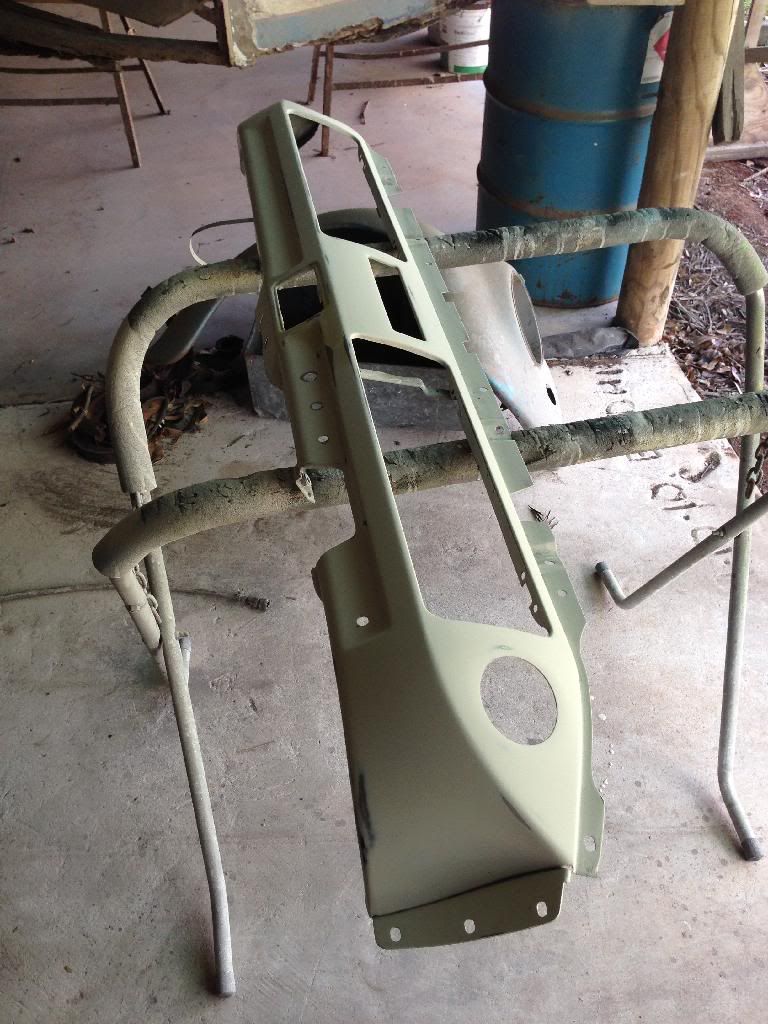
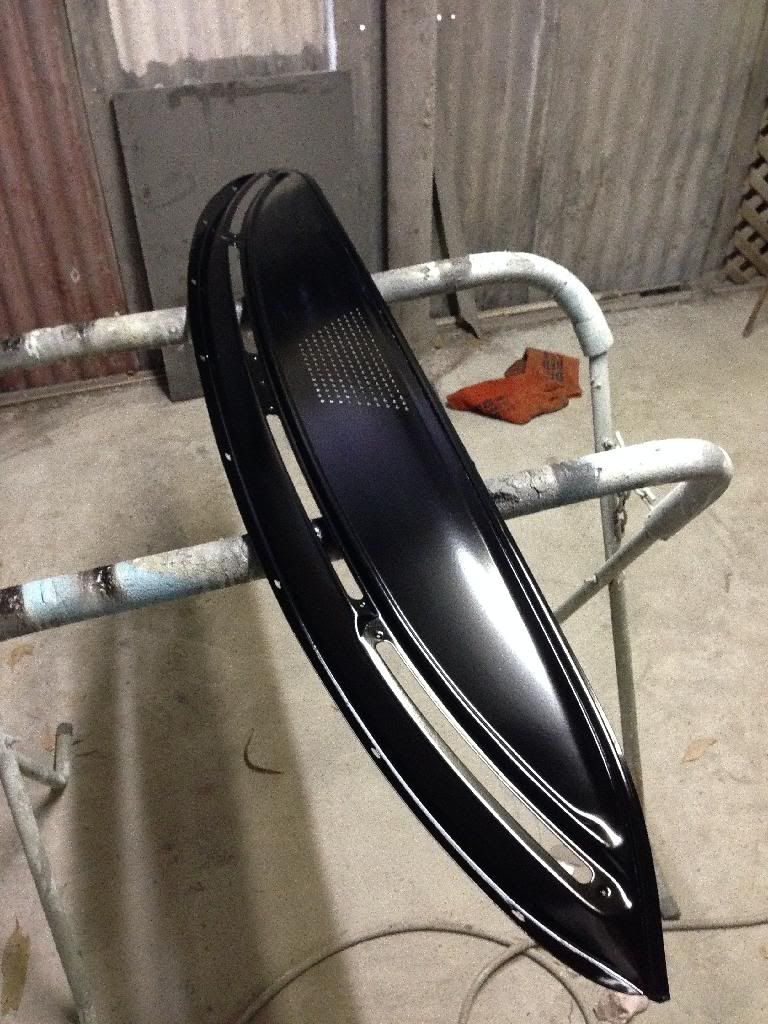
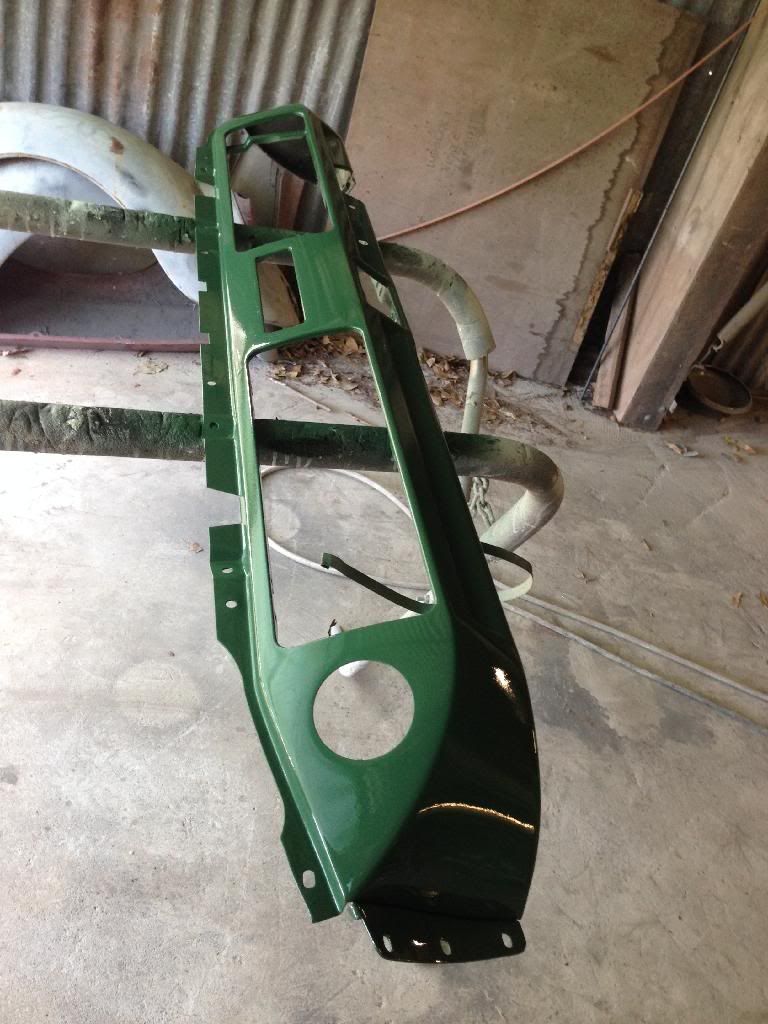
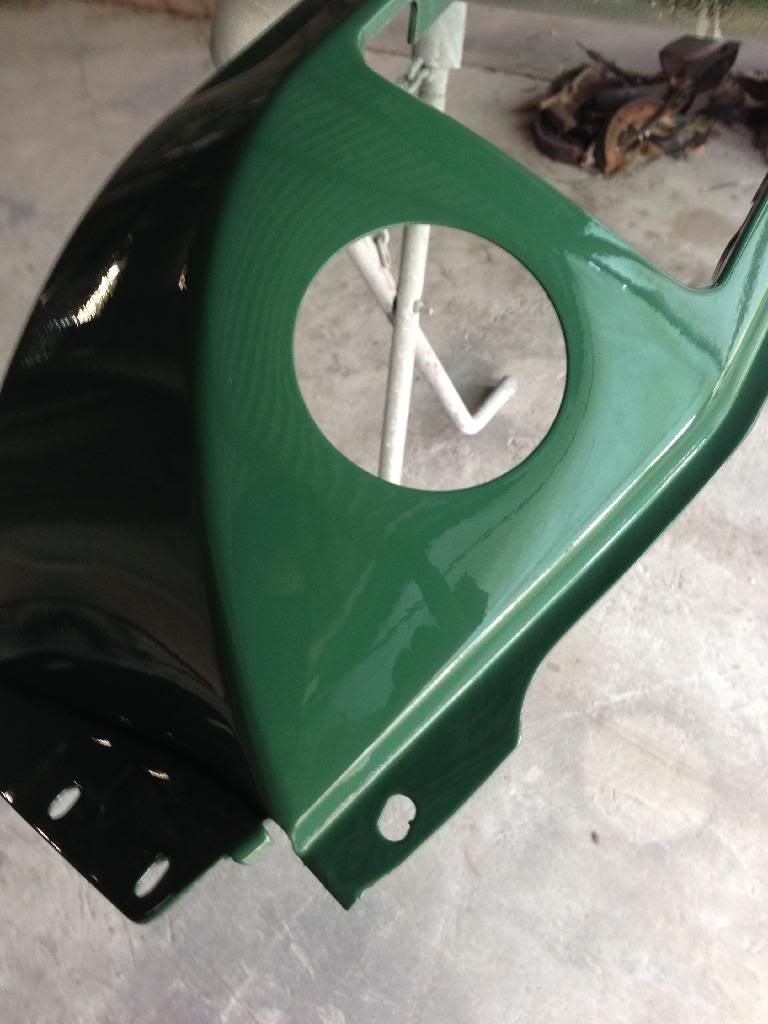
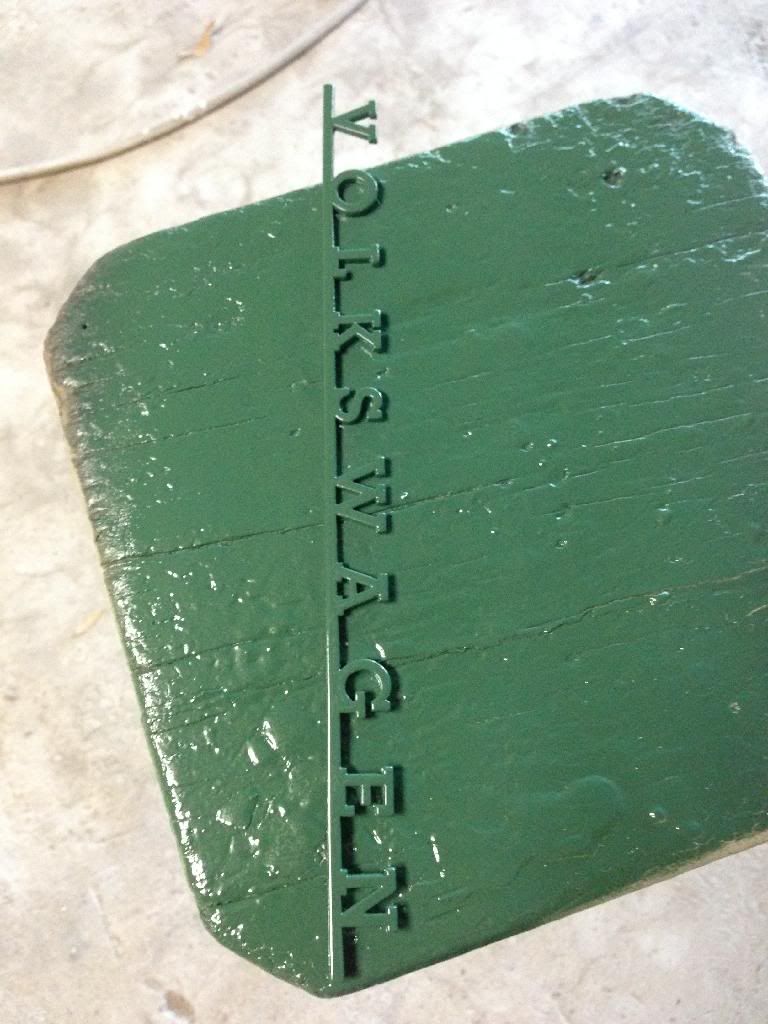
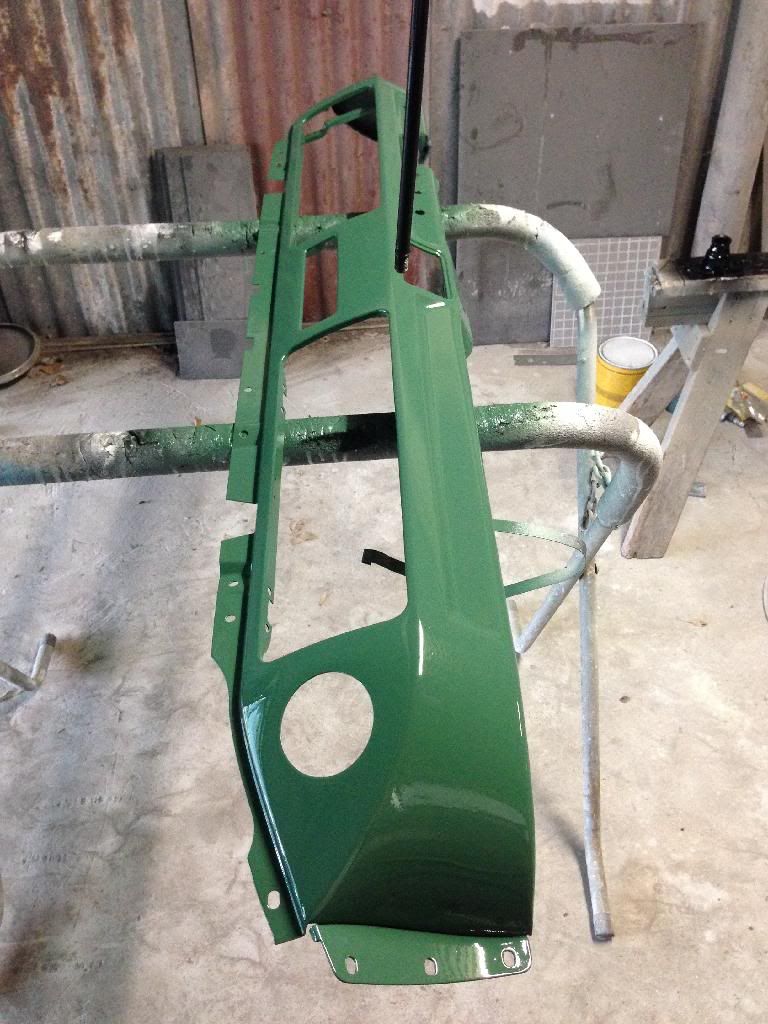
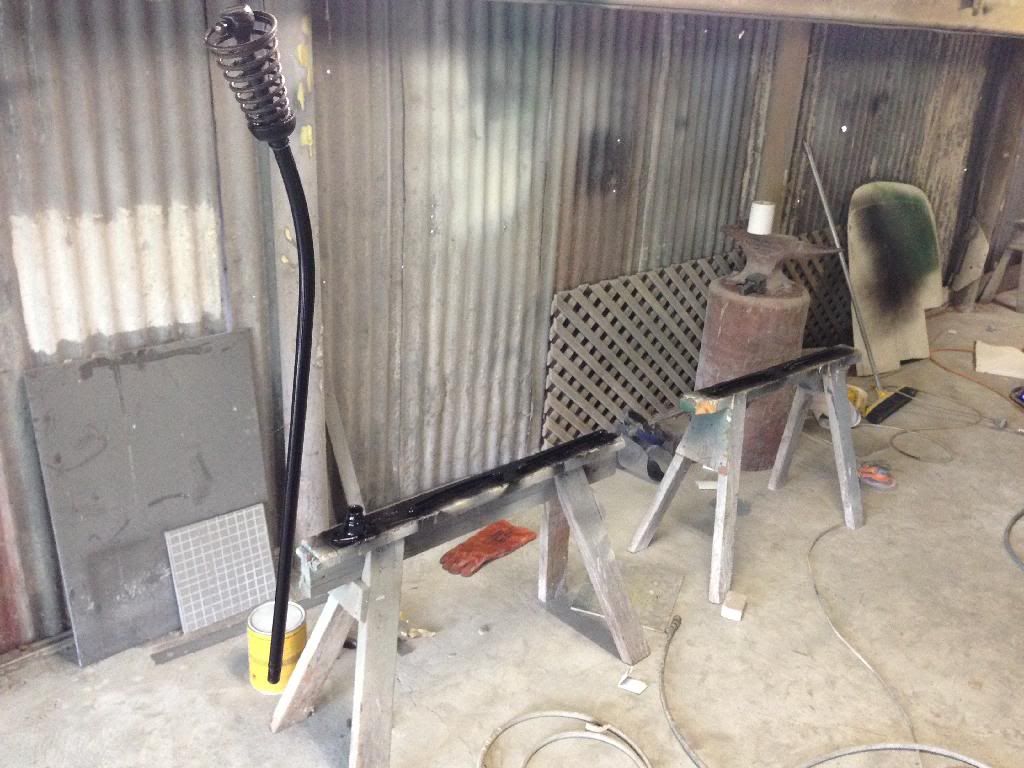
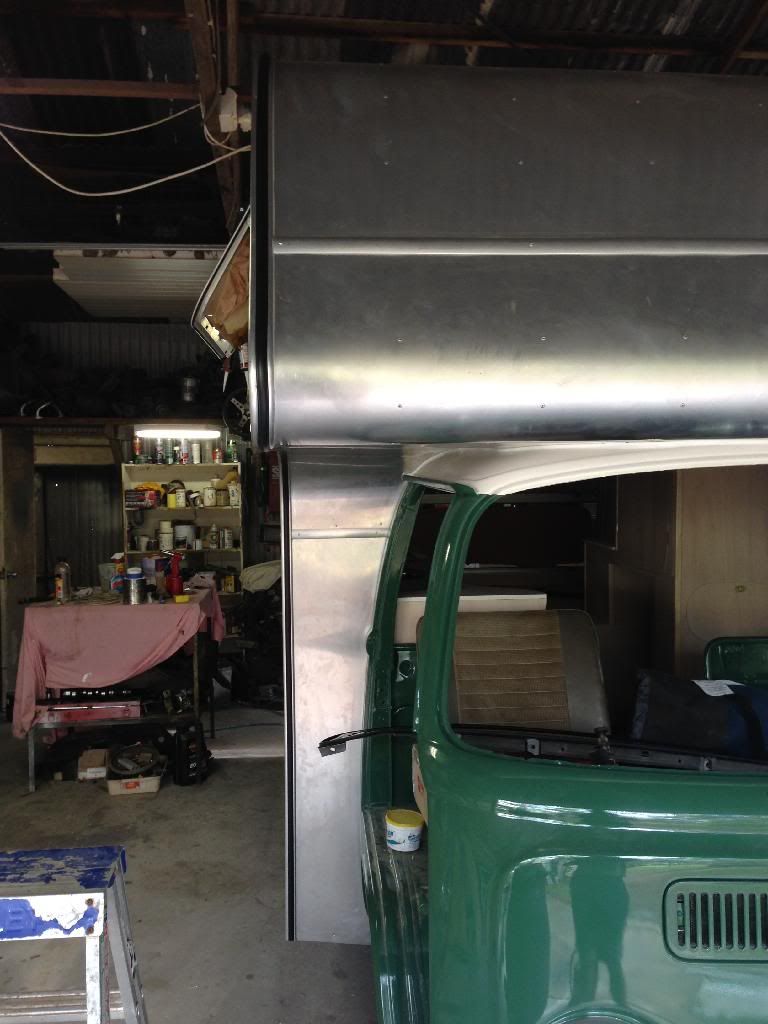
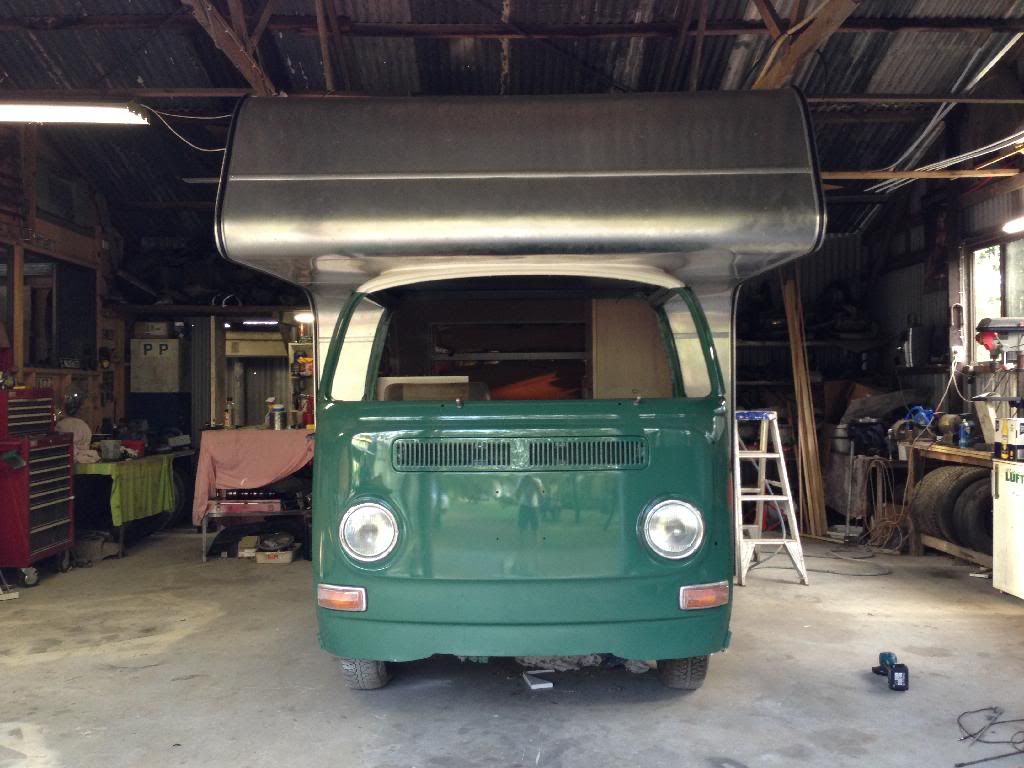
also fitted the insert for my edge moulding... originaly bought grey but it looked shit so the caravan mob were happy to swap it out for black for me
8) much better
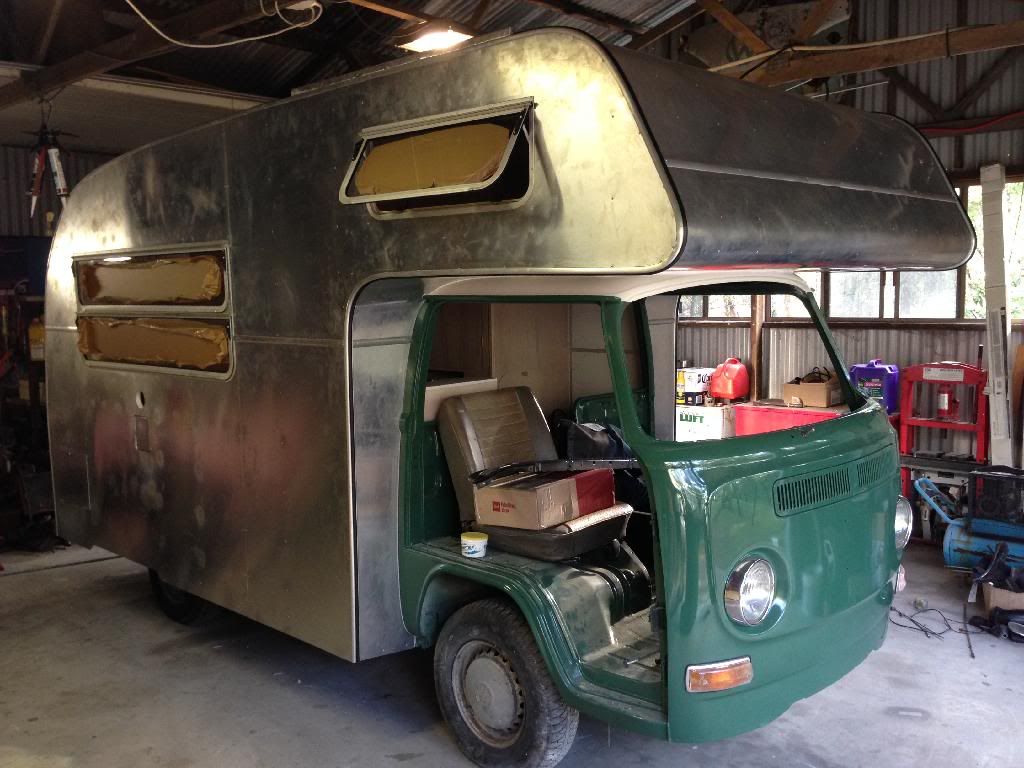
next week im hoping to get dash assembled and in(ready for dib to wire cus im hopeless with that shit) next week, headliner in, doors on and seals
in.... (needs to find some delux vent windows!!!!) and front screen in 8)
|
|
|
 oldturtle22 oldturtle22
Officially Full-On Dubber
  
Posts: 267
Threads: 57
Registered: November 26th, 2011
Member Is Offline
Location: Brisbane
Theme: UltimaBB Pro Blue ( Default )
|
| posted on March 28th, 2014 at 08:20 PM |
|
|
Great work, who line bored your engine mate?
|
|
|
 NUG637 NUG637
Officially Full-On Dubber
  
Posts: 372
Threads: 24
Registered: November 2nd, 2009
Member Is Offline
Theme: UltimaBB Pro Blue ( Default )
|
| posted on March 28th, 2014 at 08:23 PM |
|
|
Dave butler  top dude and A real wealth of knowledge top dude and A real wealth of knowledge
|
|
|
 Flintstones Flintstones
Custom Title Time!
    
Posts: 1077
Threads: 69
Registered: August 27th, 2002
Member Is Offline
Location: Sydney
Theme: UltimaBB Psyche Blue
|
| posted on March 29th, 2014 at 08:10 PM |
|
|
She's looking great!!
|
|
|
 vassy66T1 vassy66T1
A.k.a.: Marcus Vass
Veteran Volks Folk
Wow ... are U reading this?
    
Posts: 2120
Threads: 76
Registered: June 4th, 2003
Member Is Offline
Location: Brisvegas
Theme: UltimaBB Streamlined2
Mood: Happy to own a VW
|
| posted on March 30th, 2014 at 10:46 AM |
|
|
Have you got yourself some sway bars for this?
Trish is impressed ... "Awesome!" she says
|
|
|
 urban_myth urban_myth
A.k.a.: Jason
Officially Full-On Dubber
  
Posts: 354
Threads: 60
Registered: January 6th, 2005
Member Is Offline
Location: Sydney
Theme: UltimaBB Pro Blue ( Default )
|
| posted on March 30th, 2014 at 12:29 PM |
|
|
hi nugget.hope you got my pm.if not give me a call on 0416 067 932 regarding the spindles.i also have a 24mm front sway bar that bolts in the same
position.really makes a big difference to the handling.thanks geoff.
|
|
|
 NUG637 NUG637
Officially Full-On Dubber
  
Posts: 372
Threads: 24
Registered: November 2nd, 2009
Member Is Offline
Theme: UltimaBB Pro Blue ( Default )
|
| posted on March 30th, 2014 at 03:38 PM |
|
|
| Quote: | Originally
posted by vassy66T1
Have you got yourself some sway bars for this?
Trish is impressed ... "Awesome!" she says
|
funny you should ask.... ive place 2 cip1 orders in the past week and this was on one of them....along with a few other goodies 
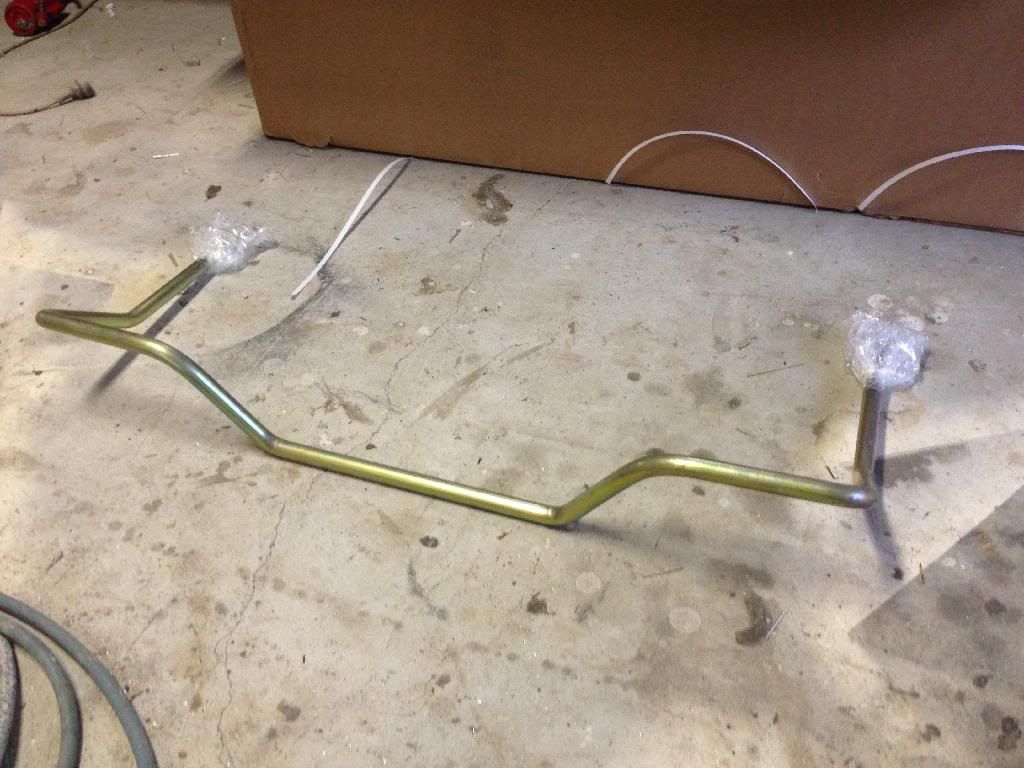
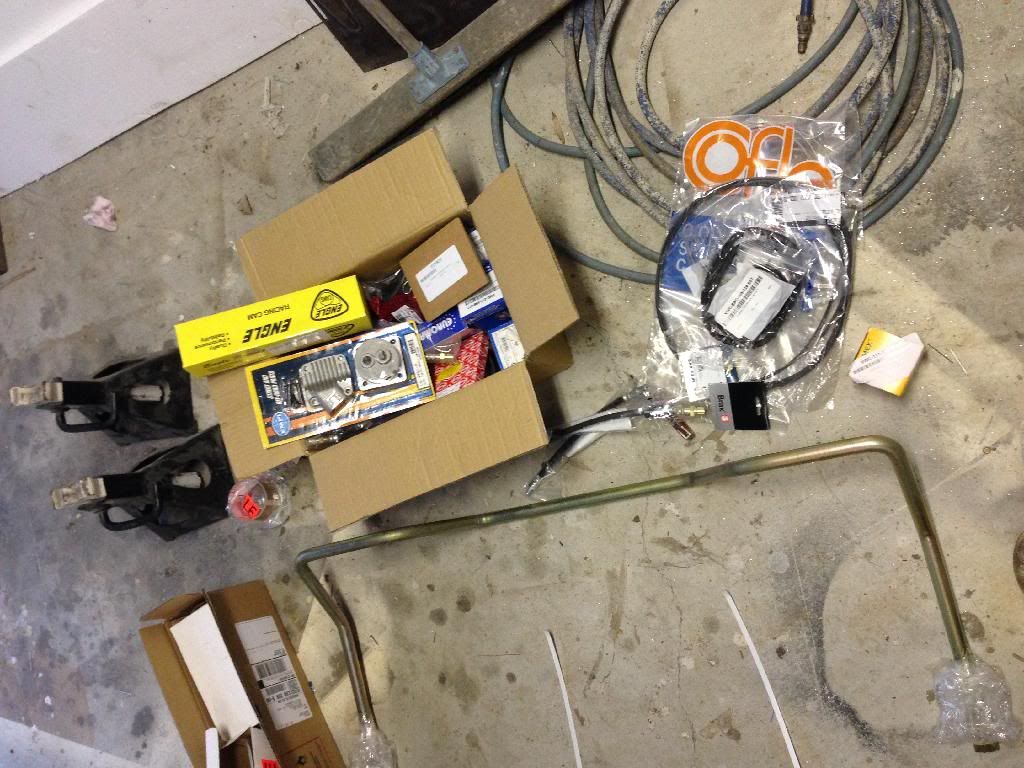
rear sway bar  thought about an aftermarket front aswell.... thought about an aftermarket front aswell....
hey geoff, i havent got a pm yet?? will give you a call on monday 
took the misses to spotlight yesterday to look for a headliner material (bad decision) i decide of a material i liked within 20 minutes.... 3 hours
later and she was well off track..... anyway had an itching to get it done today only took me an hour or so..... by no means the best headliner job
you have seen but the price was right ($20 for material and just my time) thinking i will by more of this "Texas Sand" material and do the door
cards..... and if im feeling really adventurous i might even have a crack at recovering the seats as they are lookng really aged..... see how we go
for time befor i jump into that tho....
this is it....
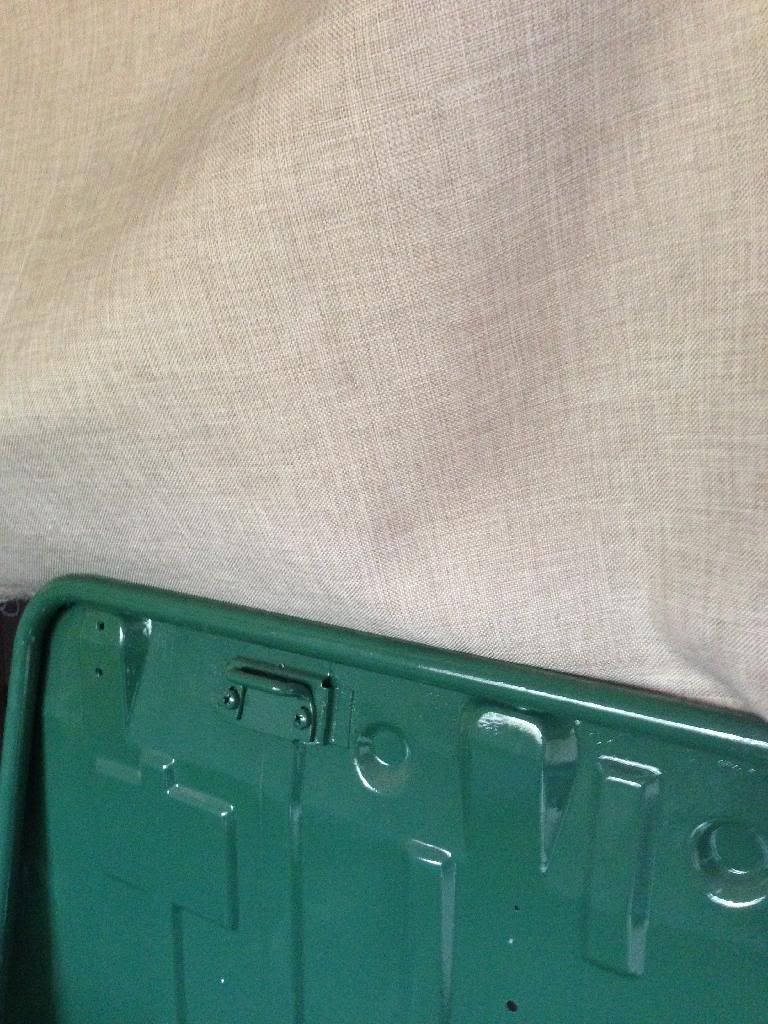
started off by gluing up some foam first then centering up the material...
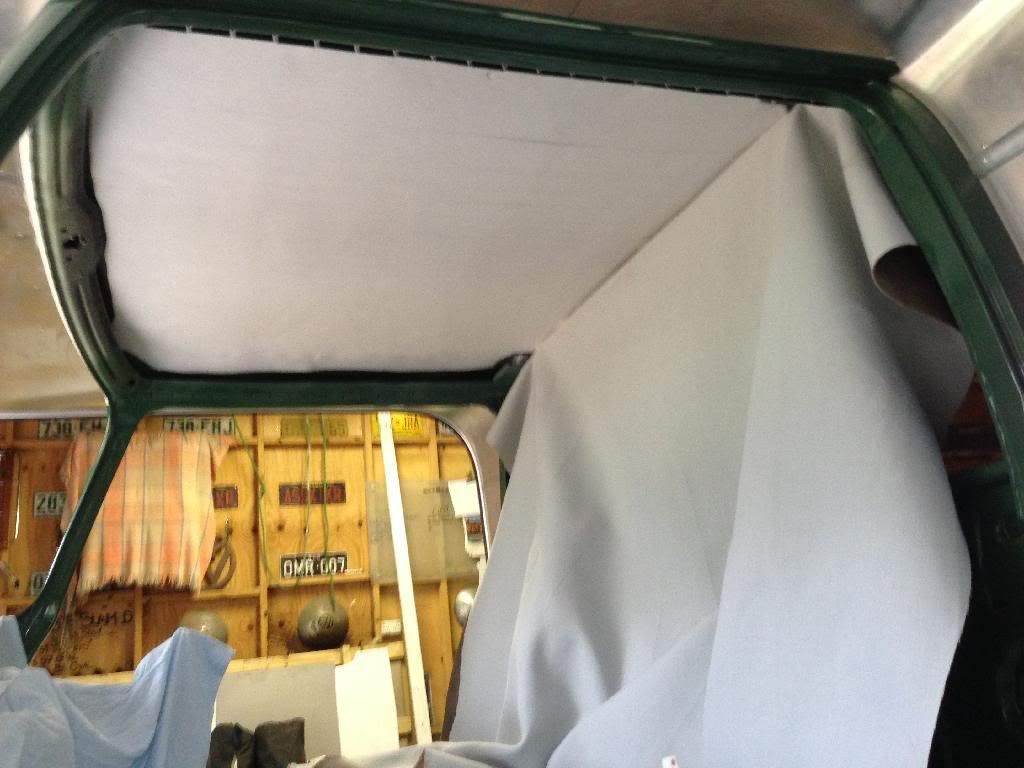
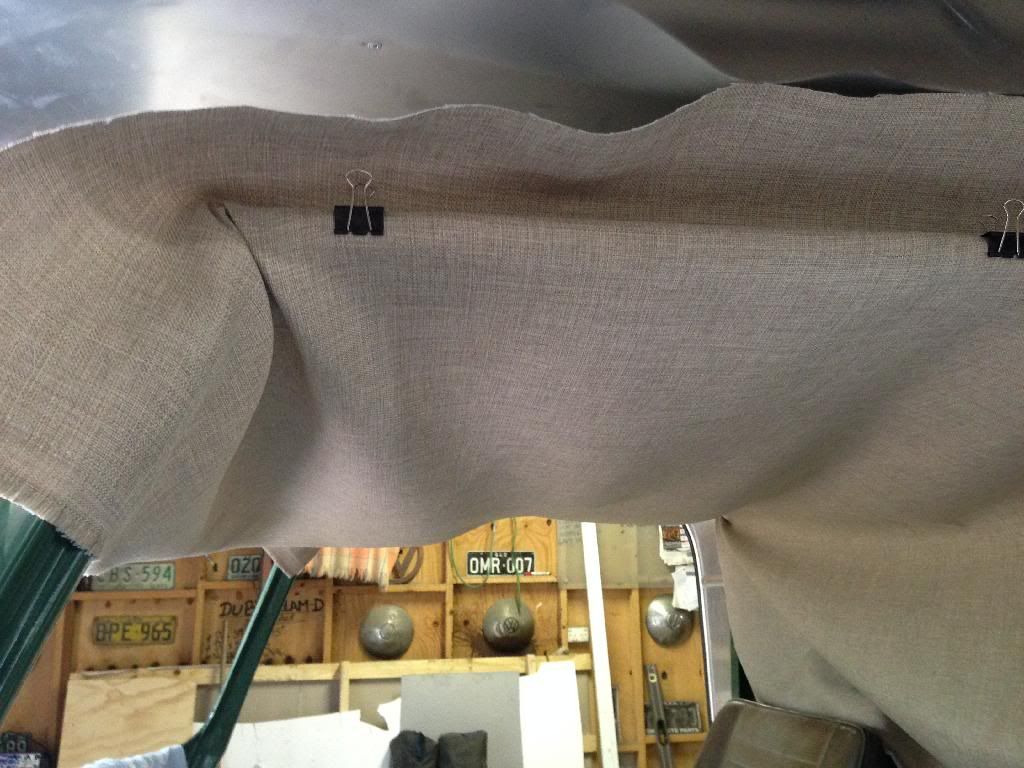
then went to town with glue
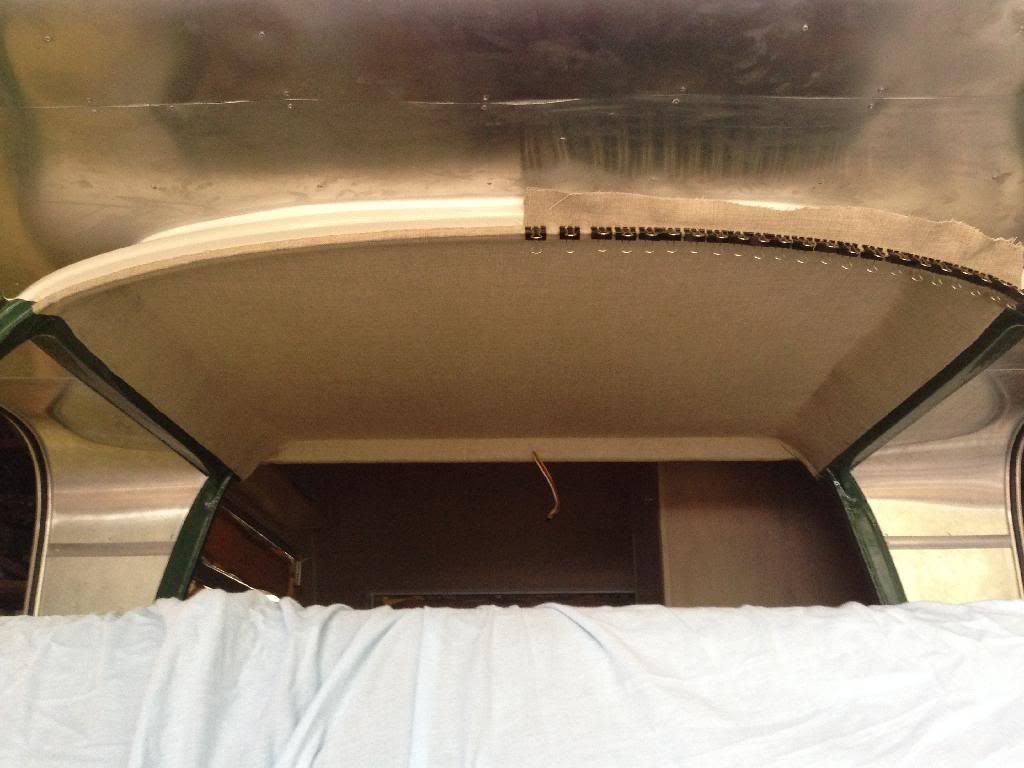
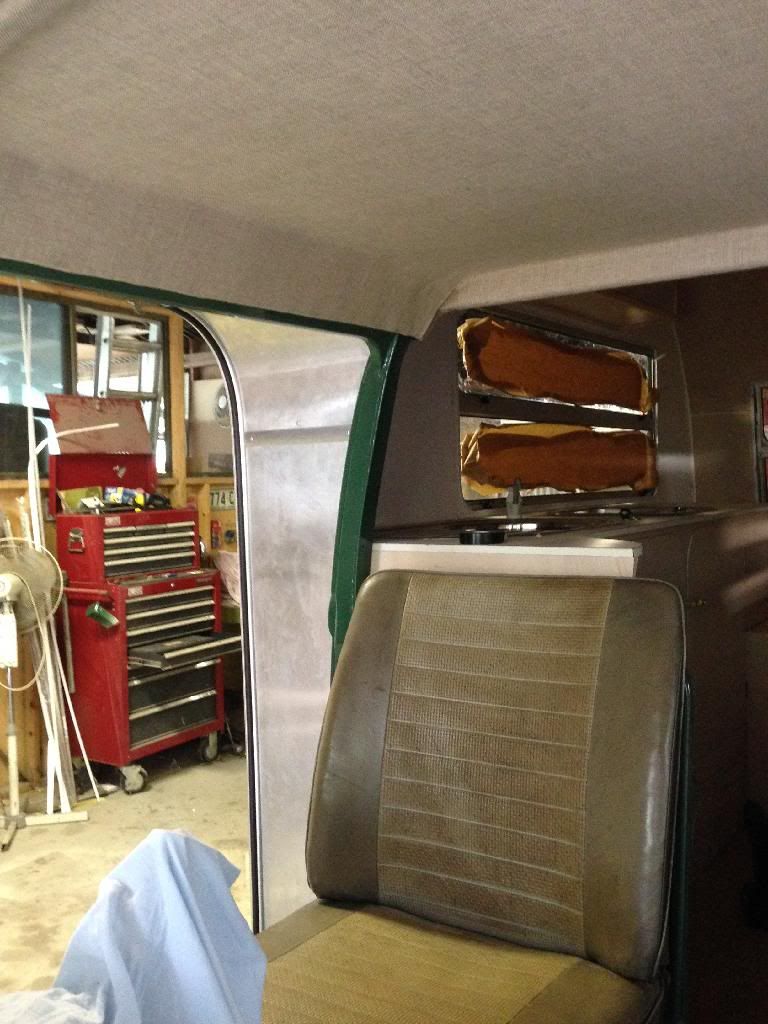
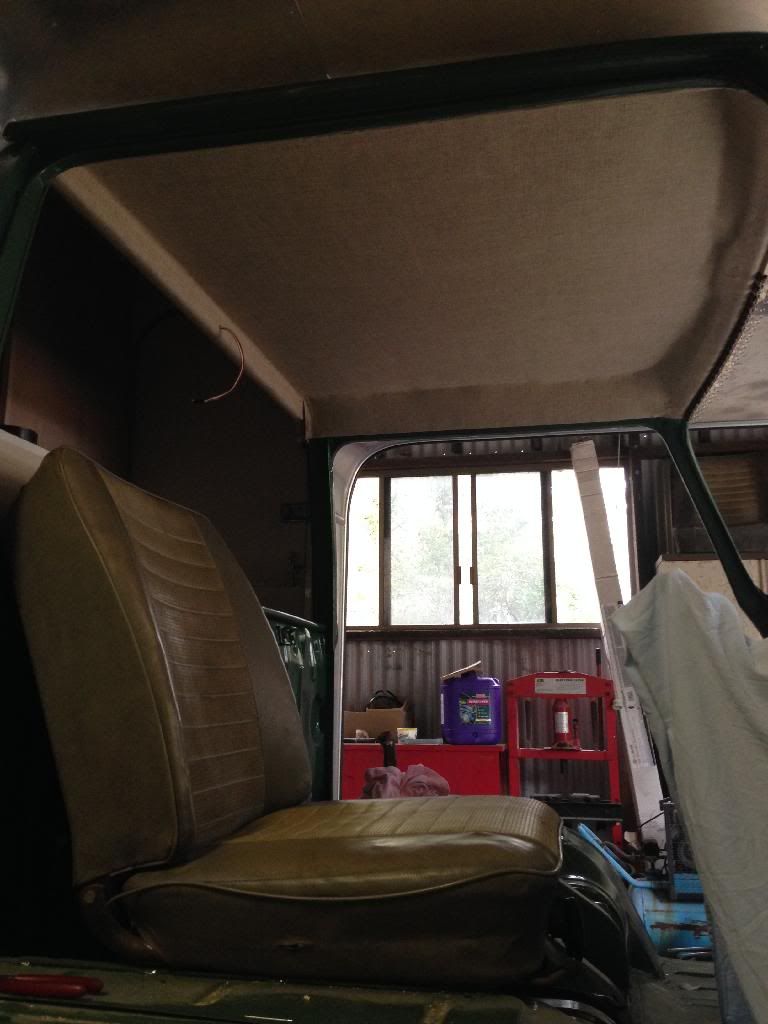
as i said.... good enough.... the warped sheet metal that now makes the rood mad it had to get the sides "Straight" live an learn tho....
|
|
|
 NUG637 NUG637
Officially Full-On Dubber
  
Posts: 372
Threads: 24
Registered: November 2nd, 2009
Member Is Offline
Theme: UltimaBB Pro Blue ( Default )
|
| posted on March 31st, 2014 at 02:29 PM |
|
|
dash in, think im gonna need to paint the steering column ...
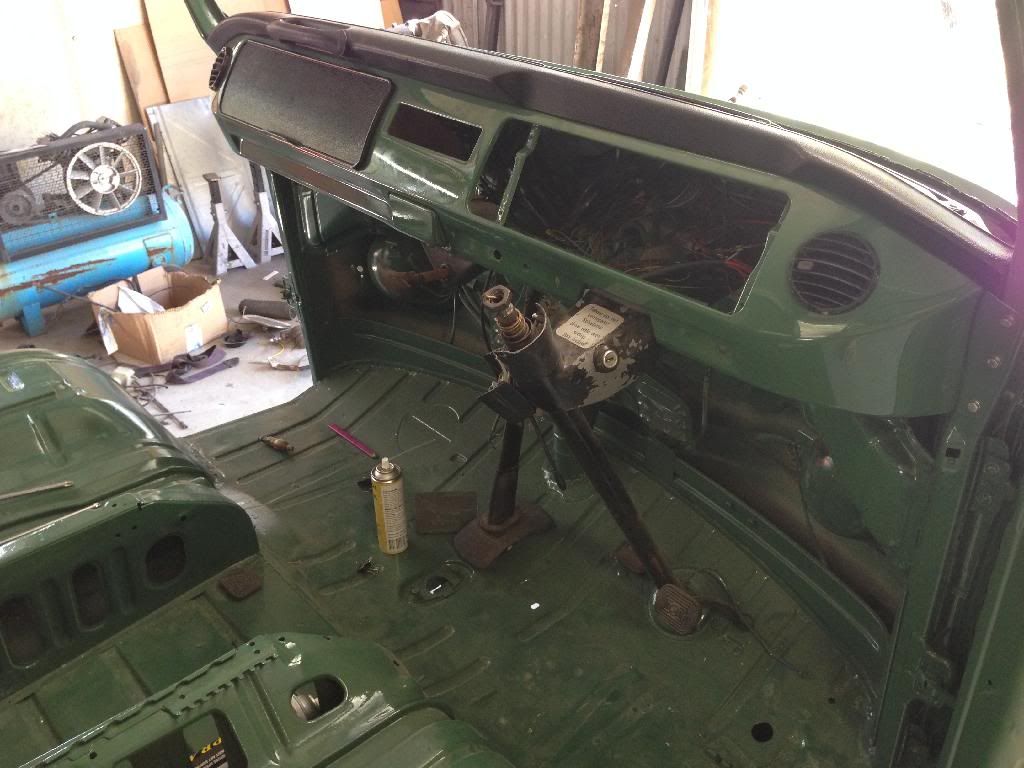
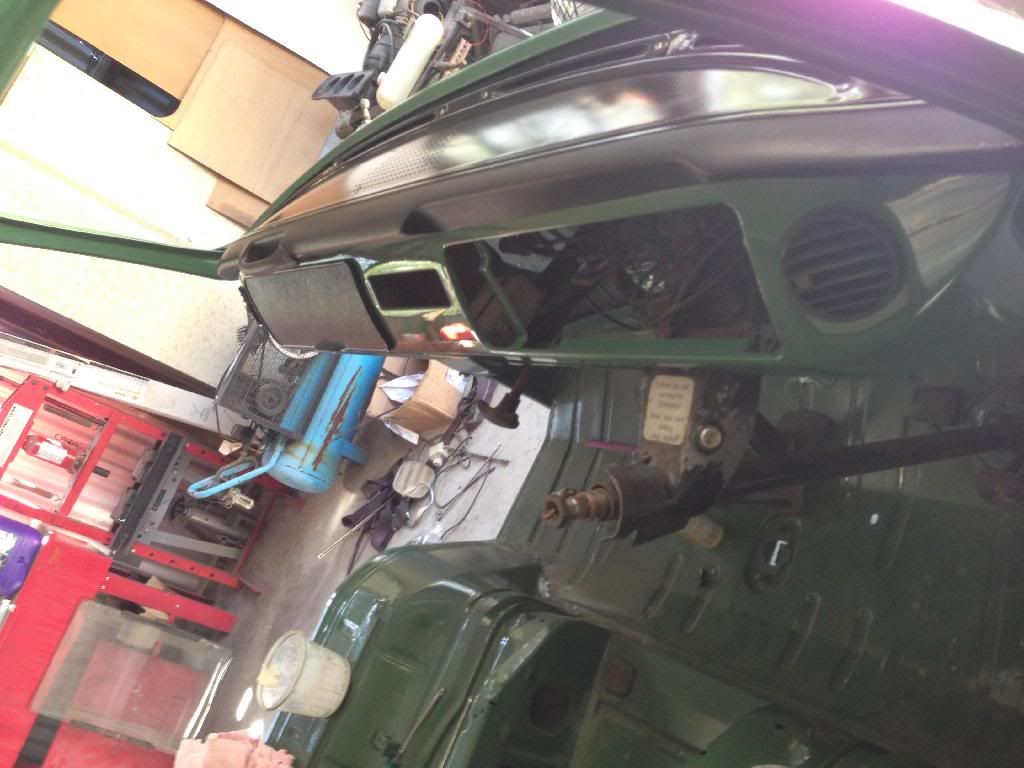
doors on and latching
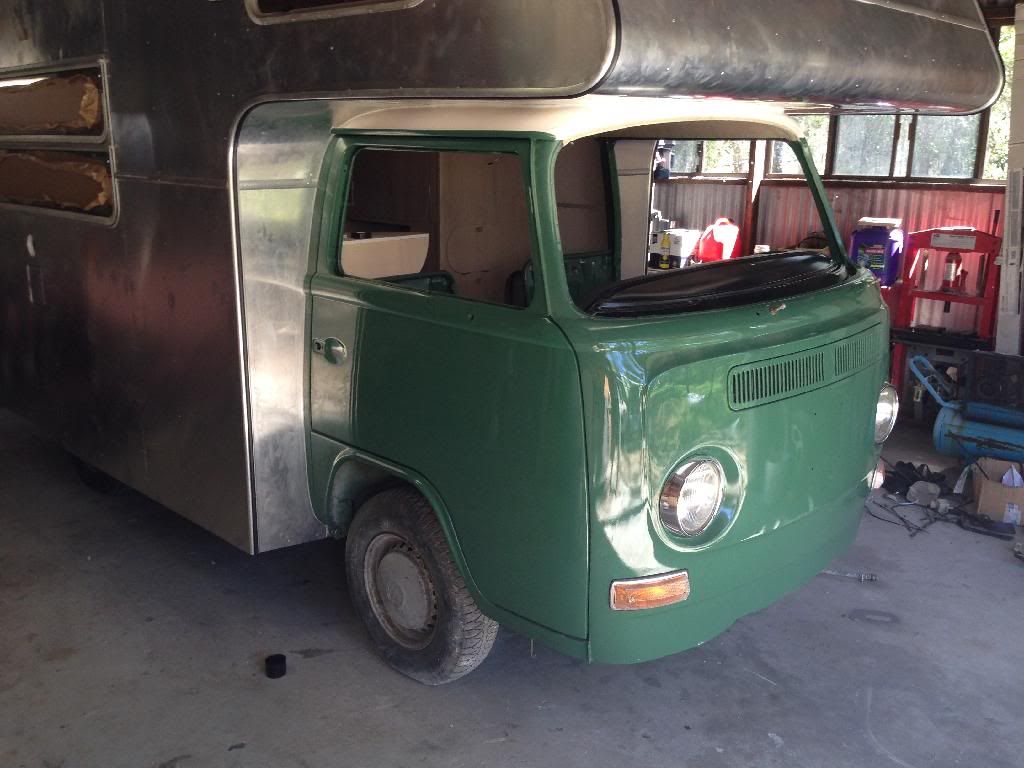
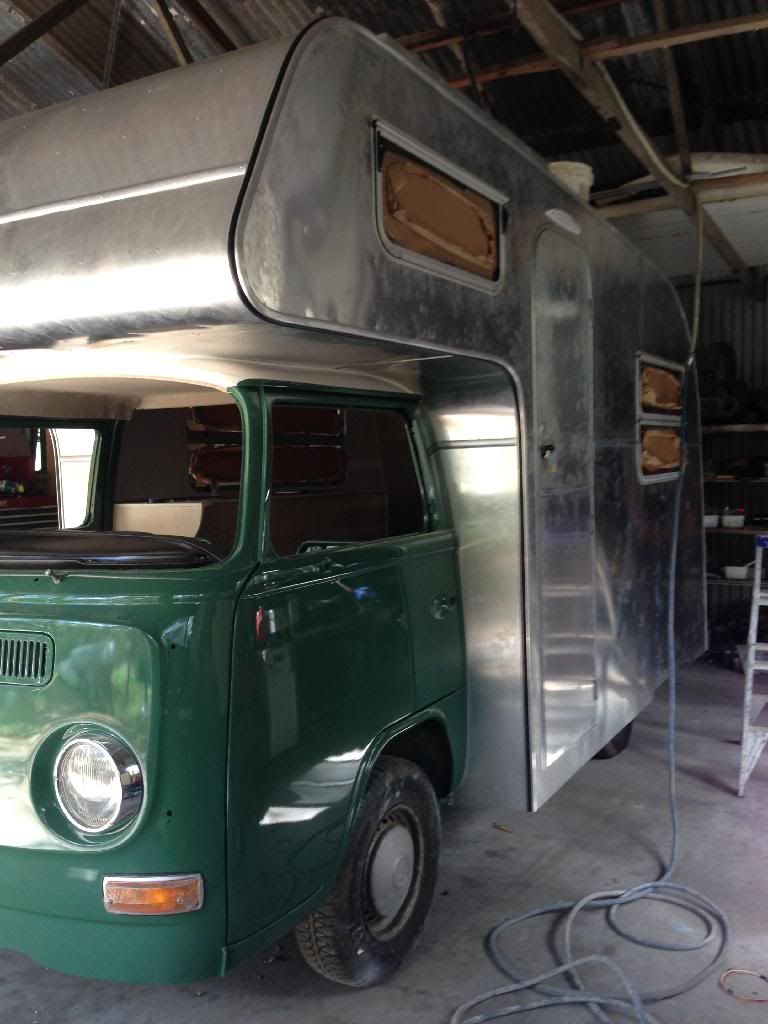
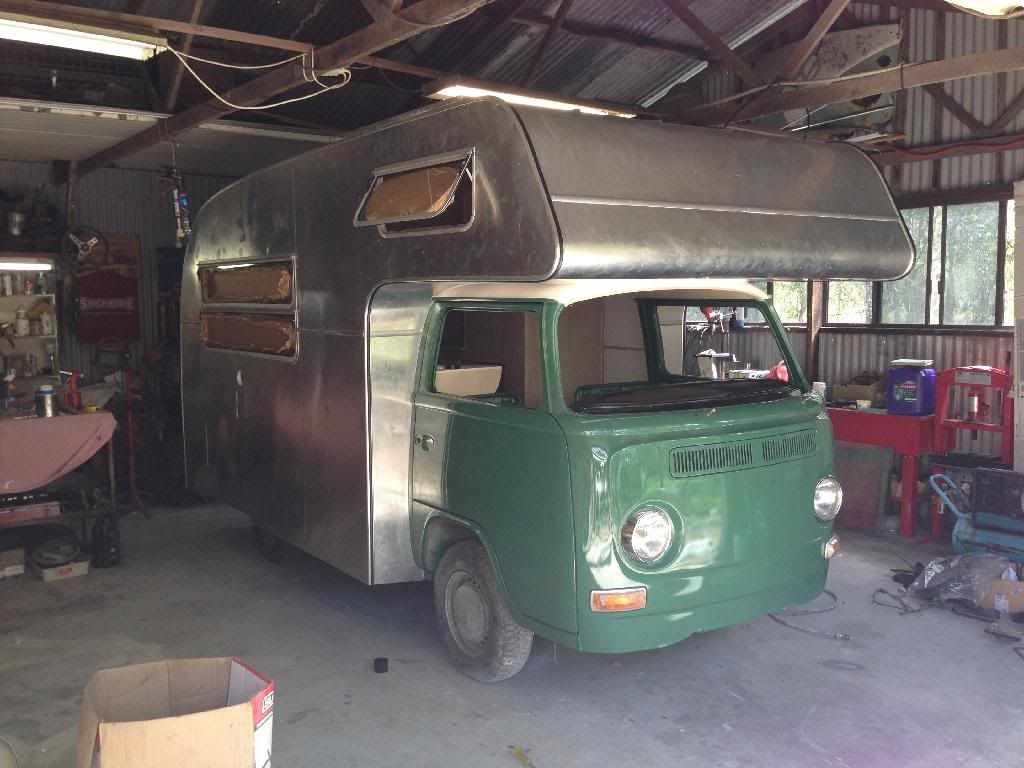
i love bolting shit back on
|
|
|
 roverv8bay roverv8bay
Officially Full-On Dubber
  
Posts: 250
Threads: 32
Registered: January 30th, 2013
Member Is Offline
Theme: UltimaBB Pro Blue ( Default )
|
| posted on March 31st, 2014 at 06:30 PM |
|
|
G'day nug637. been following from a distance. this build is superb you should be very chuffed. to think you started with a stock vehicle. I think you
should be looking at calling comalco or alcan with the amount you have put onto it
ernie
|
|
|
 NUG637 NUG637
Officially Full-On Dubber
  
Posts: 372
Threads: 24
Registered: November 2nd, 2009
Member Is Offline
Theme: UltimaBB Pro Blue ( Default )
|
| posted on April 4th, 2014 at 07:04 AM |
|
|
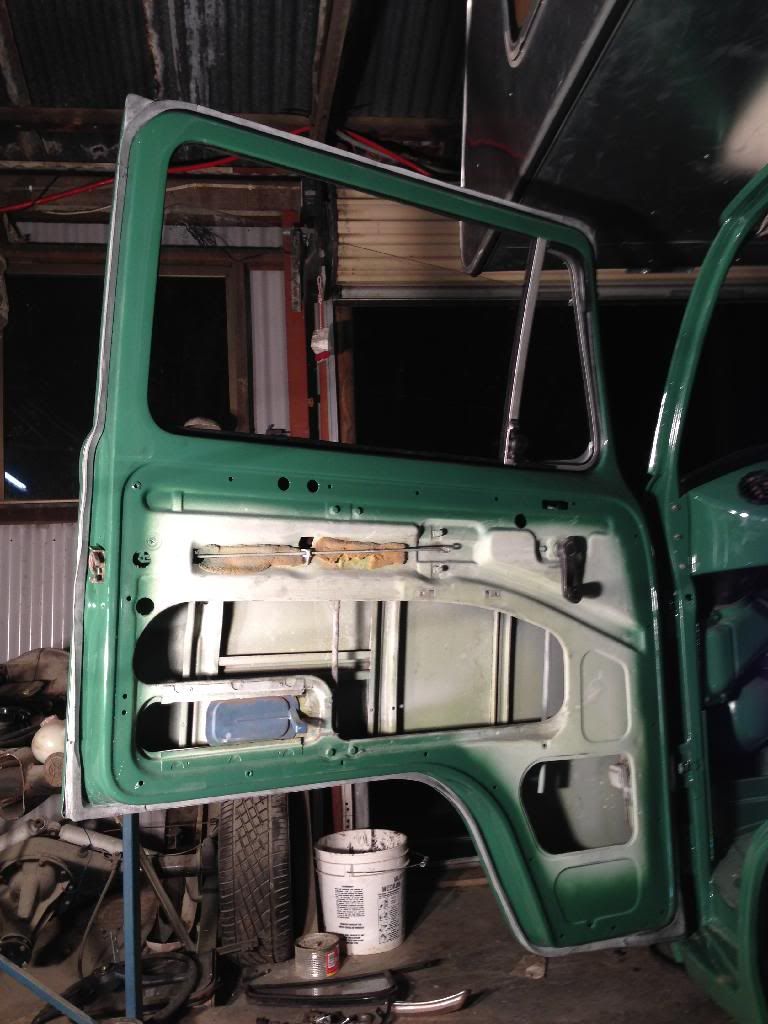
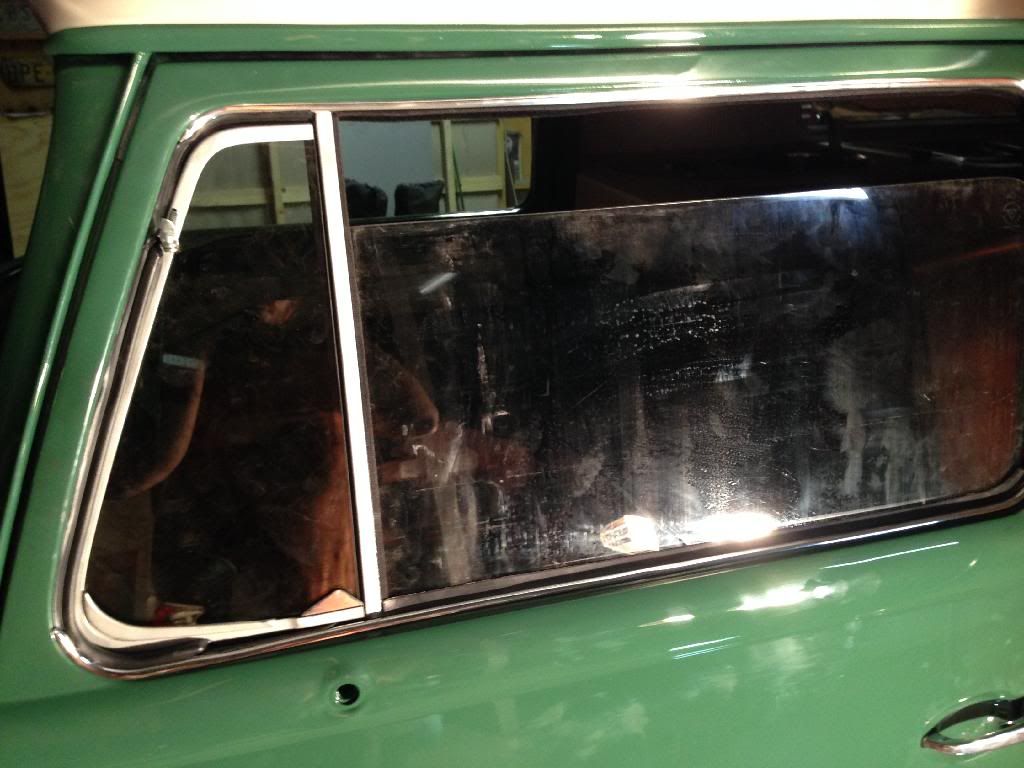
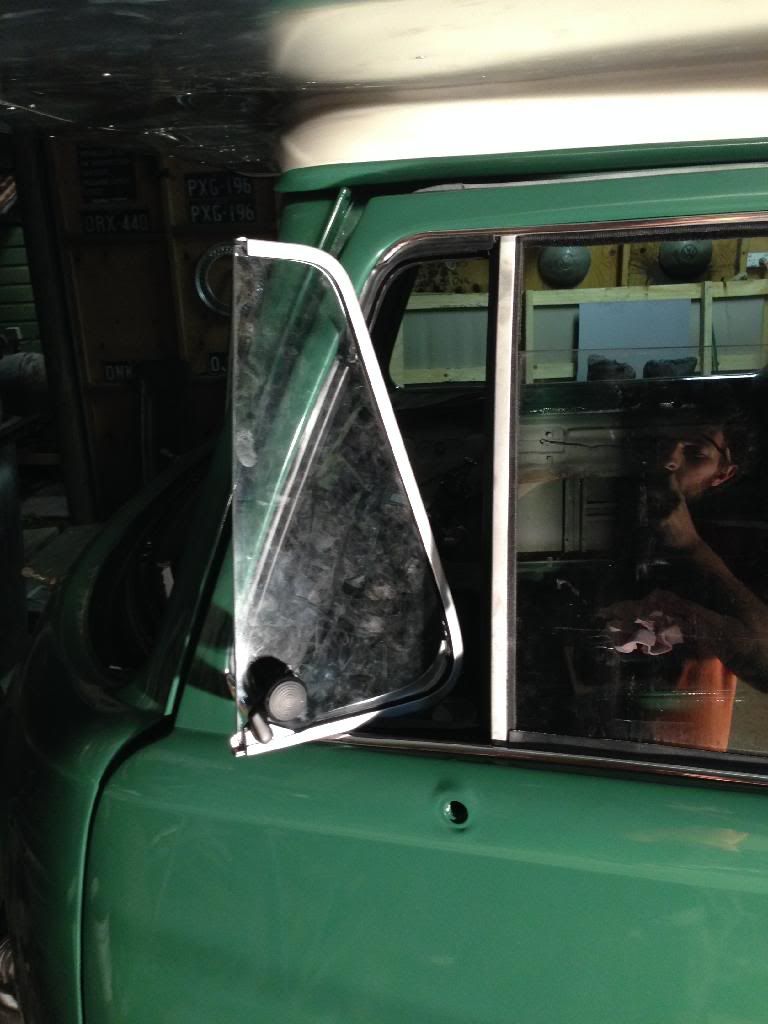
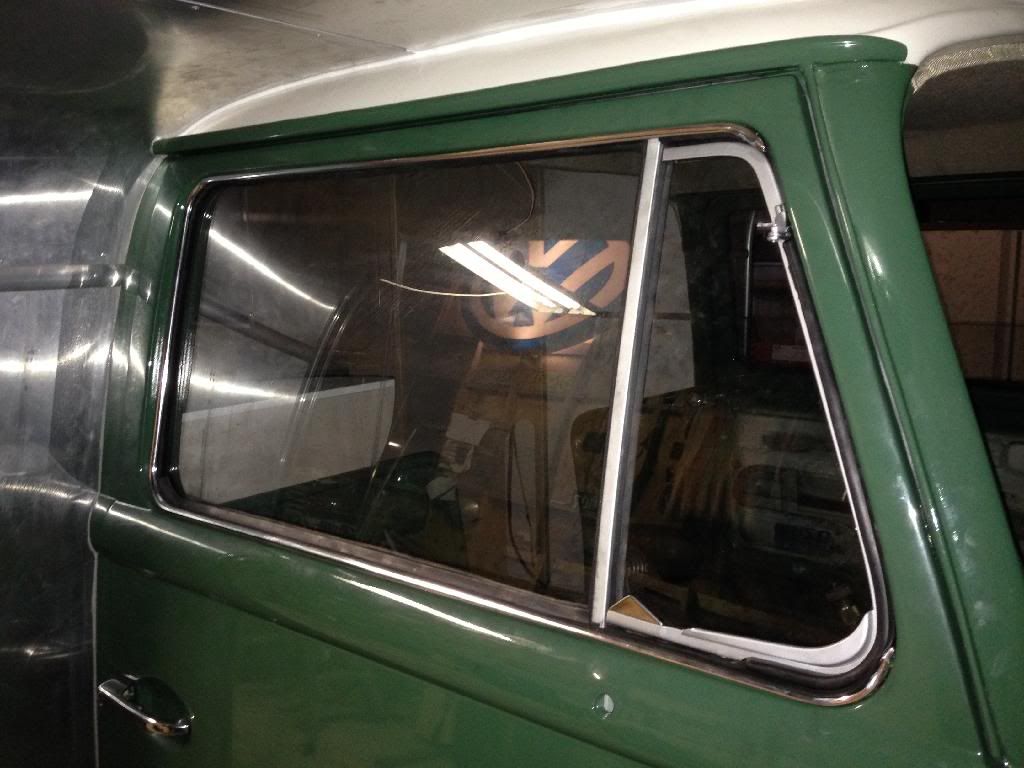
door glass and seals done! 8) bought some vent windows which i think will be worth there weight in gold!!! the first one i fitted…. the seal
wouldn't touch the body top or bottom….. i first thought…. piece of dick! aftermarket shit!! spent ages…. modifing it…. bending it….
re-riveting it….. i finally got it to seal against the door body….. then i found out the chrome runs all the way through on a bay window… not
like a beetle so the rubber is ment to seal against the chrome and thats why there was a gap…… shit!!!! learnt the hard way but made the second
fit super easy and they actually fit really well when you know what you are doing :oops:
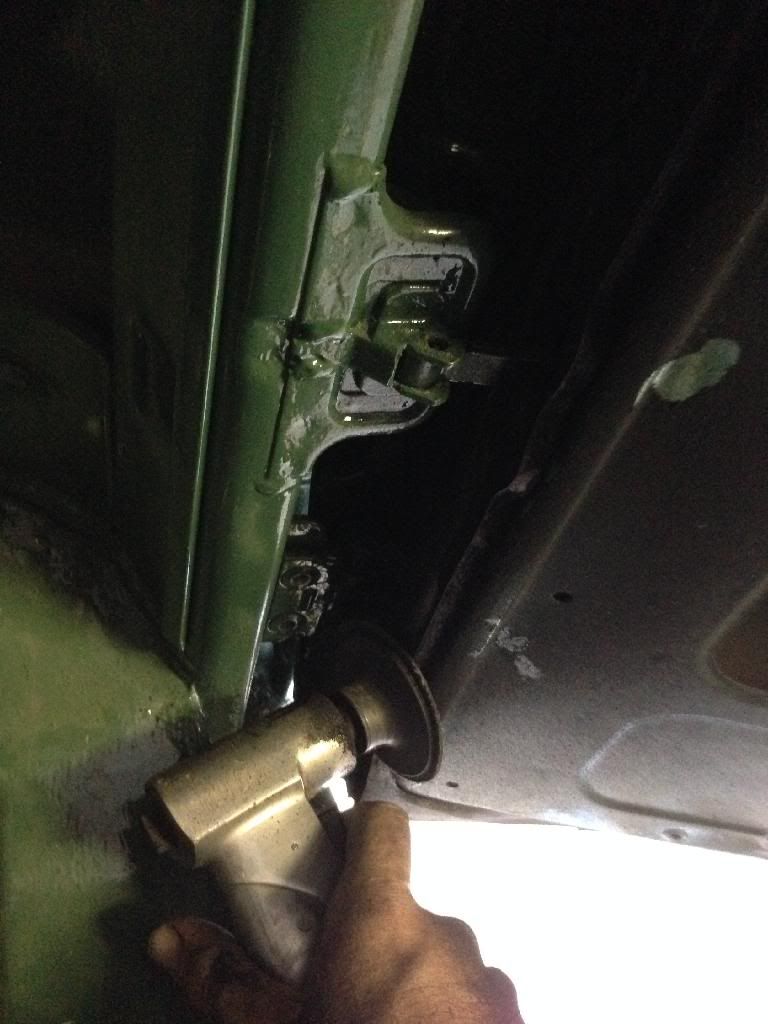
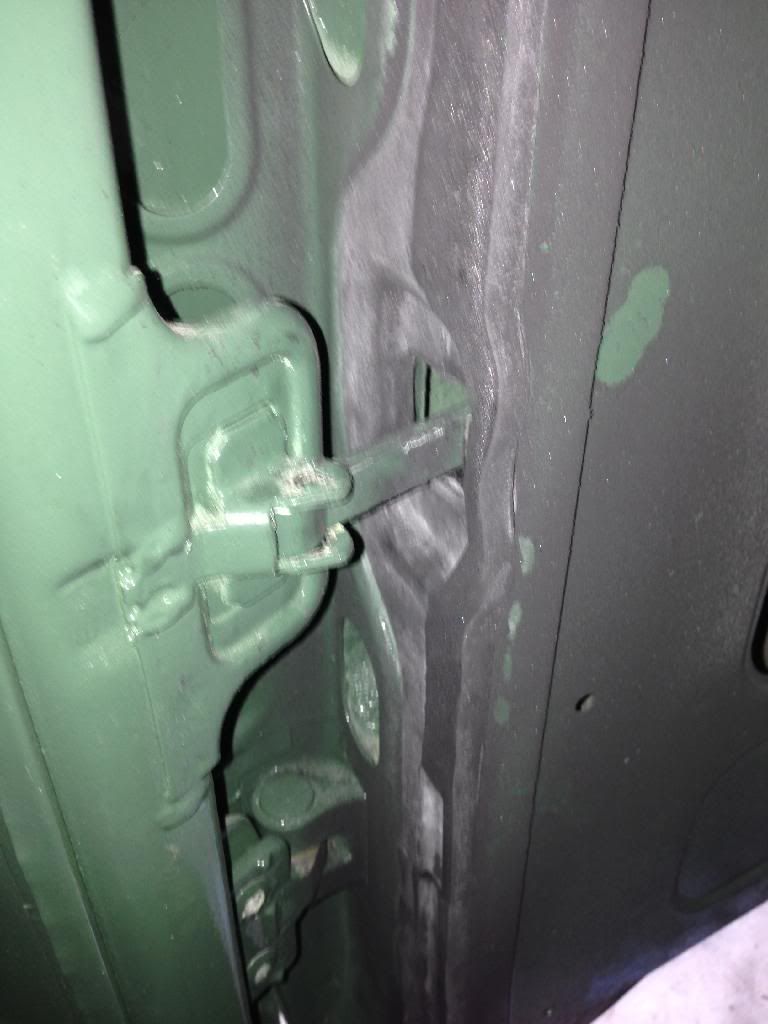
the door seals are really really thick on these WW kits and has made the door "spring loaded" and hard to close….. so i ground it down abit….
has helped a heap but still a firm feel apon closing the door…
then obrian came to come fit the front screen they claim to never have problems fitting….. i tried three times and couldn't even get it to side
inplace… its about 5 mm to big all round... the fitter said thats horse shit as he has struggled with every one in a vw…. anyway he was soon to
leave after giving up…. they have ground the screen down and are coming to try again this morning….
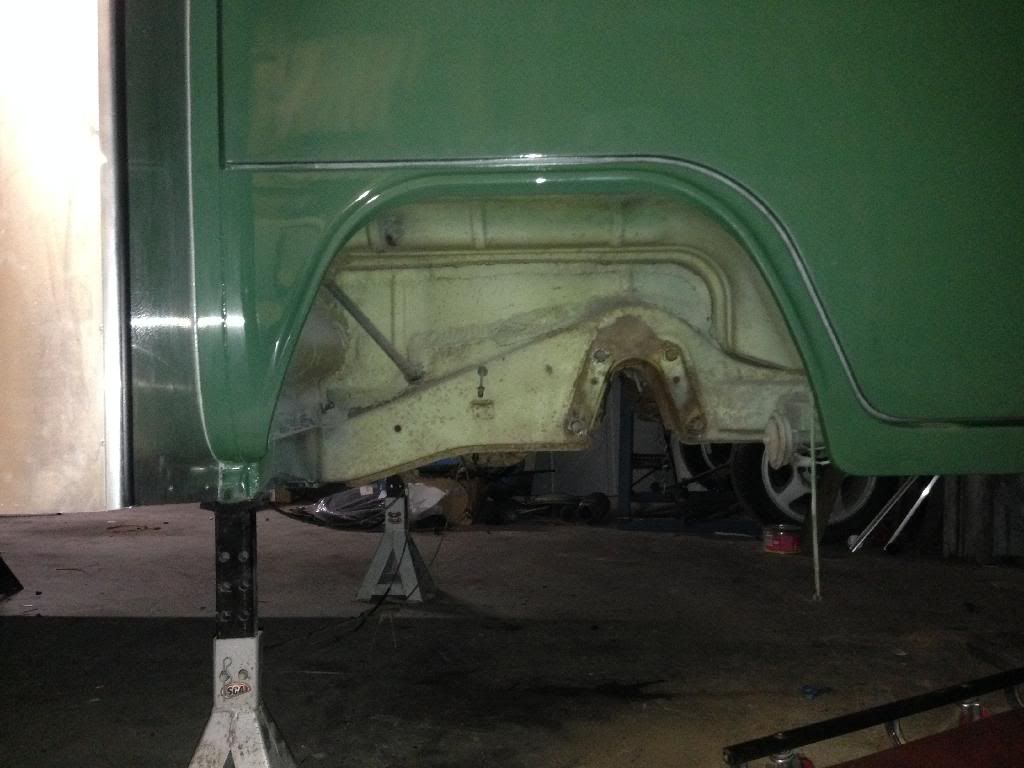
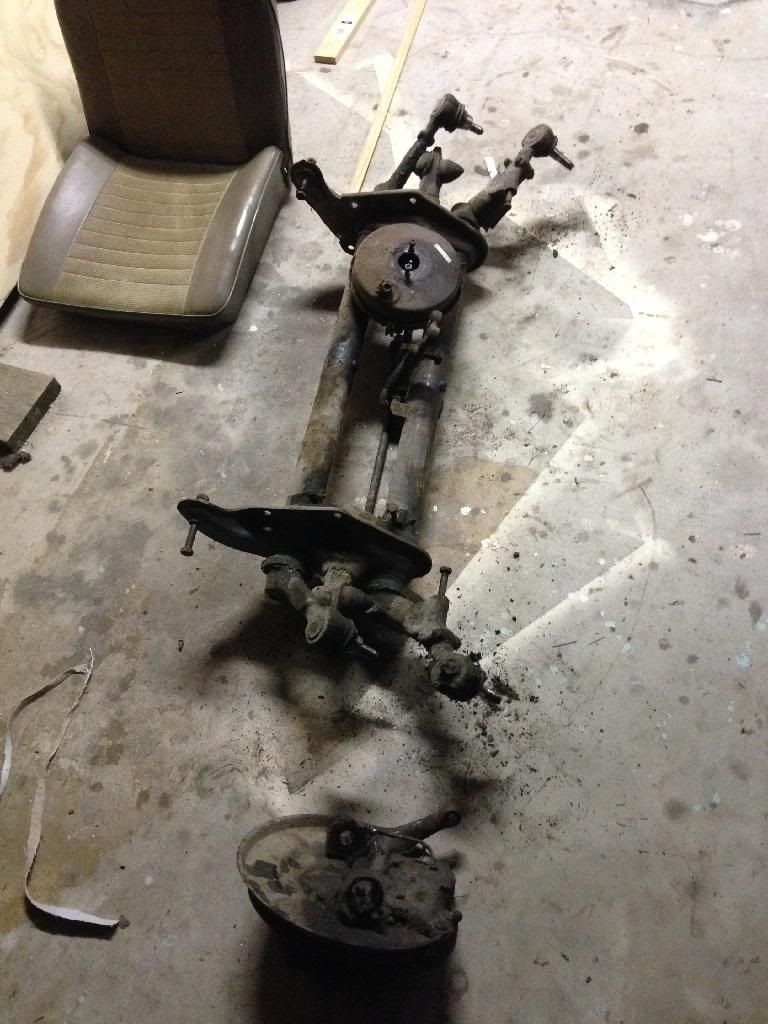
pulled the beam out yesterday afternoon…. everything underneath was a bitch to get apart :roll: but a big learning curve on my half….. first time
under a bus and first time playing with disk brakes…..
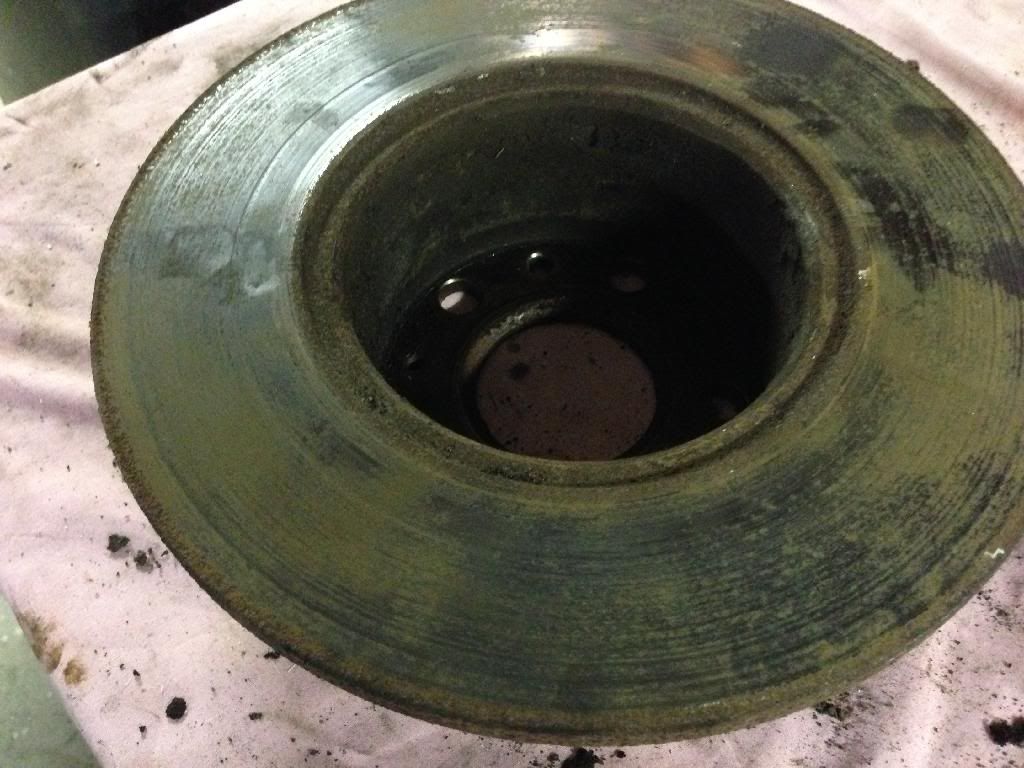
i read somewhere about going over these with an orbital? but can't remember what to look for…. there is a few big grooves in here so ill take them
to get checked along with my booster and master cylinder… starting to get exciting…. i enjoy the machincal side of things….
also did a paint session yesterday with a few silver bits to bolt up to the outside….. pictures of that later…. 8)
|
|
|
| Pages: 1 2 3 4 5 6 .. 10 |