
Nuggets 56 Beetle
NUG637 - May 5th, 2013 at 07:57 PM
Well thought i should share the rewarding end of this build.....
i have a thread on a locked forum here is Australia which shares alot of my heart and sole and alot of learning (didnt no how to weld till i bought
this car at 16)
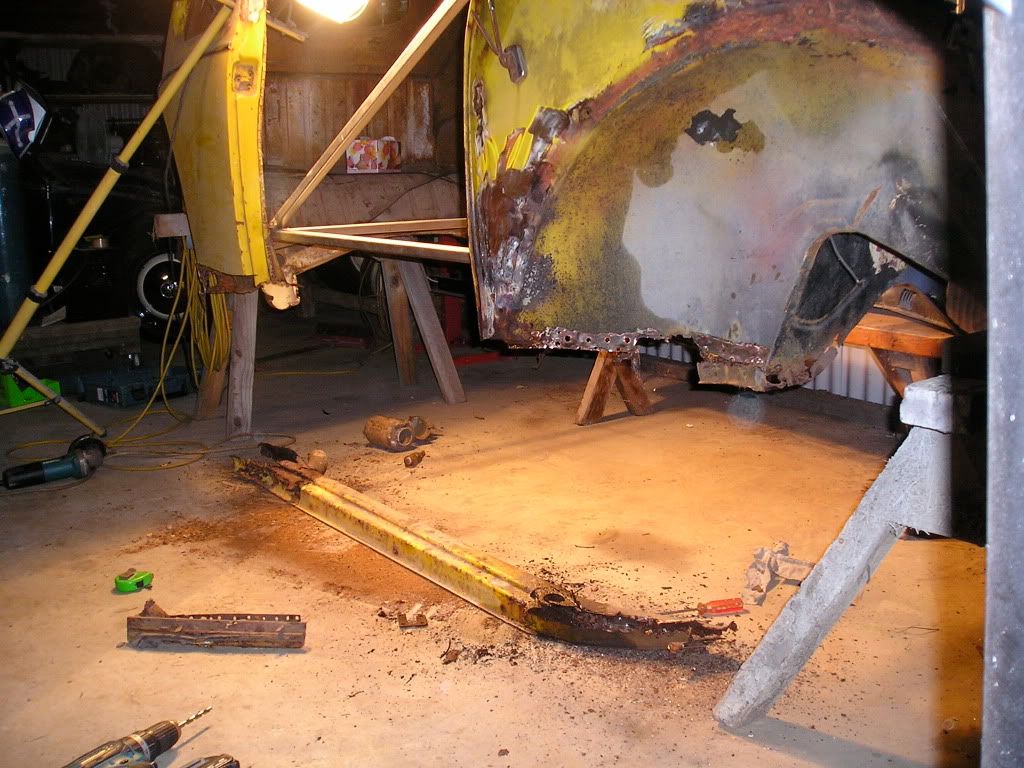
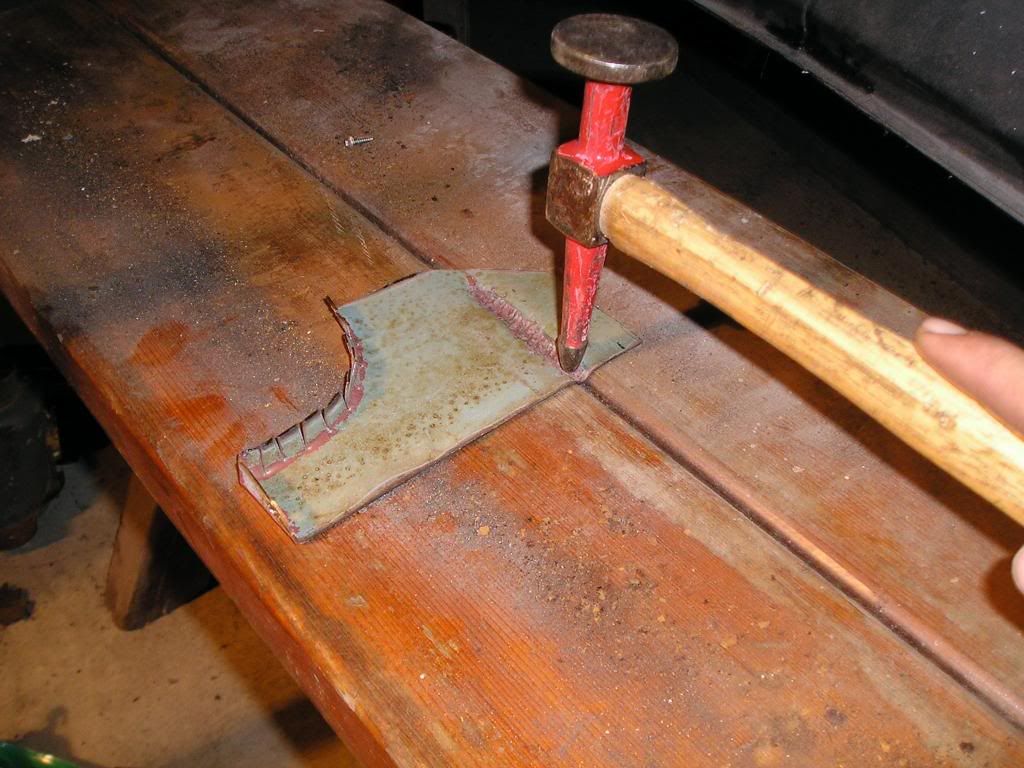
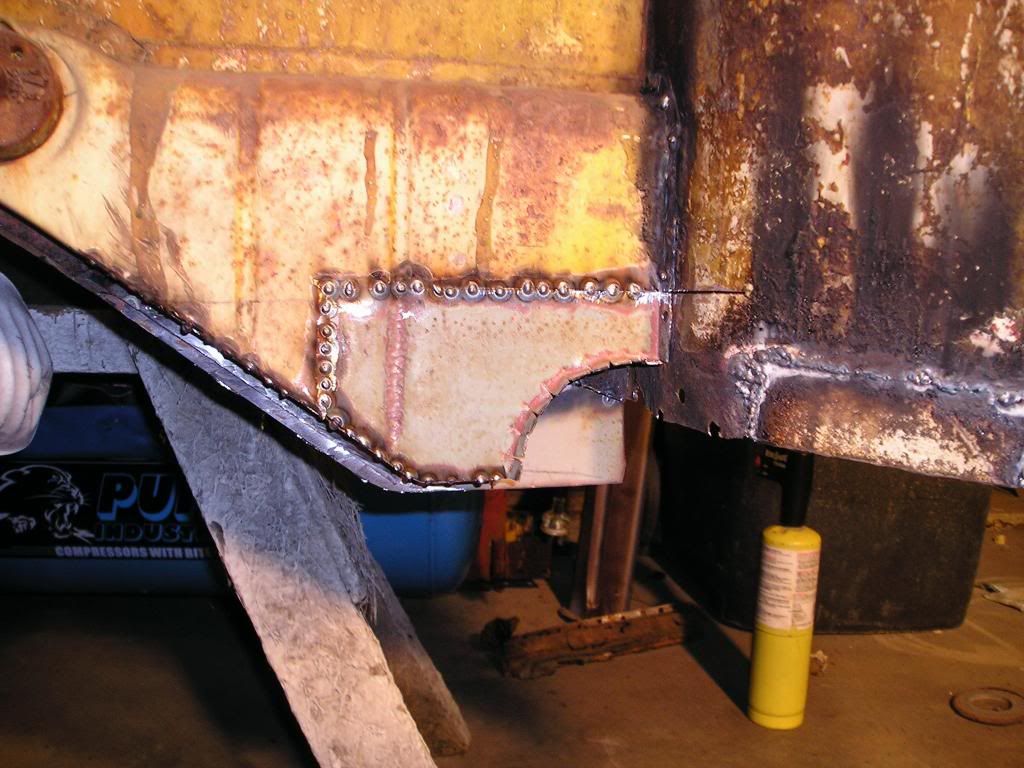
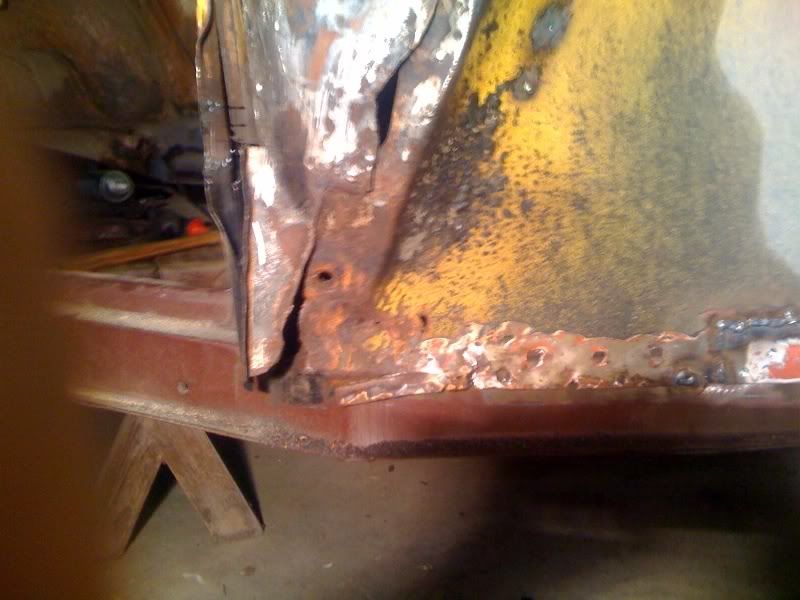
over the past 5 years (in a nutshell) it has come from this......


a heap of hand beaten panels... and alot of repro ones to...


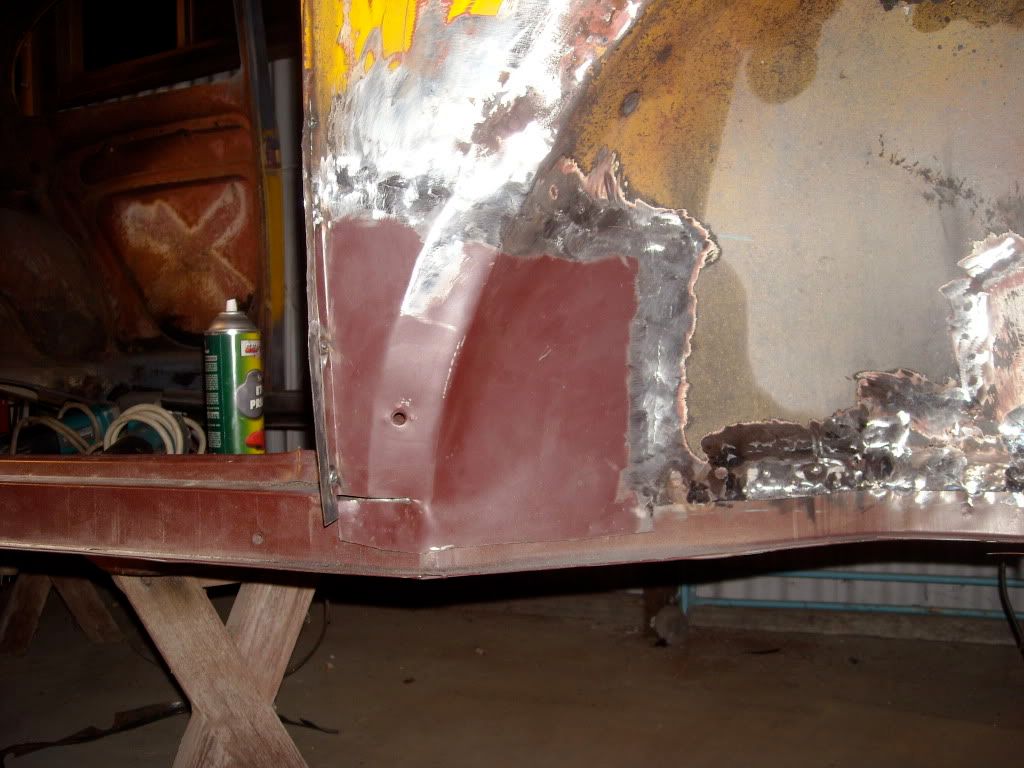
Both semaphore posts i had to replace as they had ben filled in...


NUG637 - May 5th, 2013 at 07:58 PM


then it was on to the other side....



NUG637 - May 5th, 2013 at 08:11 PM
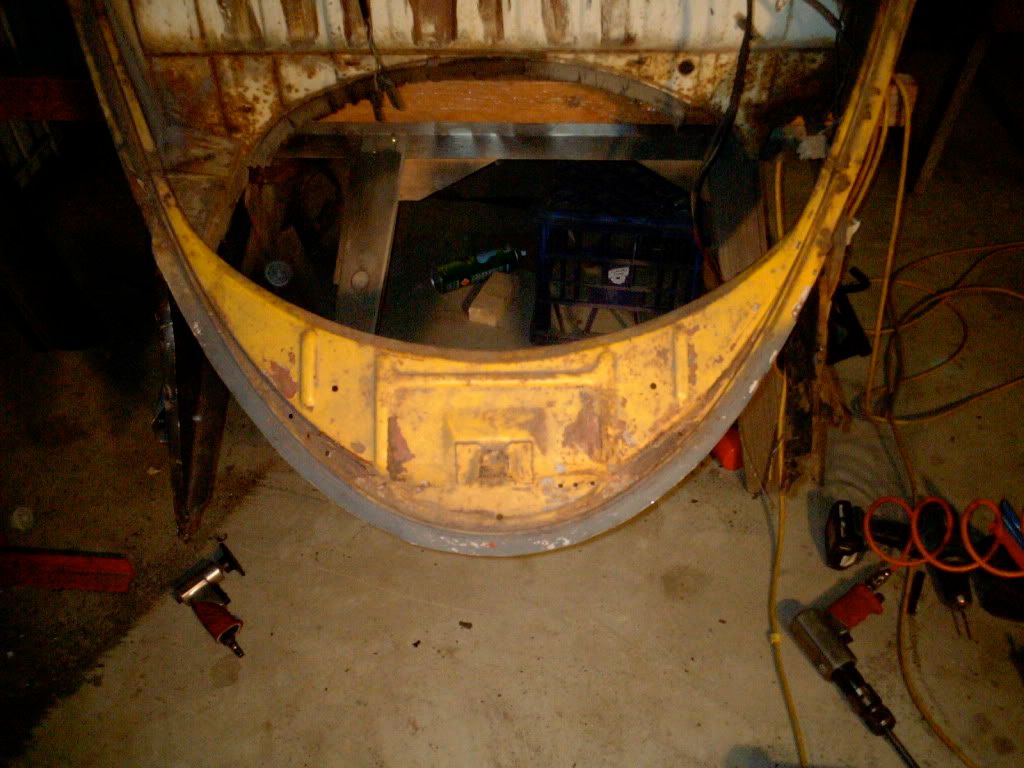
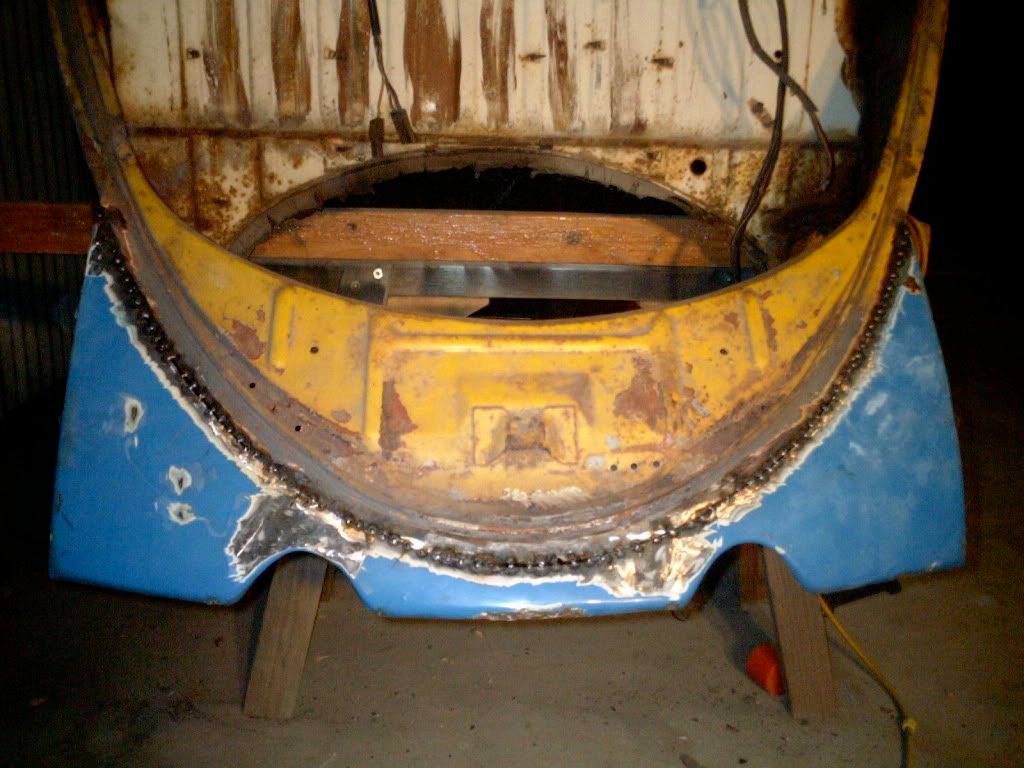
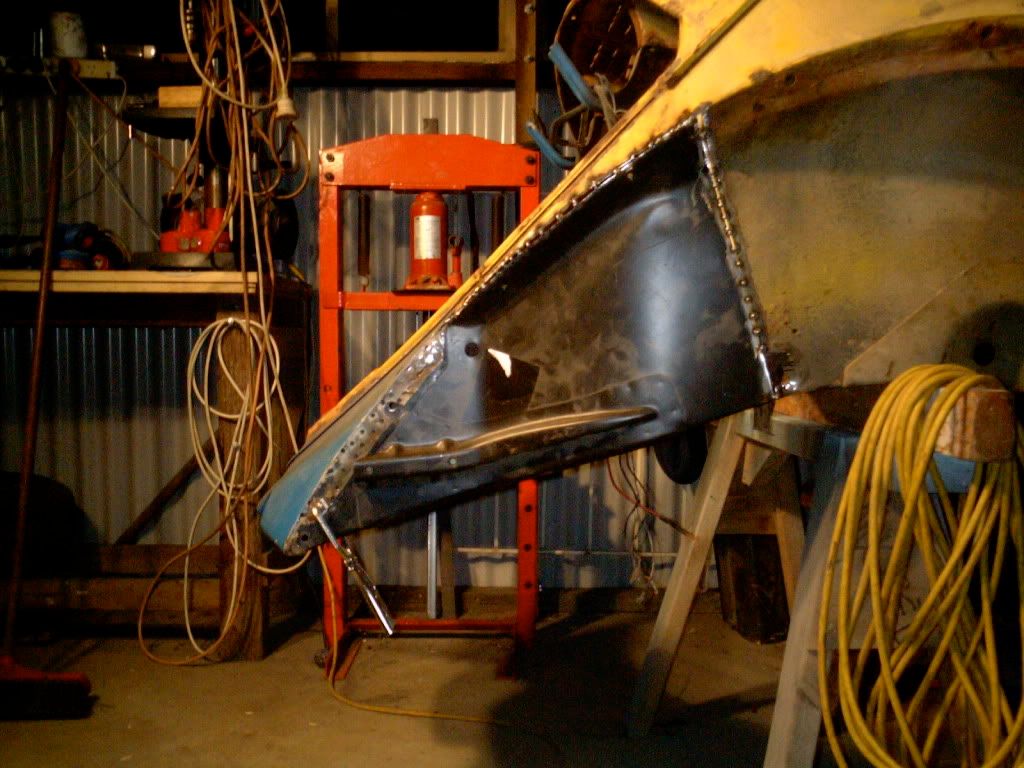
the really bad stuff....
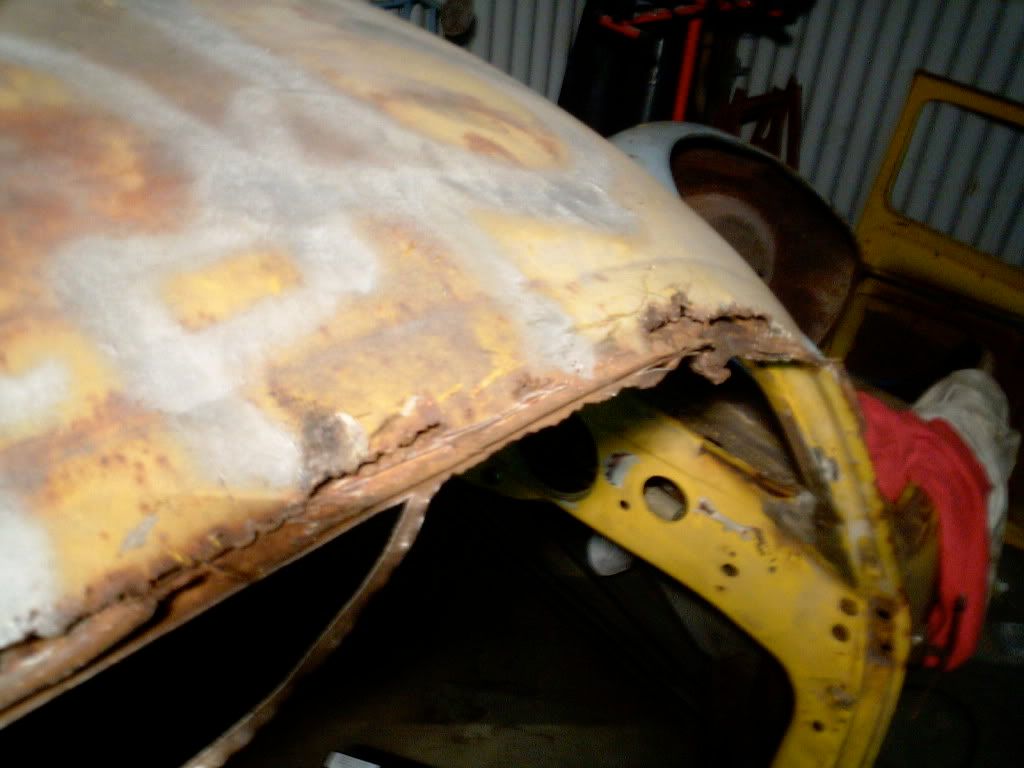
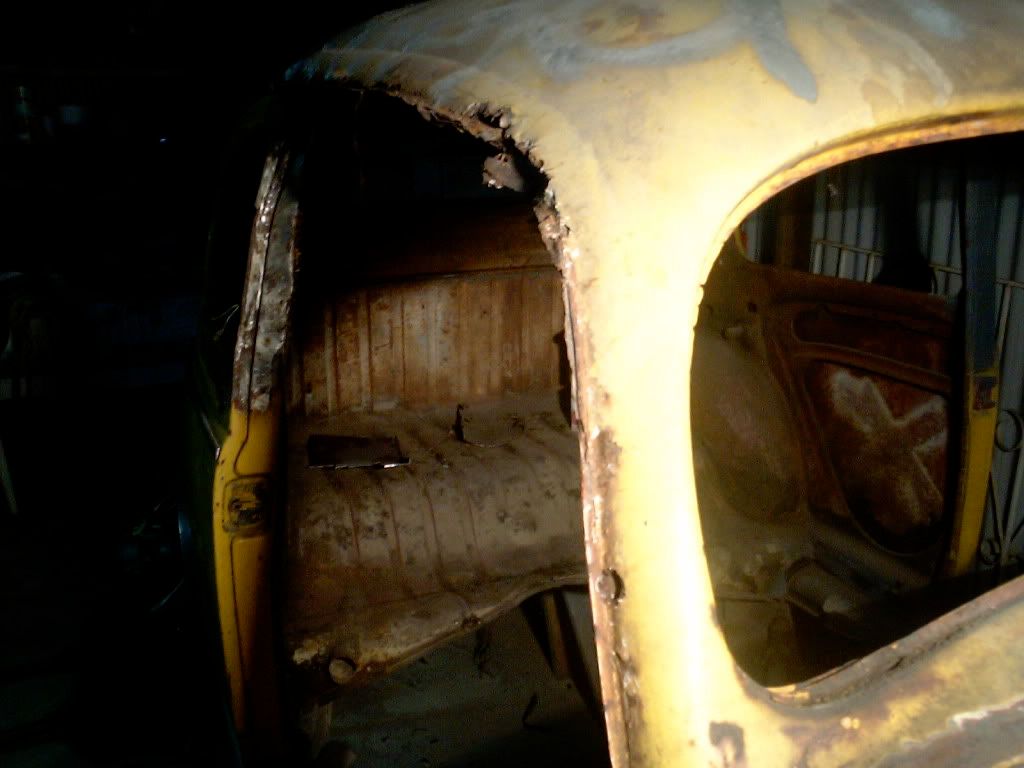
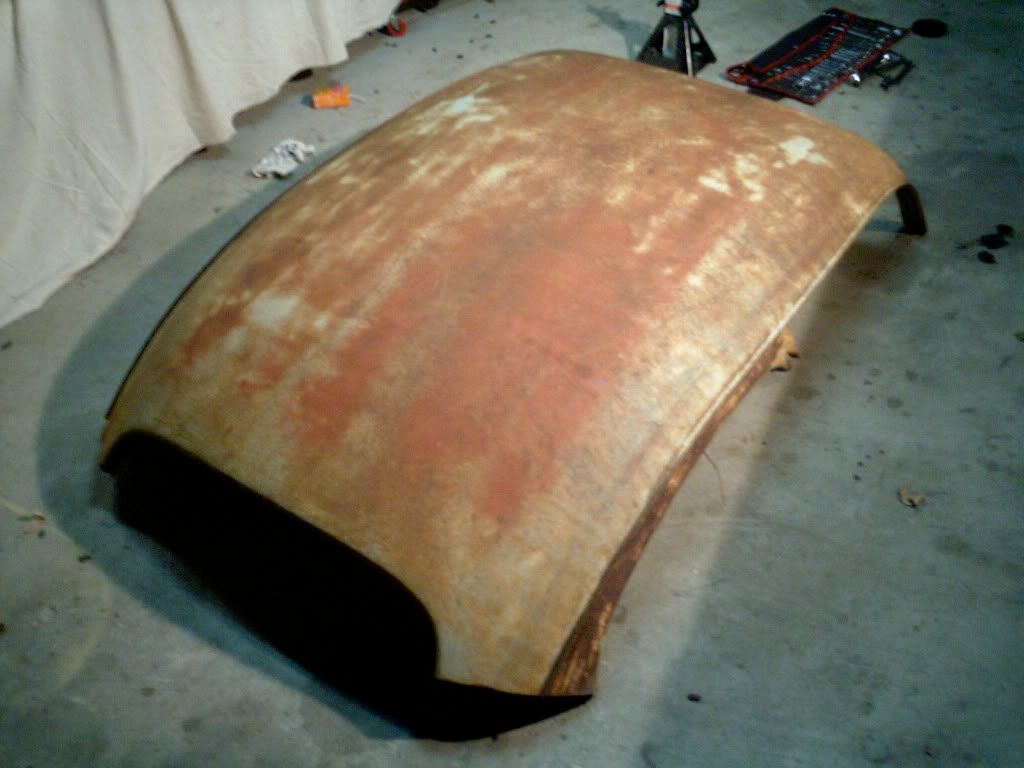
Could only get my hands on a big window roof cut (from someone on here) so i had to make do and make it work the shape of the oval windscreen with a
few pie cuts...
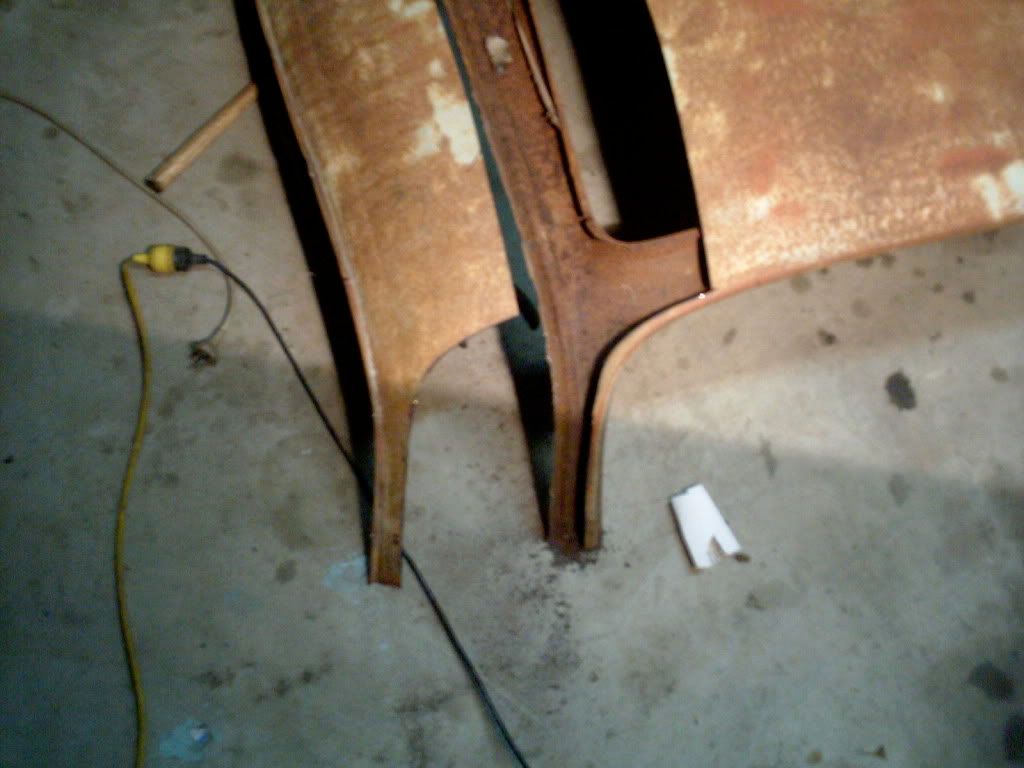
my oval must of had a HUGE hit back in its time and they built the semaphore post out of lead to get it looking right... we melted it out and look at
how out of shape it was.....
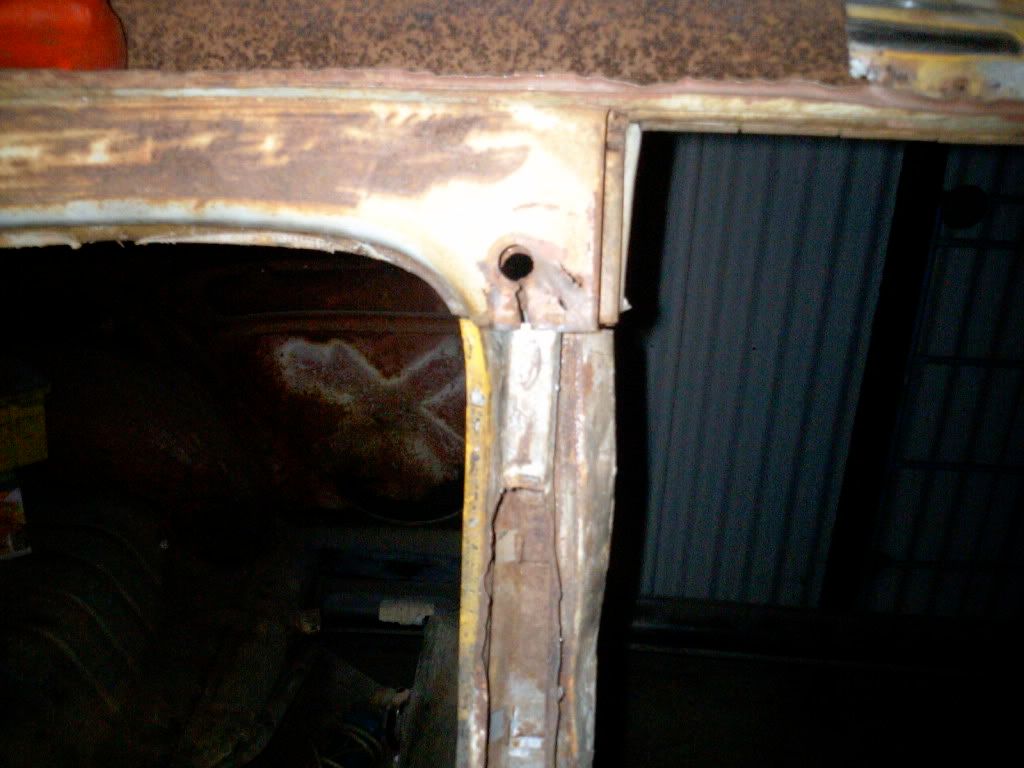
inner and out gutter skins replaced using a 58 roof on a oval :-$
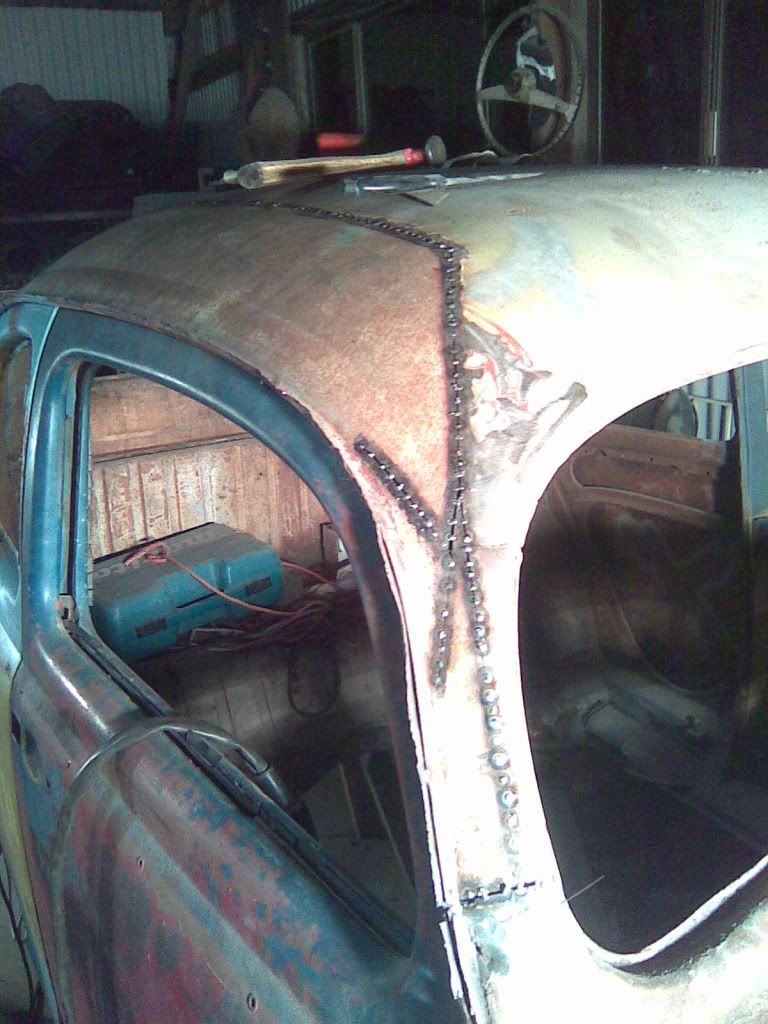
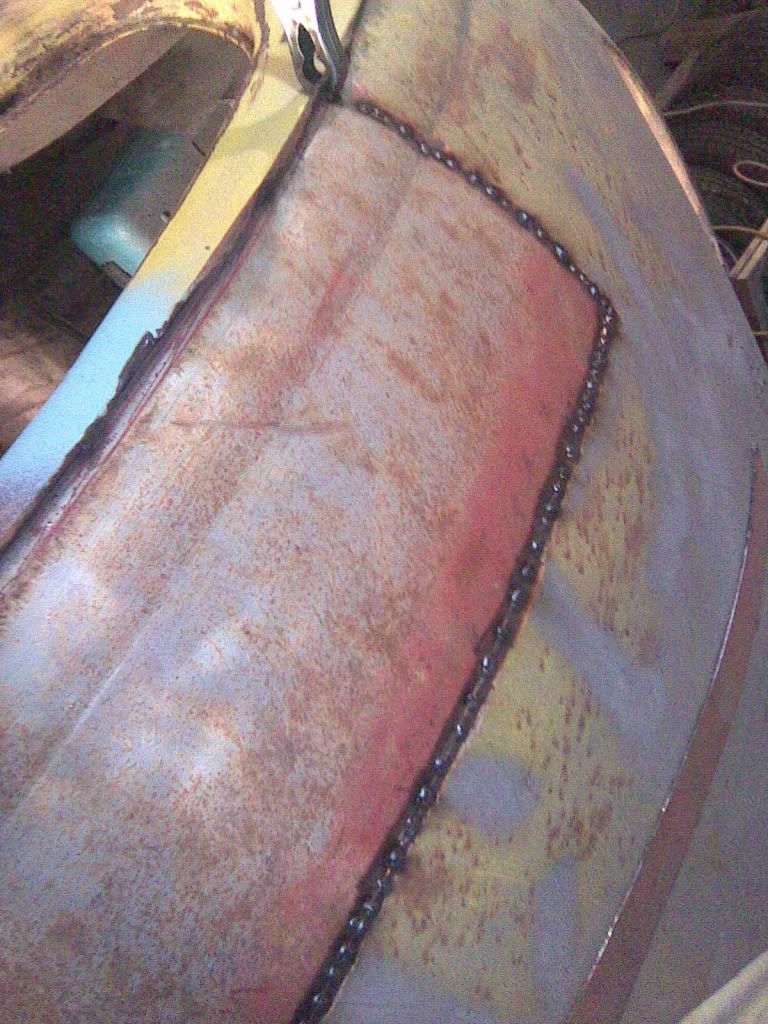
one thousand more rust repairs and it was finally time for abit of a mock-up which we trailered to action day a few years back... some of you may have
seen it??
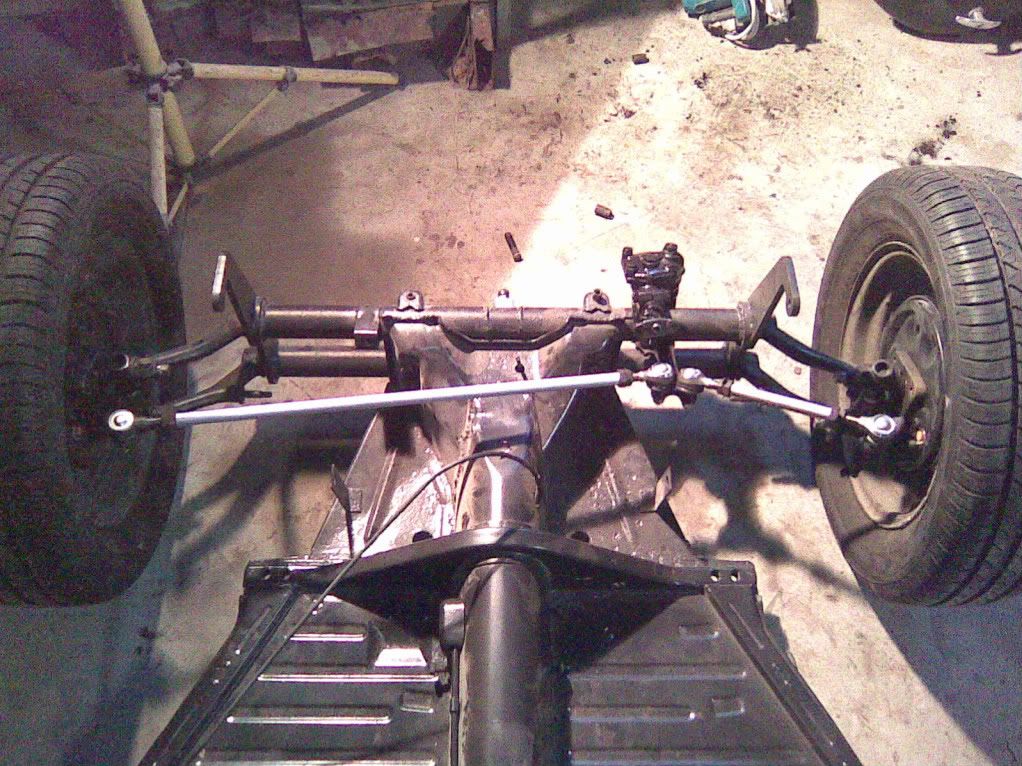
i did 2 new pans on and with the help of my brother we built a 4.5in narrowed beam with adjustable spring plates etc and we sat the body on for the
show...
Befor

After..

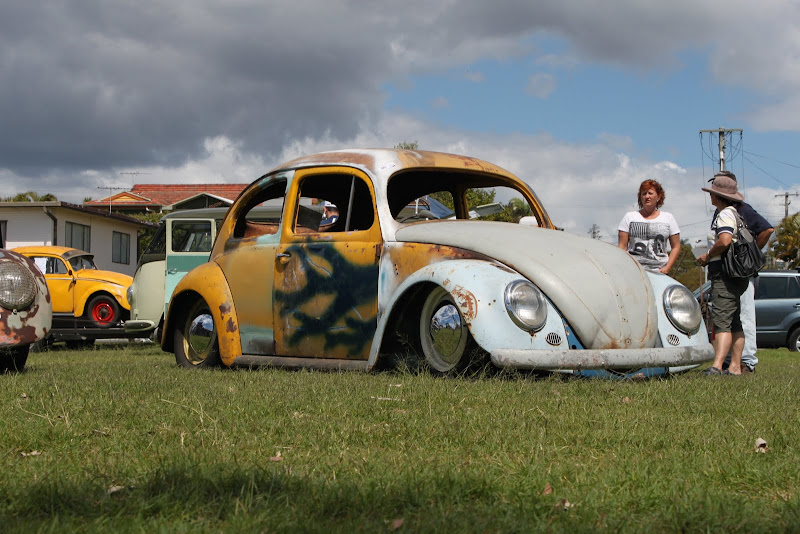
as i had welded on a 60's front nose (all i could get my hands on at the time)
i had to make my own "H" apron....


NUG637 - May 5th, 2013 at 08:16 PM
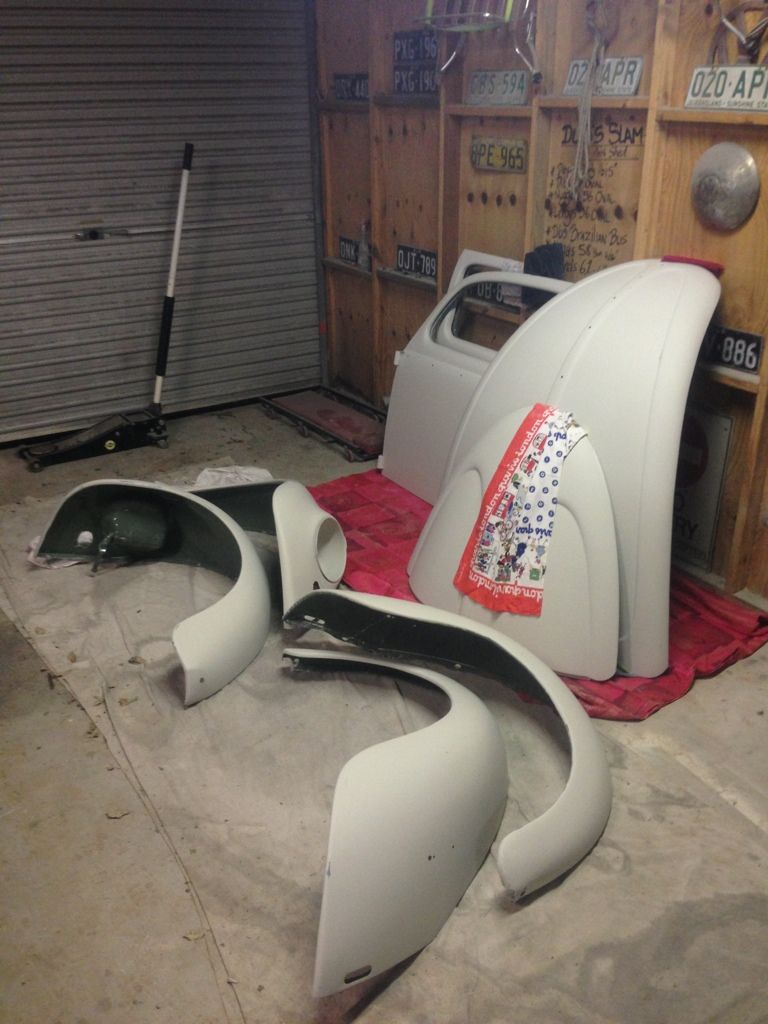
Now that i have let 1000 pictures tell 1 million stories (thousand more panels cut out and replaced but you get the idea... it was a POS).... finally
got it in highbuild just after christmas this year after taking it back to bare metal and working all obvious areas.
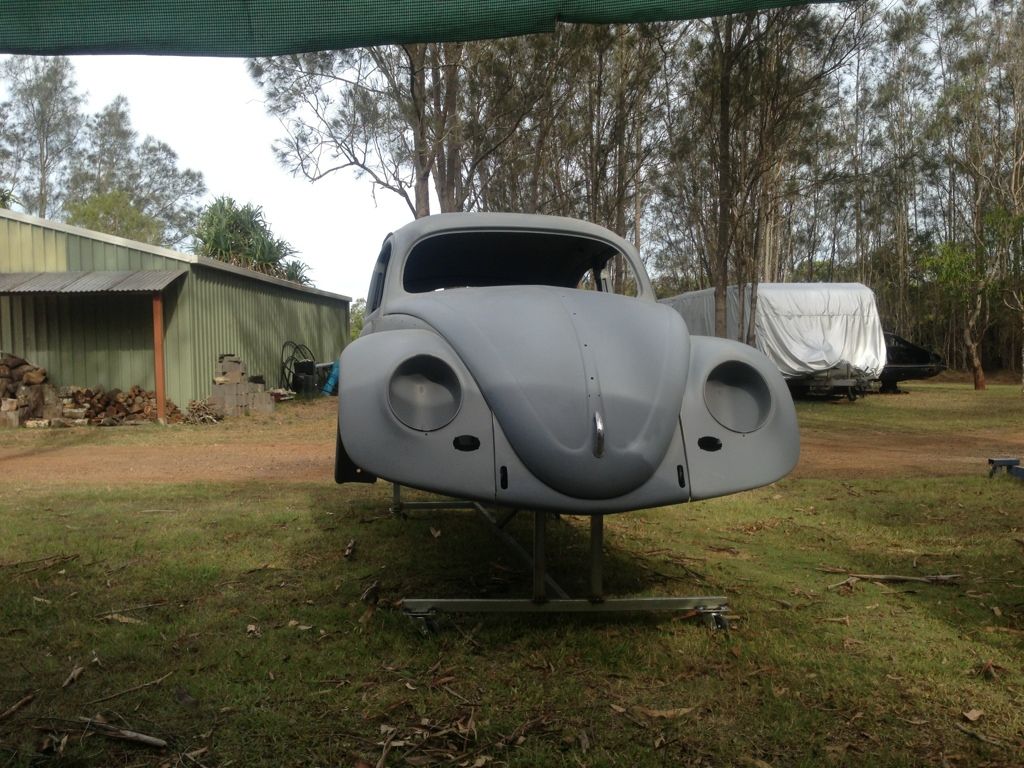
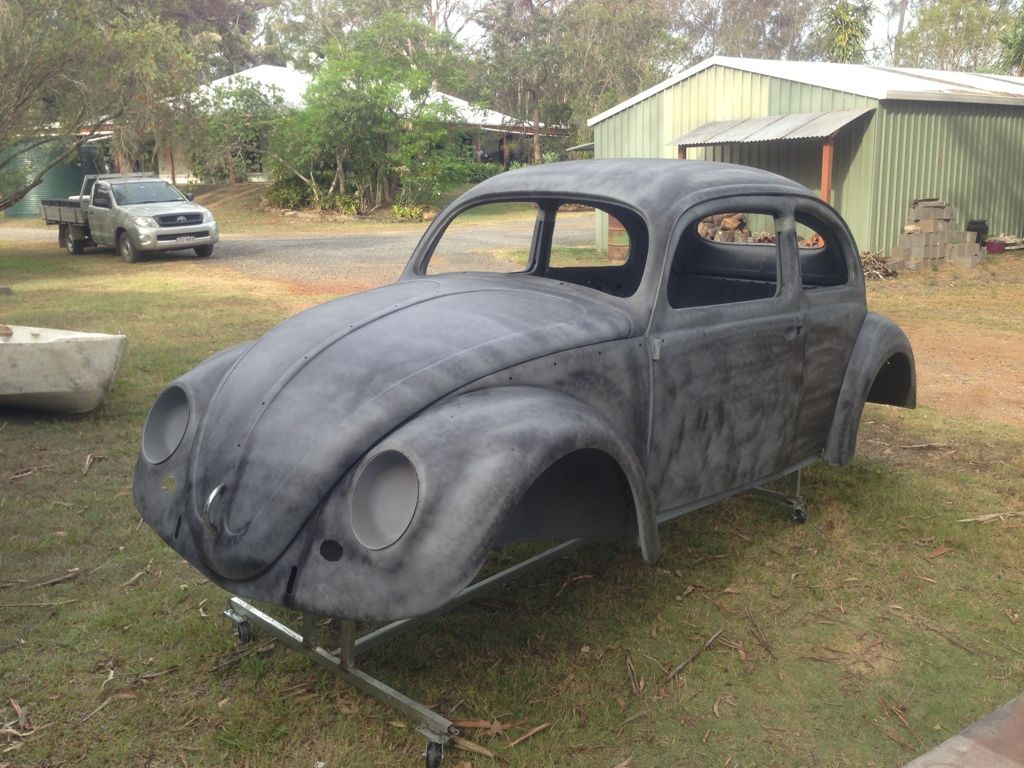
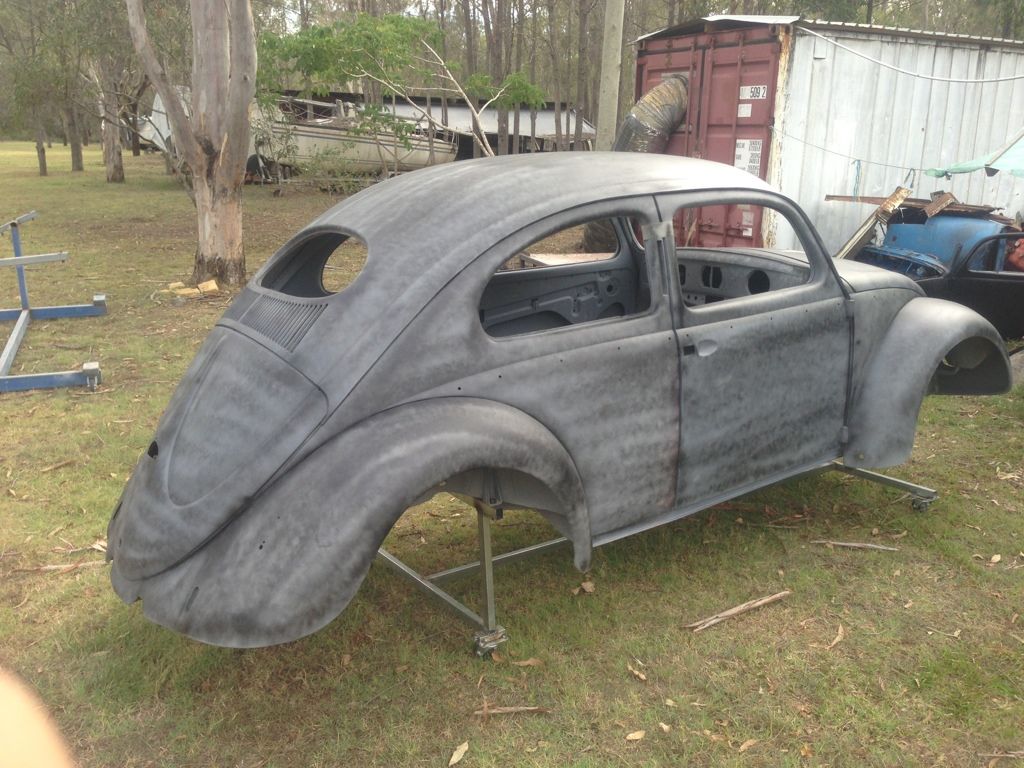
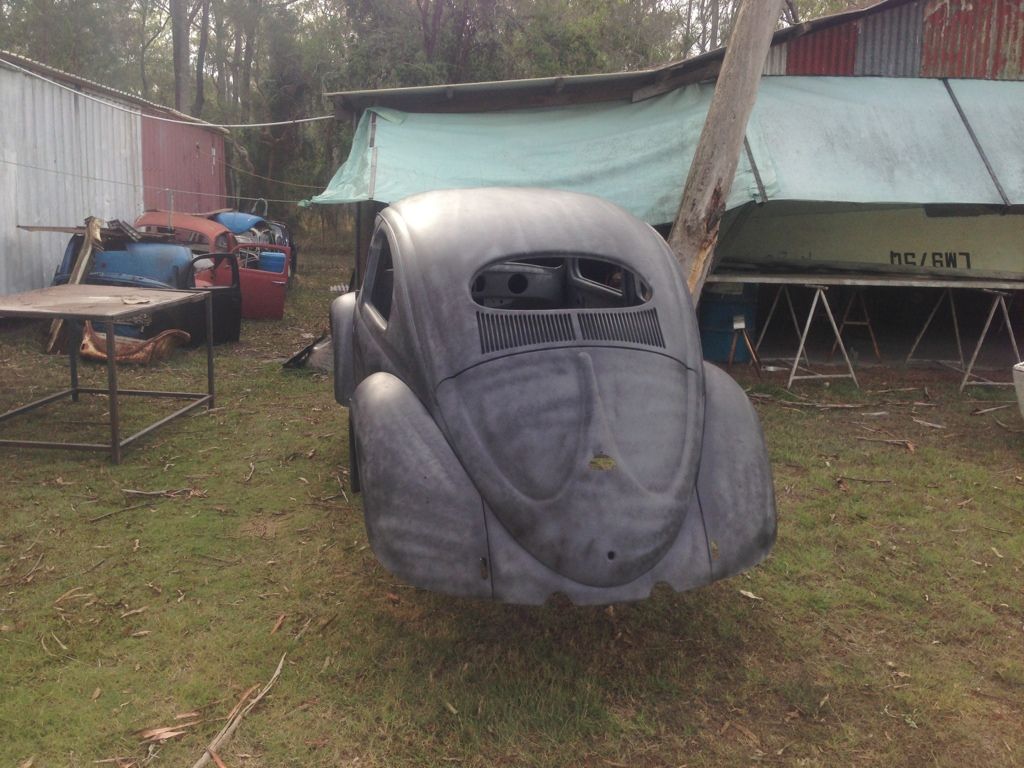
layed on some high fill
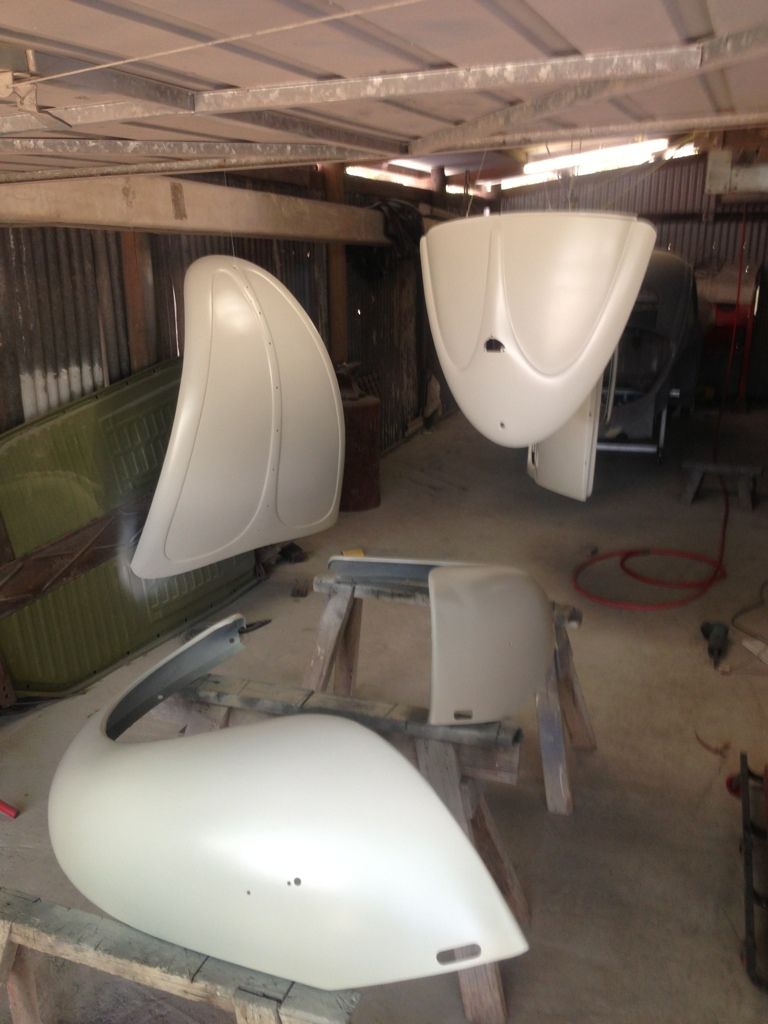

since then i have been block sanding and block sanding... i motherfucken hate sanding!!!
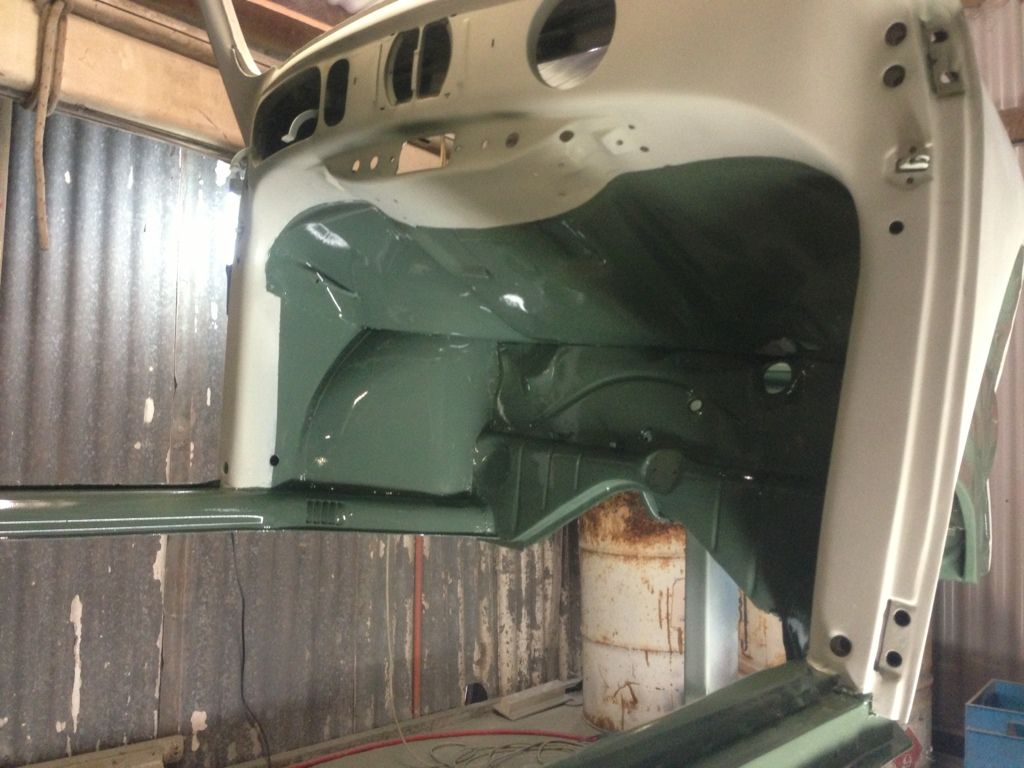
anyway got around to laying colour on the undersides of everything last weekend.... copying KCW's way of painting in 2 stages....
mmmmmm L11 Pastel Green!


Once i was happy with how it was shaping up with the high build.... it came time for wet sanding...
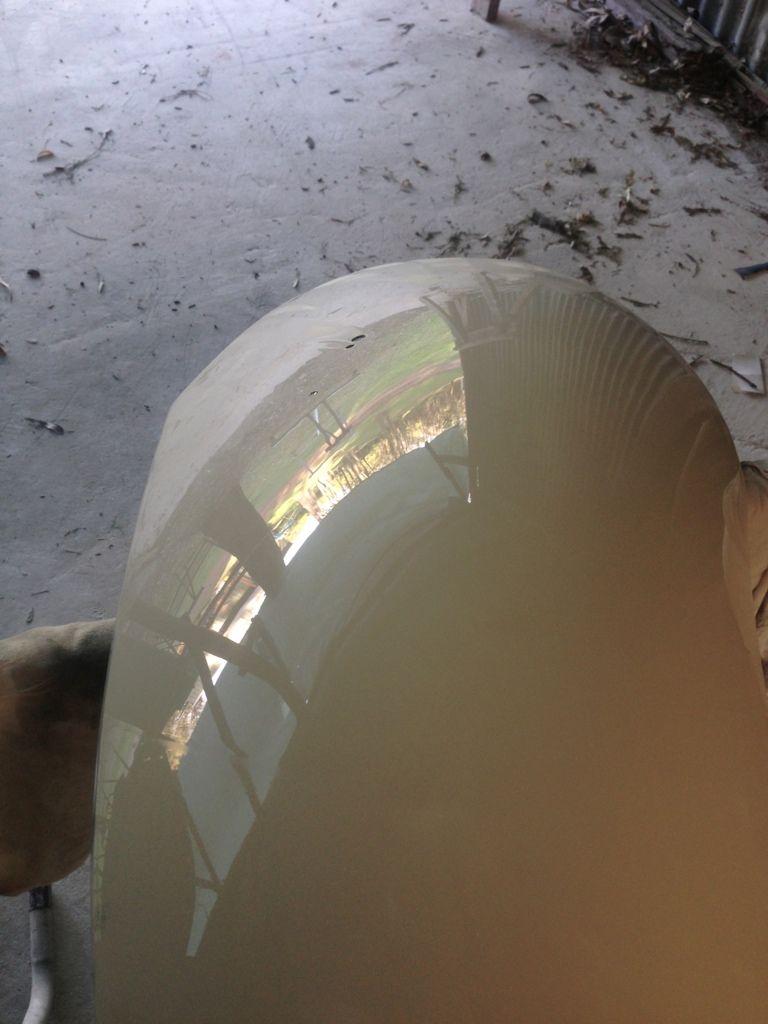
NUG637 - May 5th, 2013 at 08:22 PM
Back when i First purchased this and bought the heater chanels off Al at Das resto Haus, he offered me his booth to use when it came to paint... im
not sure if he saw the courage and passion i had or if it was an off the cuff gesture which he kept to his word... and i cant thank him enough!
we dragged it down to his and with a few pointers of how to spray (my second time spraying 2k) i went to town!
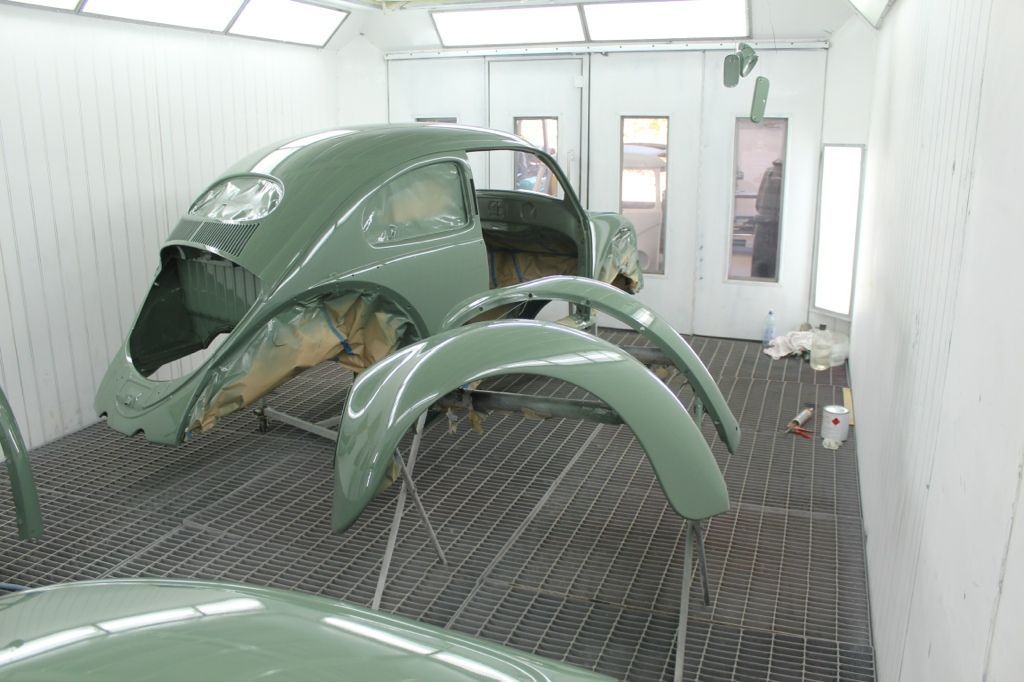
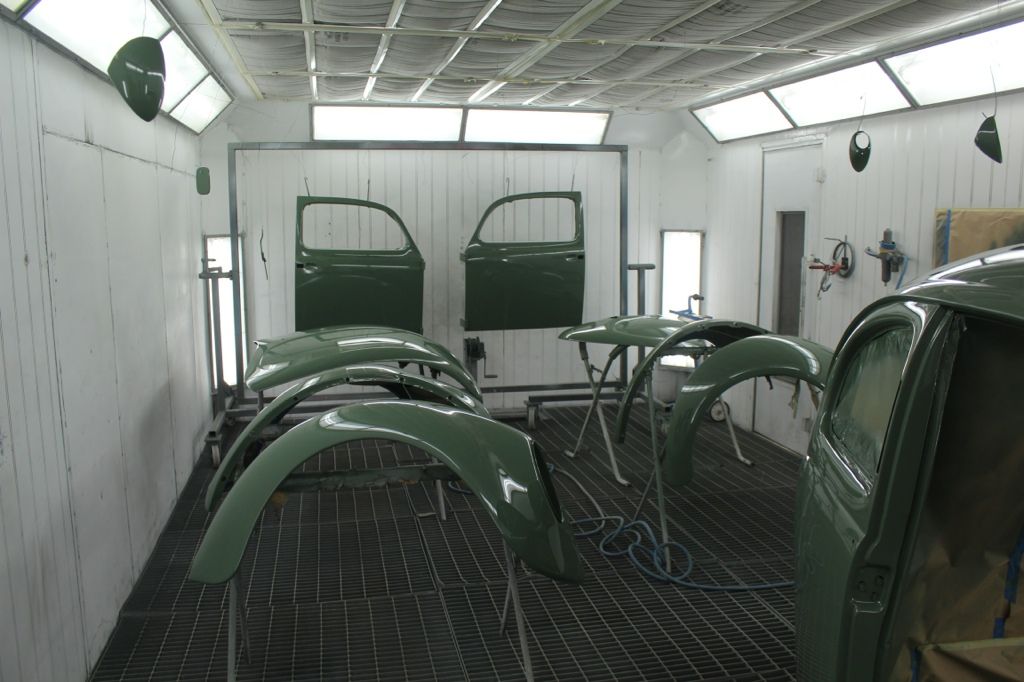
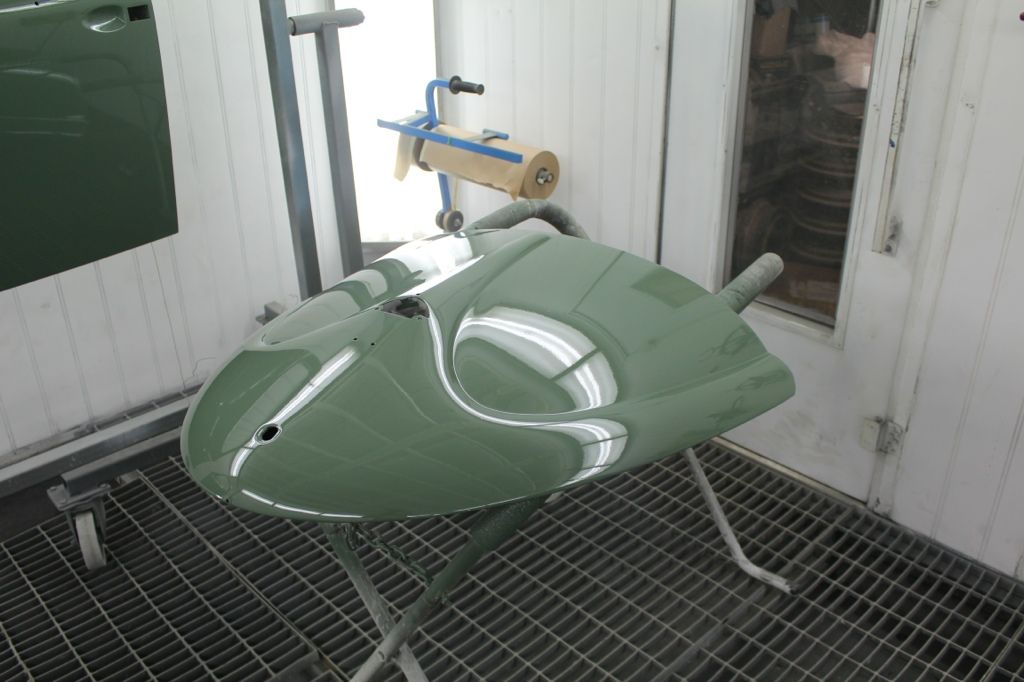
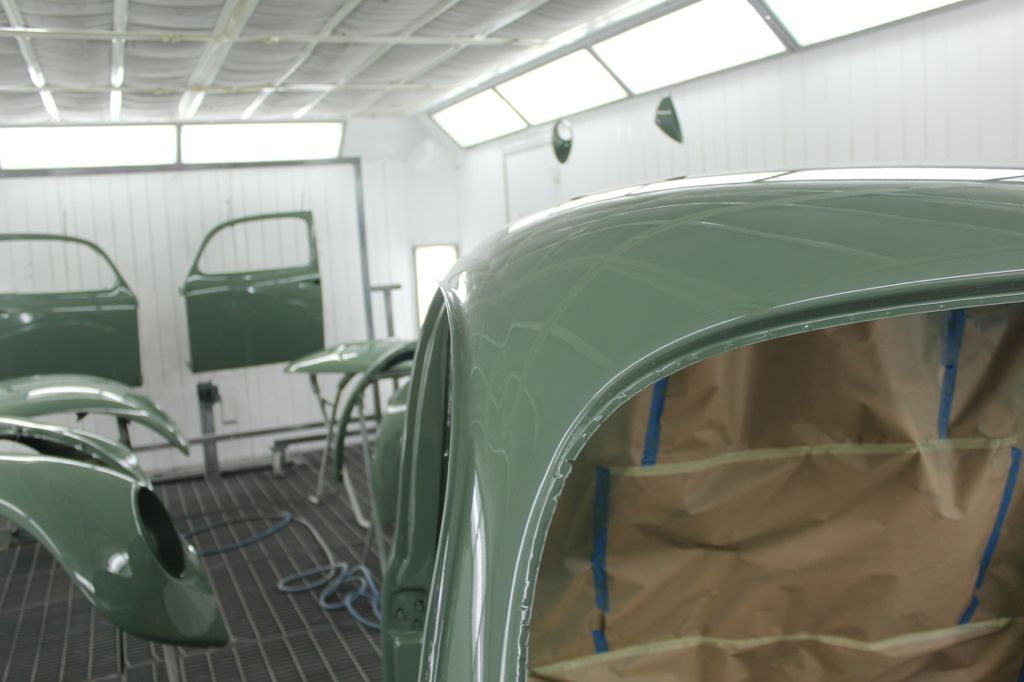
I honestly can't believe how straight it is! Specially the roof that we made out of a big window roof section...
Just after the first coat I stood back and everything was green and it looked like a brand new car.... I would be lying if I said I didnt choke up
abit but had to pull myself together cus I had another mother fucken coat to spray
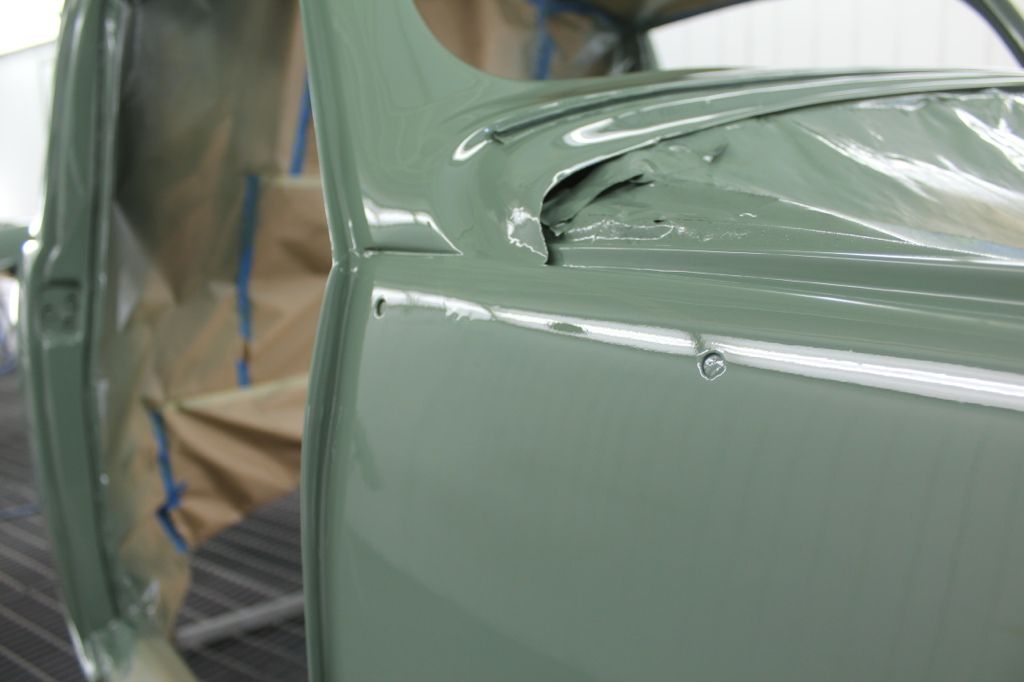
I managed to get one run over the whole job but it turns out it will mostly be covered by the chrome.... Winning!!!
I really can't thank Al enough... And his systems and advice was grand...
Anyway enough jibba Jabba... Here are the higher quality photos....
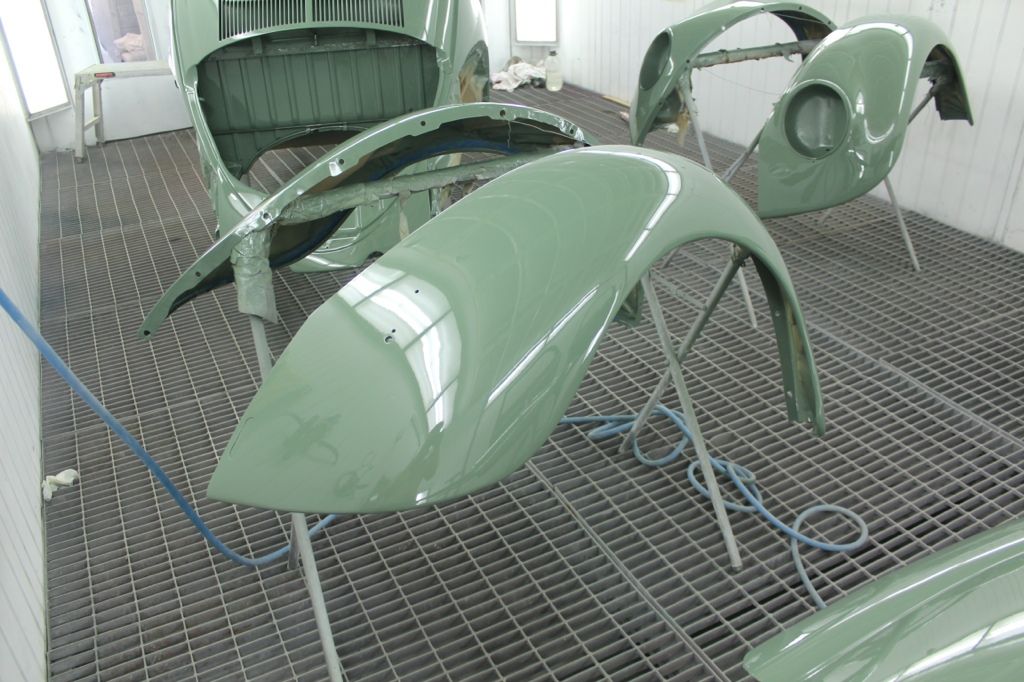
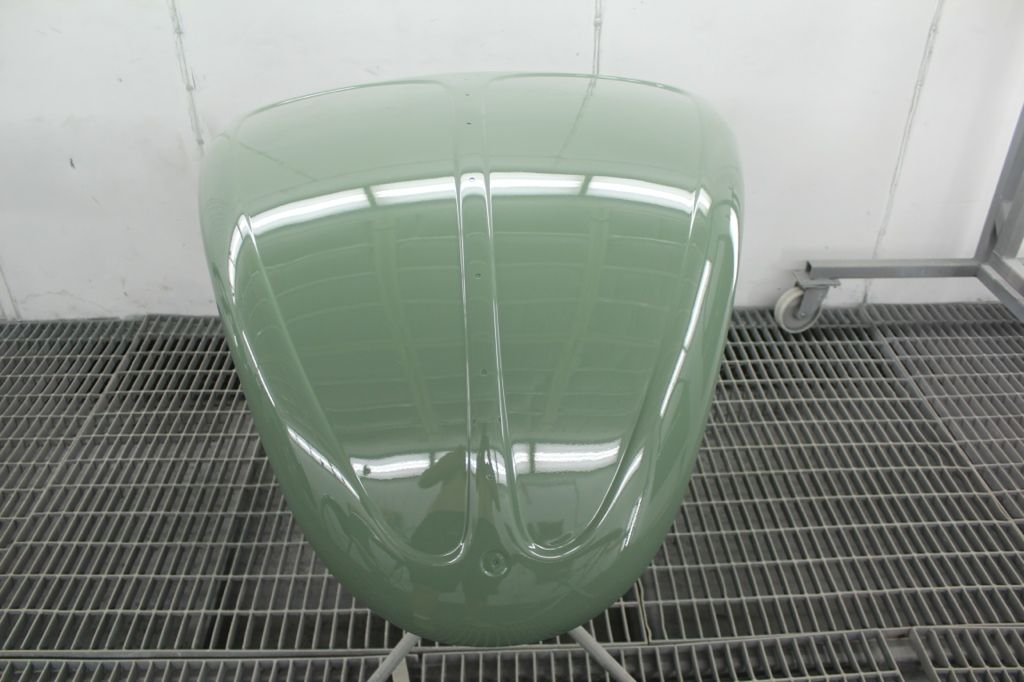
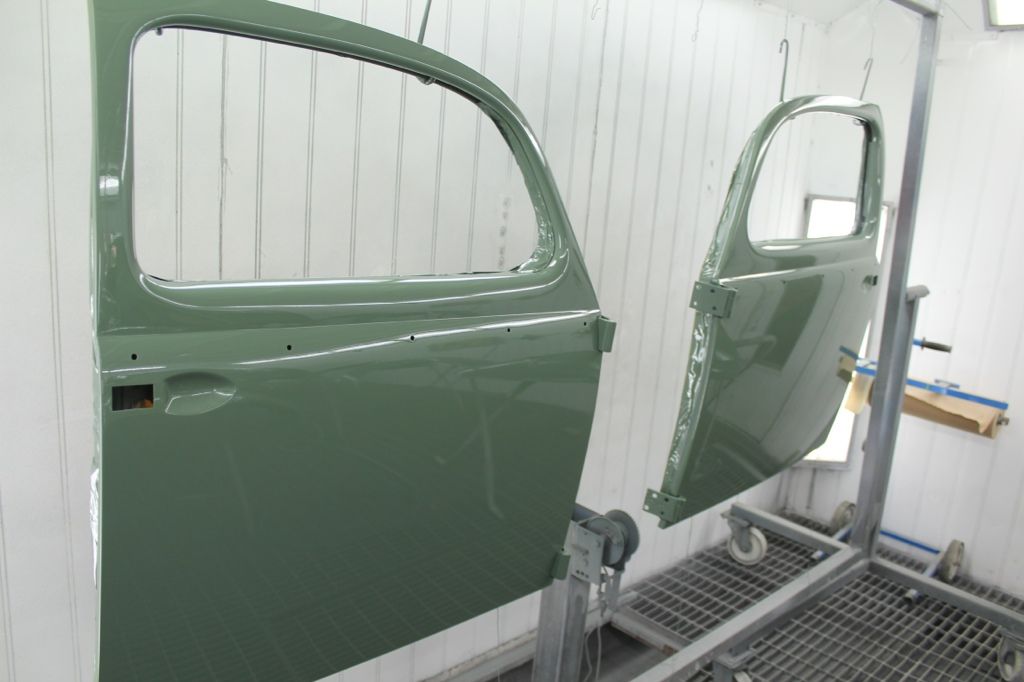
Here is a picture or the run... Where the front cowel meets the front quarter... I knew exactly when I did it,,. I doubled back on myself and knew I
loaded it up to much... But glad it will be mostly be hidden
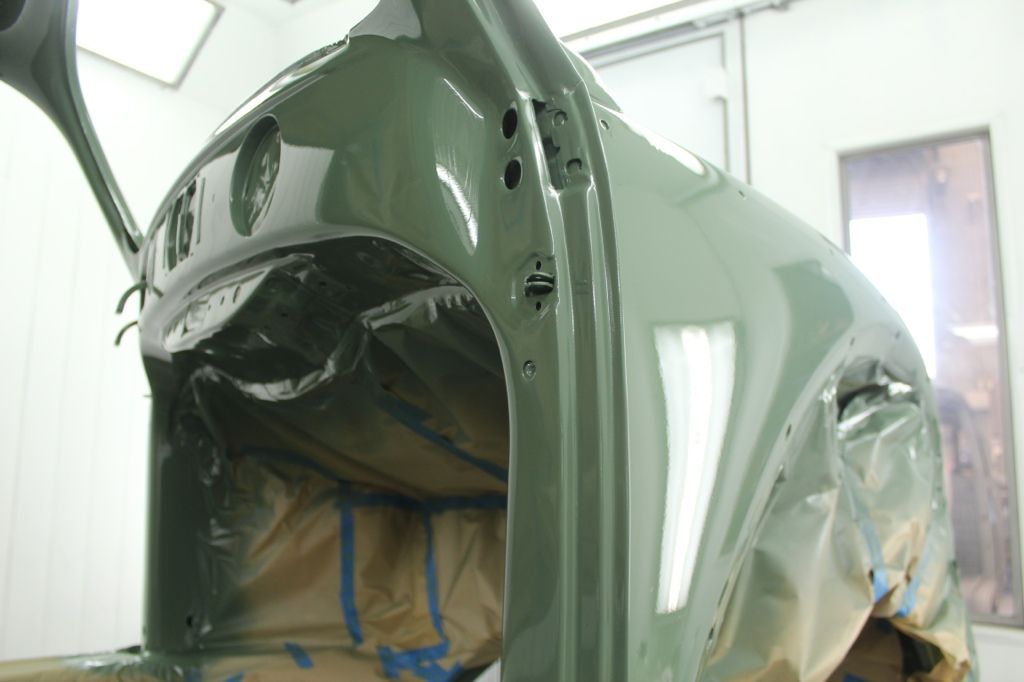
The 60's apron I had to make into a h apron
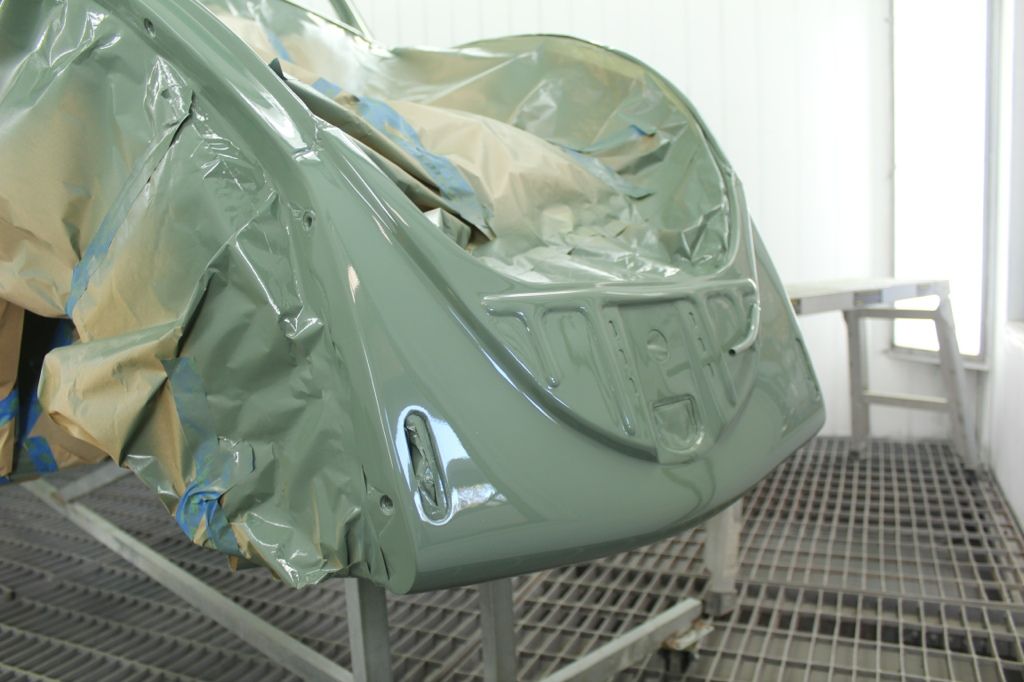
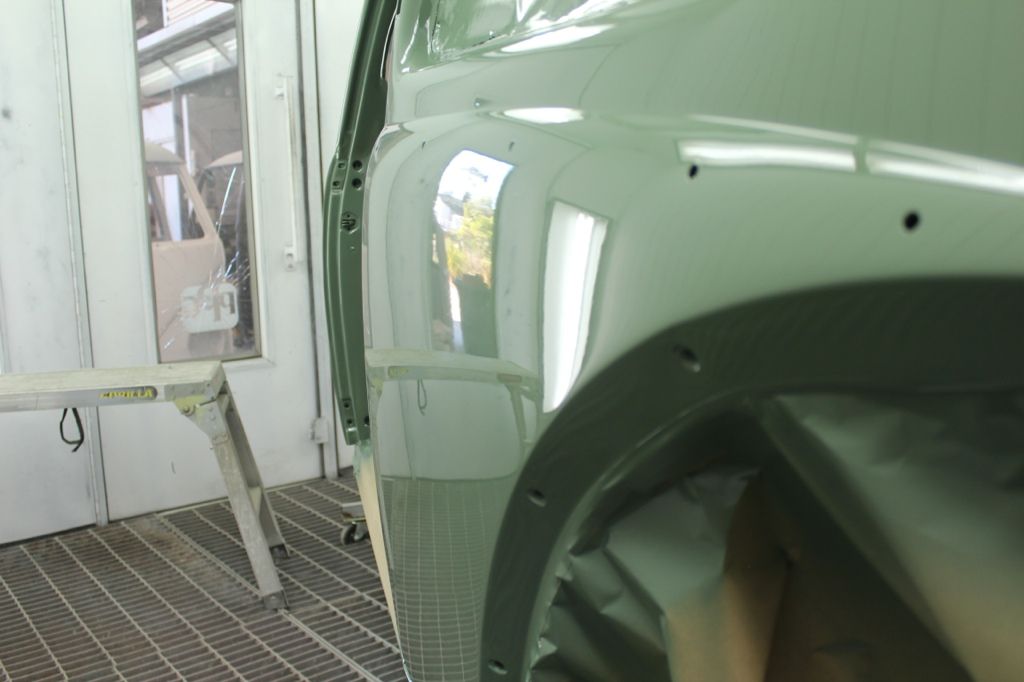
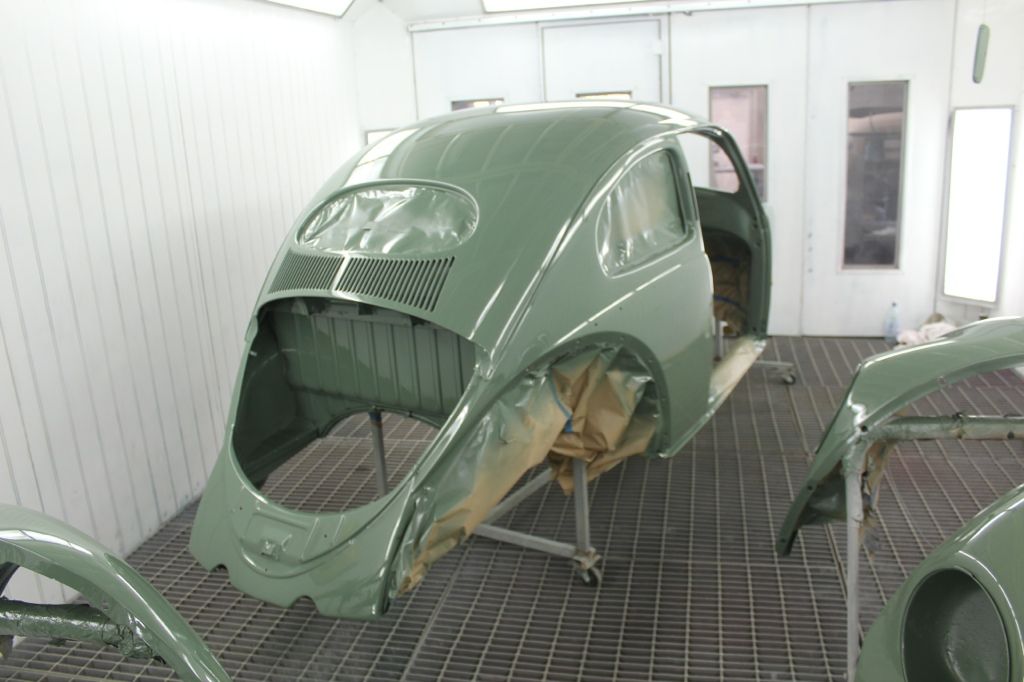
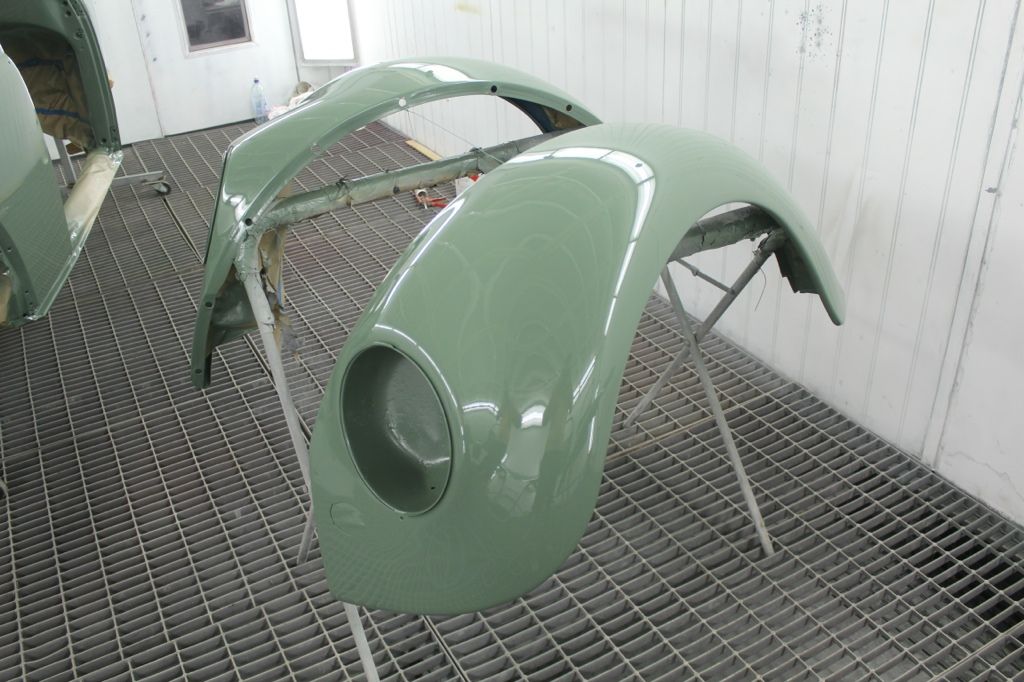
The roof turned out amazing!!!
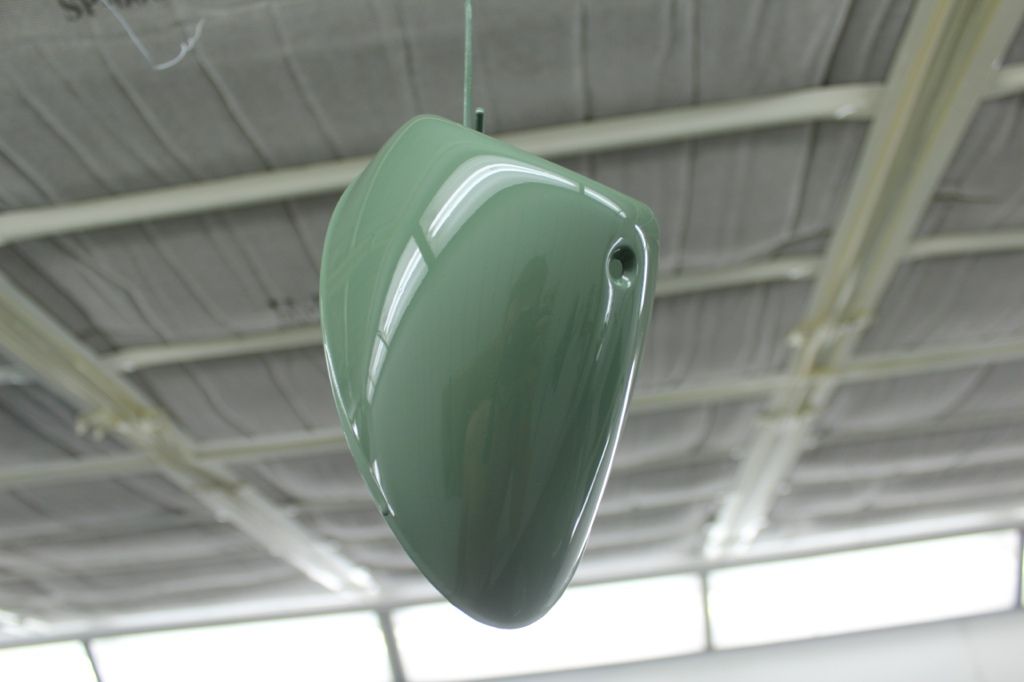
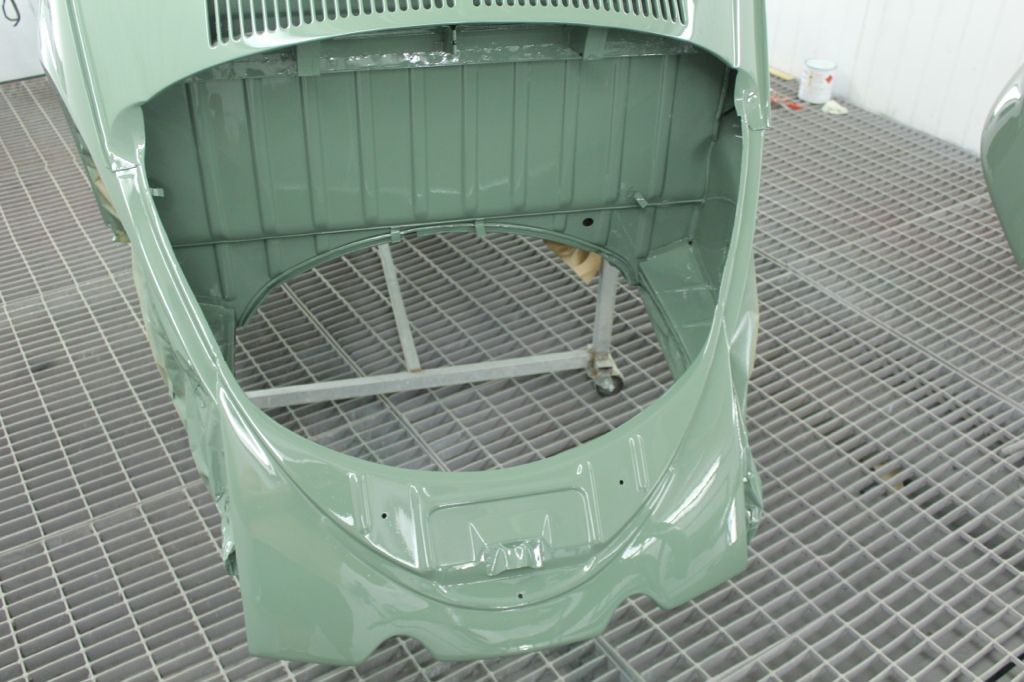
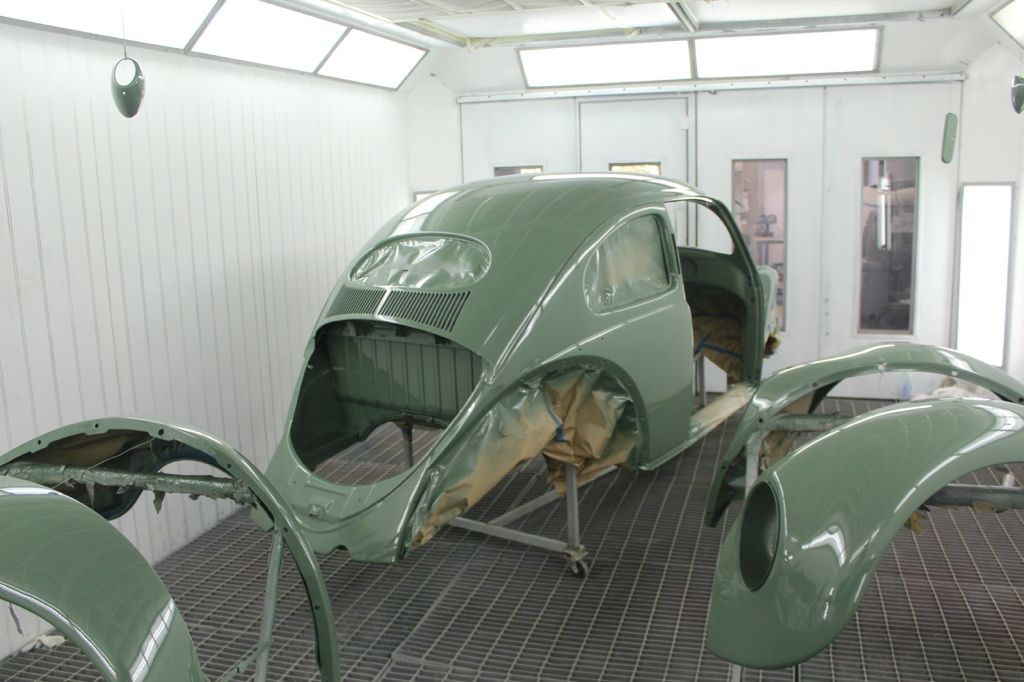
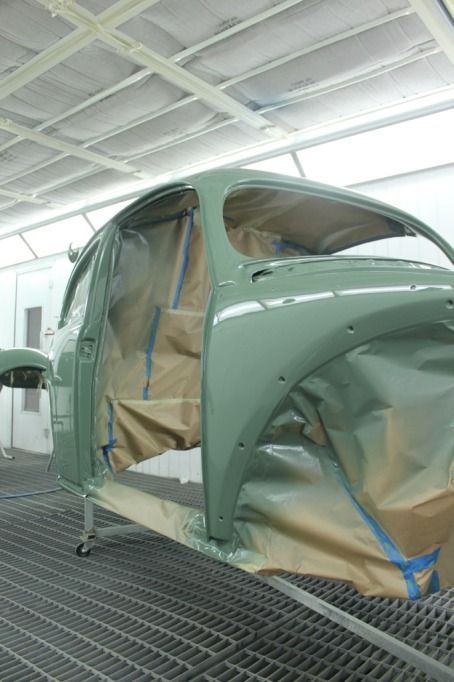
i was grinning ear to ear that day... and in all honesty i cant beleave i "did" all that.... every square inch....
NUG637 - May 5th, 2013 at 08:25 PM
once we got it home and back in our shed
i started cleaning parts, blasting parts and painting parts
cleaned up my interior light swiches that mount in the door jam.... along with alot of other bits and pieces...
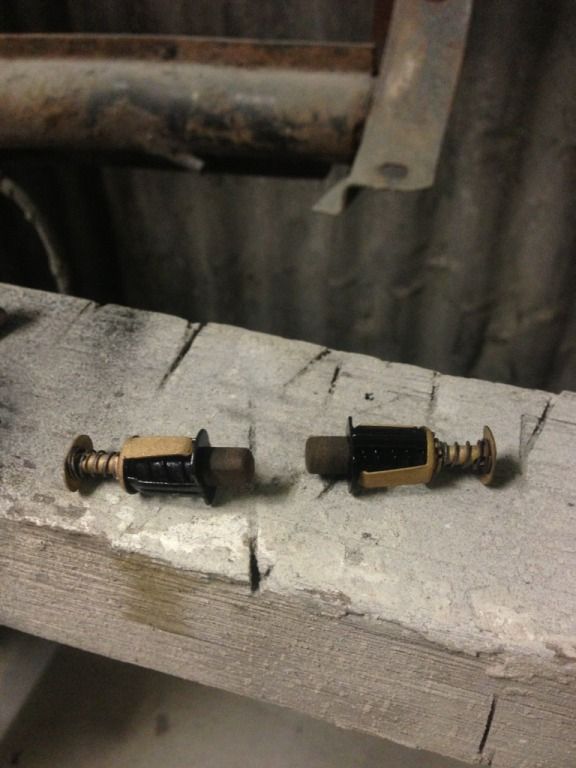
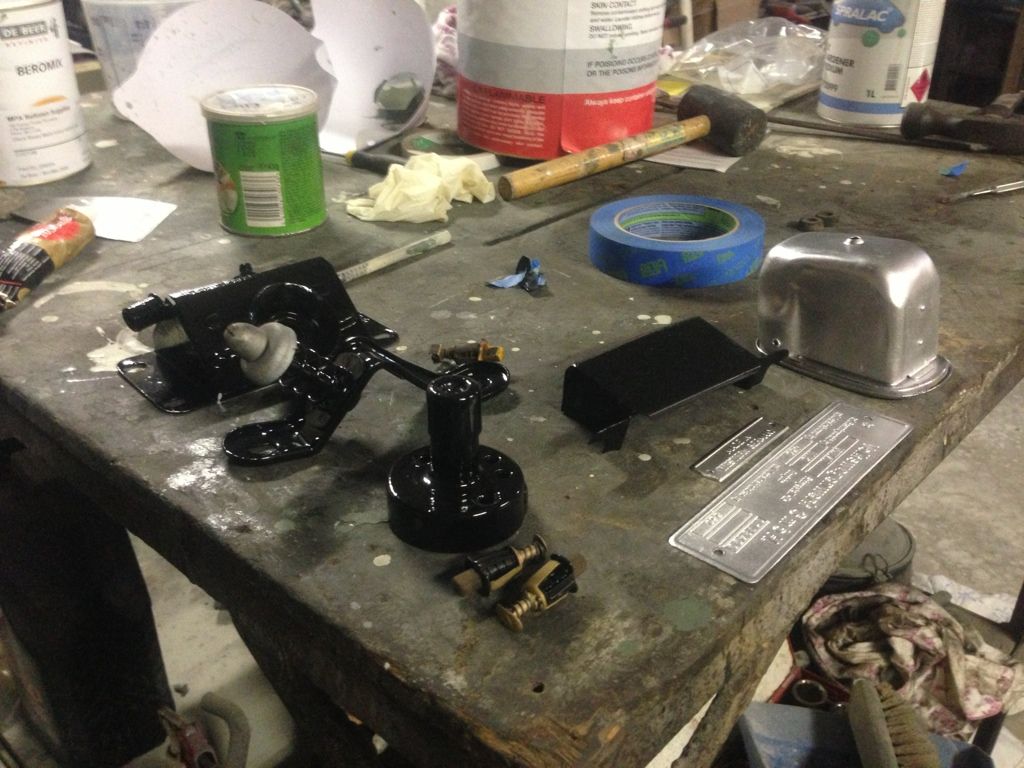
While down at Das Resto over the weekend, Al lent me one of his "small guns" and i loved it, so i went out and got one...
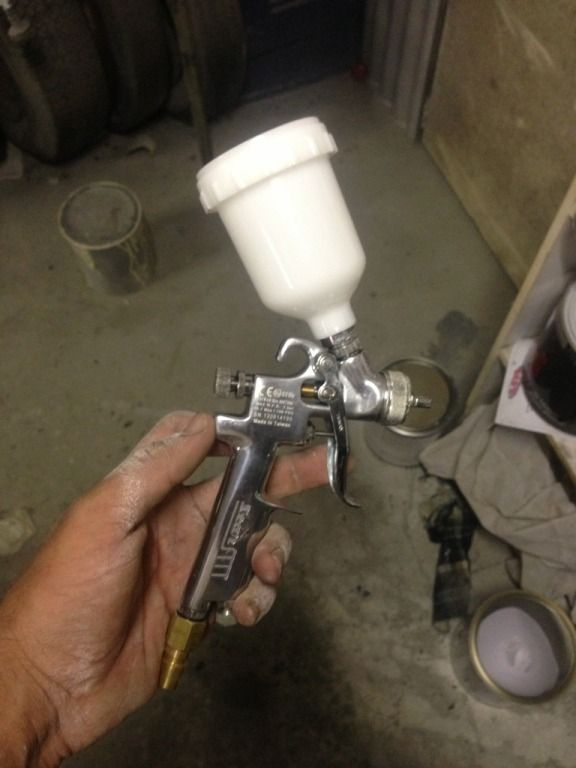
it worked a treat with the 2k on the small bits
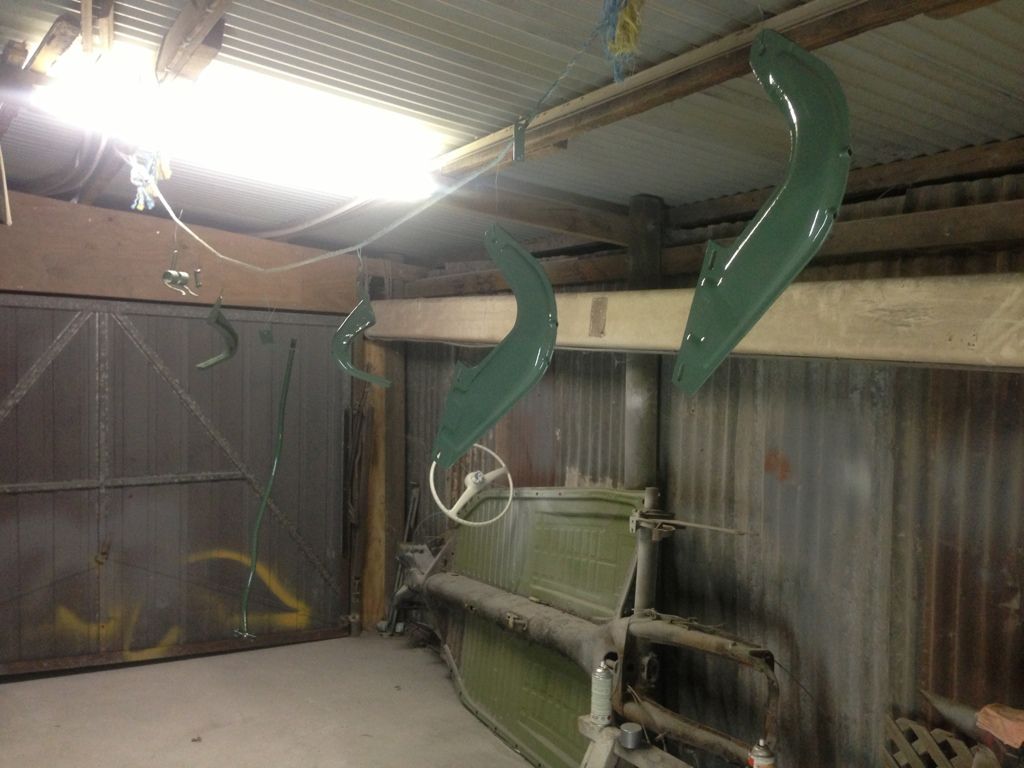
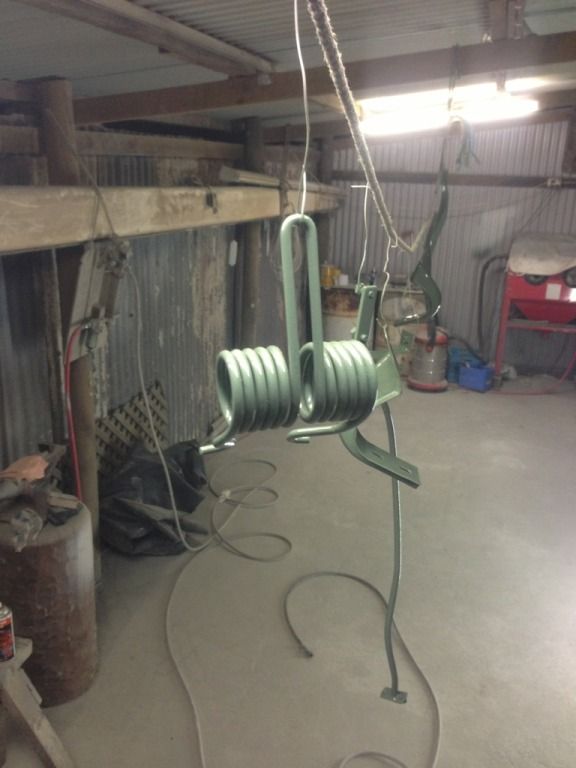
a few things in highbuild
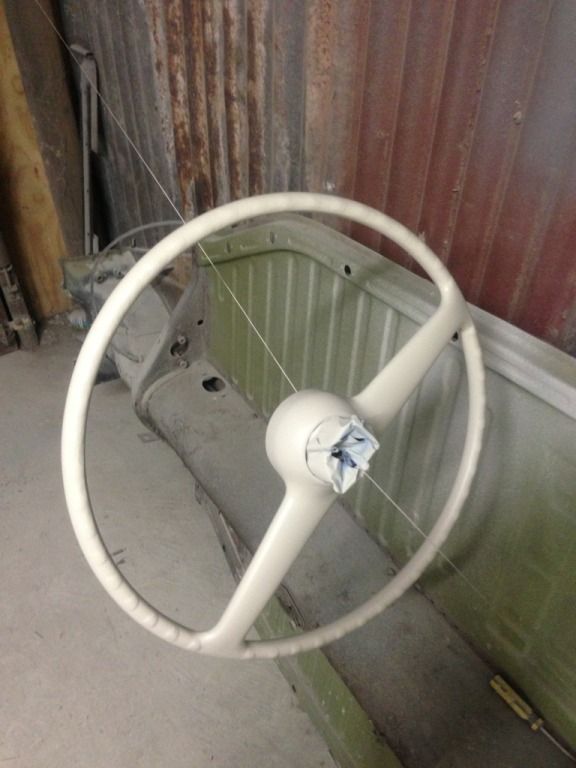
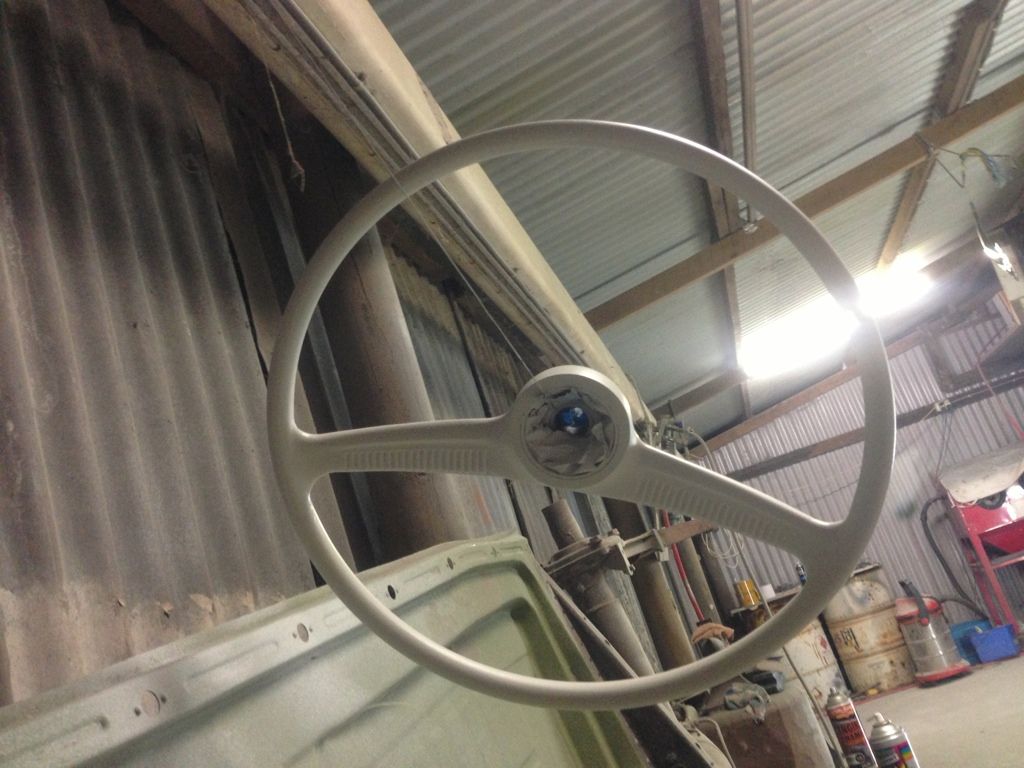
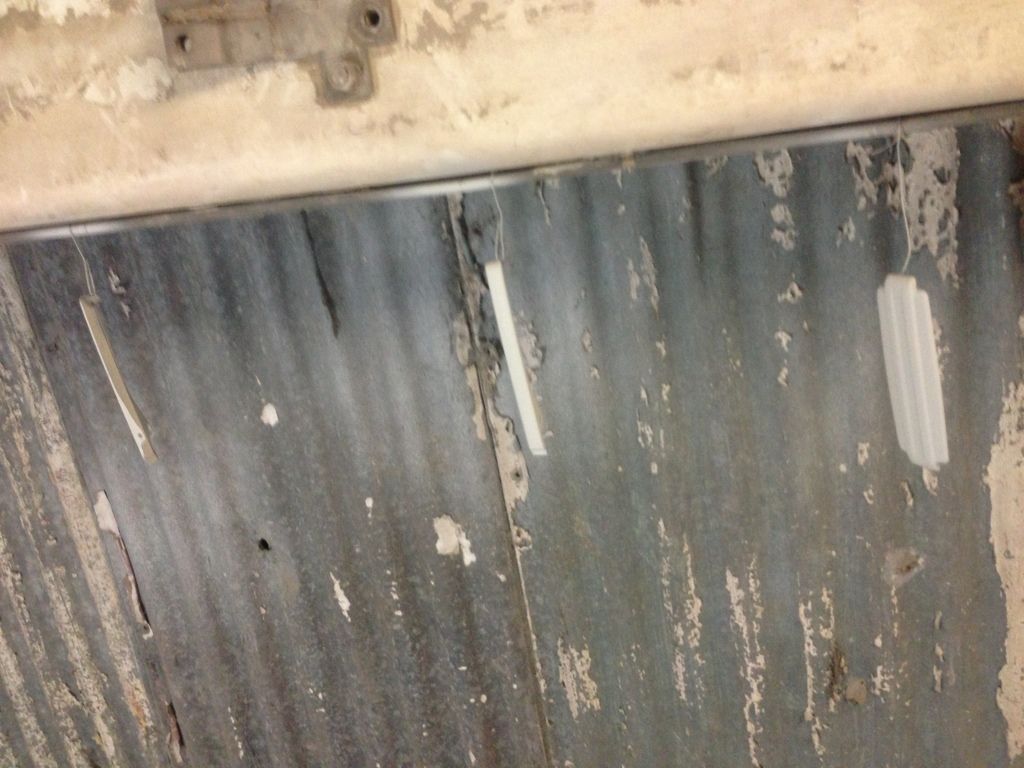
NUG637 - May 5th, 2013 at 08:26 PM
got the wheel, column, and most the interior stuff in paint...
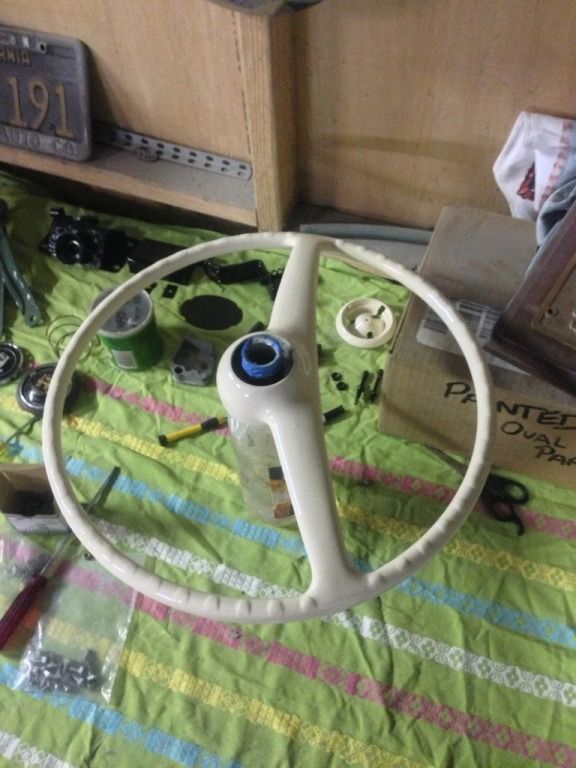
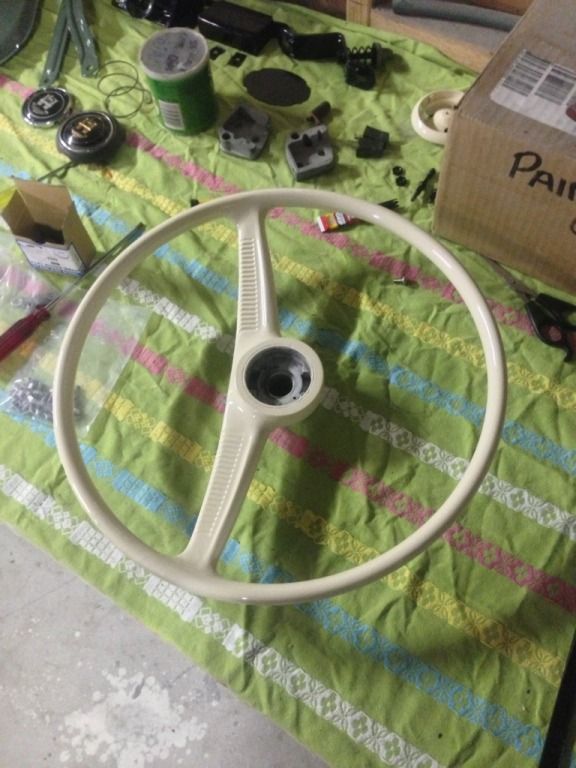
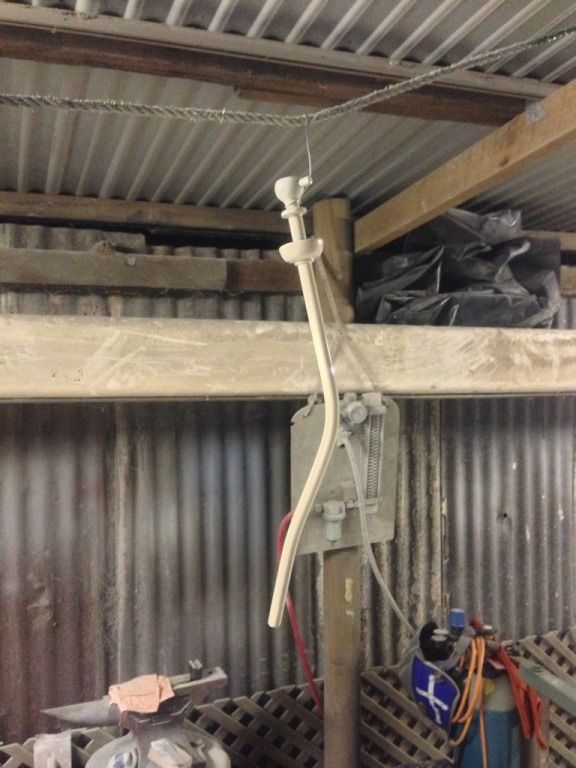
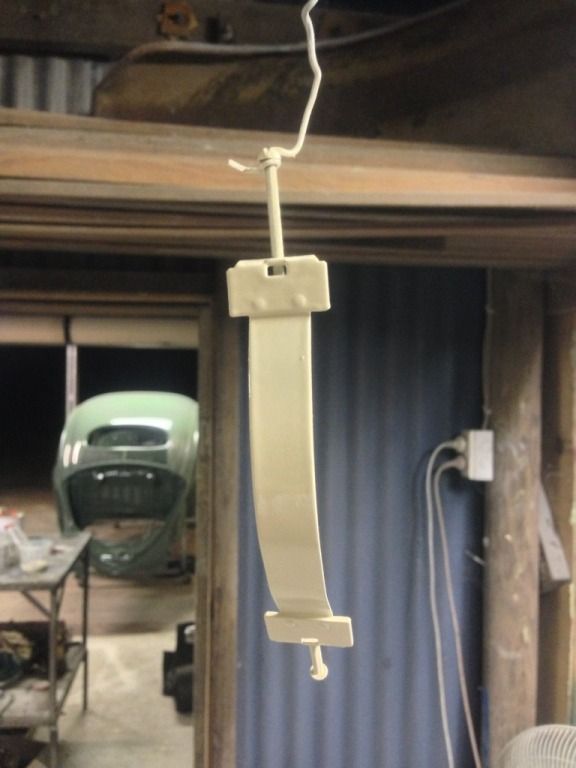
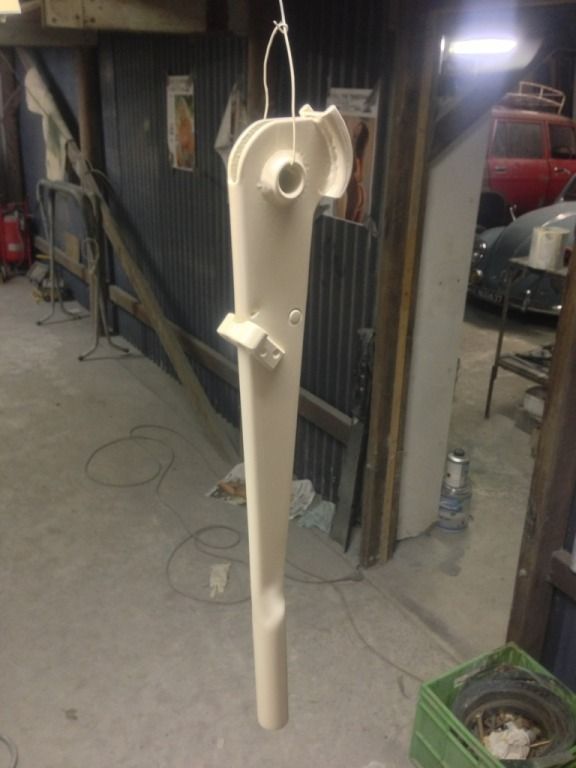
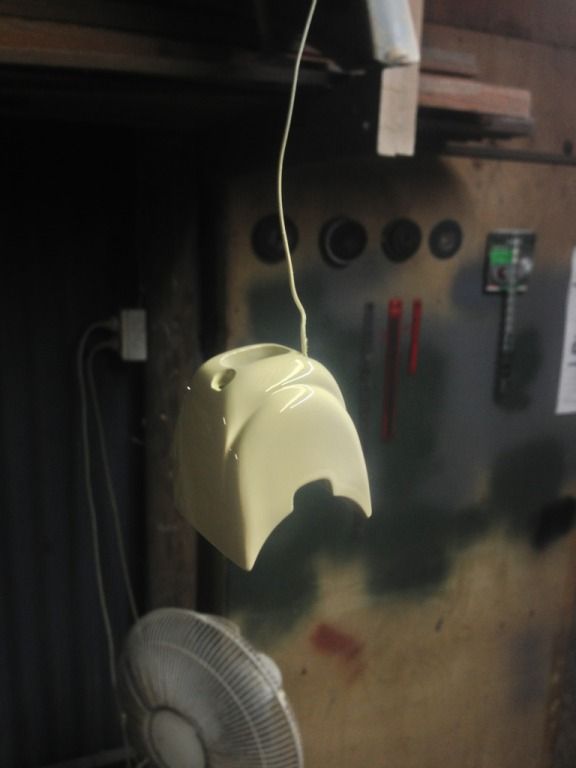
polished and assembled heaps of old stuff
befor...
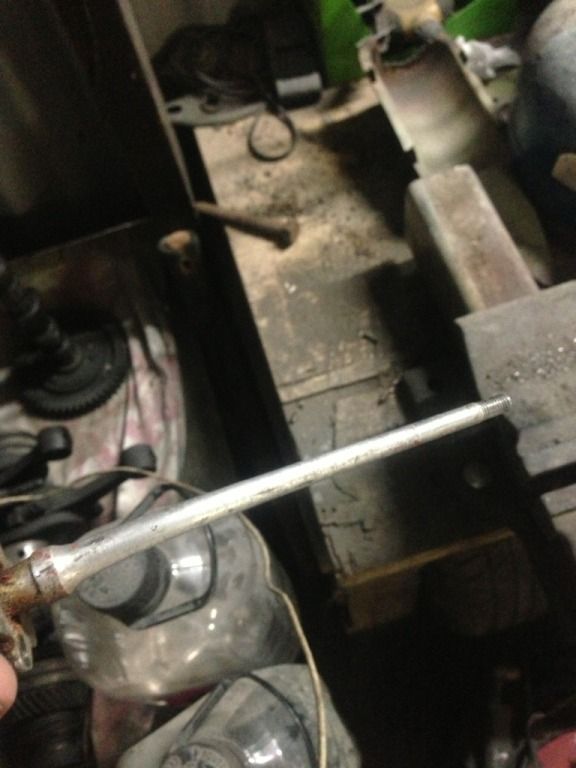
after...
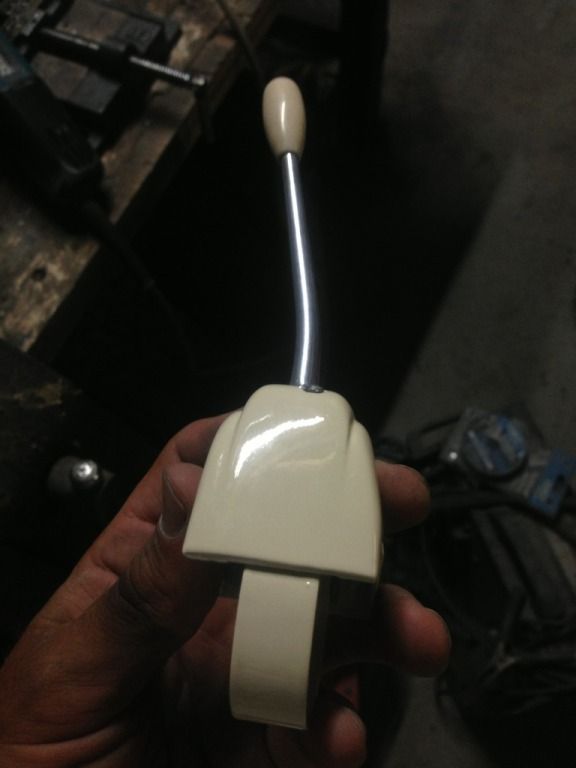
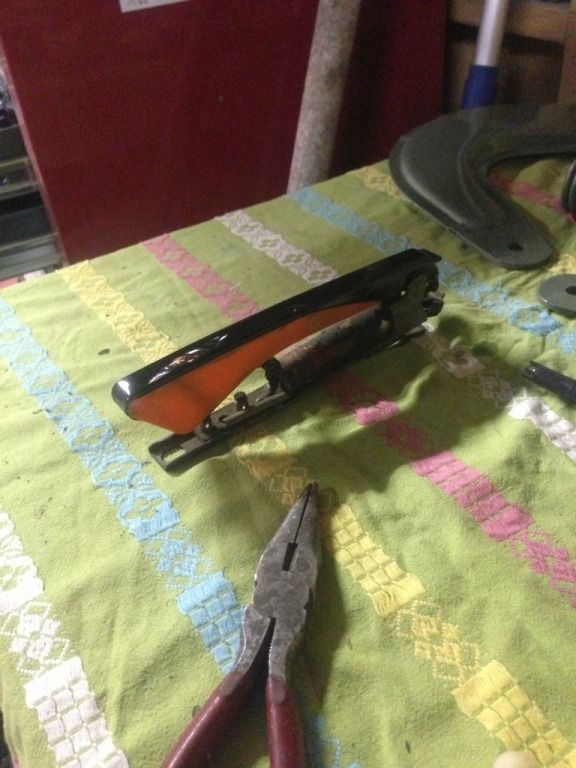
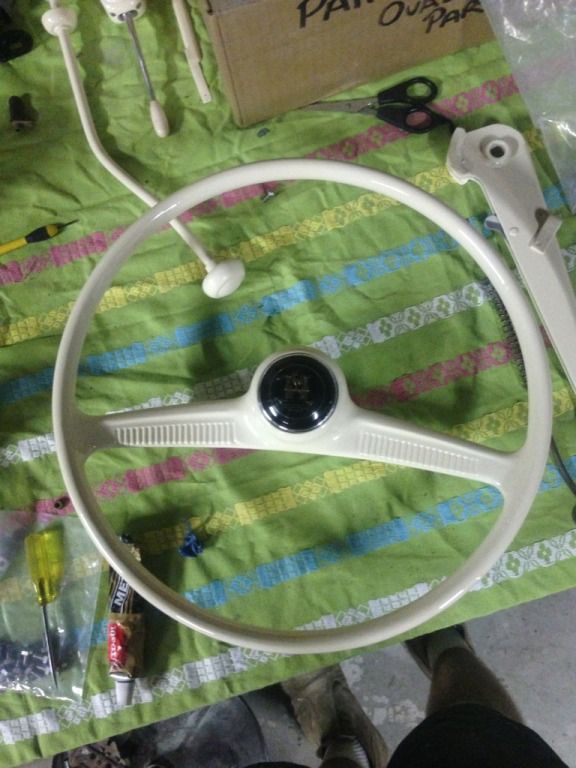
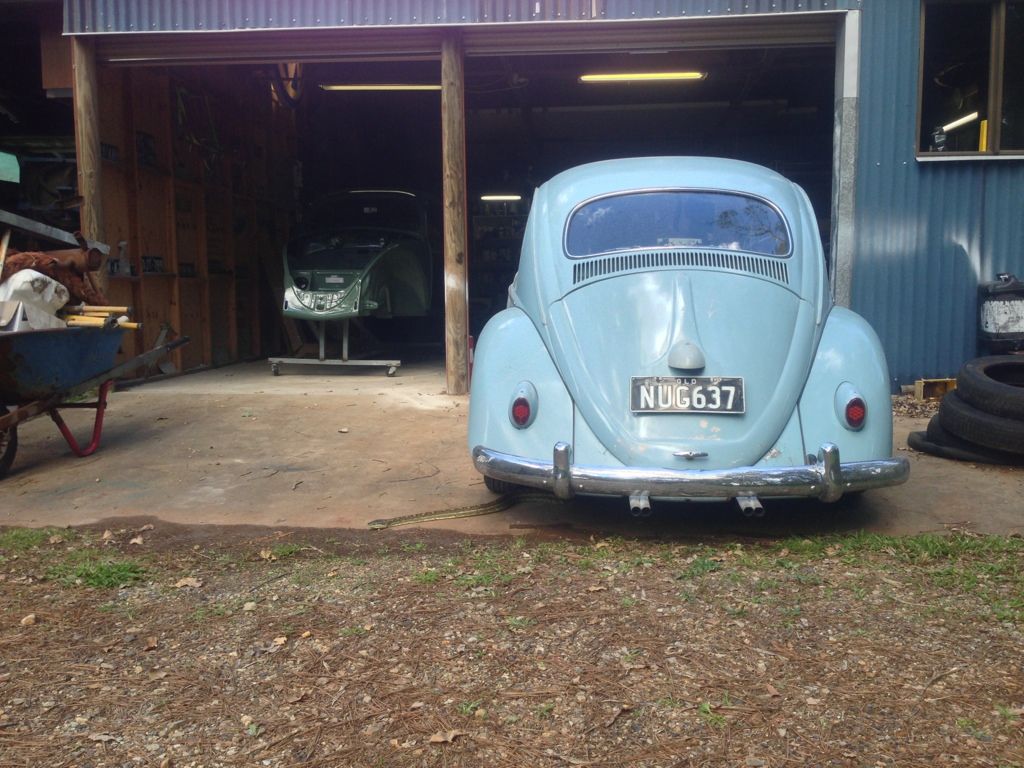
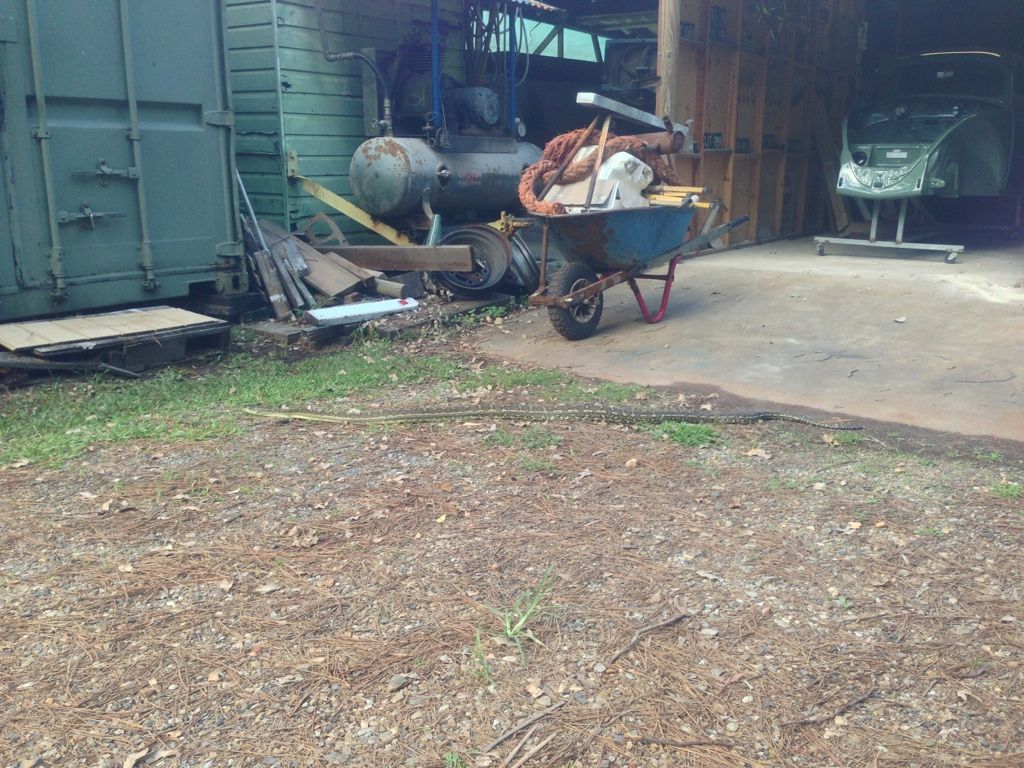
also had a friend visit the shed and see the progress (comes round every summer, there is another one about 3-4ft bigger... they come and eat the
possums that sleep in the shelves...
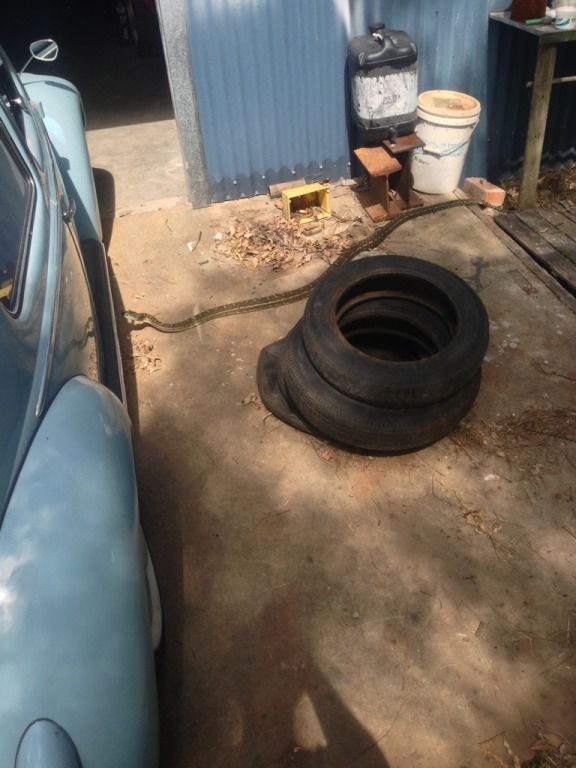
NUG637 - May 5th, 2013 at 08:31 PM
know a marine upholster who is right into his vw's and has one of the nicer rust free country buggies i have seen =D>
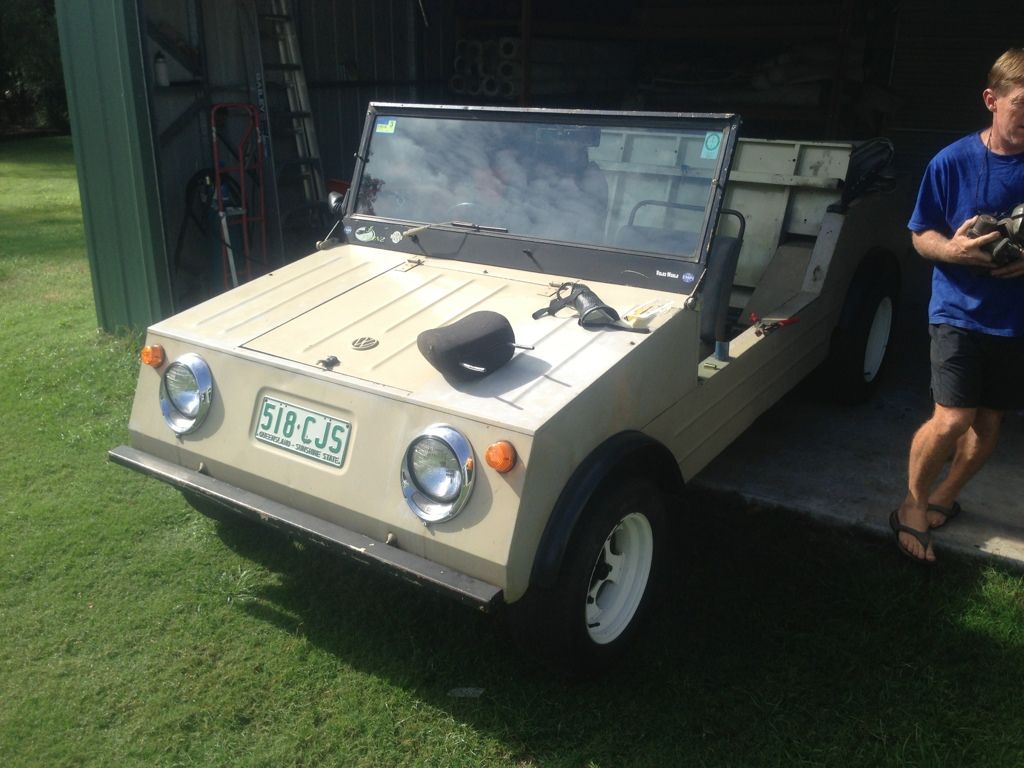
asked him if he is interested in doing me a clothe interior which he said he would love to... so we got talking and chose some material... so this has
had me pulling down old seats... fixed broken springs and retainer tabs...
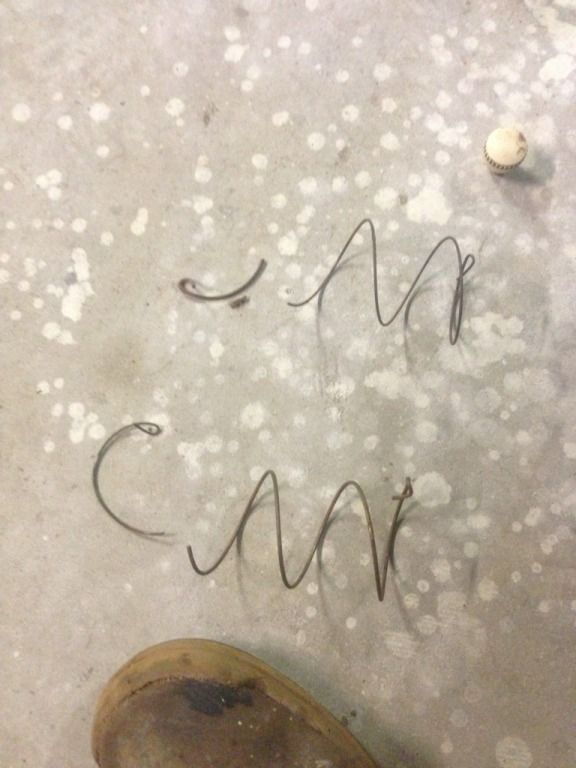
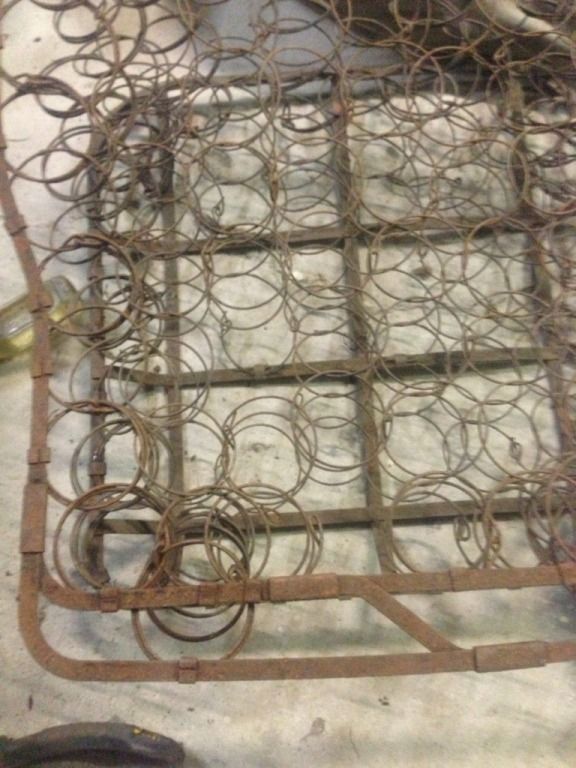
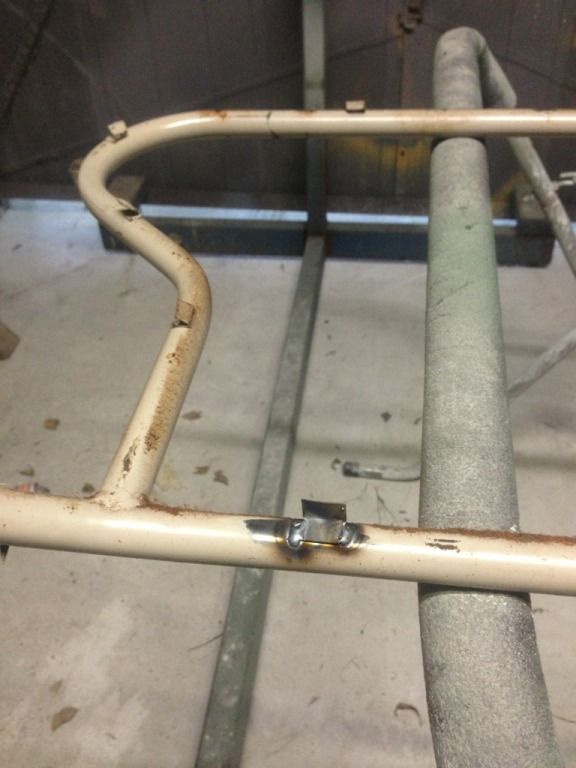
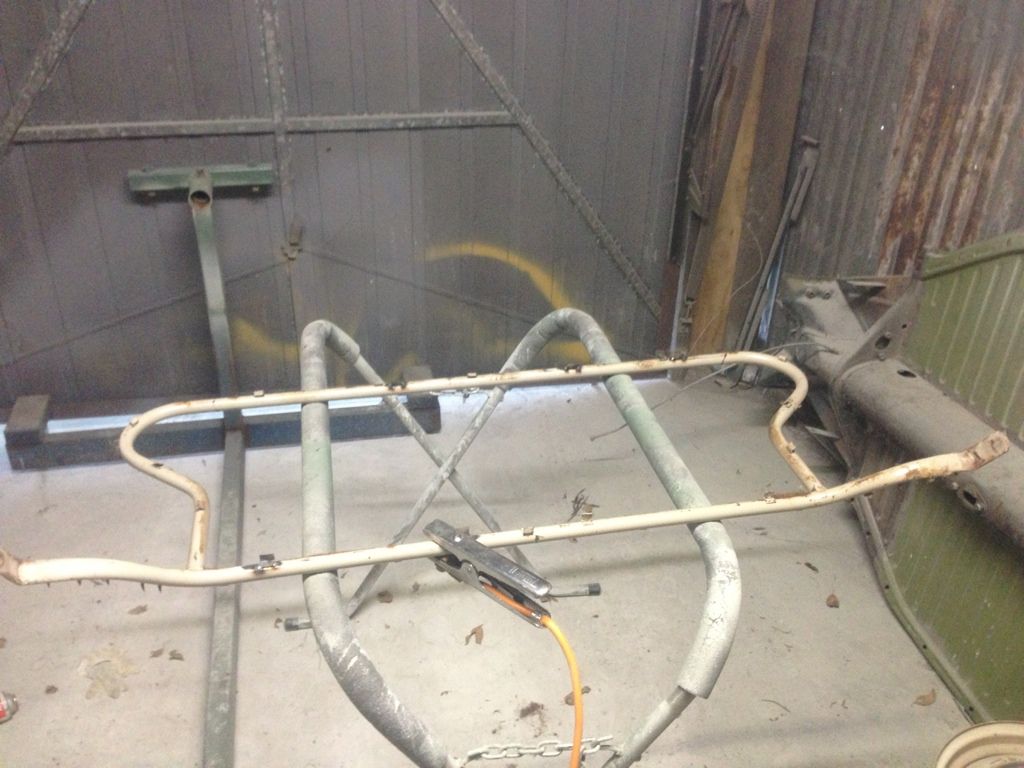
out of all the spares we have.... nice seats are few and far between... so had to cut up the most hagard one to fix one of the better bottoms....
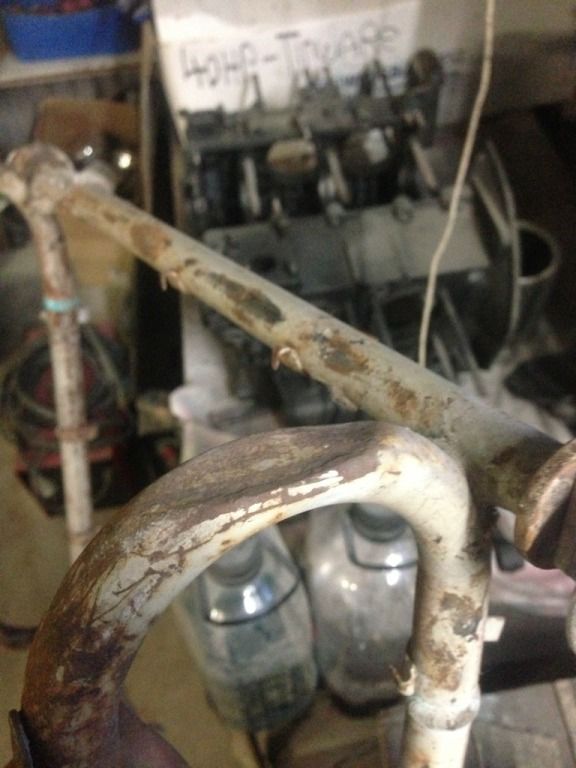
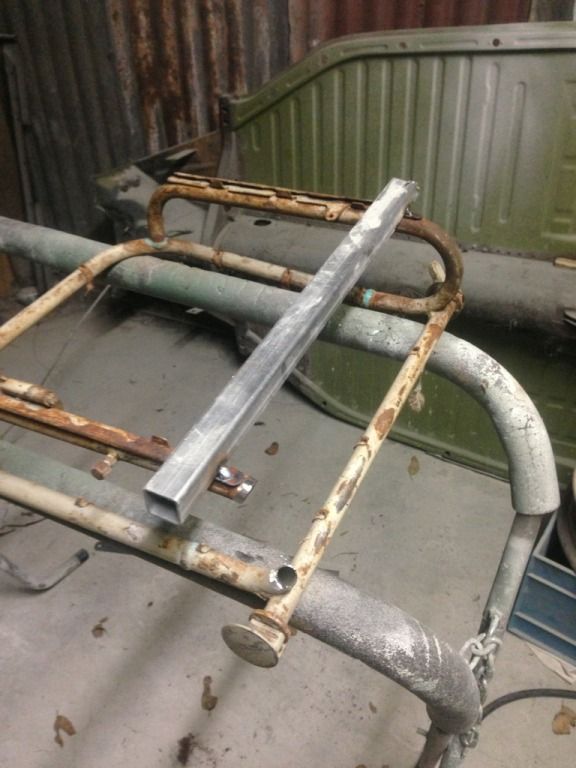
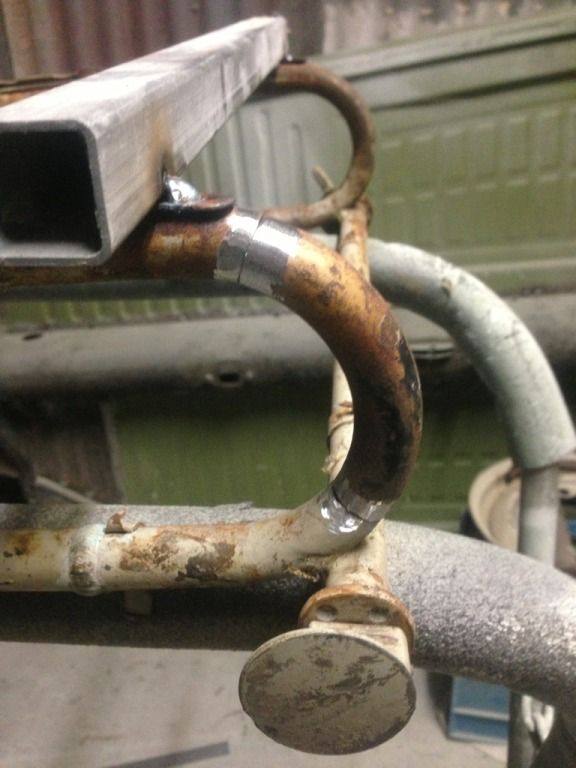
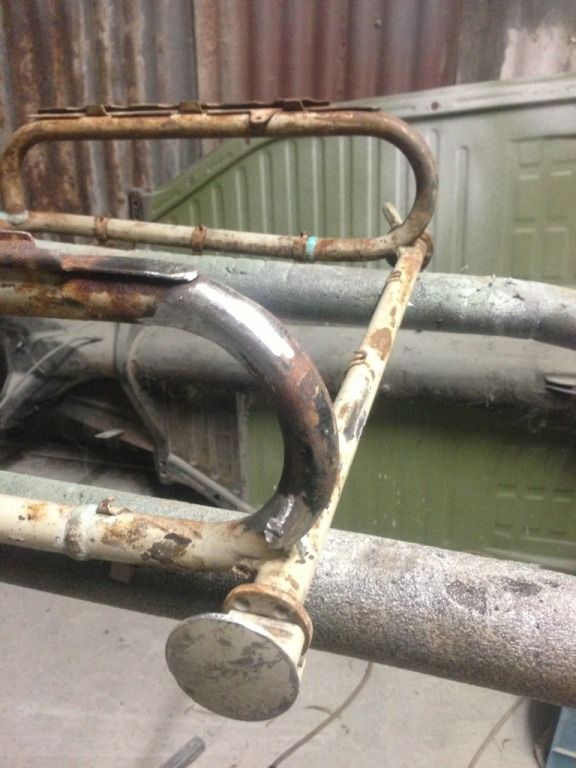
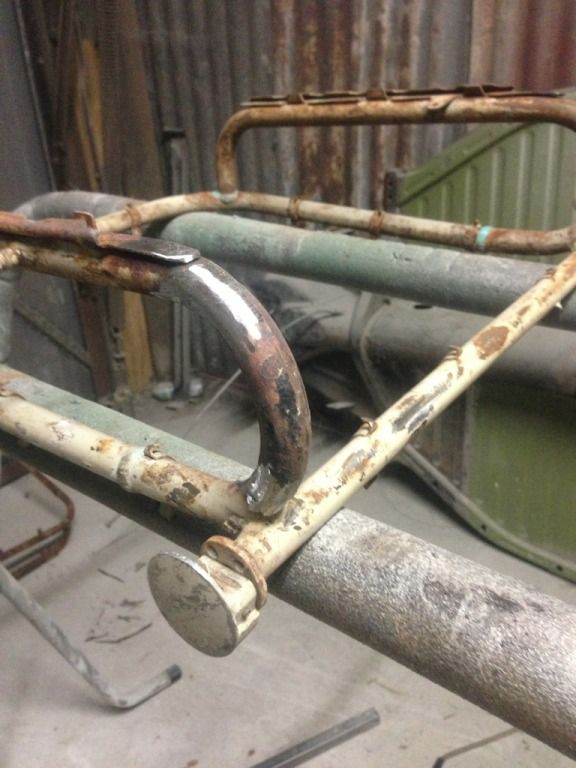
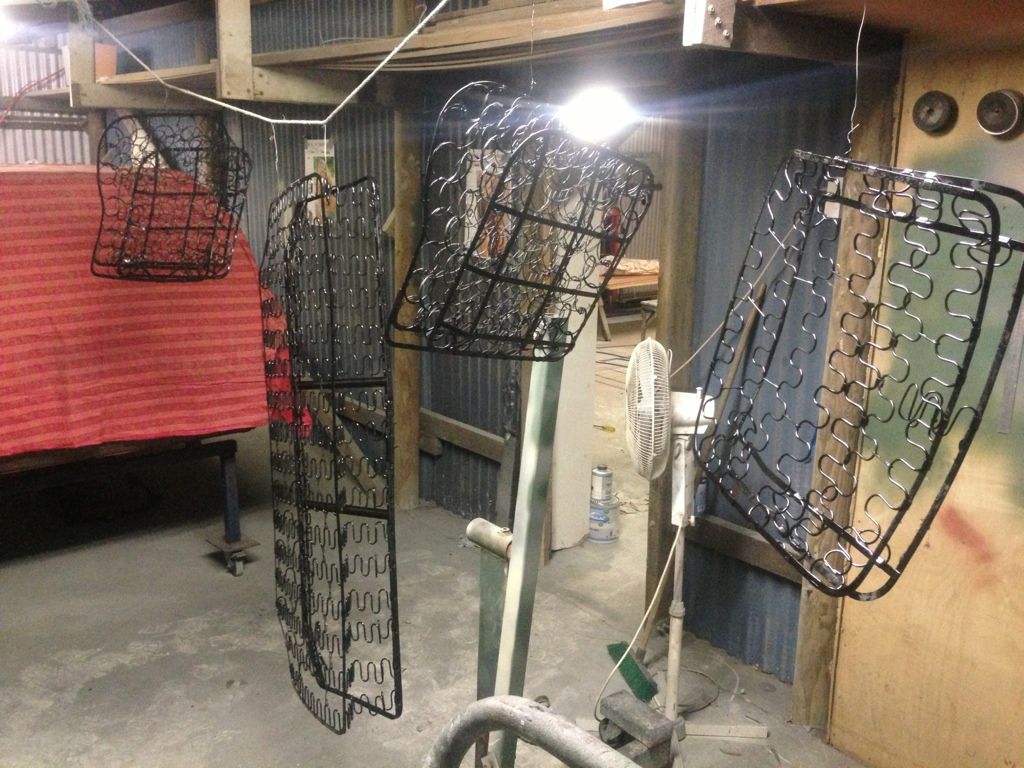
i then sent all the frames off to be blasted as it would of cost me to much in garnet to do it with the little POS i have....
my wolfsburgwest mohair headliner came in so i quickly sprayed the seat springs and got a headstart with the sound deadening and foam for the
headliner...
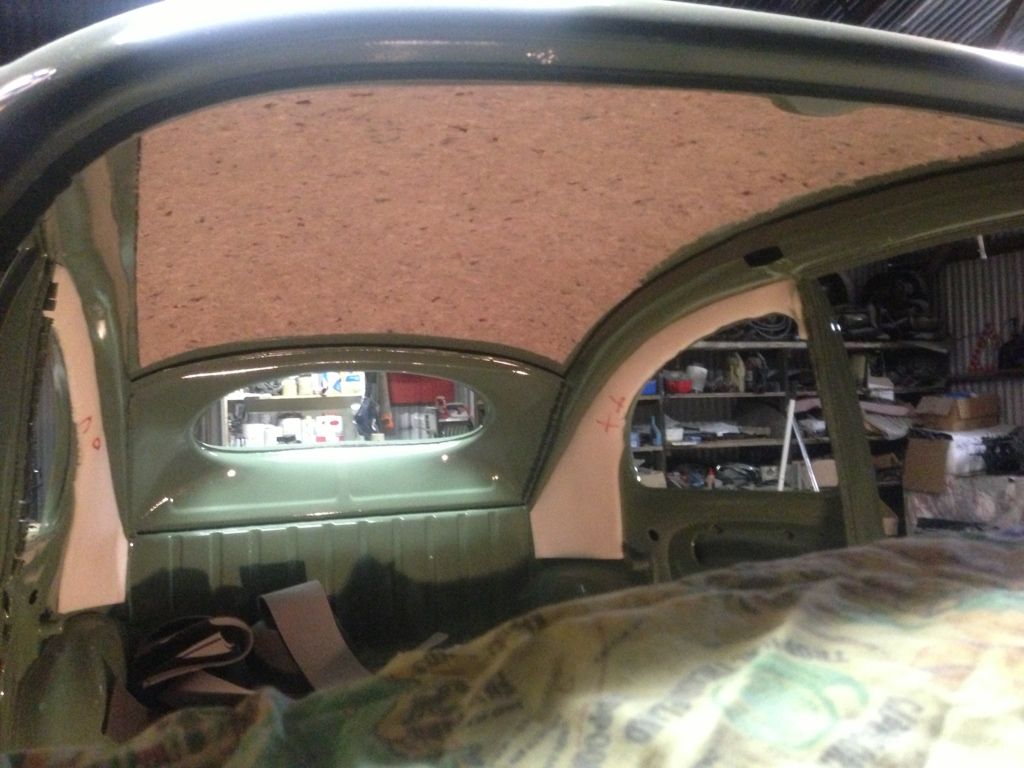
feels silly covering up an area i spent days blasting to get rid of all the rust and gunk.... least my mind can rest knowing it was all fresh steel
with 3 coats of paint on it
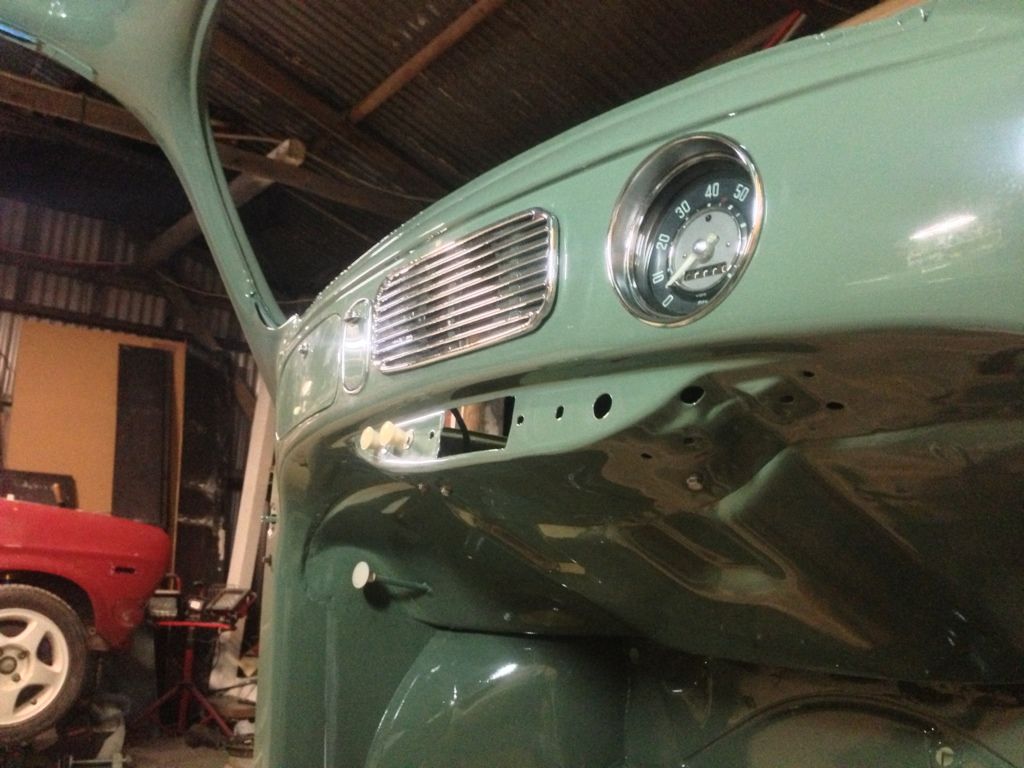
and in-between all this i did abit of freshening up on the speedo...
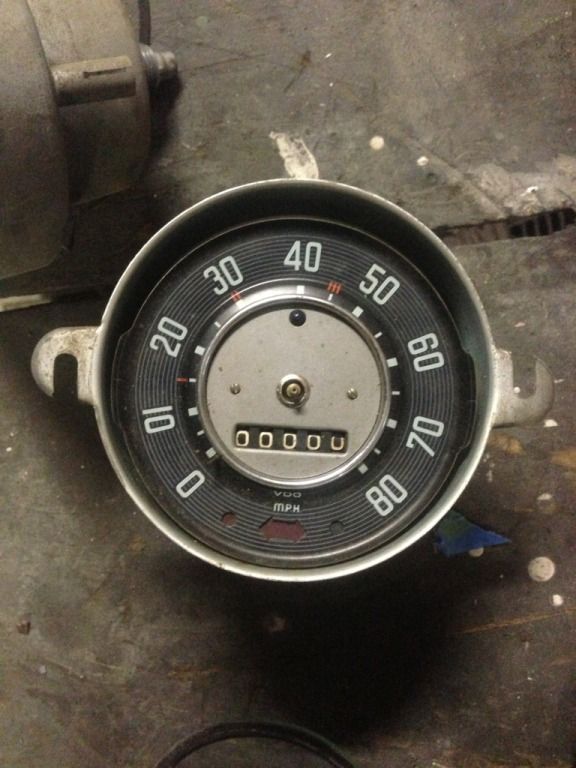
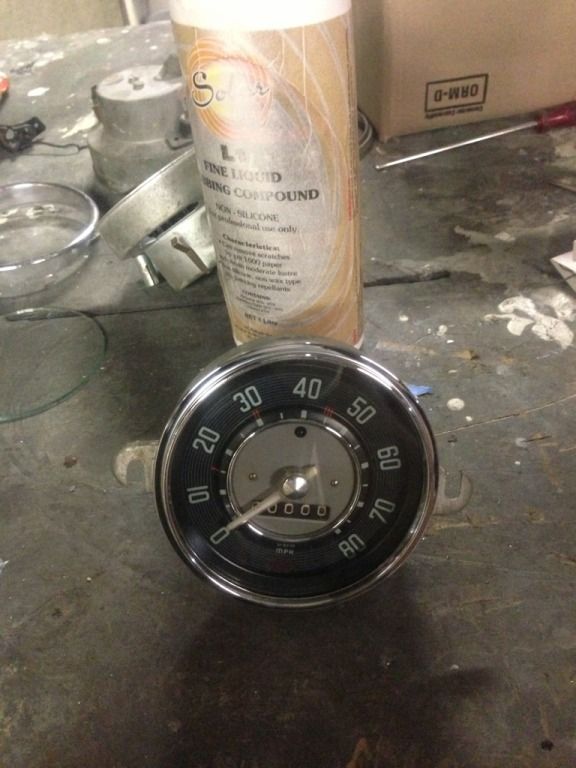
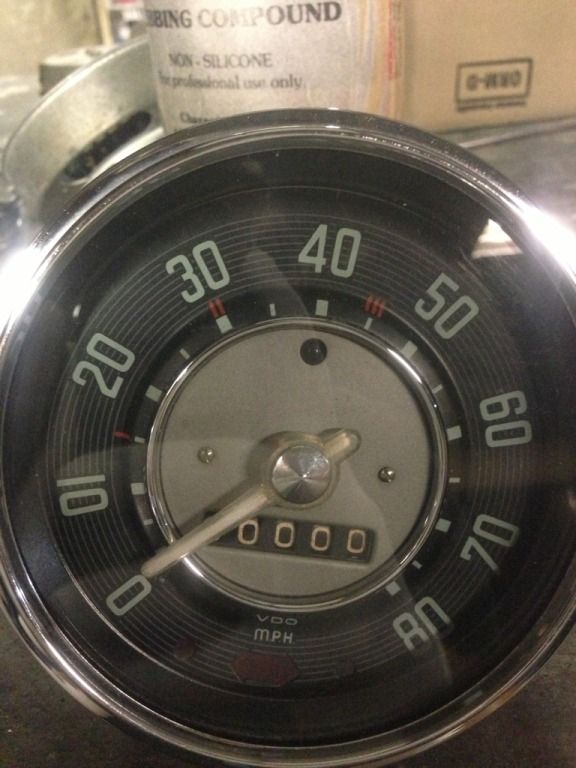
the original ring was replaced with a better one of a 60's speedo :-$
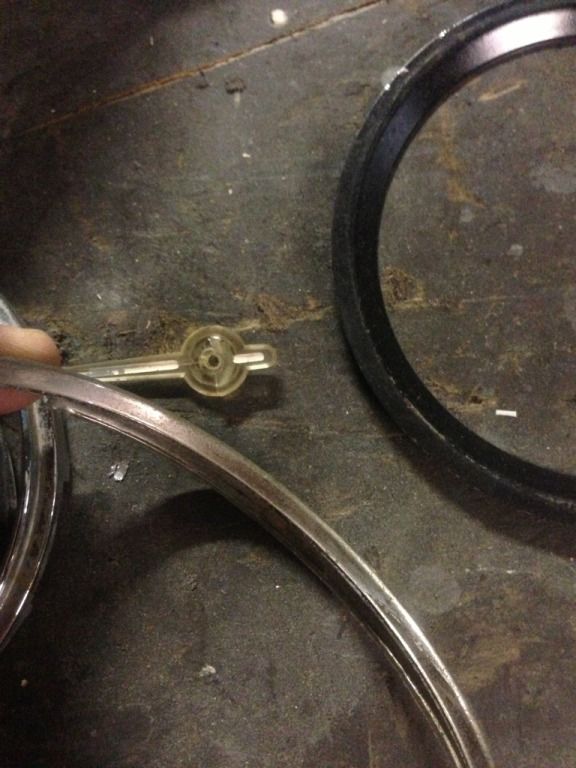
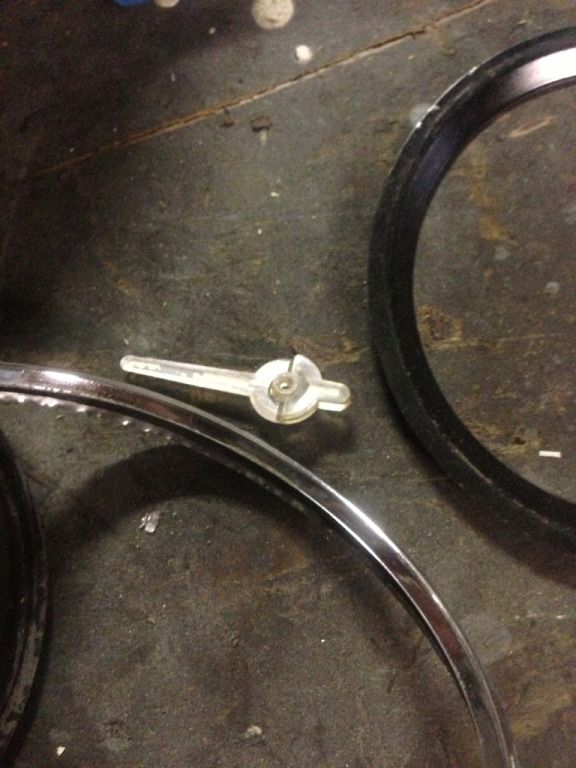
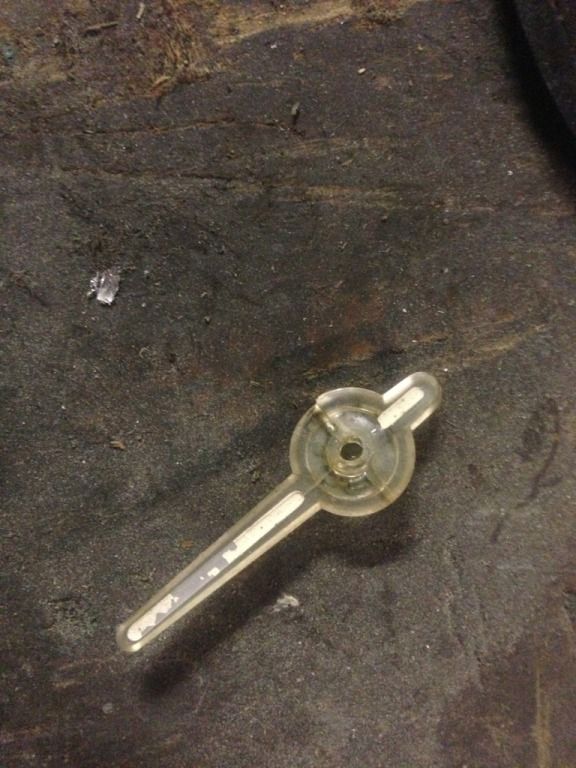
the needle was stil fairly clear but the paint was flaking off... so i quick whipe with thinner and then applied some new paint...
then polished the shit out of the glass and the speedo face itself... pretensioned the needle (6-8mph)and assembled this mofo!
NUG637 - May 5th, 2013 at 08:33 PM
then back onto the headliner
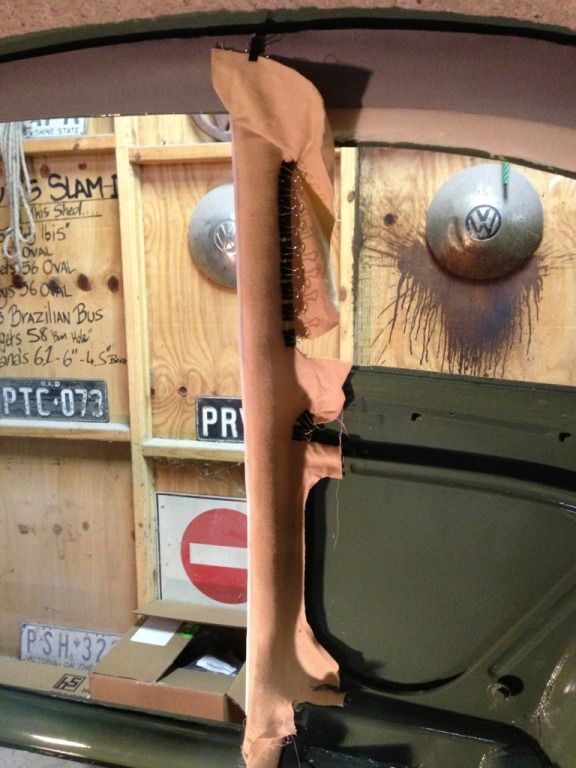
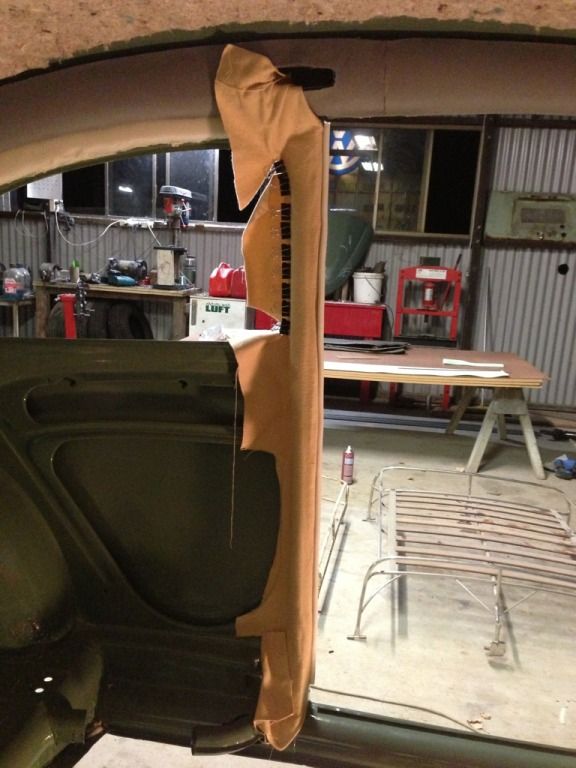
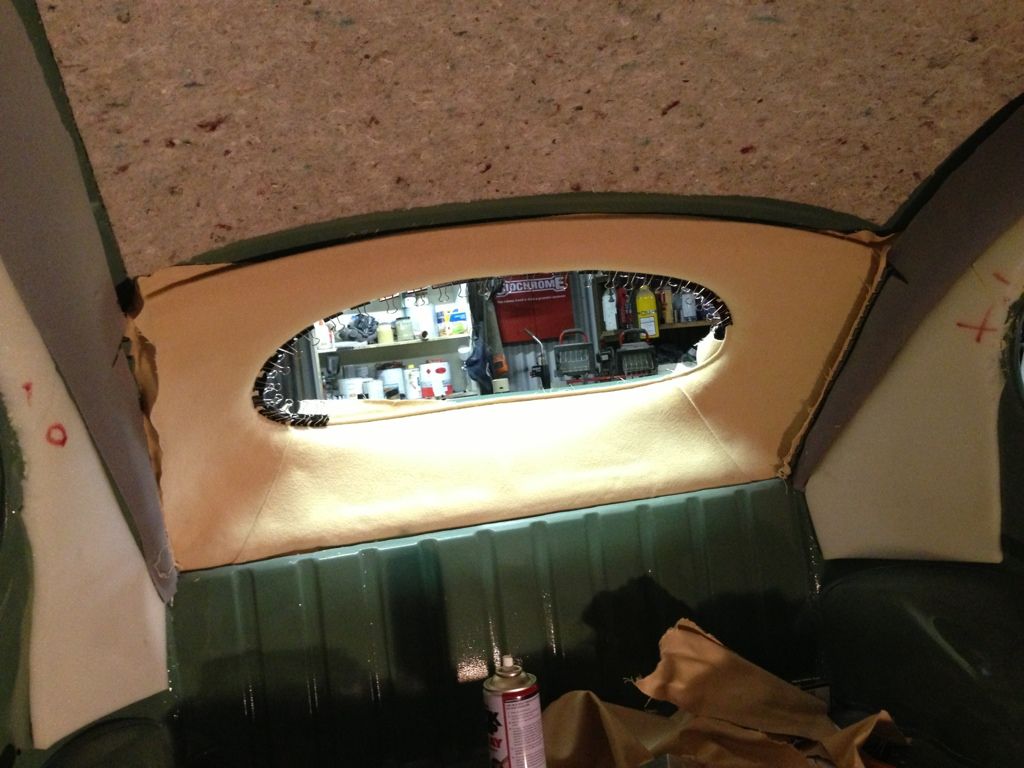
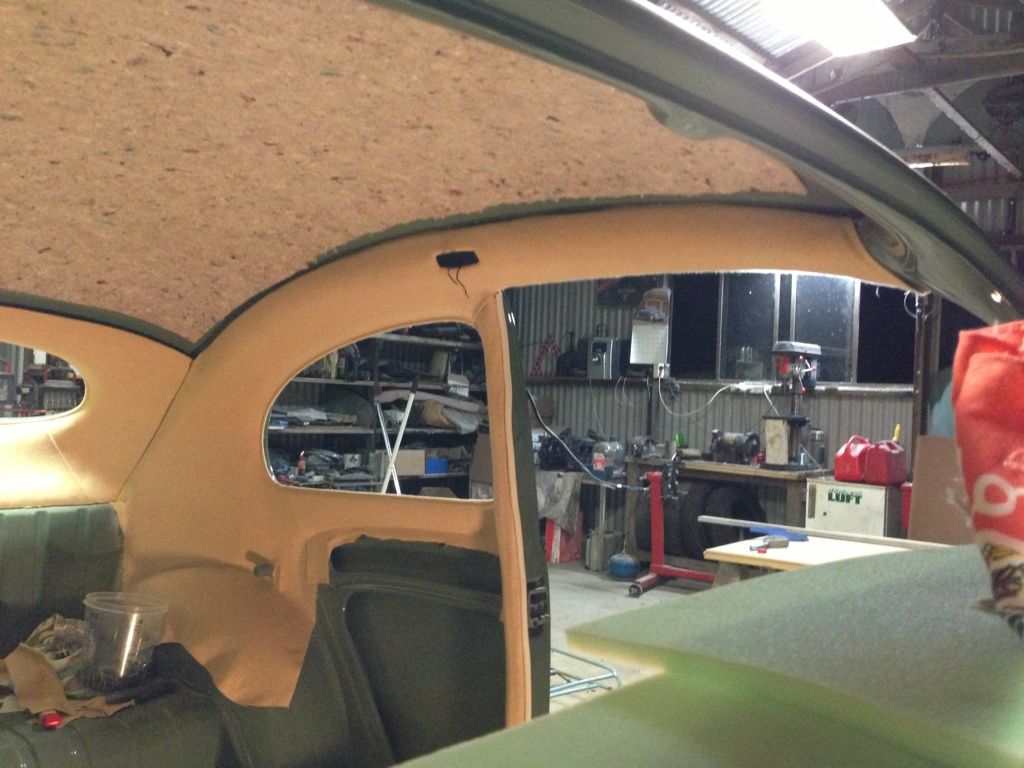
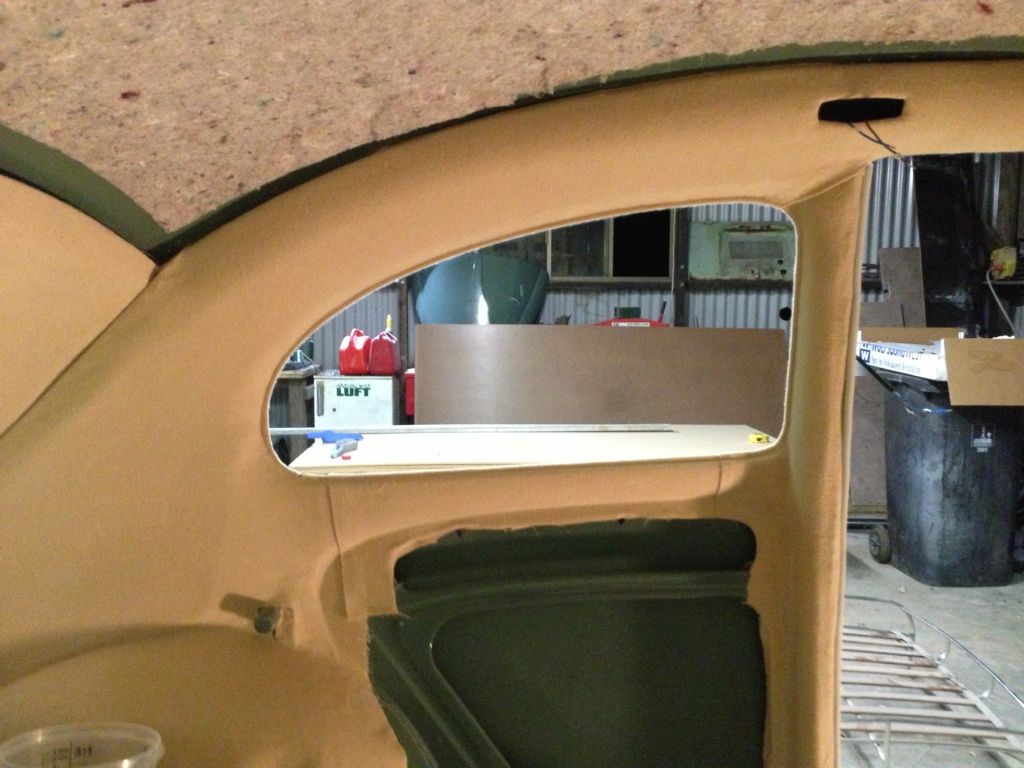
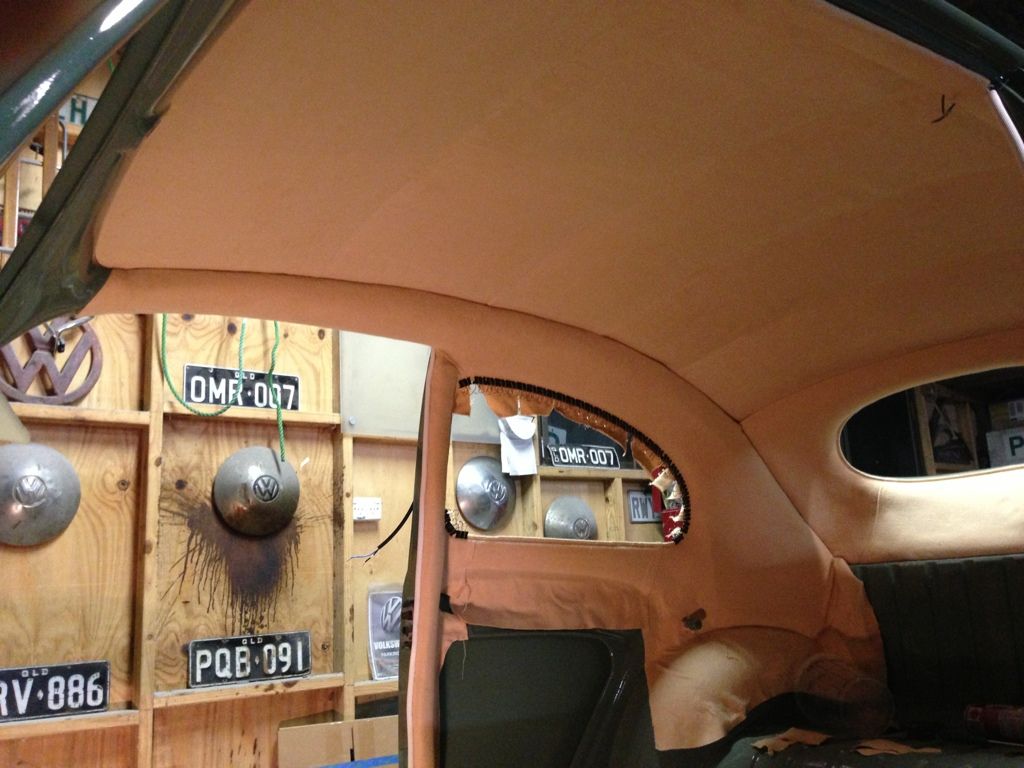
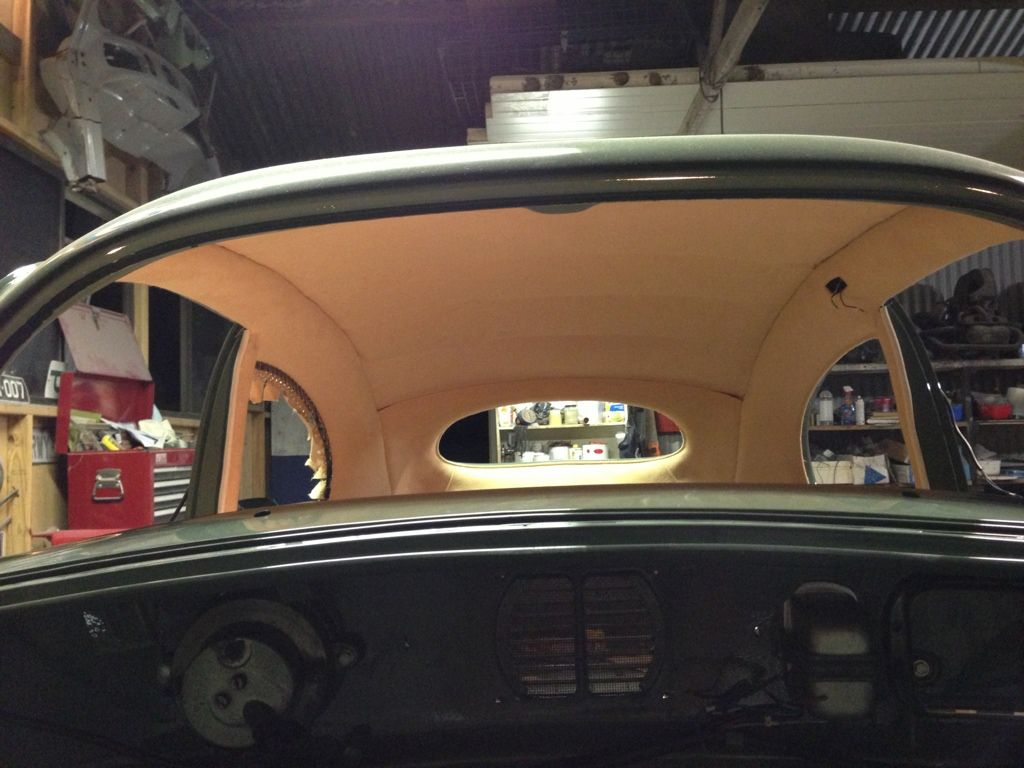
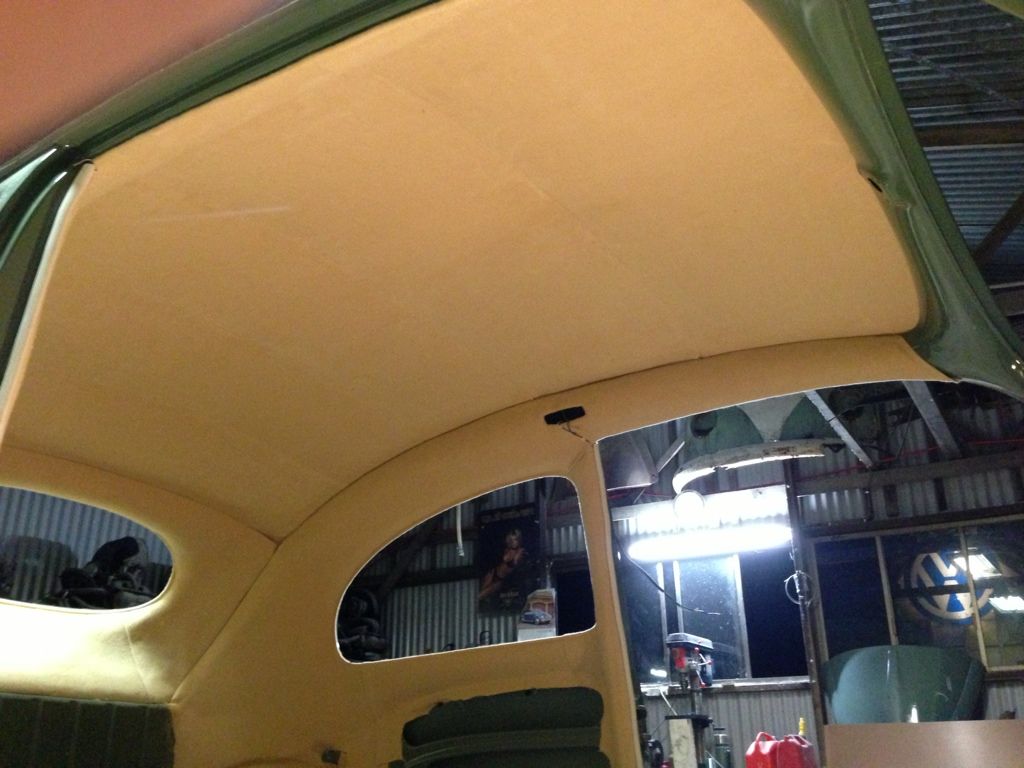
pretty happy with the fitment for an off the shelf wolfsburgwest headliner
NUG637 - May 5th, 2013 at 08:35 PM
little bit of a milestone last weekend.....
in the past 5+ years this body has seen the pan 3 times....
1st when it arrived.....
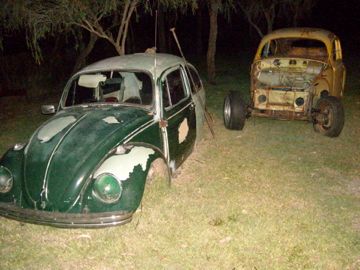
2nd - Mock up for the show...

and for the 3rd and hopefully final time for the next 50 years... 8)
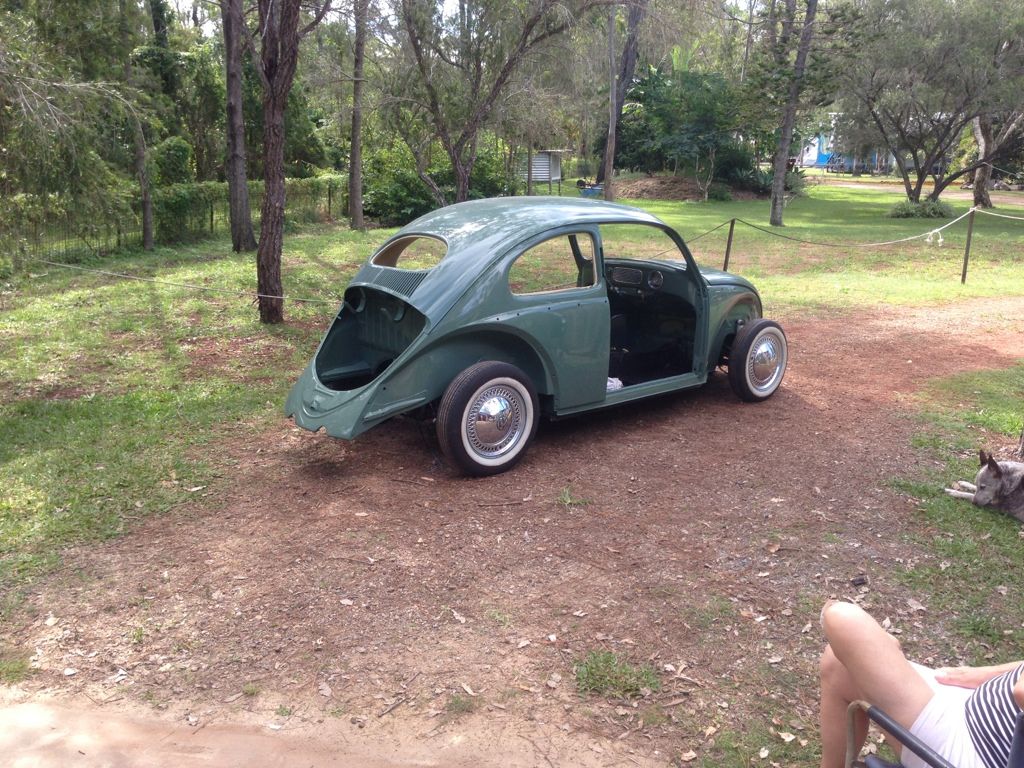
as my blue car was on my ovals pan... im just rolling it around on the blue stockos.... the wheels for this were at the blasters
kombibob - May 5th, 2013 at 08:37 PM
You have done such a great job mate.
And i'm sure every project you tackle after this will be a walk in the park with all you have learnt.
NUG637 - May 5th, 2013 at 08:38 PM
then this past week i have been doing all the fun stuff
bolting up shiney shit!
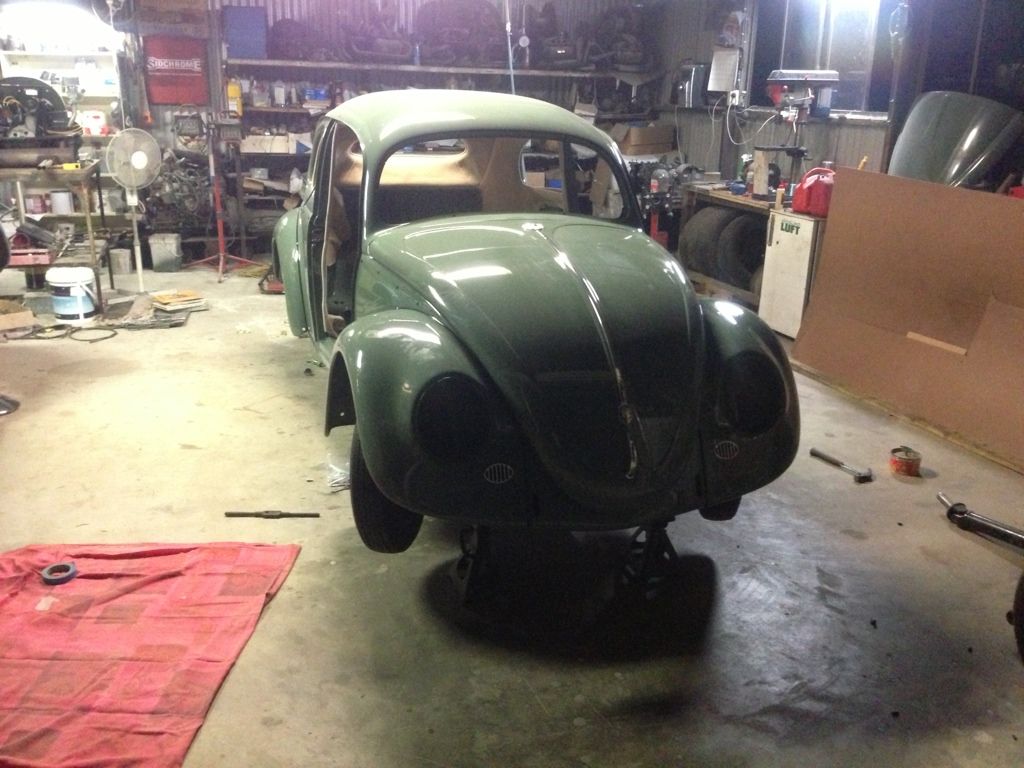
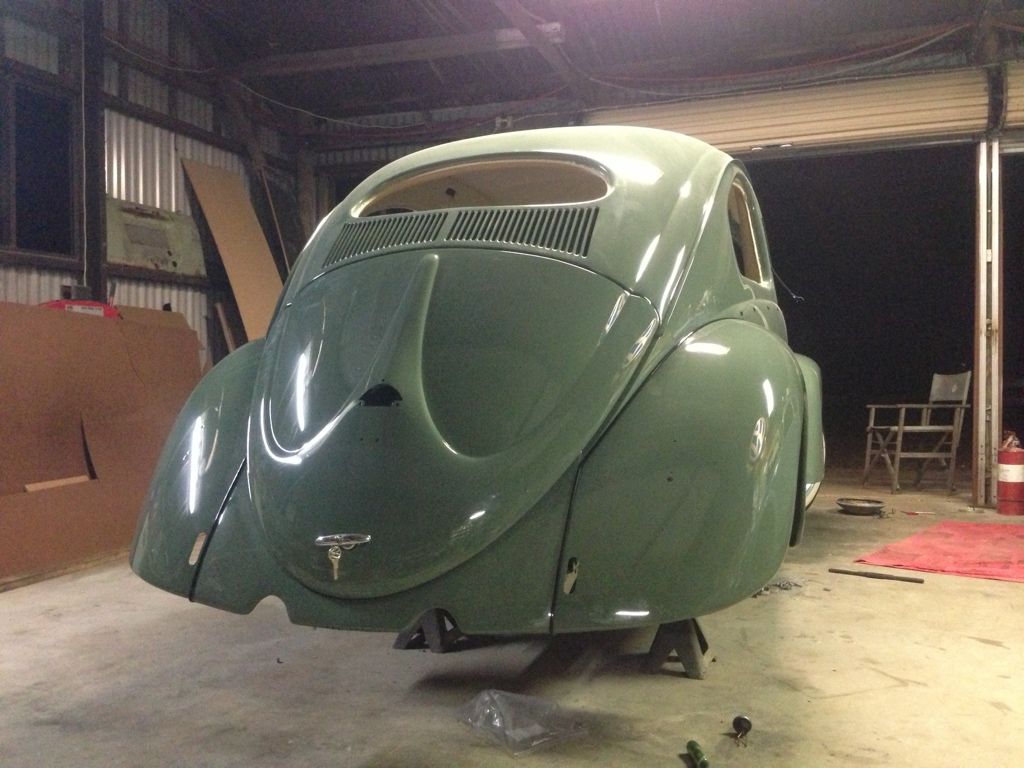
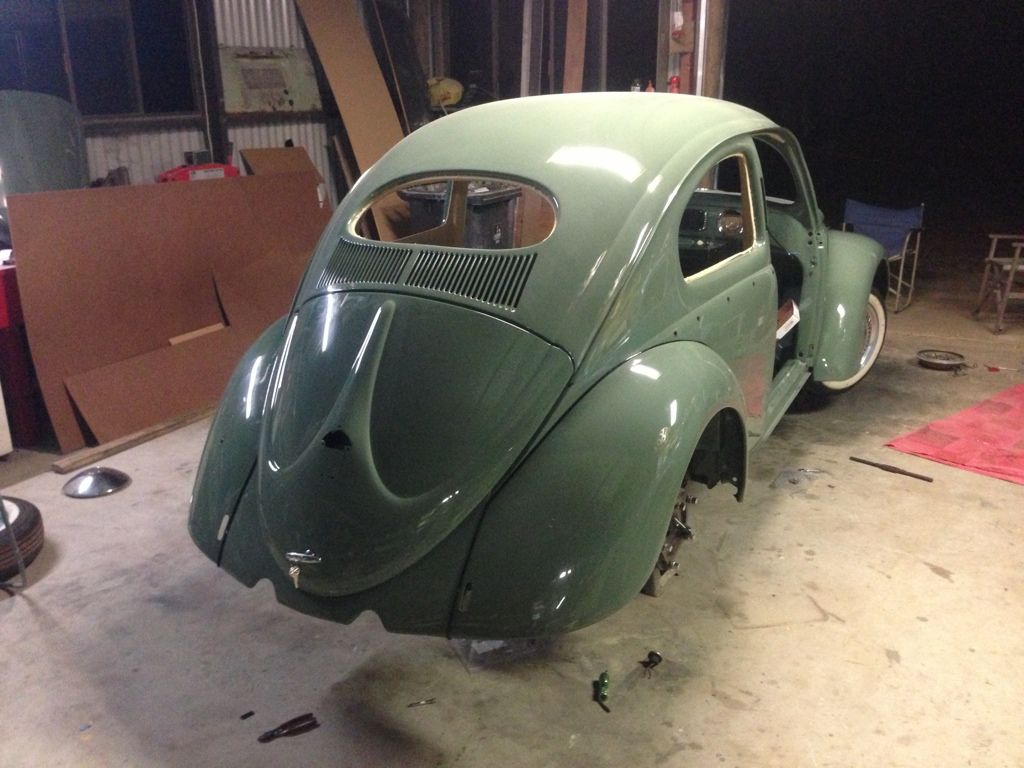
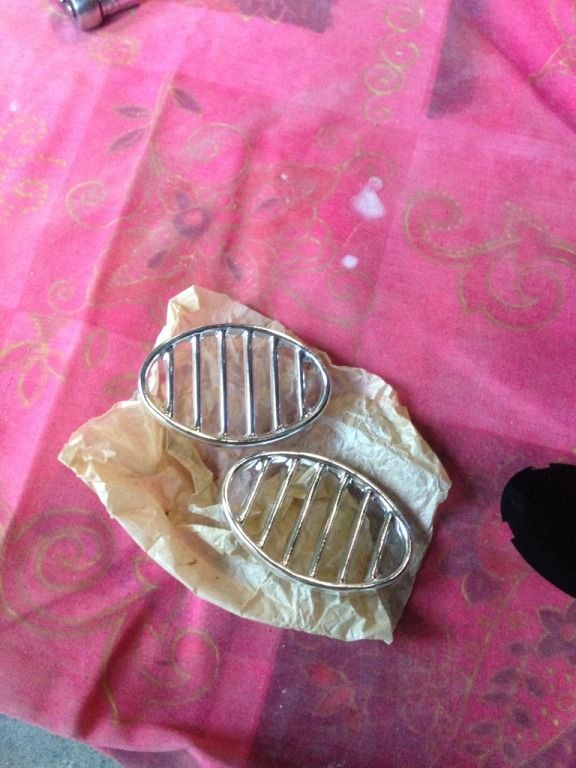
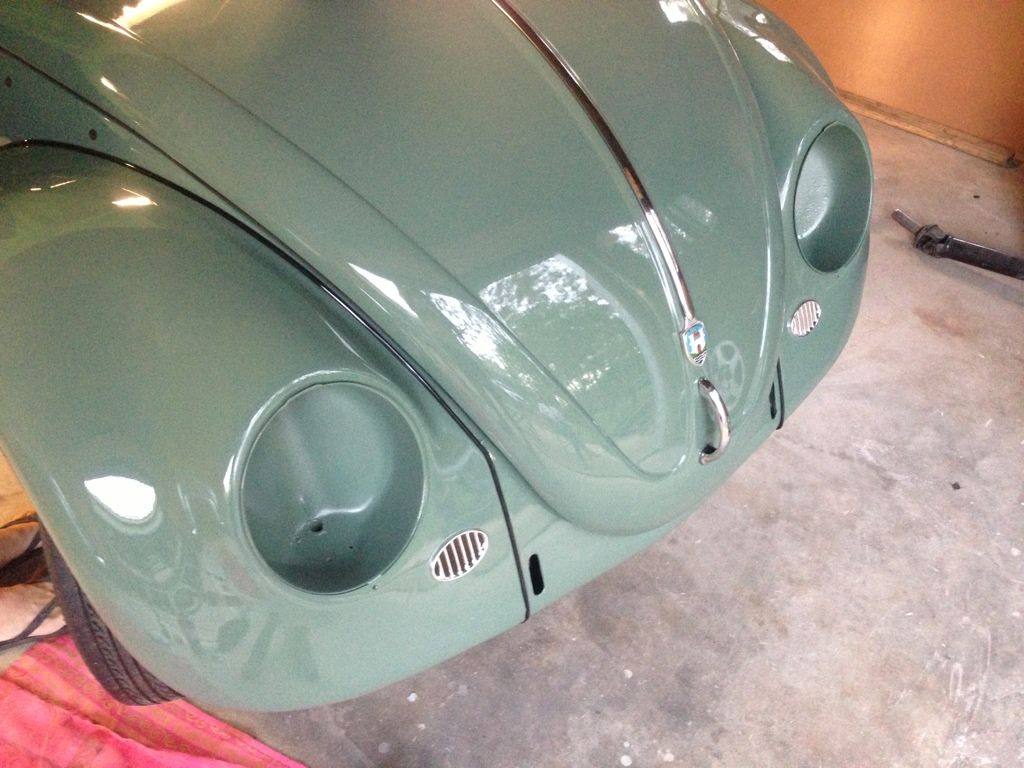
And finally got to fit up my nos horn grills I have been hoarding for years, given to me by angus on here
NUG637 - May 5th, 2013 at 08:42 PM
got the rims and frames back from the blasters the other day...
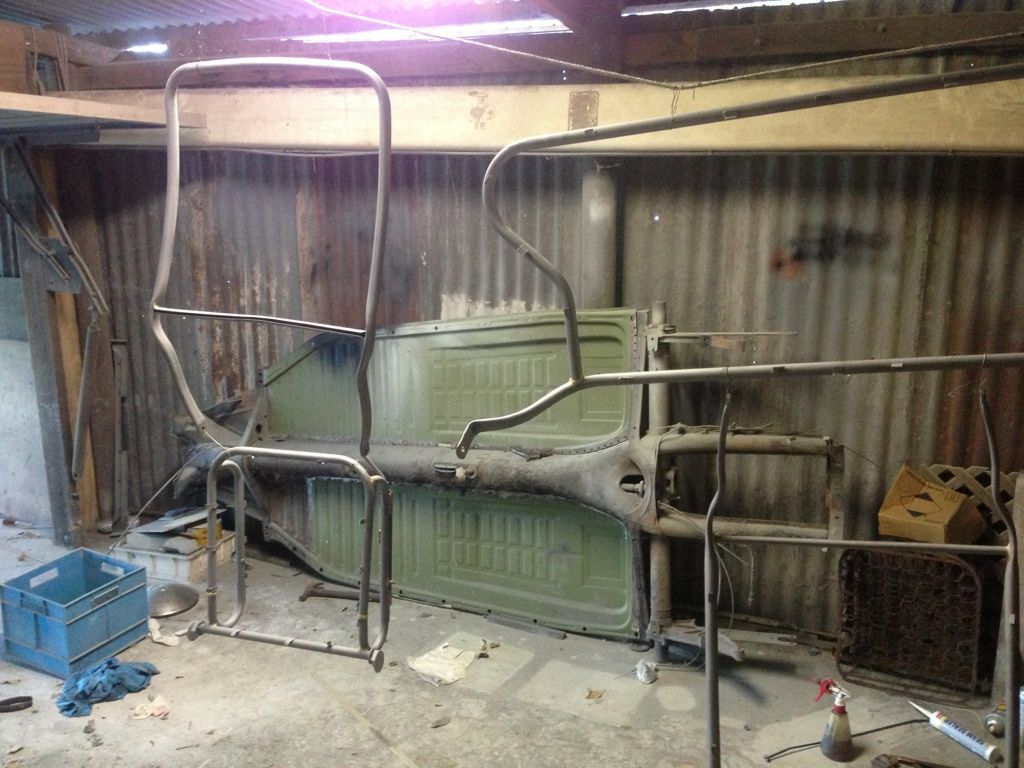
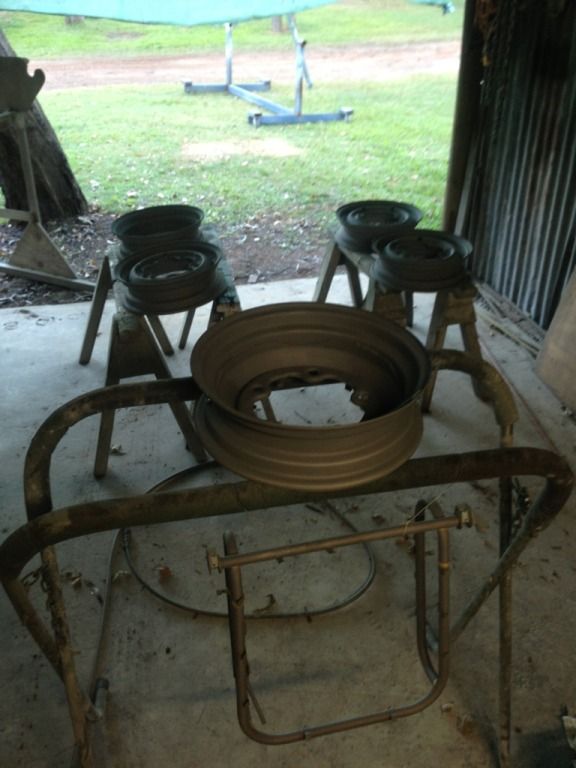
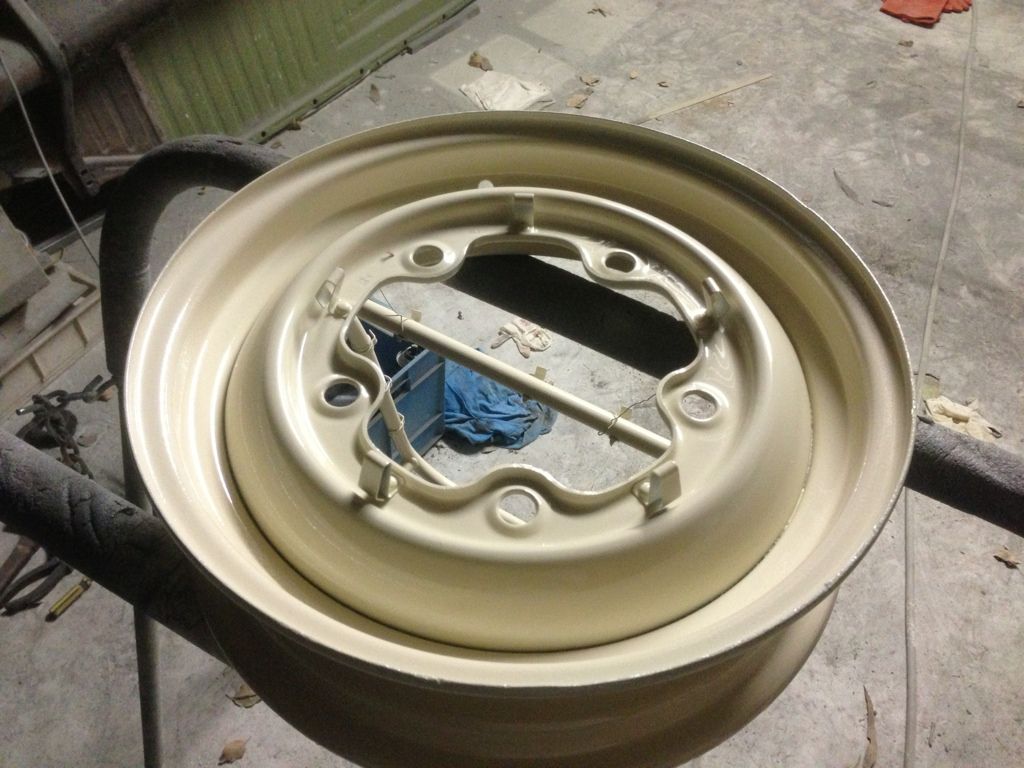
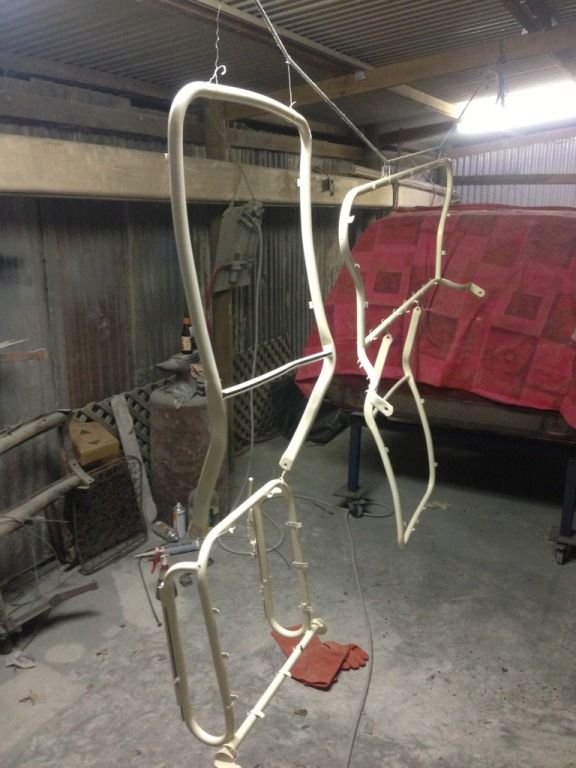
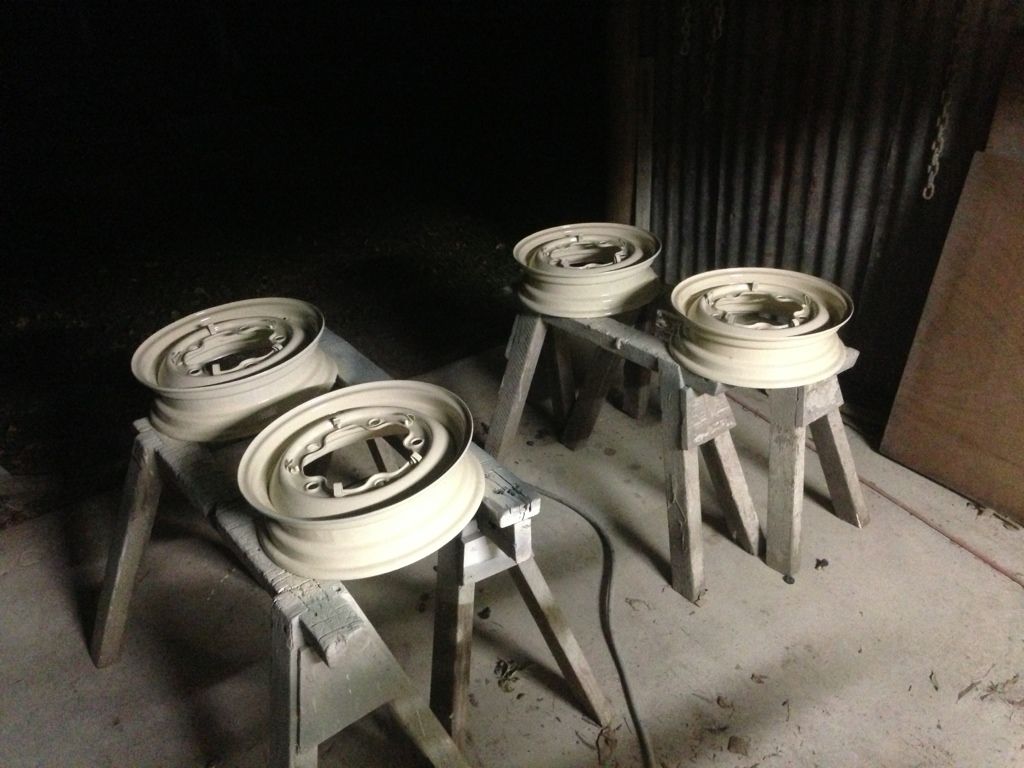
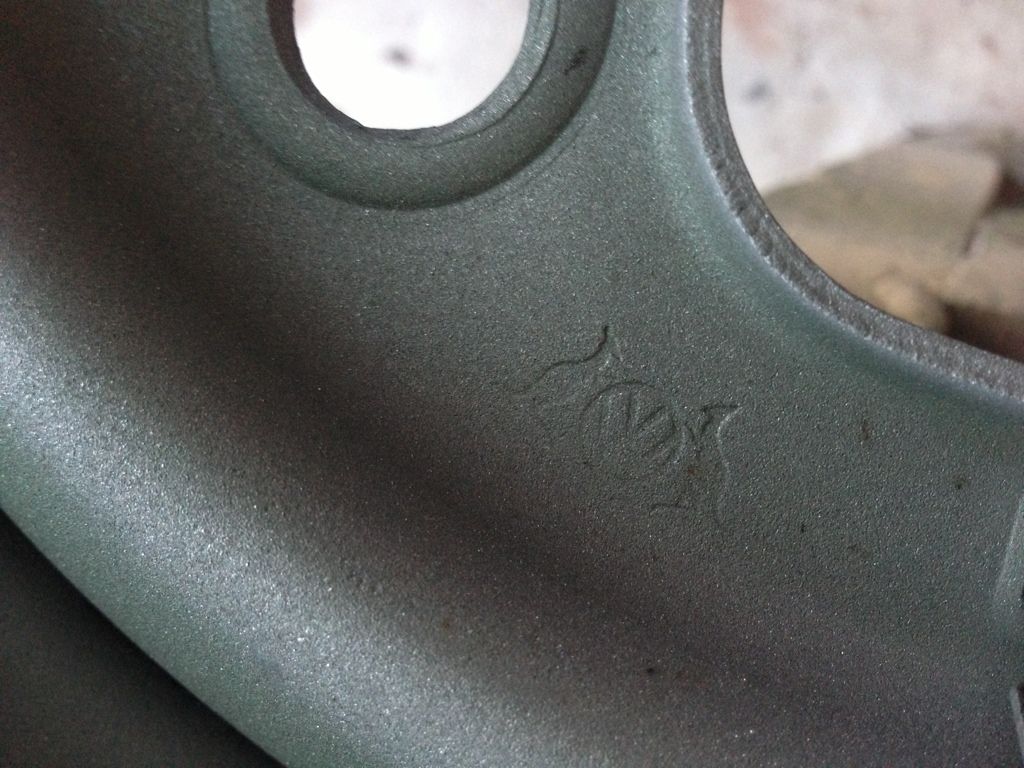
came across this aussie stamp on one of the rims (all random years) and thought it was pretty cool.... didnt know they came on rims
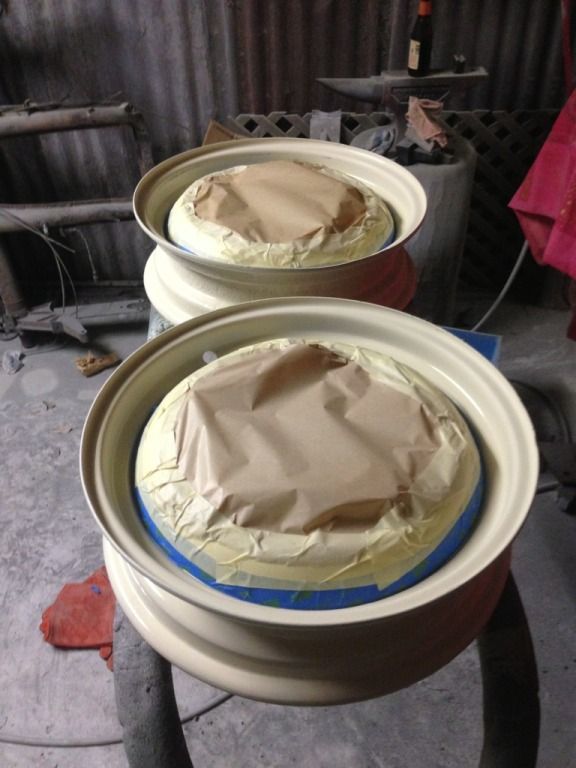
round 2 follow the next day with what felt like hours of taping
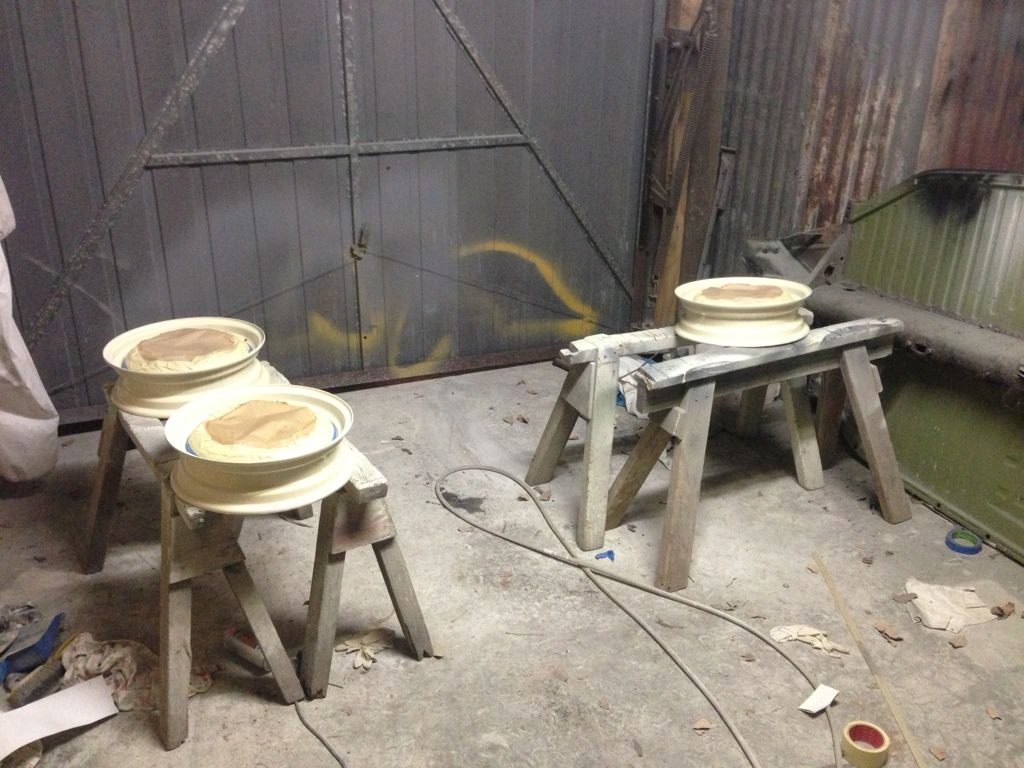
Mixed a little to much green so got 3 good coats on there 8)
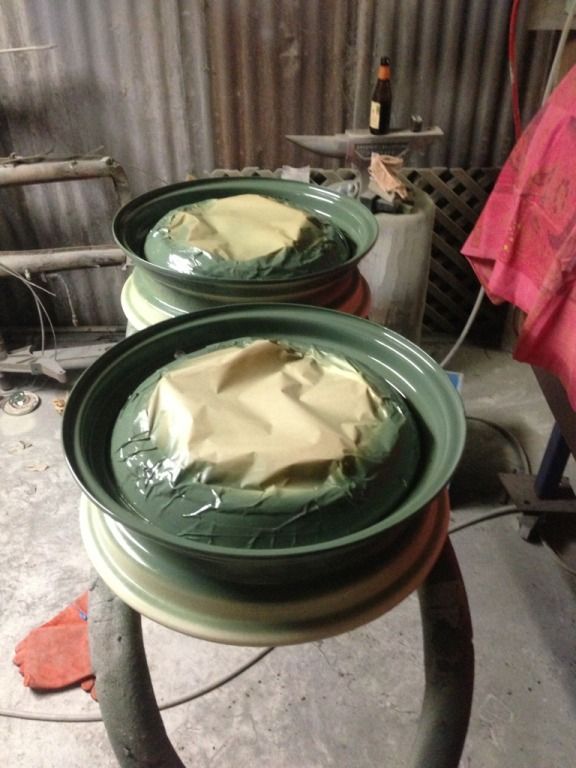
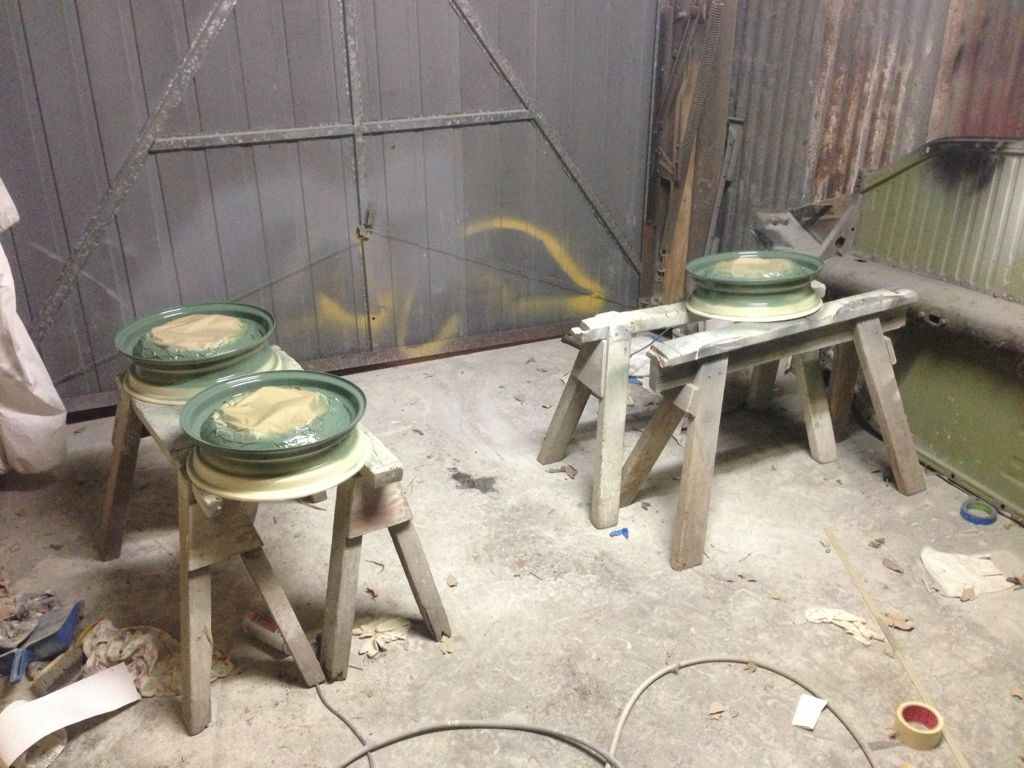
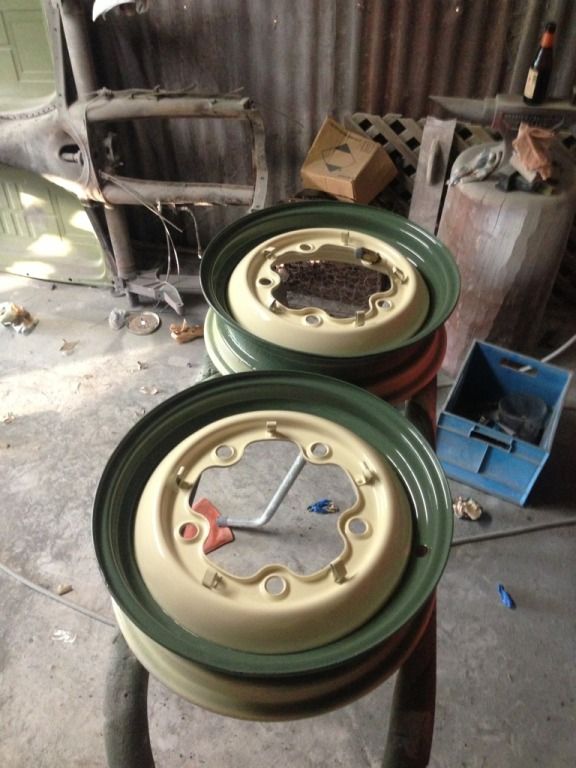
Why didn't I tape the sides you ask? More paint the merrier the face is all the matters in my opinion.
Pretty happy with that!
sorted out my glass and started cleaning it.... didnt even know i had securit labelled rear and both rear quarter glasses 8) one is scratched to
buggery tho.... almost like someone has gone to town on it with some 80grit.... gonna take it somewhere to see if they can polish it out?
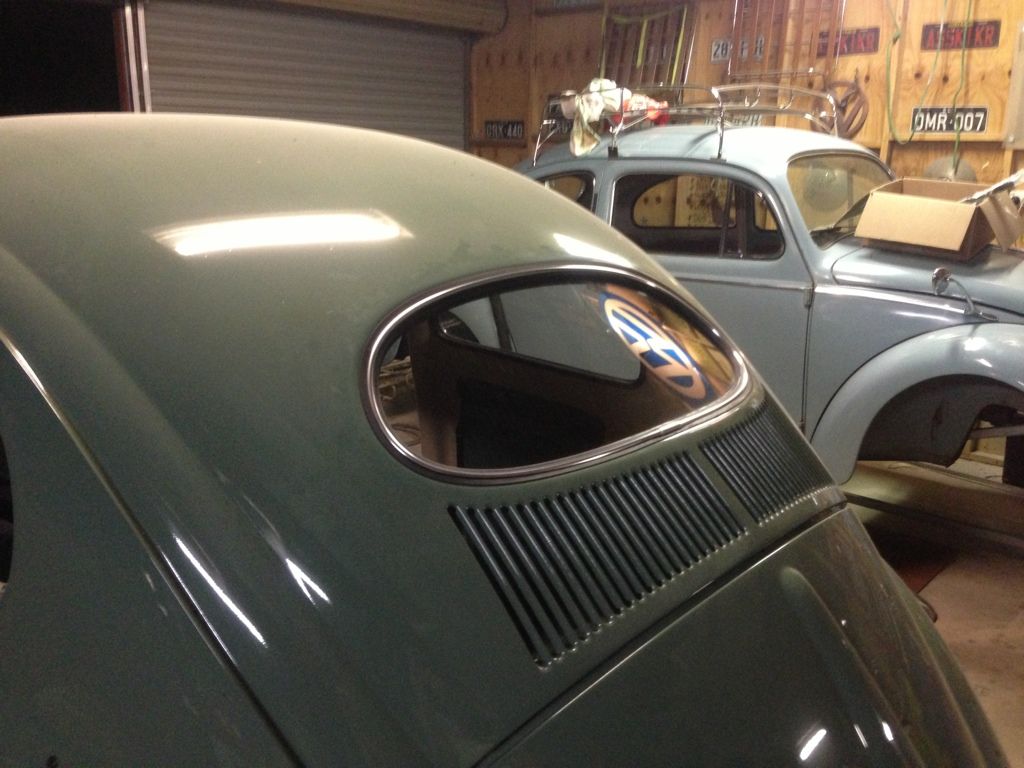
anyway with the help of my bro... we got the rear and one rear quarter in.... not properly happy with the rear quarter rubber but we had it in and out
a few times and we can't get it to sit any better so im just gonna have to live with it.... it might settle over time (fingers crossed)
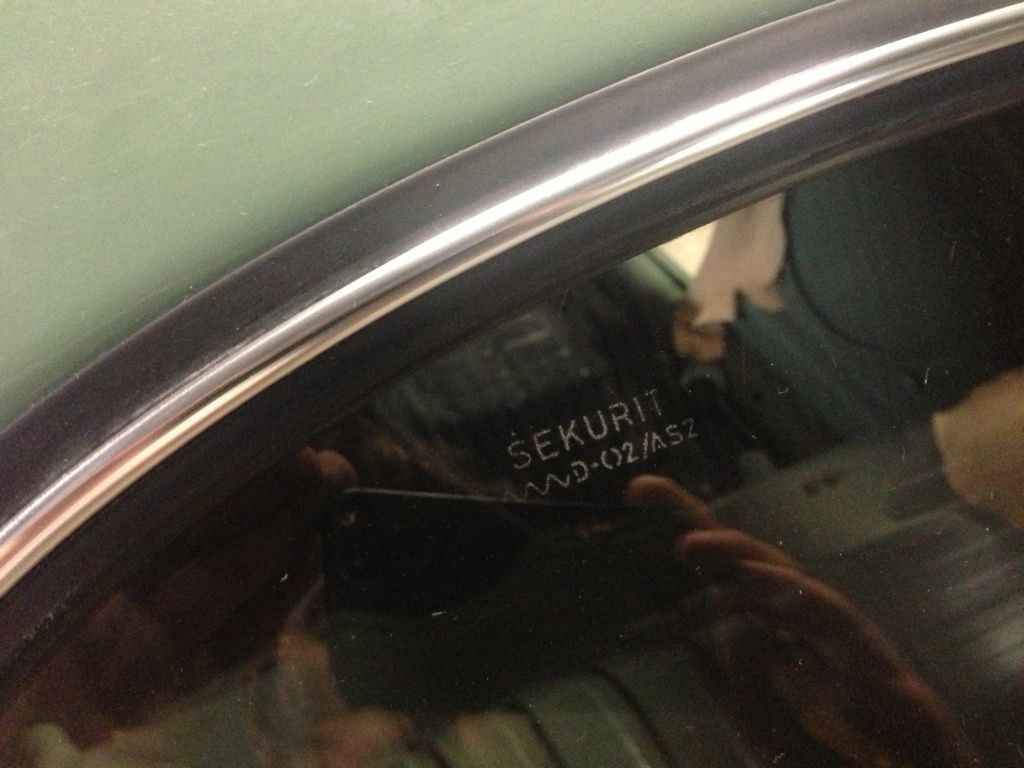
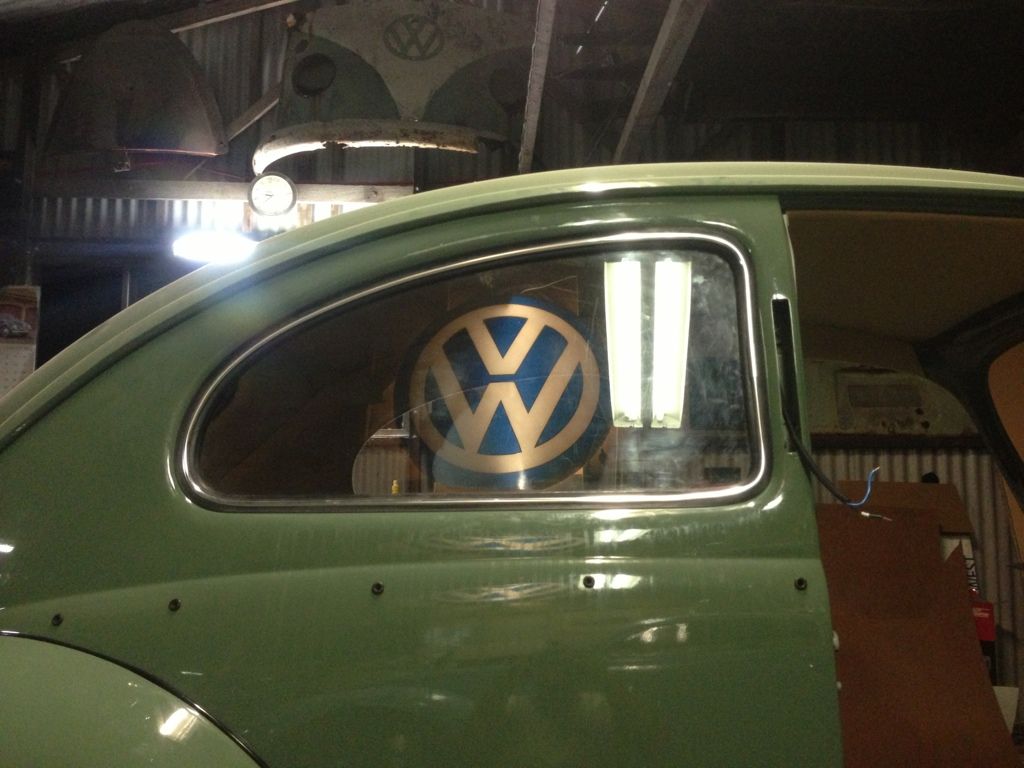
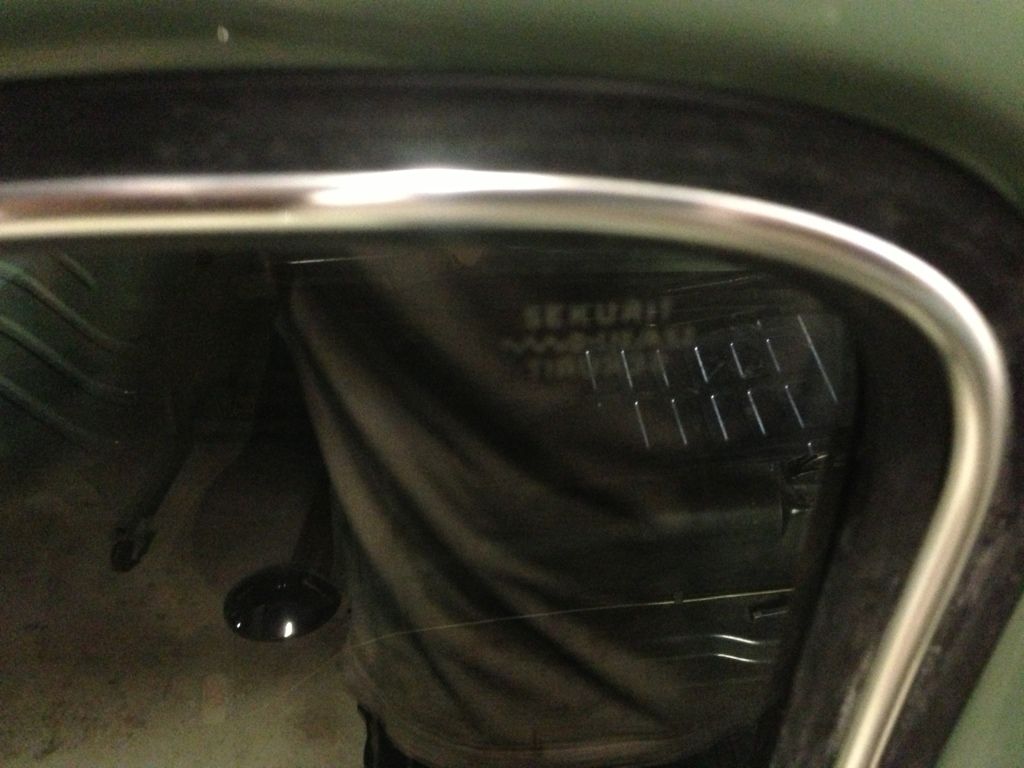
and now you guys are up to date to where i am at with this huge big learning curve i have gotten myself into at such a young age. Sometimes i wished i
was one of those people that could be done with it and walk away... but thats not in my nature.... will keep you guys up to date the more i do.... not
aiming to have it ready for the abbey or any show for that matter... just wanna do it once and do it right so in my head i keep telling myself
"it'll be done when its done"
NUG637 - May 5th, 2013 at 08:45 PM
| Quote: |
Originally
posted by kombibob
You have done such a great job mate.
And i'm sure every project you tackle after this will be a walk in the park with all you have learnt.
|
thanks bob 
i was talking to a few people at the pimpama show today about this car and thought it was only fair i show a build thread about it so people know the
history 
Bizarre - May 5th, 2013 at 08:55 PM
WOW...........................
Love the colour - but love your work with the welder more
That roof is impressive
NUG637 - May 5th, 2013 at 09:03 PM
thanks mate... dont think the colour came in aus? i may be wrong tho... i know agave did but L11 is a pretty early colour and seen on alot of split
bugs over seas.... took me a while to choose what i wanted but to be honest i think i would of been happy with any colour other the the yellow it was
when i bought it 
hus22l - May 5th, 2013 at 09:12 PM
This is some amazing work here! The car is going to look fantastic. Keep up the good work!
h - May 5th, 2013 at 09:30 PM
great work, I'm sure you are looking forward to driving out of the transport dept all legit on the road.. not long now  nice one
mystery fang - May 6th, 2013 at 08:58 PM
Awesome job mate,looking forward too seeing the end result.
NUG637 - May 6th, 2013 at 09:43 PM
thanks guys...
today was abit of a mood kill tho you gotta take the good with the bad...
got a call today... wheels are done 8) went and picked them up and fitted them...
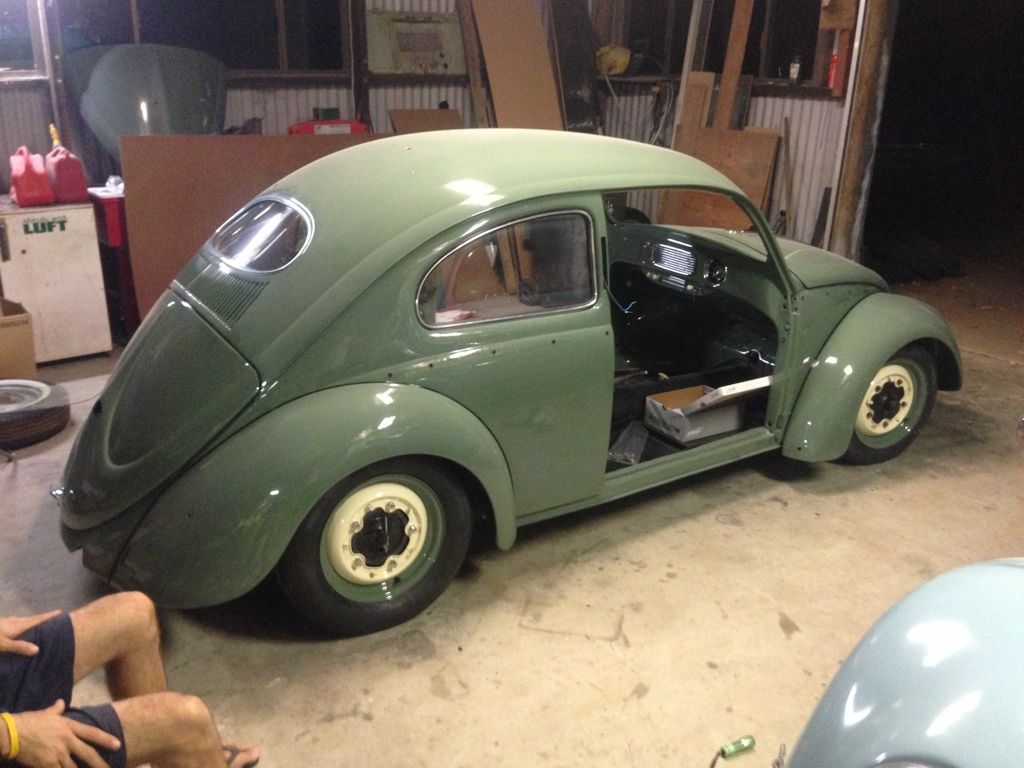
just the standard 165 rears and 135 fronts 8) this combo worked great on the last car so thought i would stick with what i know for now...
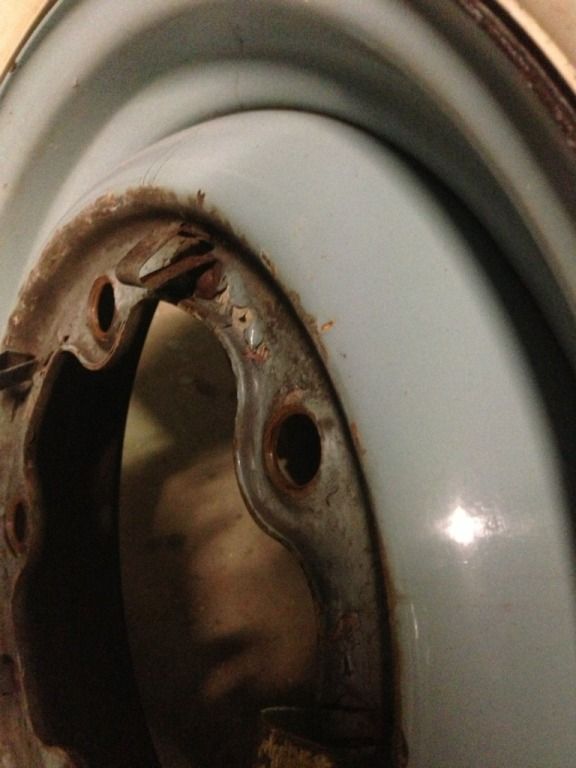
fitted the rims and and gave it a push to get it to "settle" abit.... clunk!! wheel bolts takes out the brake retainer.... :? never had this
problem befor... same wheel bolts and spaces etc just a different rim.... turns out this rim has been over torqued and has fucked it completely....
the wheel bolt either pretrudes to much or bottoms out befor it tightens onto the rim....
so in other words.... not a straight swap if i ever blow a tyre, so this rim is buggard!! heres to doing things twice!!! woohooo!!!
here you can see the "boldge" of a normal wheel bolt seat... compared to the rather flat ones on the one i painted.... lucky the other 4 where ok so
swapped this one wheel over and the problem was fixed.... just have to paint myself another spare...
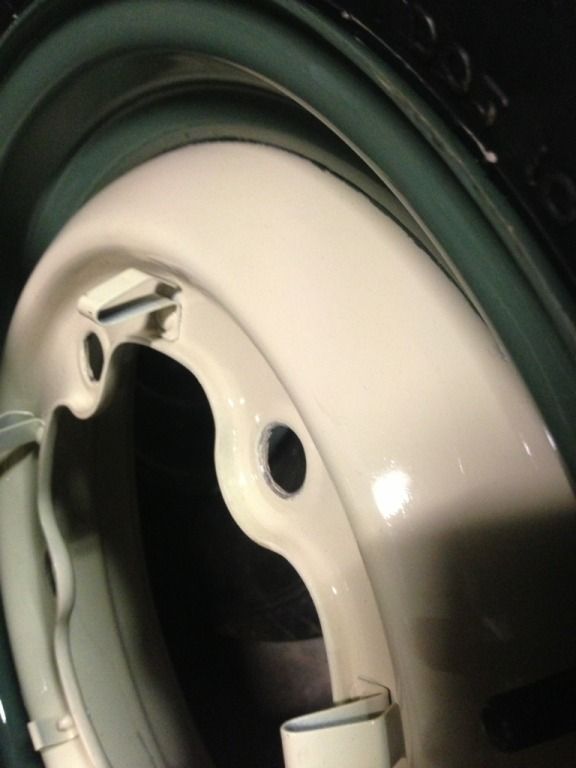
my bro was also playing on the car and fitted up the column and my nice new steering wheel 8) more pictures when theres abit more bolted up... just
thought the wheels looked bitchen!
jobie - May 6th, 2013 at 10:07 PM
That whole car looks bitchen! Then when you see where it started..... Nice work!
vassy66T1 - May 7th, 2013 at 06:01 AM
Absolutely fantastic!!!!
I seriously admire your persistence and can't wait to see it in the flesh.
dangerous - May 7th, 2013 at 08:02 AM
Give this guy a knighthood!
Well done man!
Allbones - May 7th, 2013 at 09:31 AM
I take my hat off to you, put it back on, and take it off again. Amazing, great to see such commitment and attention to detail.
HappyDaze - May 7th, 2013 at 10:03 AM
Anyone who says that nobody wants to/can do the hard restoration work any more should take a good look at what this bloke has done.


Nug, you make it look easy [and I know it IS NOT]. More power to ya!
rusty69 - May 7th, 2013 at 02:14 PM
Amazing work man... what an inspiration.... I have just managed to close my mouth and I am now wiping drool off the keyboard....
TOPCAT69 - May 7th, 2013 at 04:36 PM
Good as gold nugget


matberry - May 7th, 2013 at 05:25 PM
Words can't describe the amount of work to do a job like you've done on this car. A++++ Super job Nug.
LIFE IN THE LOW LANE - May 7th, 2013 at 09:22 PM
Most if not nearly all on here would of sent that body for scrap. Cudos to you for your perseverance to see the project through!! Looks sensational!!
As does the size of those snakes damn!!
LUFTMEISTER - May 7th, 2013 at 09:29 PM
Nice work. Well thought out and executed. Another bug saved from the scrapper. Unless you build one, you will never know the trials and tribulations
of a project that big. Congrats and happy motoring. 


 nice one


