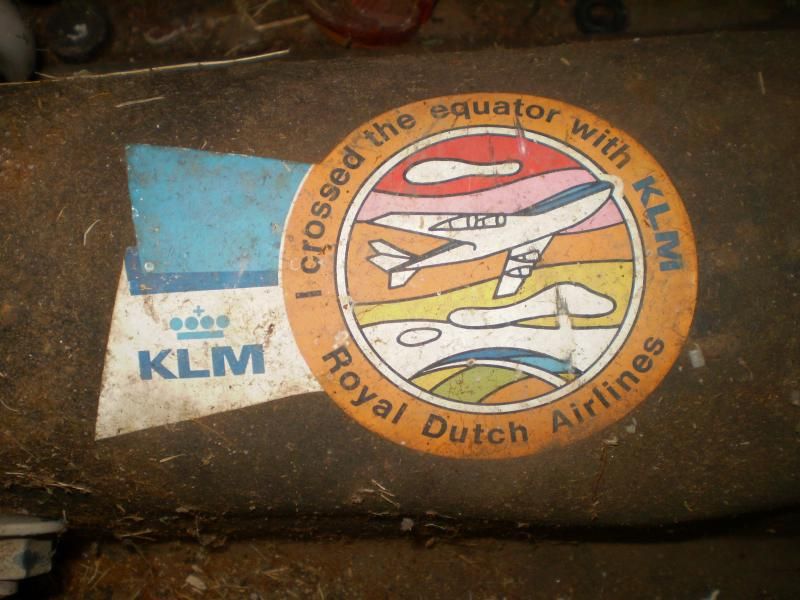
pretty cool sticker
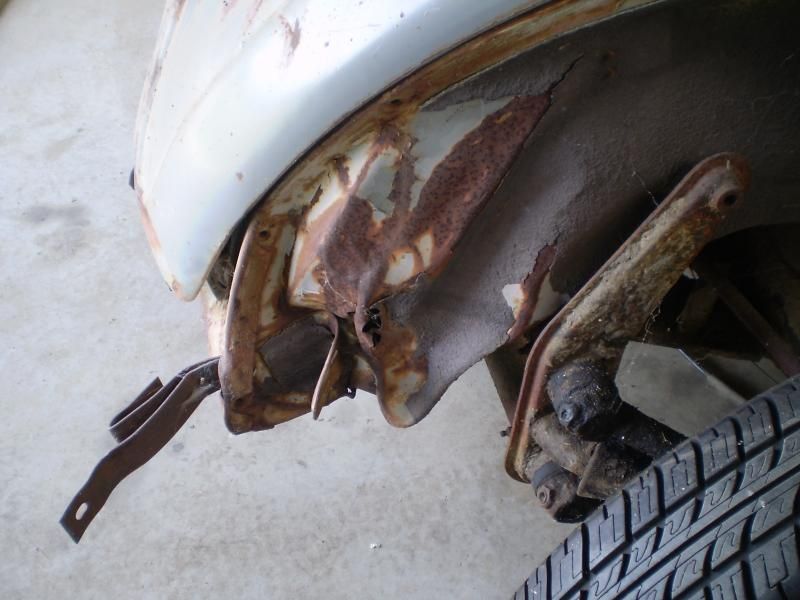
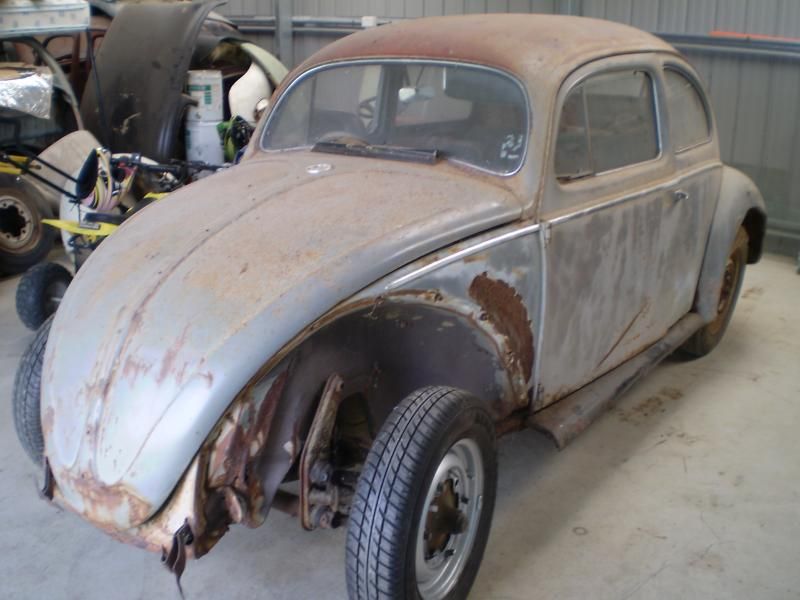

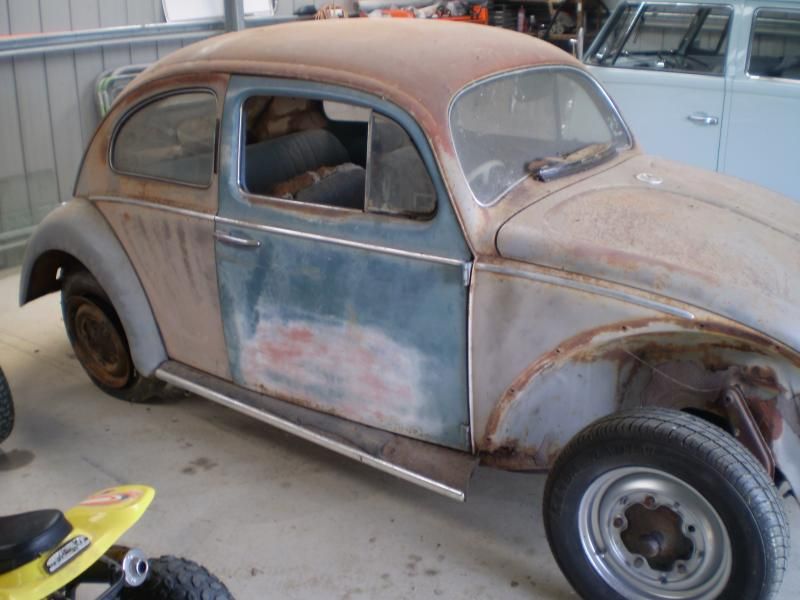
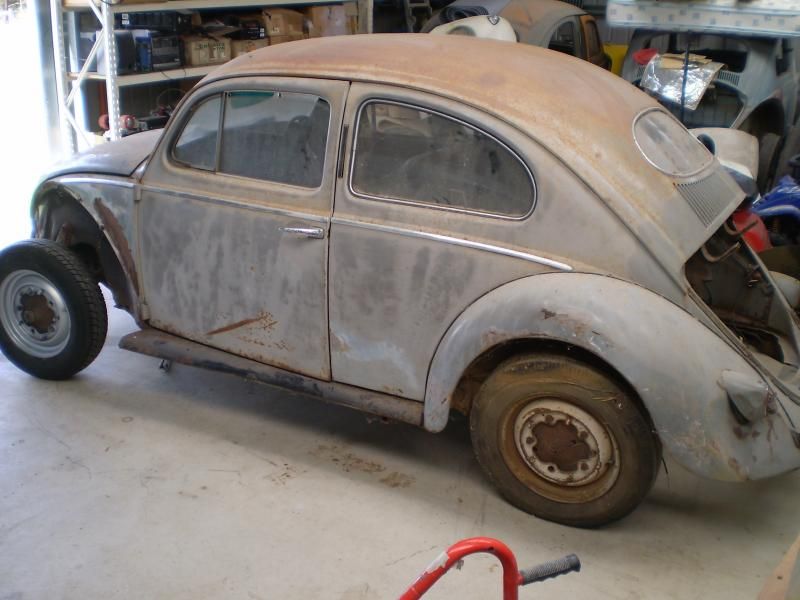
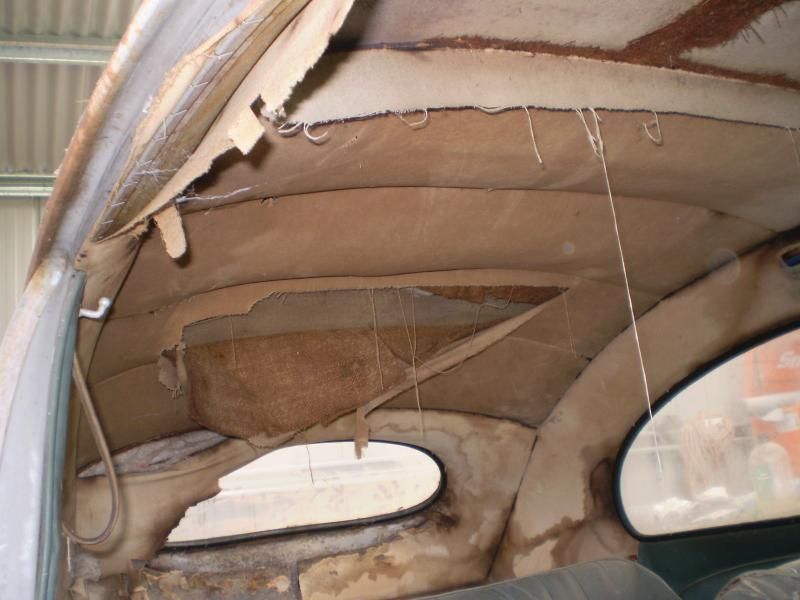
This is my oval which I dragged from a lean-to a few years ago, I have had it sat as is and now the time has come. The car was hit front and rear so I
have sourced front and rear cuts from a donar and will need 2 heater channels,lower rear quarters,rear bumper hangers and lower front quarters.The
car was pretty complete and is going to under go a full resto so no patina/rat look I am afraid.


pretty cool sticker


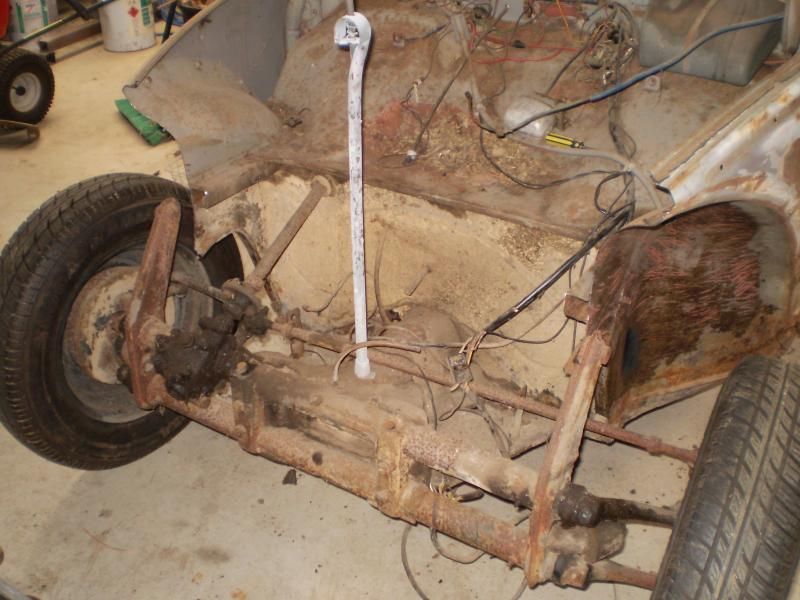
got the bug on the rack and pulled out checked with bonnet and some shrinks on the quarter,then chopped off the old metal ready for new
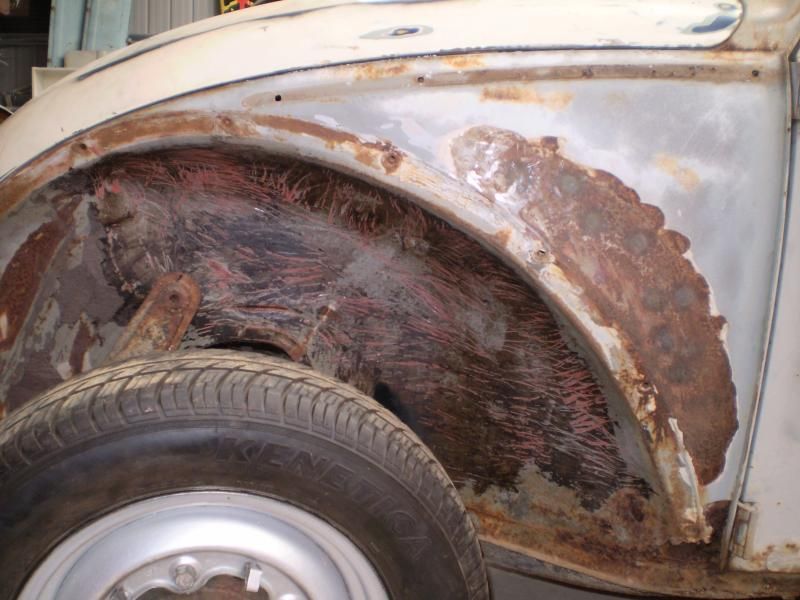
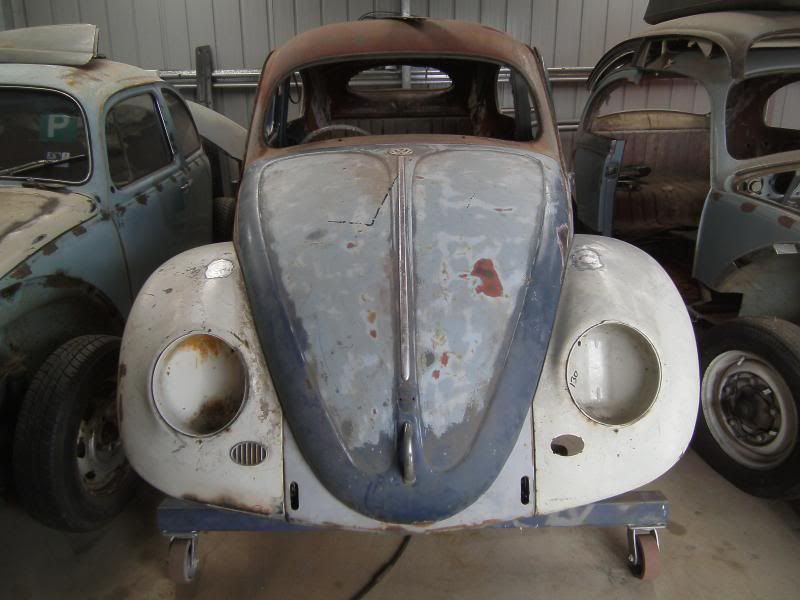
on with the new
had to change over the panel which had the body number stamped into it
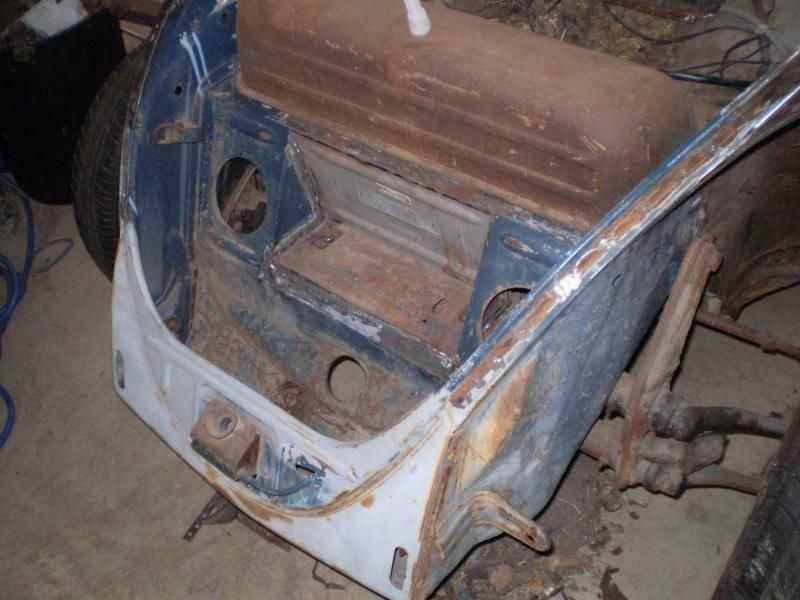
rear chopped off
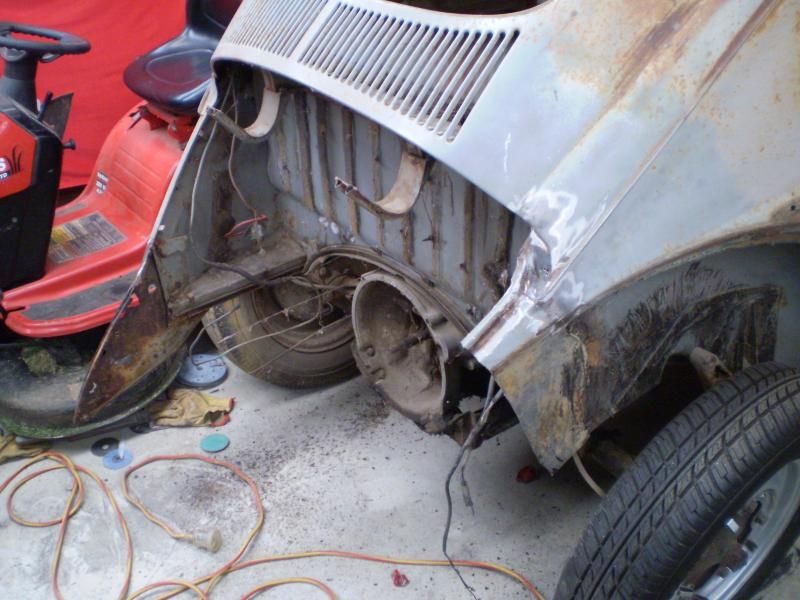
donor rear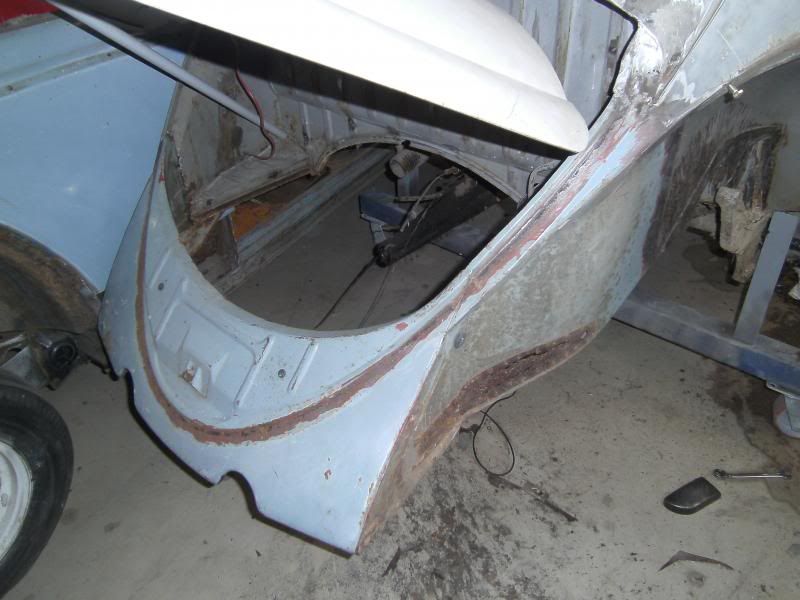 all on
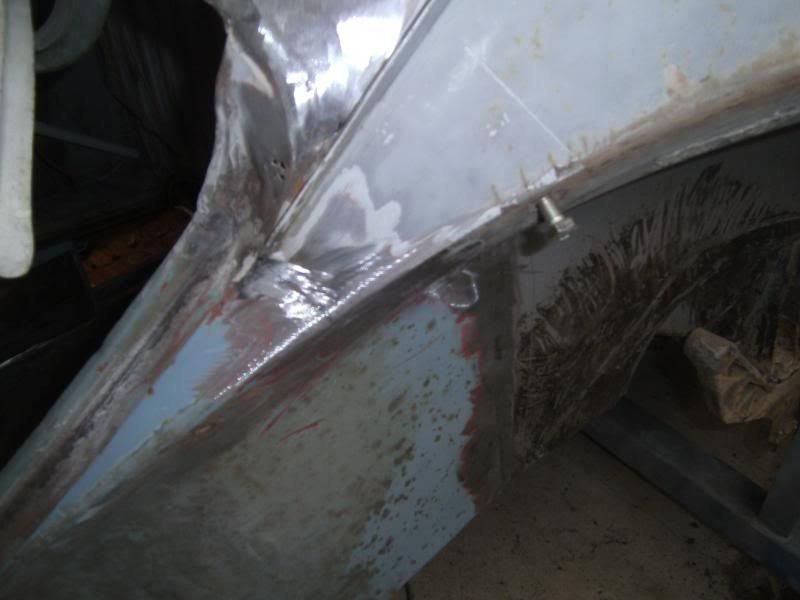
with the secondhand metal in place it was time to strip down to shell and floorpan to nothing and get the shell naked. This is the ultimate start,to
see this body with nothing but pure steel is quite a sight,its not the cheapest but I know every nook and cranny has been cleaned not just the surface
like with sand blasting.You will never get a car this clean in a million years
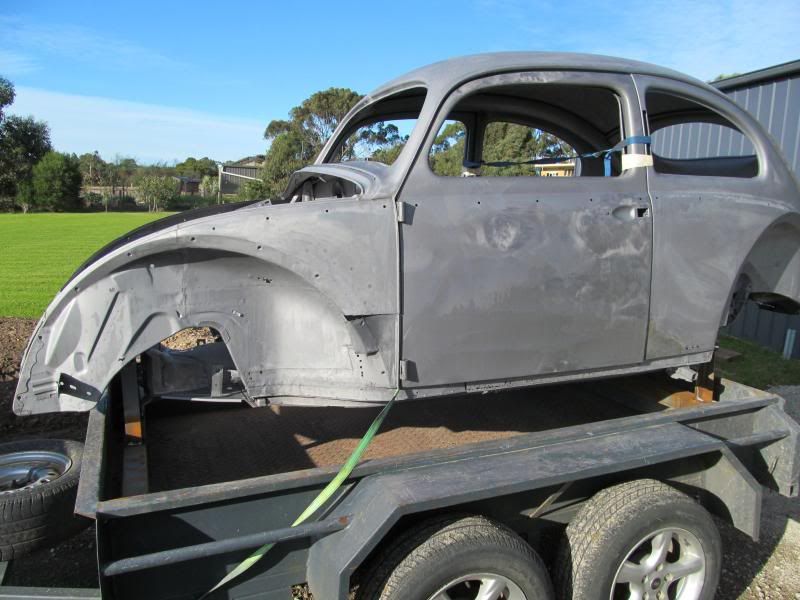
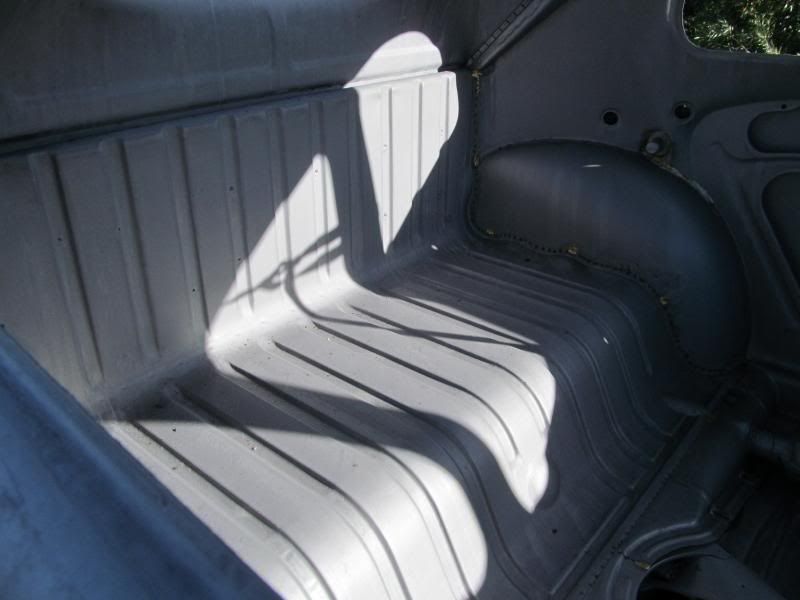
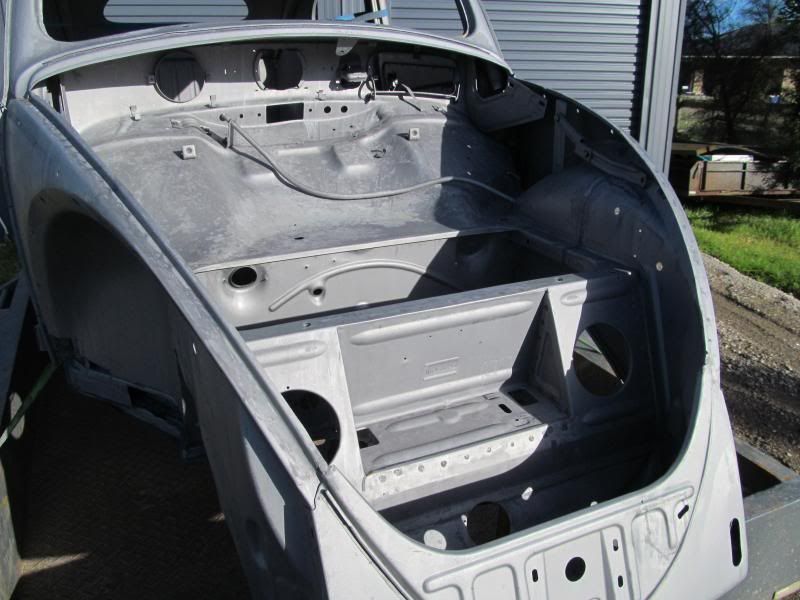
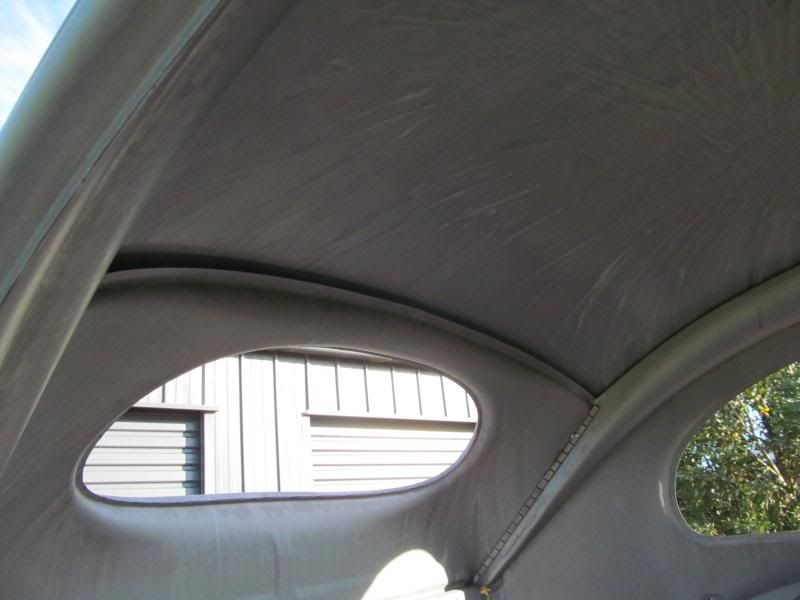
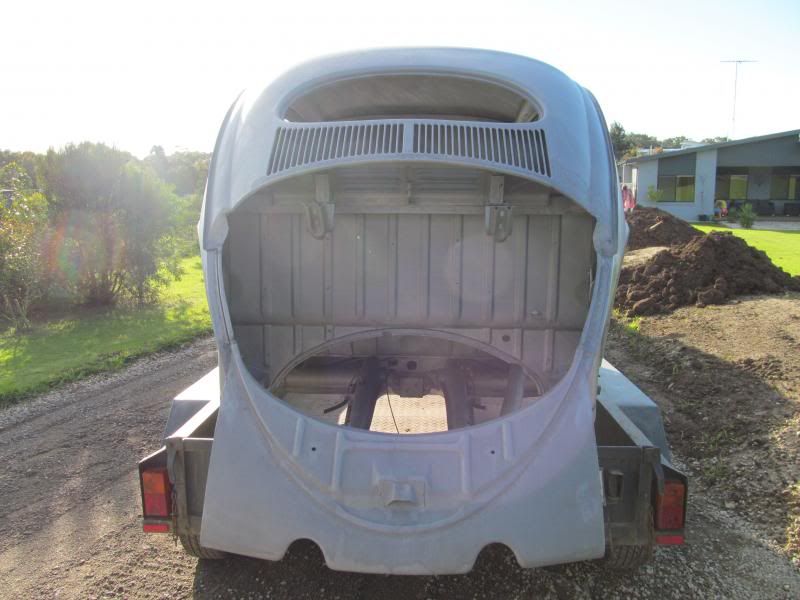
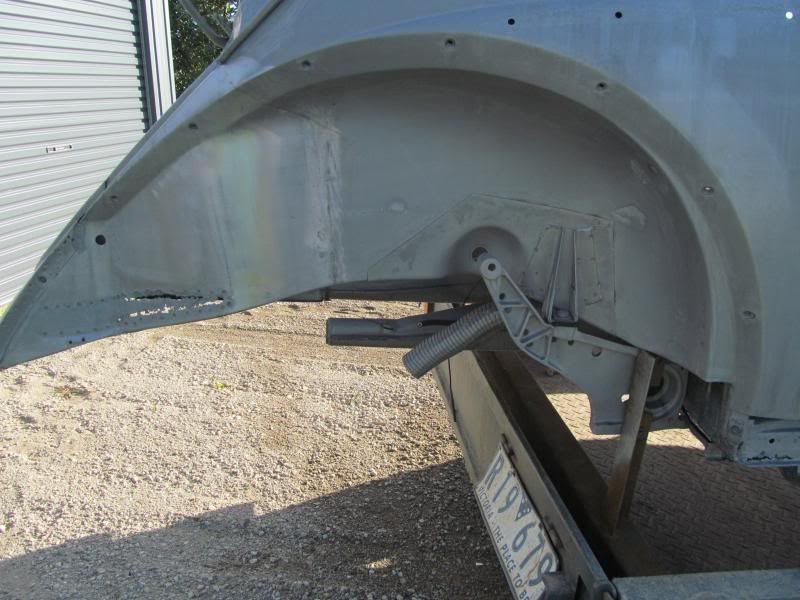
Looks nice n clean. How do you get rust protection back in all the internal panels as these bodies were dipped from the factory?
When cars were dipped back in the day, what they used has not stood the test of time if any was used at all .If you cut open any old car you will see that they are rusting from the inside out with sandblasting only doing what it can see and not the dreaded hidden, so many times I have repaired cars that have had patches put in but rust out again because the back is rusted out. So with this process the body has been dipped in a tank with a non caustic rust eater and then a zinc phosphate coating all over and then once I have done the sheet metal work the whole car will get a good blast of epoxy primer to get in the hard to reach cavities I have a canister with a long pipe which will get every spot then once painted cavity waxed so should last another 60 years
Looks nice and clean.
Had a day going spare today so thought is was a good to keep warm and start the sheet metal
heater channels are swiss cheese
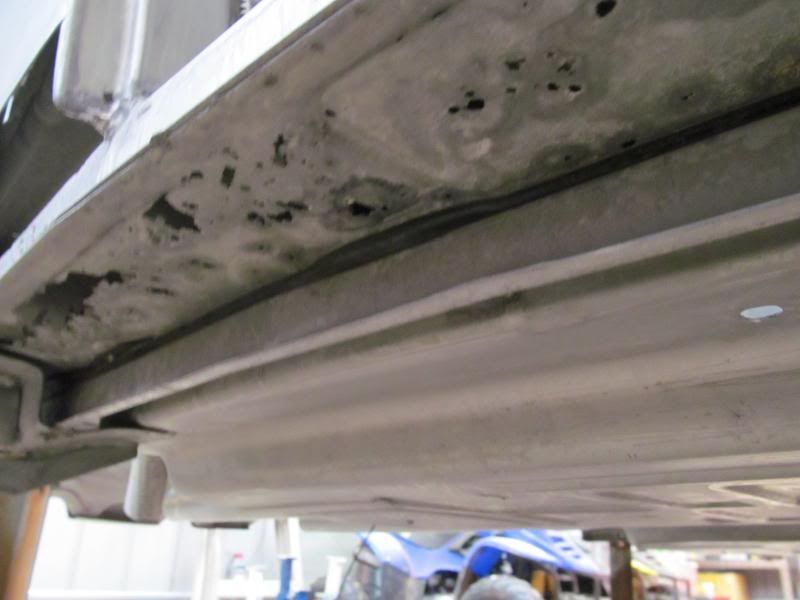
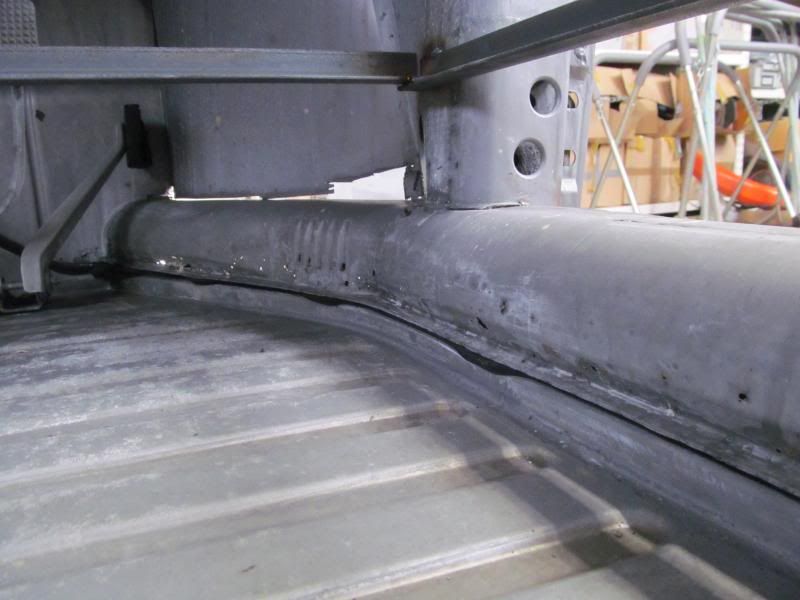
Out with the old
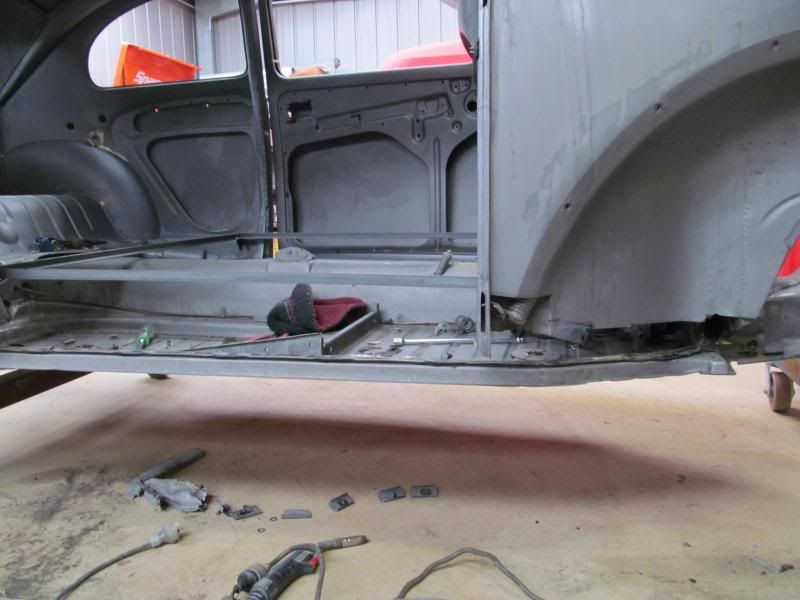
In with the new.thanks GASBNR
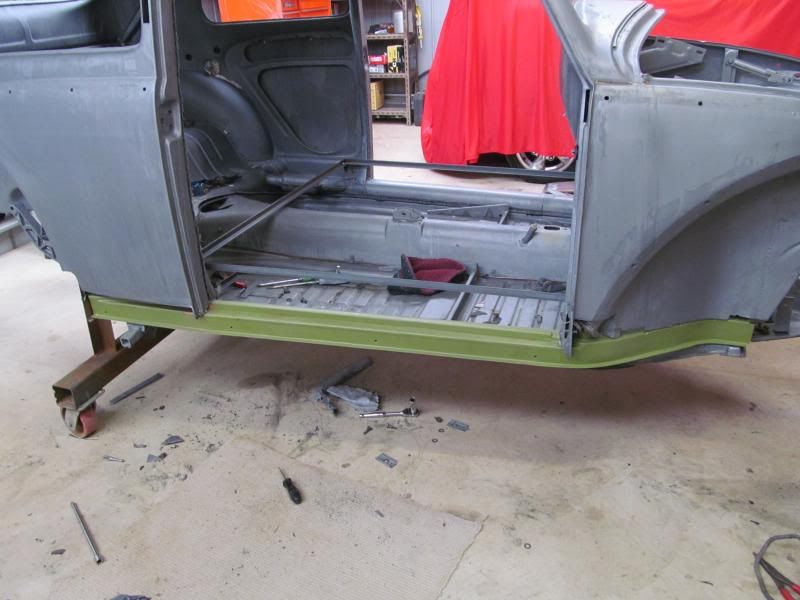
Then to close up some of the holes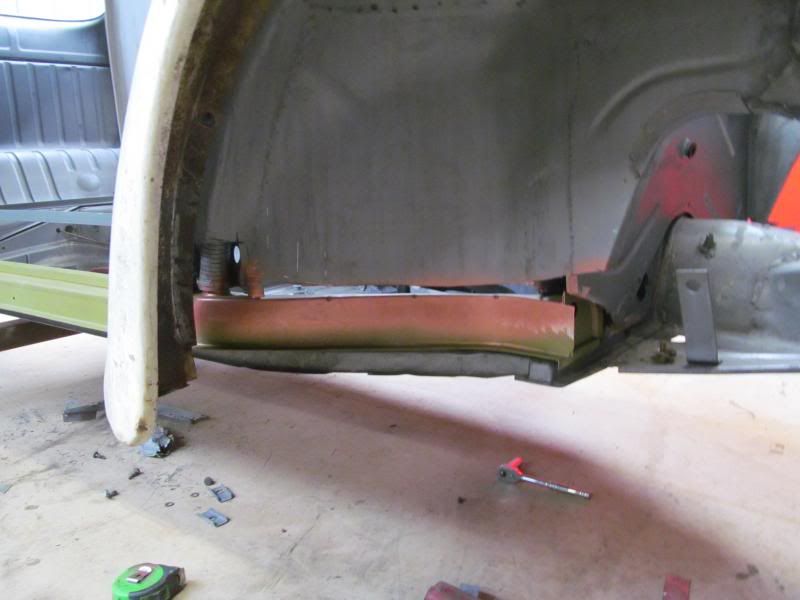
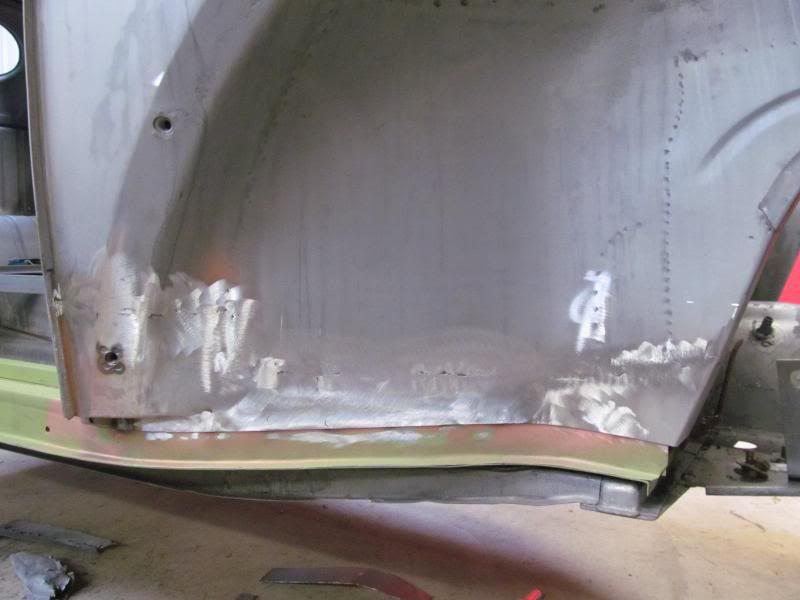
If its excellent quality repair panels you need and correct 1mm
this is what you need
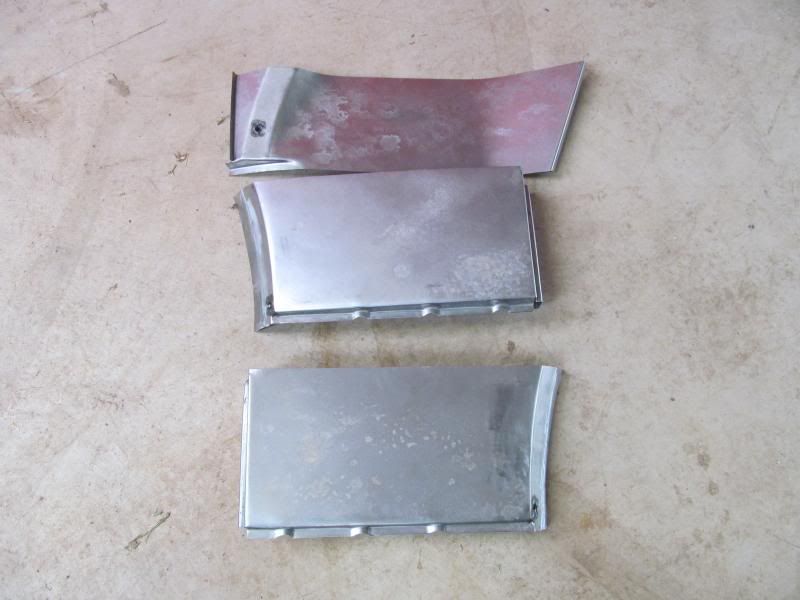
Still along way to go so need a few more days like this, unfortunately you don't get paid to work on your own cars
Cool.
Hey Hodgy,
Nice [rojects. Can you please share where the replacement panels are from?
Thanks
Heath
Turbo54
| Quote: |
only the heater channels will be gerson (klassicfab).After much research they are probably the best on the market at the moment and correct for early beetles,the lower quarters have come from Vertanen restoration panels in Finland and the rear bumper hangers and lower door posts have come from Hookys panels in England.
Found a few more hours so a bit more new metal going in.
Rear bumper hangers replaced
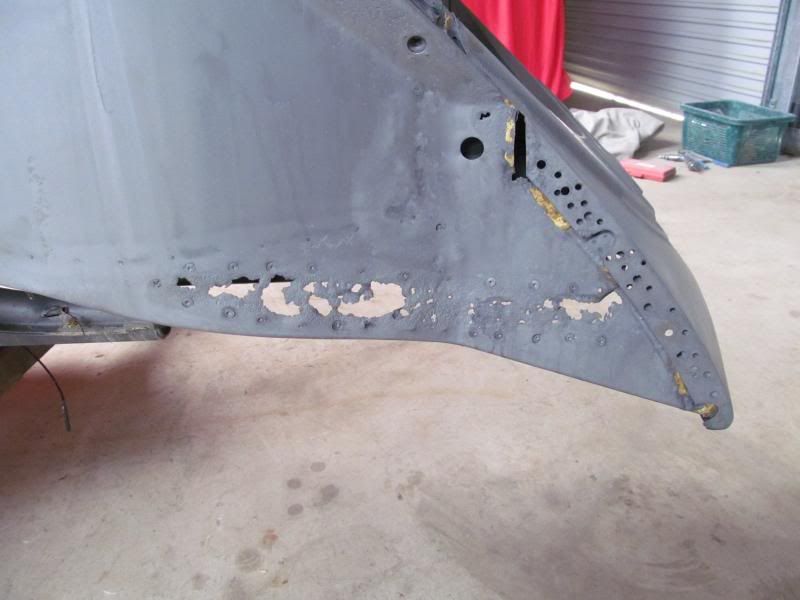
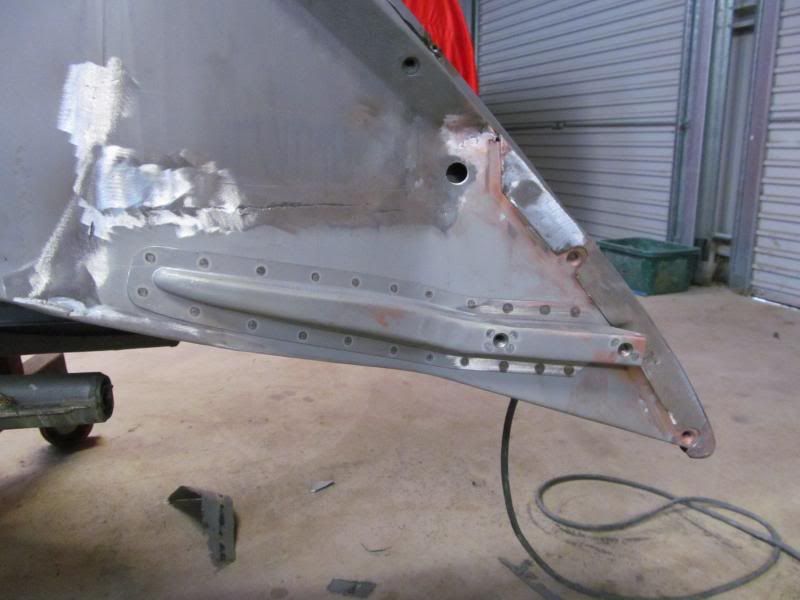
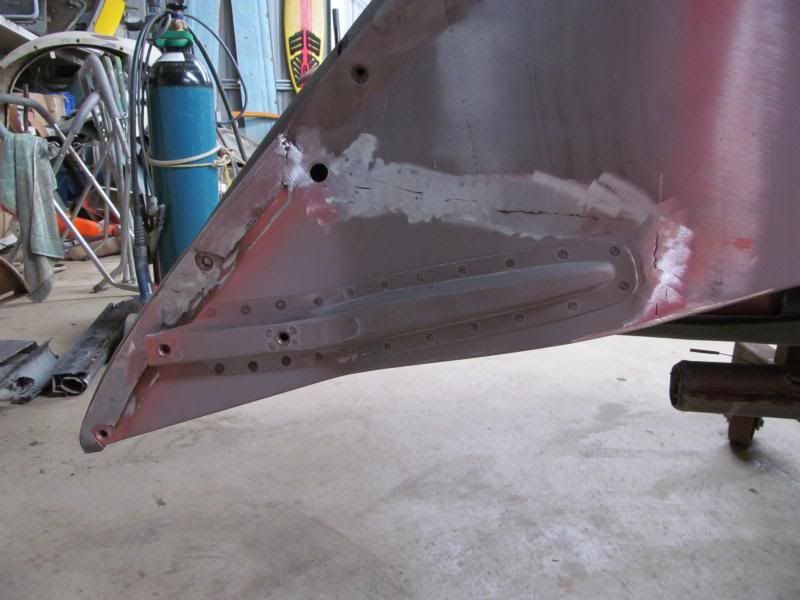
Inside all cleaned up.this bug wont have any engine bay felt just shiny paint so panel work has to be pretty spot on
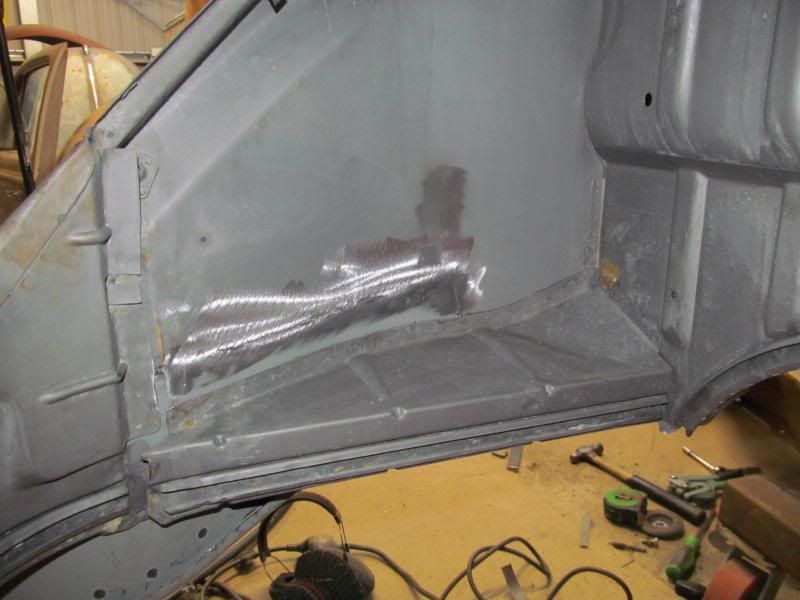
Couple of small rusted areas repaired
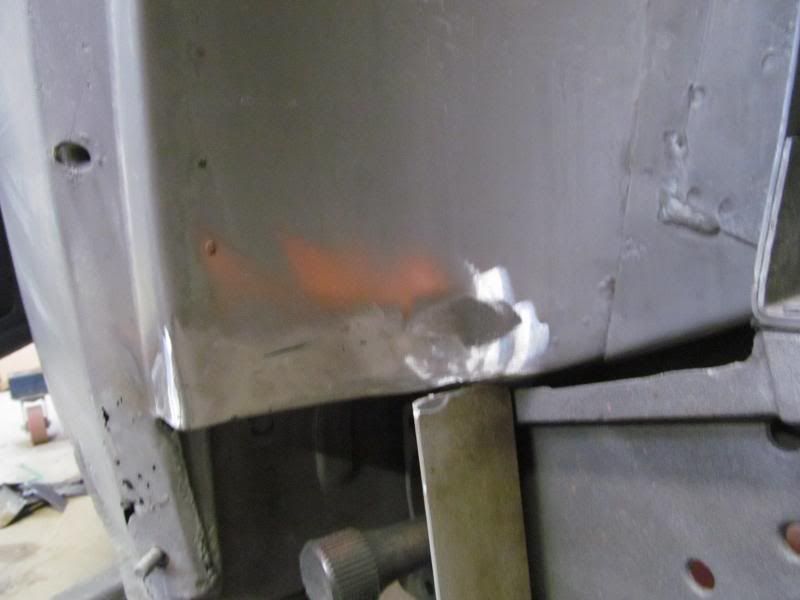
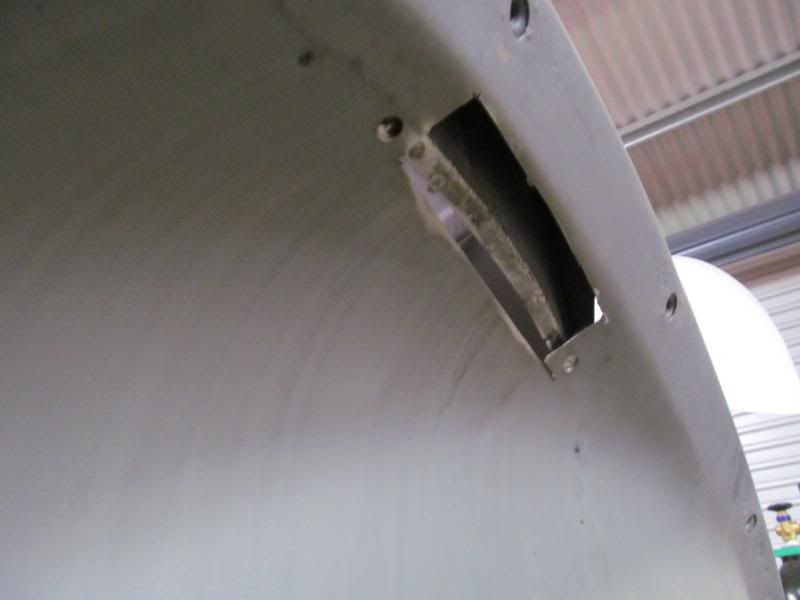
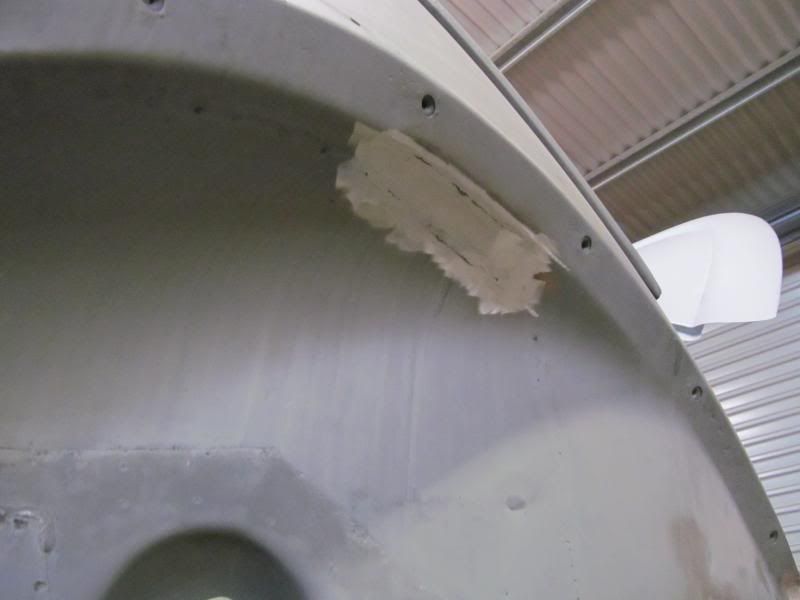
New panel was slightly narrower than original so a bit of slicing and welding required
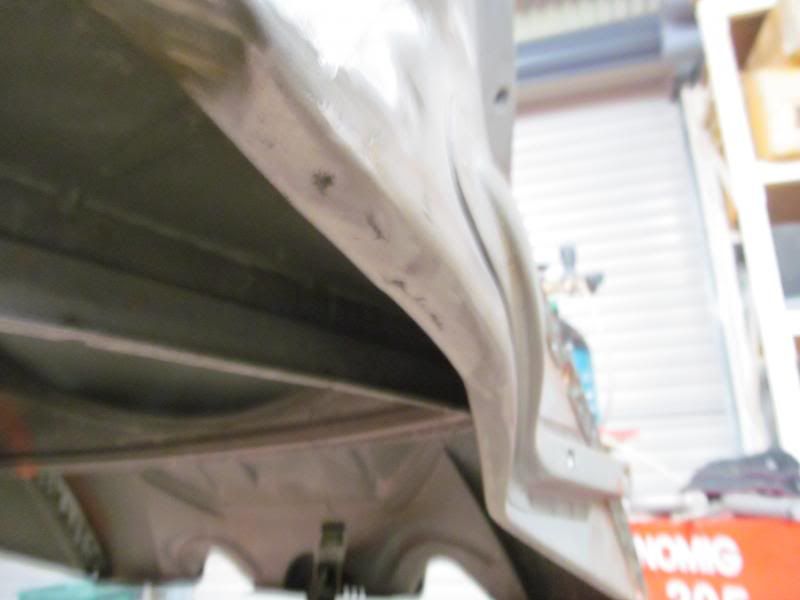
Mint
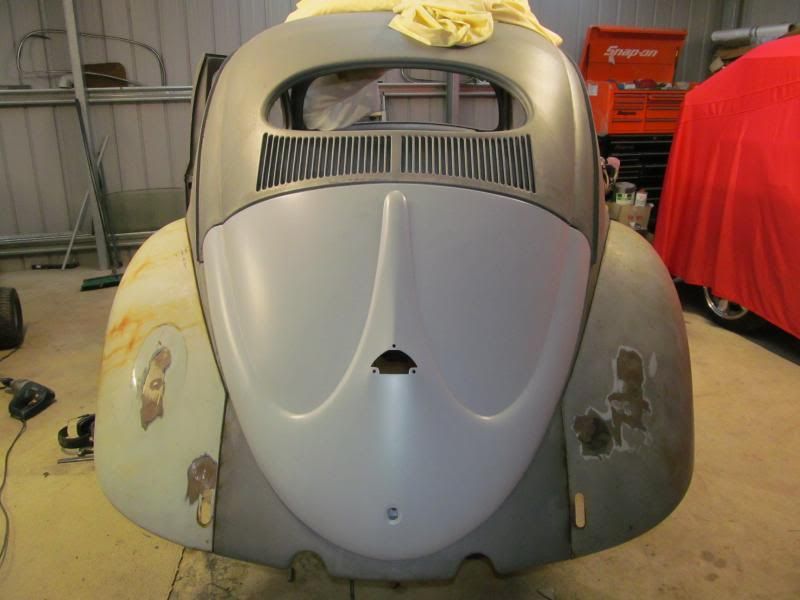
Nice. Good clean repair work. Should be a stunner when done. Plans
= stock or Modified?
Smashing it. Cool
my wife works for KLM where was that sticker put on?
Have you still got it?
Plans for the bug is to be a cal looker from back in the day similar to the DKP cars so no narrowed beam, no shiny bolt ons. Just lowered on the
front, fat and skinny tyres, disk brakes and strong motor will be the only major changes to an otherwise stock looking, as delivered car . Original
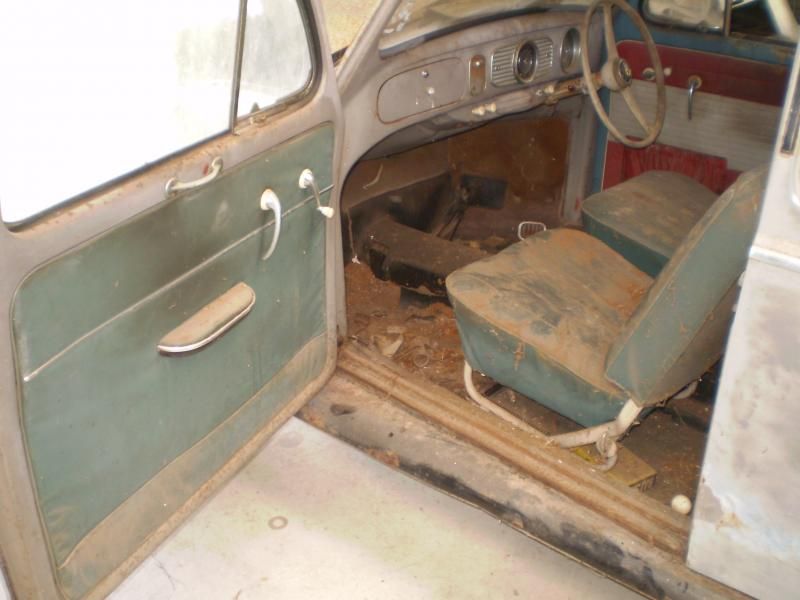
colour from 57,limited choice but have one in mind, Original type interior
As for the sticker it was on the tunnel mat. My plan is to put it in the same place on the tunnel and clear over it
Very nice job indeed. Are you making the rear apron removable? You did replace it with a new one didn't you? Also love the plans, fat and skinny tire combo is timeless. Keep it up!
Rear apron is an genuine from a donor car, I have welded it in place as per original
Nice going hodgy.Would you or anyone else know the colour name of the green interior ( picture 3 from the top).?
still cutting out the old and replacing panels,r/h side all finished now and onto the left
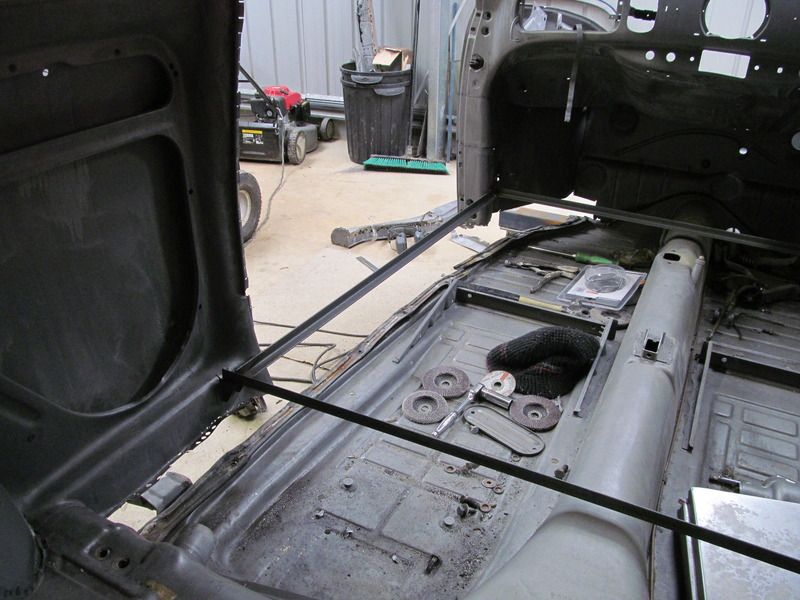
nice and tight
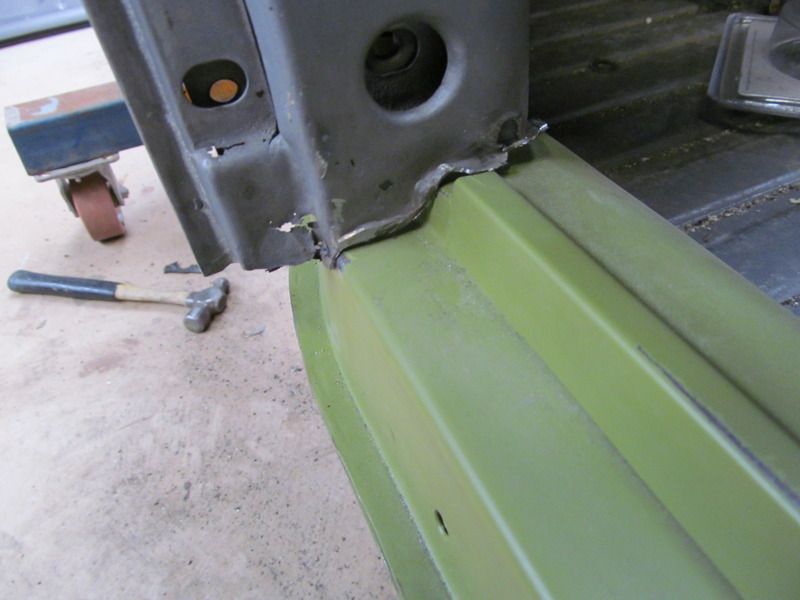
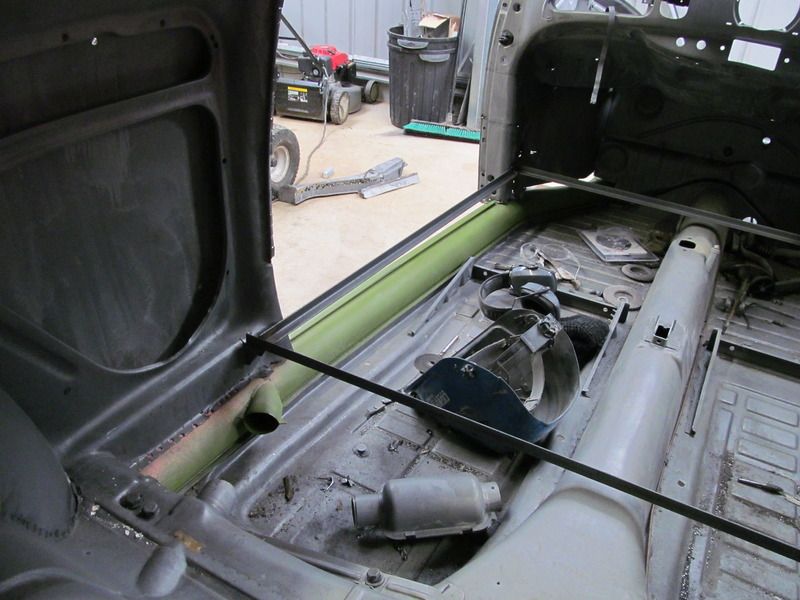
done for a customer,turned out real nice and off the gun.
not a vw but its good to mix it up abit
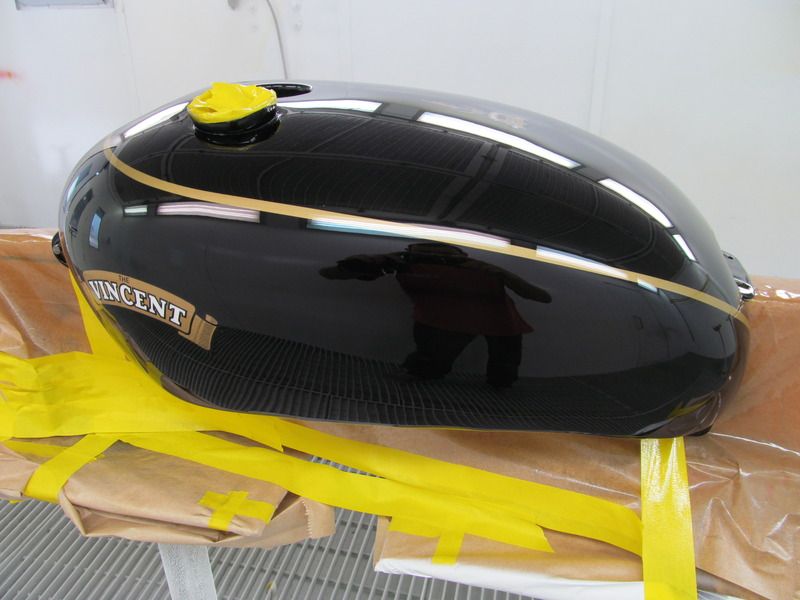
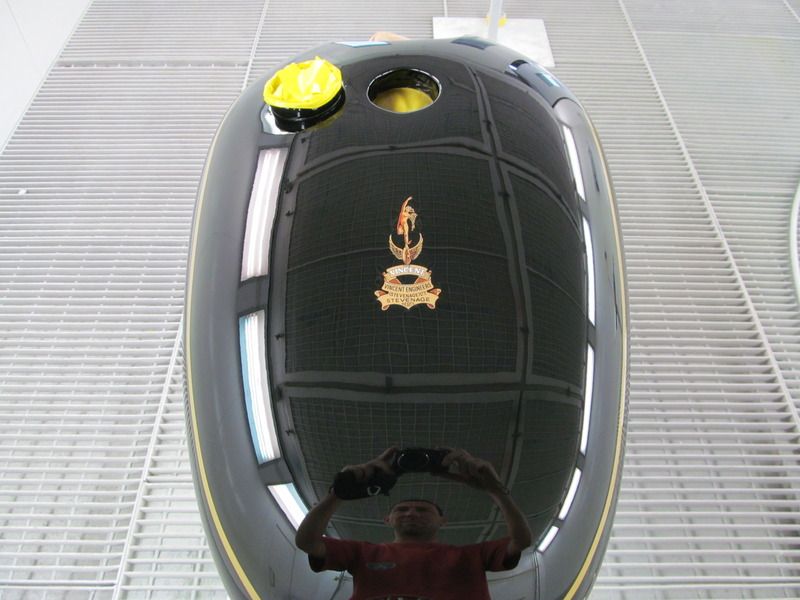
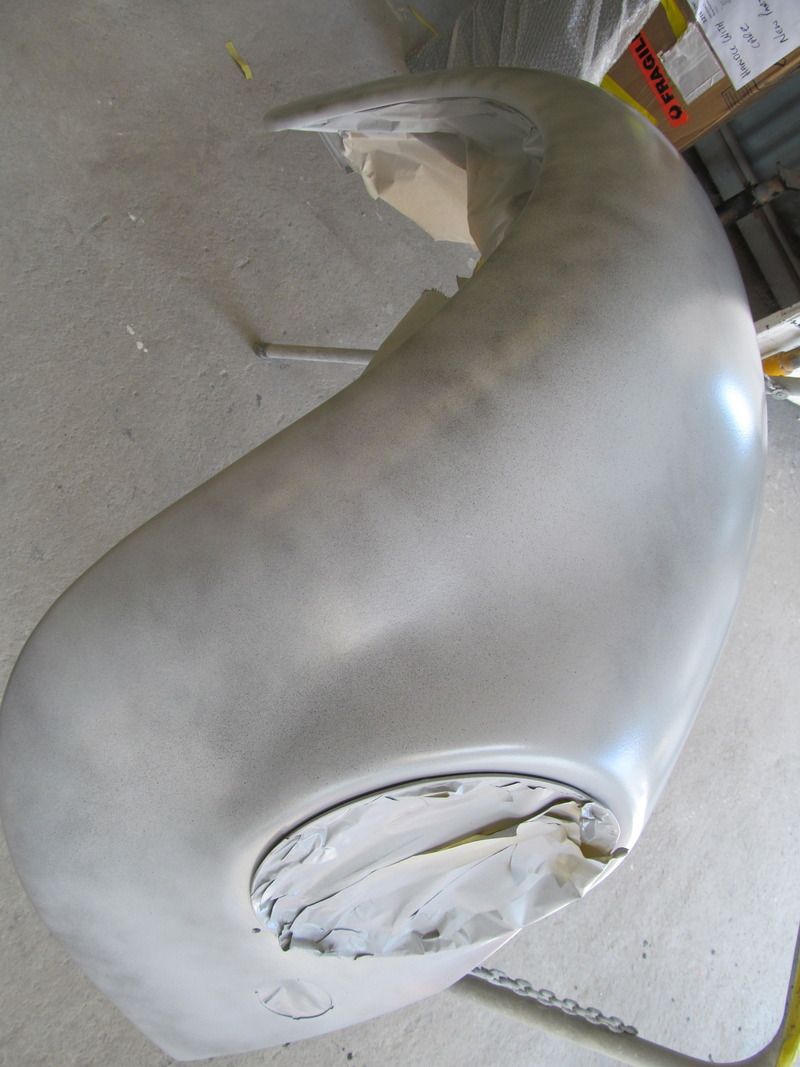
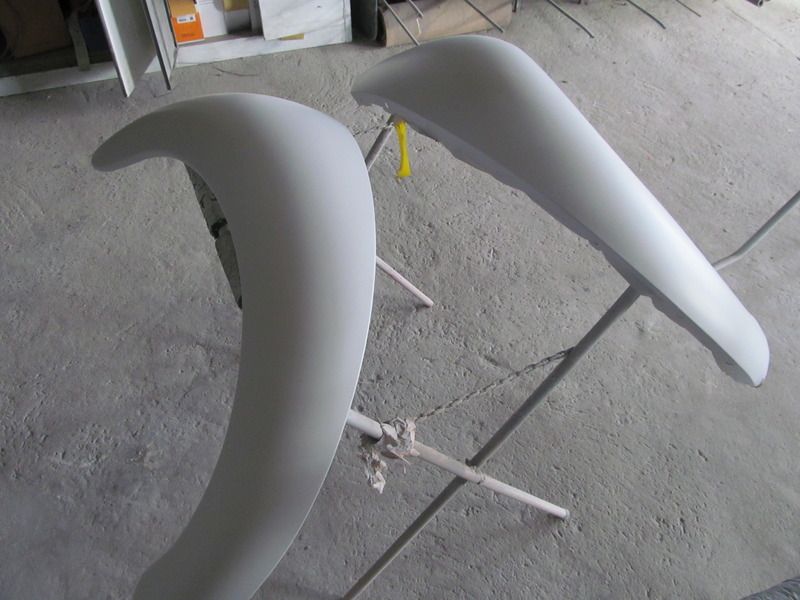
i could have got repro guards but wanted original steel,so plenty of hrs gone into making these usable.
sand blasted and metal conditioned
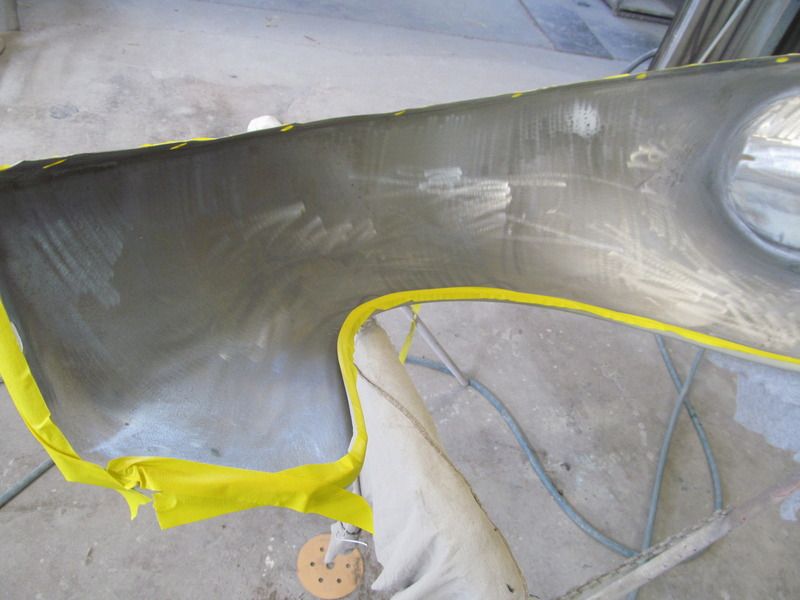
into epoxy
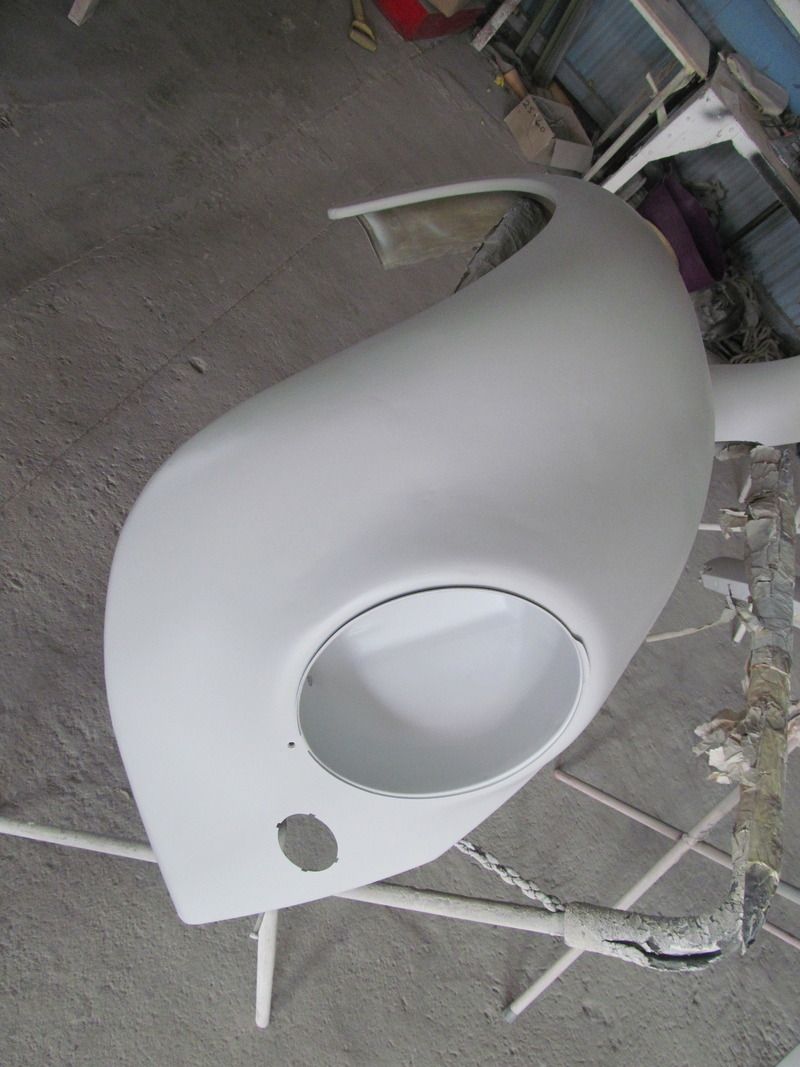
blocked and reprimed.
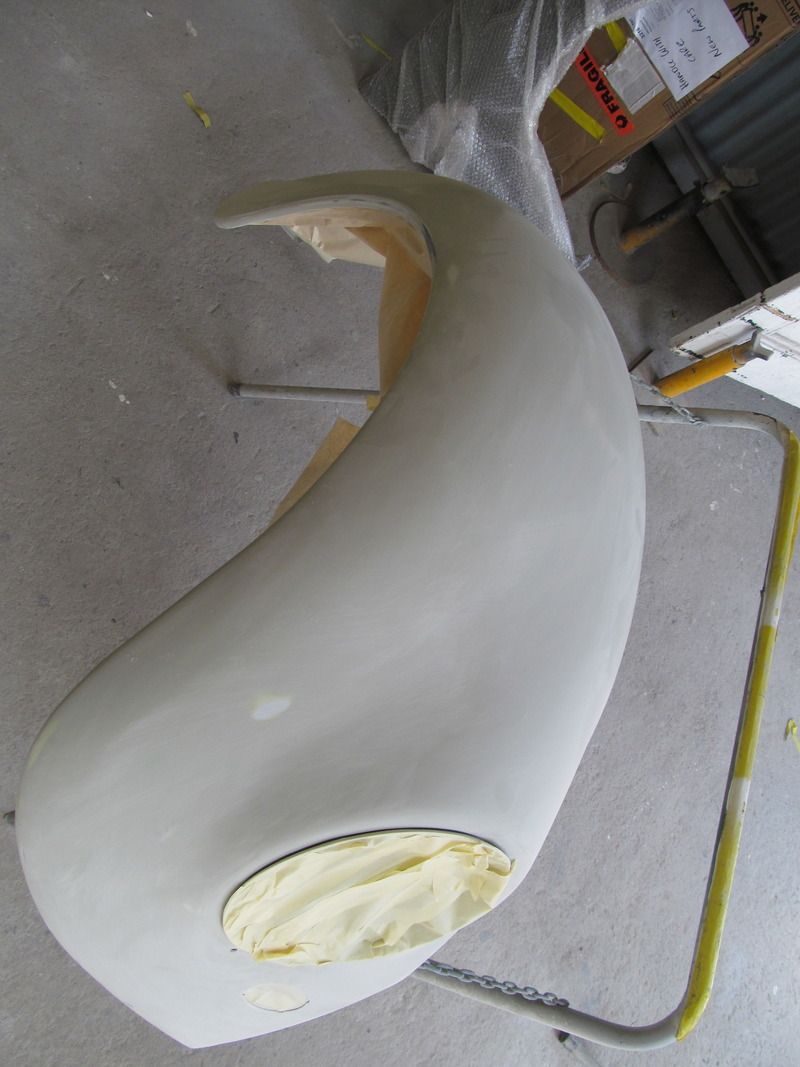
Coming along well!!
Good to catch yesterday Paul. Got some insparation ?
Looks great.Looking forward to the updates. Thanks for sharing
Thats right mate,every now and then you need a good show to walk around and get inspired to do a bit more.There were some cool cars.Jambo is such a laid back show to do just that.
Nice work, wish i knew how to do what you are doing!!!
only 25+ years of practice
Keep at it mate! looking good.
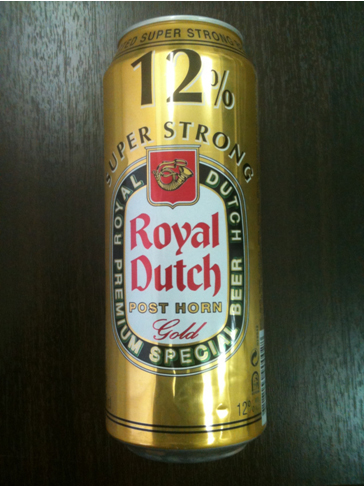
royal dutch!
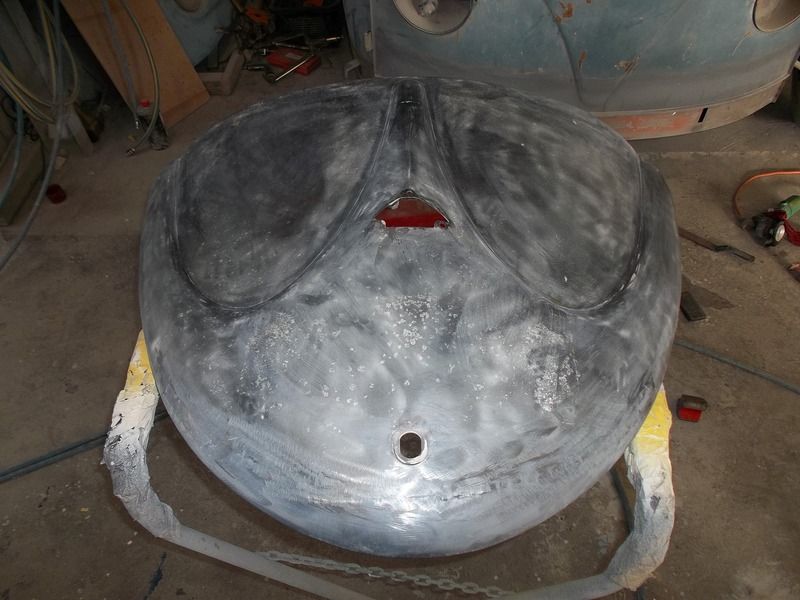
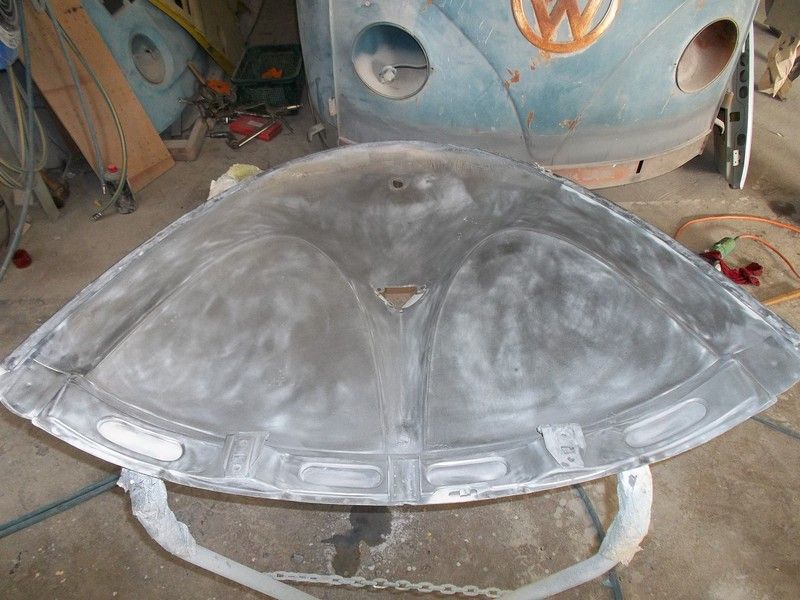
although this was done a while ago,heres what went into making a good rust free W lid'
Removed the old inner and outer lower as was to far gone and replaced both with a lower section from a half w lid and metal finished the dents
 [/URL]
 [/URL]
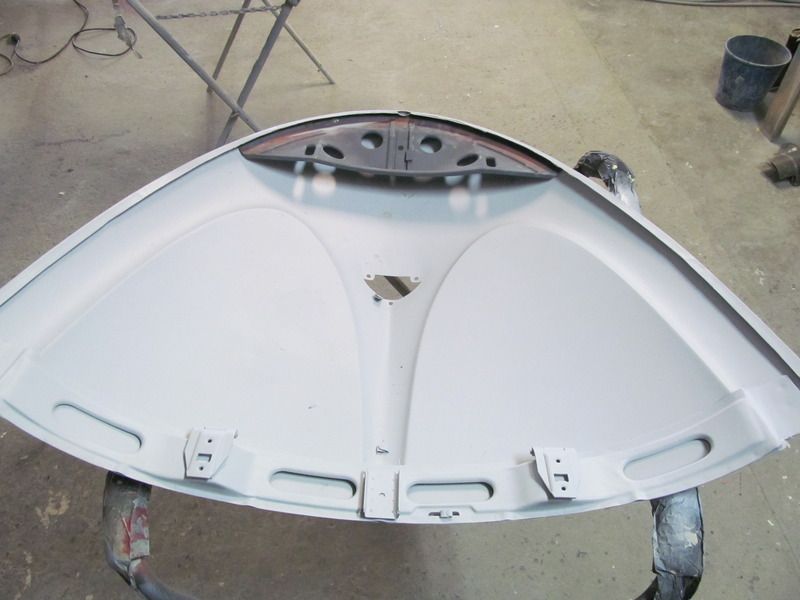
With the inner all dressed so repair is seamless the replacement was welded back into place
 [/URL]
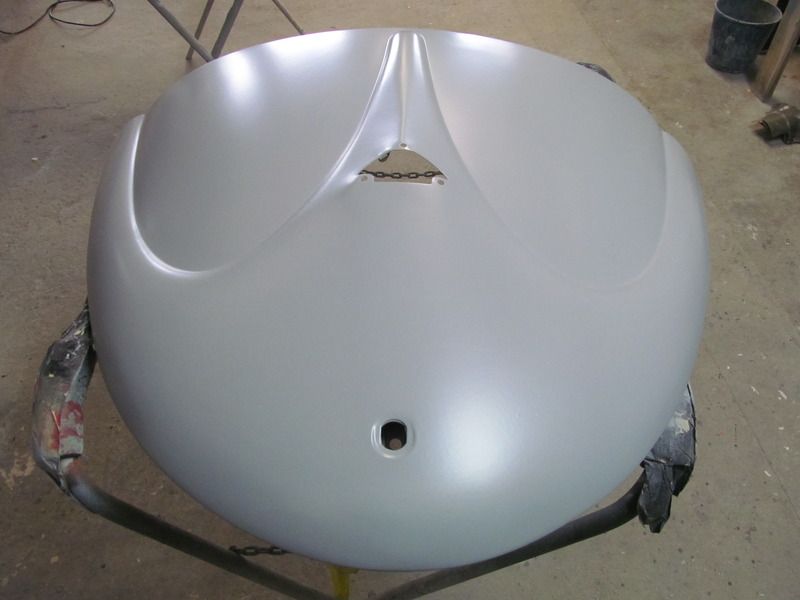
With a light skim over ,time for some primer and as good as new
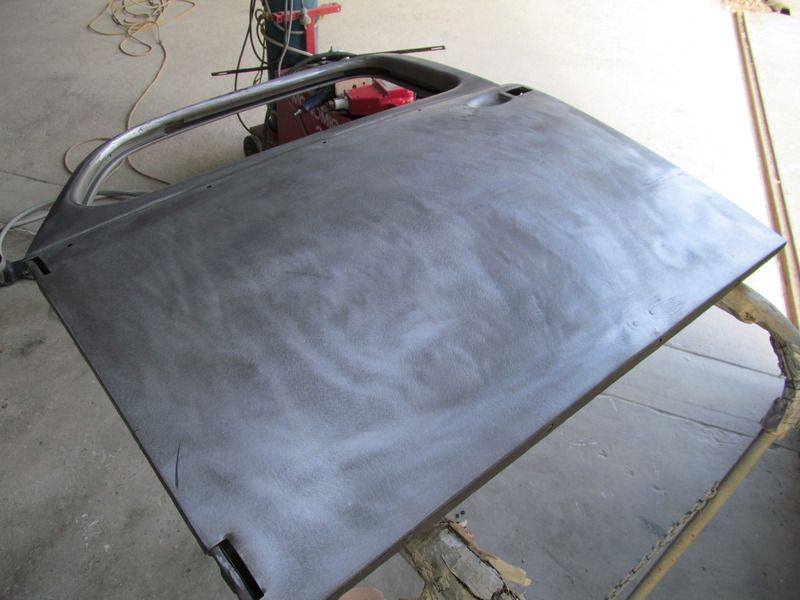
Managed to get a door repaired and in primer this week.I ended up having to change the hinges as they were to far gone even after reaming out with
over size pins.So with hinges sourced and reamed out with second oversize now is all good.
The doors were in excellent condition with just some minor ripples, so dressed up and a good coat of poly and blocked then hibuild primer was very
happy with the end result.
metal conditioned
 [/URL]
poly coat
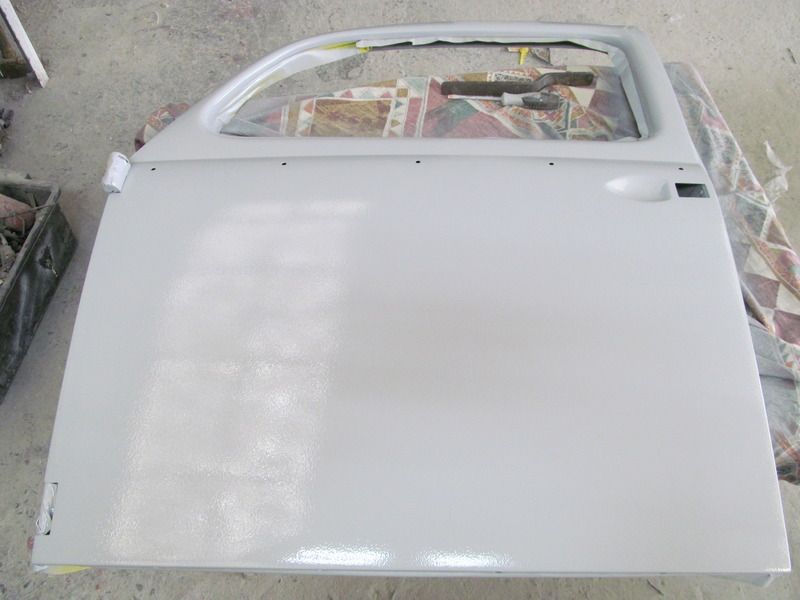 [/URL]
blocked and hibuild primer
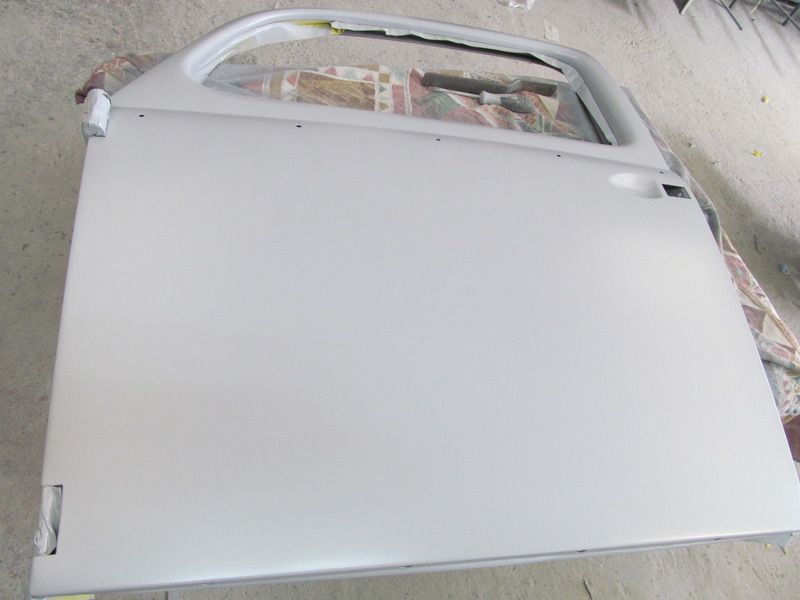 [/URL]
Nice.. i do like the work on the heaters and pillars etc. put more pics when you can..