
Maybe next year hey

Heres a sneek preview of whats keeping me busy and any bank savings down. I started this project in May 2003 and I was hoping it would be finished
for this summer! 
Maybe next year hey
cant wait 2 c her done mate
Did you make that rig? It looks awesome! Any possibility you'd sell it when the oval's finished?
Sweet....wish I could do my car that way...Well maybe I can. I want it done right the first time. Get to those areas you dont see but you feel all areas are covered....Keep up the good work...Kyle of California
thats the best way to do it
rob
Yeah I agree Guys its the only way to comfortably work on a shell even though I'm not doing the body work this I have farmed out as like you kyle I
belive do it once and do it right. Now I've started this post I'm going to sort out the early pics of the car to give you an Idea of how it all
started.
nIck
Well whats the chances of finding a oval rag roof forsale in good condition trust me there slim to bugger all so I went the next best
Warning VW Purists look away now
.:o
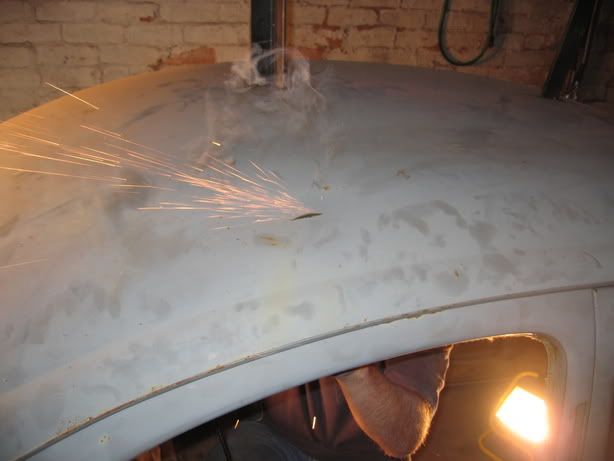
Ruckus Thanks man, I didn't make the jig but it belongs to my body work guy he'll be more than happy to let you copy his measurements so you can
build one yourself
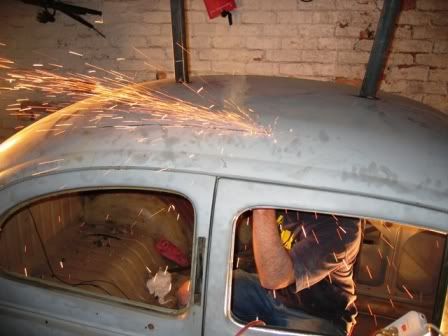
If you need help hosting them mate just email 'em to me, or put them on photobucket.com
No going back now !!!
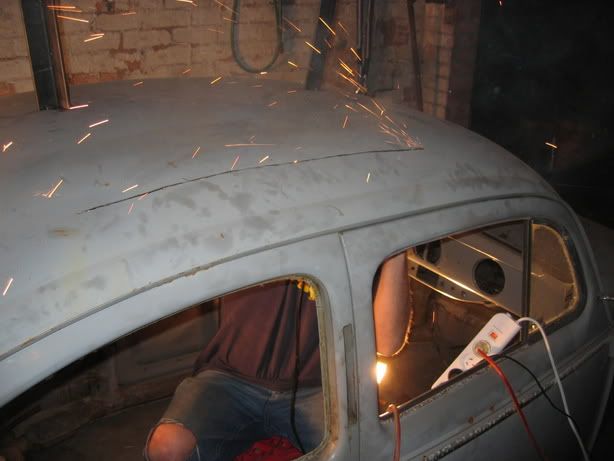
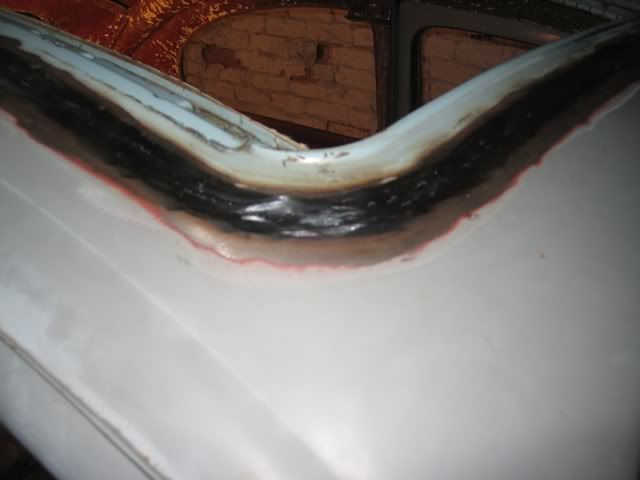
Sitting in the section already trimmed up and dressed to weld in
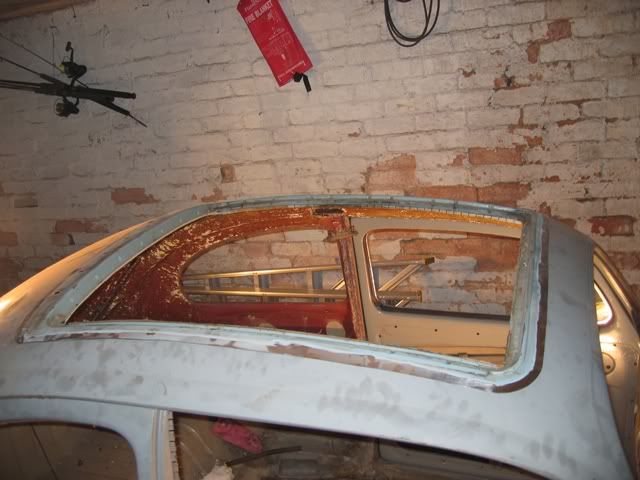
Check mesurements and check another 32 times
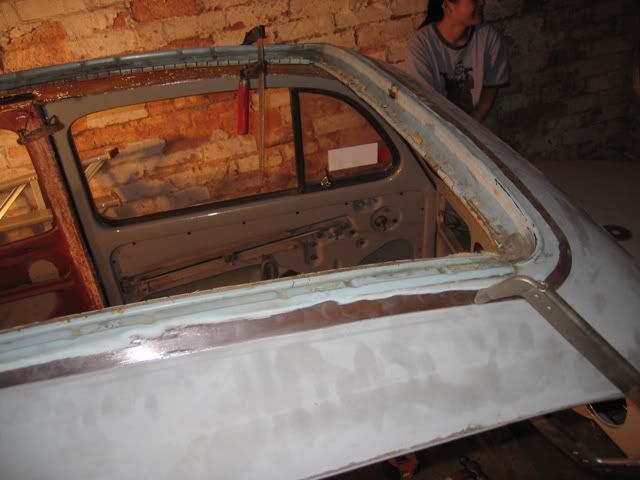
Then when your happy clamp into place the section and scribe your final cut line. I left myself a 15mm error margine on the first cut all the way
around so I could offer up the section first.
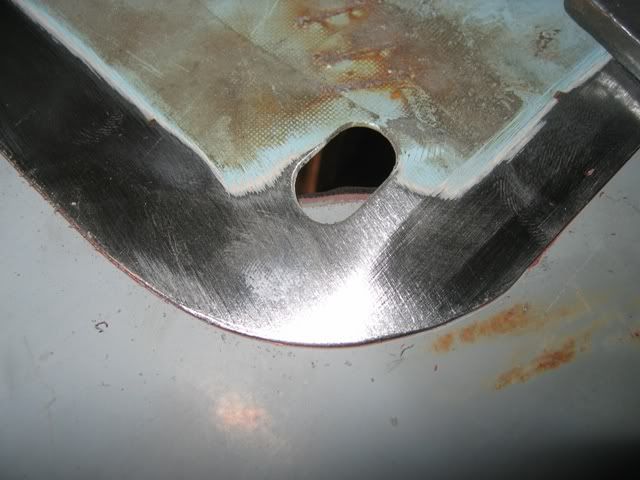
Final trim up "KEEP INSIDE THE LINE" its easy to take out than put back metal
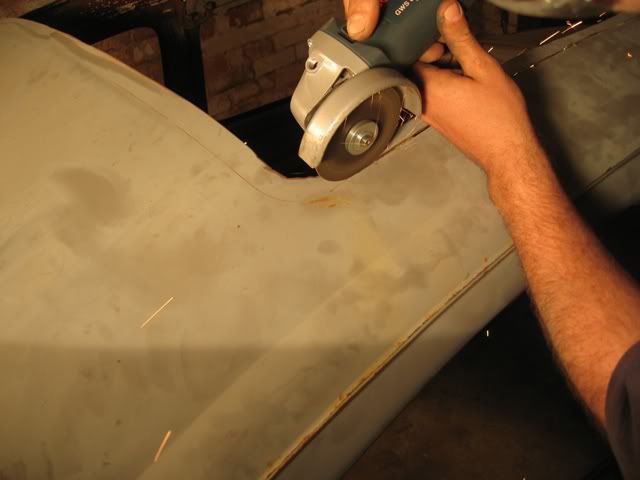
Cleaning off the paint ready to weld
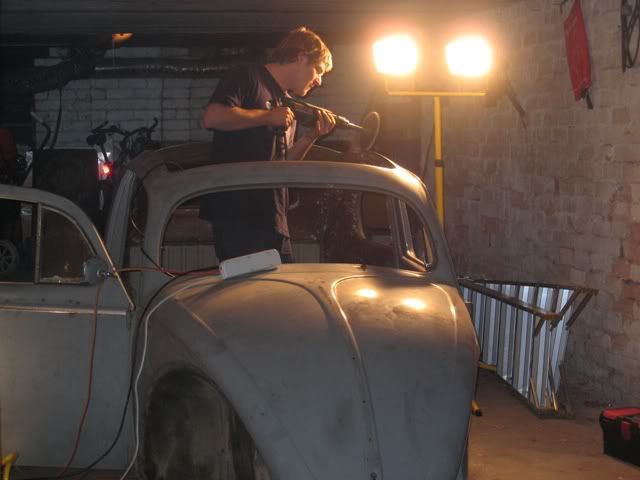
Now start welding her up I wanted to butt weld her to make her as close to a factory roof as possible but there's many ways to skin a rabbit you
could joggle (step) the edge and sit the section in but I'm never easy on myself or my car and the welding was been carried out by a skilled
professional who was happy to butt weld the section in :thumb
We started with tacking the section in place moving side to side corner to corner laying tacks about 50mm apart until the we were ready to tack
between about every 15mm
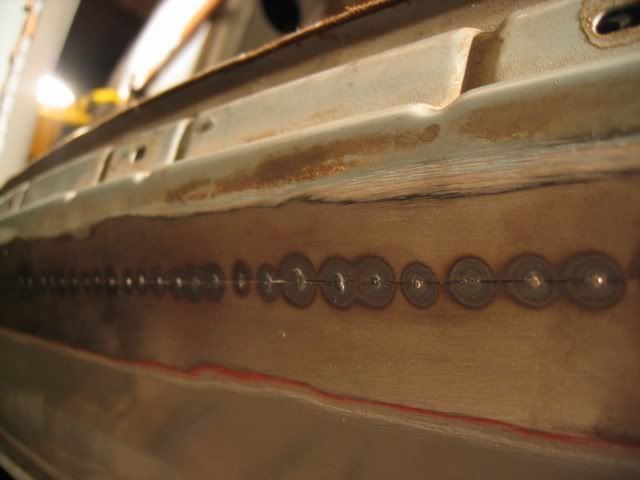
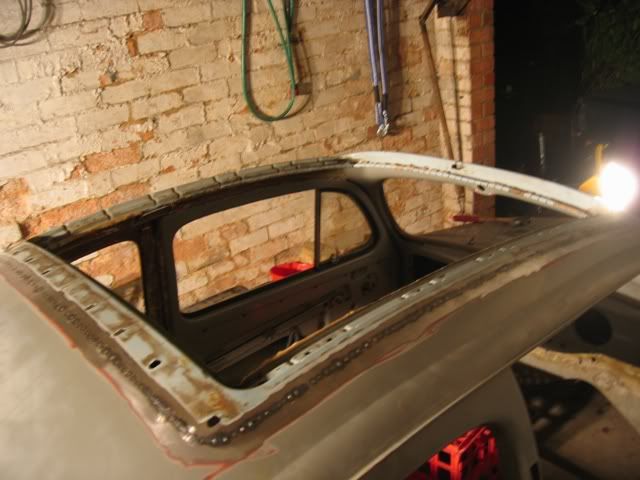
Now weld all the way around been carfull not to warp the roof and add to much stresses. We then knocked back the weld with a flap disk but only on the
top not the underside this helps keep the weld strong. Then it was time for the dolly and hammer to striaghten out any imperections.
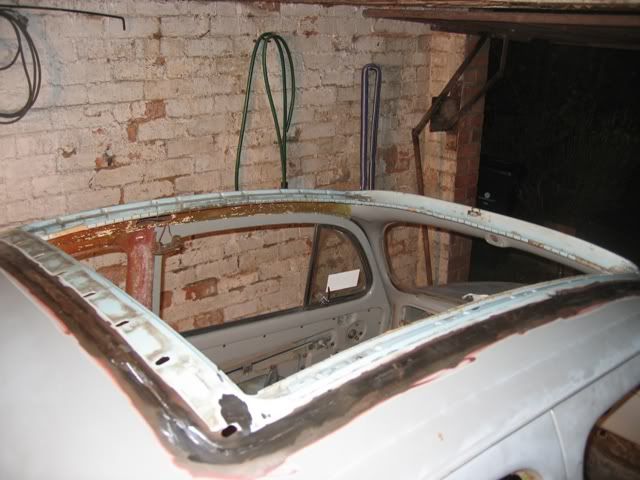
These are the corner reinforcements that really helped keep the section in alinement. We used this as a refrecnce point as we went along checking
every step of the way
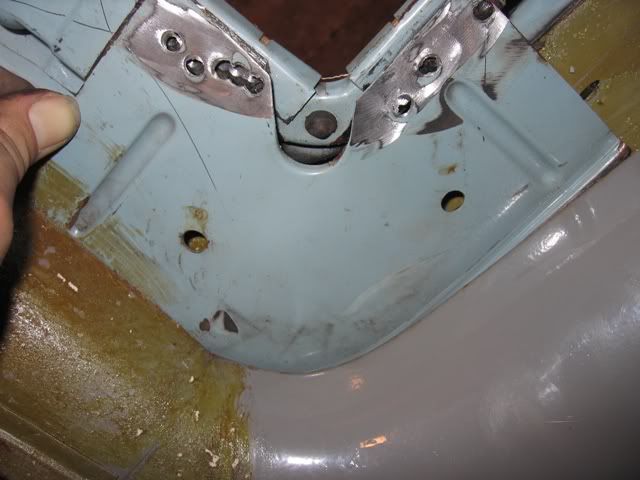
Ready for the body work guy to do his magic with the rest of the shell
nice man! looking good!
I'm in awe man. Well done!
Top work - having done a Golde rag cut installation myself, I know how labour intensive it can be....I agree with you about the "measure 32 times,
cut once" philosophy.
I'm sure it will be awesome to have an oval ragtop - any other details you'd like to share at this stage about the plans? Eg. engine, running gear
etc?
I'm not going to give to much away right now as the car is still a long way off, I've invested a lot of time and wonga into this so far so I want
to keep it when its done

wow did you oder that or find it here? (locking berg shifter right?)
Lookin good Nick. 

Yeah it's a rhd berg locker alright me and a mate ordered them together and got a friend to pick them up from the VW Classic and send them over here
that was last year. There not cheap but worth it for a little piece of mind.
Thanks dean :thumb
nIck
if i make it back 2 melborne from wa (driveing ) in time il catch u at day off mate
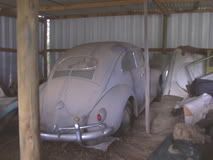
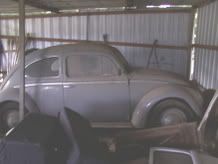
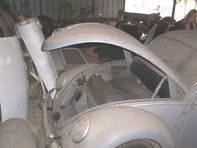
This is how I found her sitting in a country shed since 1981 as you can see not touched in twenty + years
[ Edited on 4-1-2006 by Mr Bubble Head ]
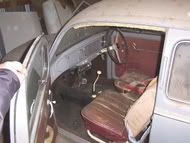
[ Edited on 4-1-2006 by Mr Bubble Head ]
Well not much progress but not far from paint its so close its killing me. I'll be working on the final rubbing in the next week so I'll take a few shots. Its hard to draw the line with how far to go with body work ,and this is my biggest downfall. I've been very fussy and its held the project up so now its time to cover it in some pigment and a good rethink on the way its going to sit on the tar.
great job and pics Nick... keep it coming...

Great stuff nick hey u comin to valla?
Yeah, will the car be at Valla?? Would be sweet to see it, but I understand you don't want to rush things (I missed the last valla with my resto
because I didn't want to cut corners). C'mon mate, more pics please! 