
Cam's Kombi Resto (finished - Jun6)
Dasdubber - January 25th, 2008 at 09:31 AM
Although it's a bit late to start this thread, I thought I'd throw up a few pics of what I've been up to in between bouts of resto-ing Derek and
Lee's camper....maybe this is why I never get to work on my own cars anymore!
Cam is a mate who lives a couple streets away from me so it made sense for me to lend a hand late in the resto of his bay window bus.
Here is how it started - overall pretty solid but again some hidden rusty treasures hiding under the paint.
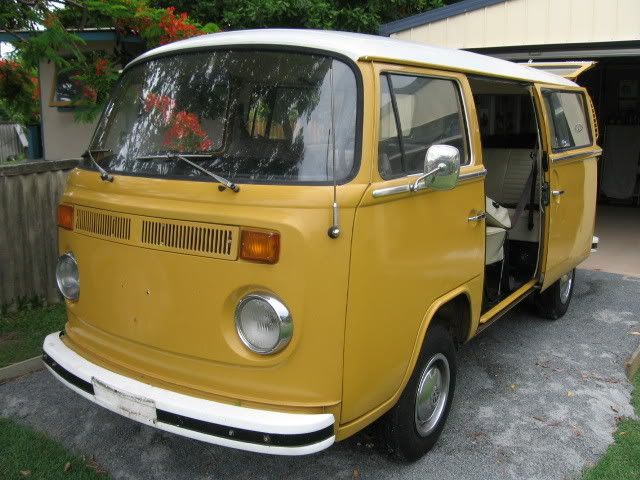
Rust repair panels were tacked in place and filled over by a panel shop, and some of the basic panel work was done at the same place.
The bus sat in its etch primed state for a while as Cam was pretty flat strap with work so limited progress was made, so he hit me up for some help
over October and christmas/new year.
Cam shot it with high build primer and guide coated it early October but then it stalled for a few weeks.
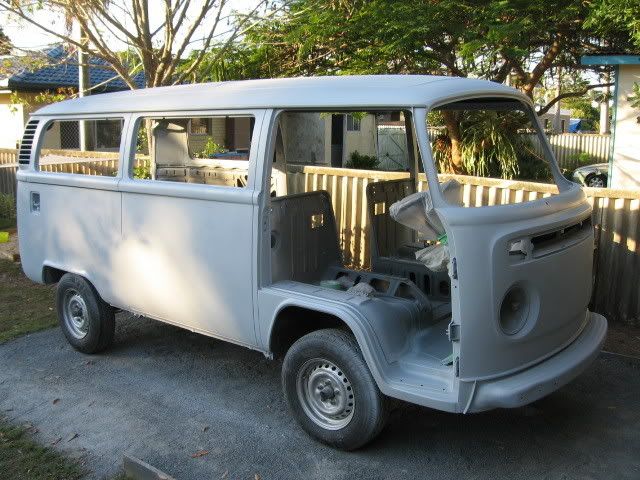

Dasdubber - January 25th, 2008 at 09:38 AM
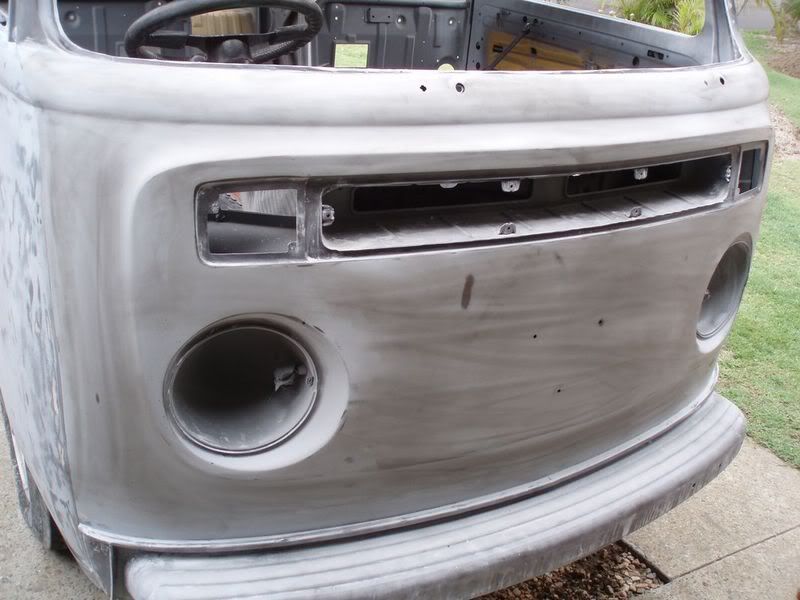
At this stage you would think it was pretty close to paint however I spent around 25-30 hours straightening some of the previous work especially the
nose and drivers side panels. The bottom edge of the pressing was very wobbly, as well as the lower edge of the windscreen recess, and the a-pillars
where it meets the doors.
I had the bus at my house mid Oct under the temporary carport because of the rain!
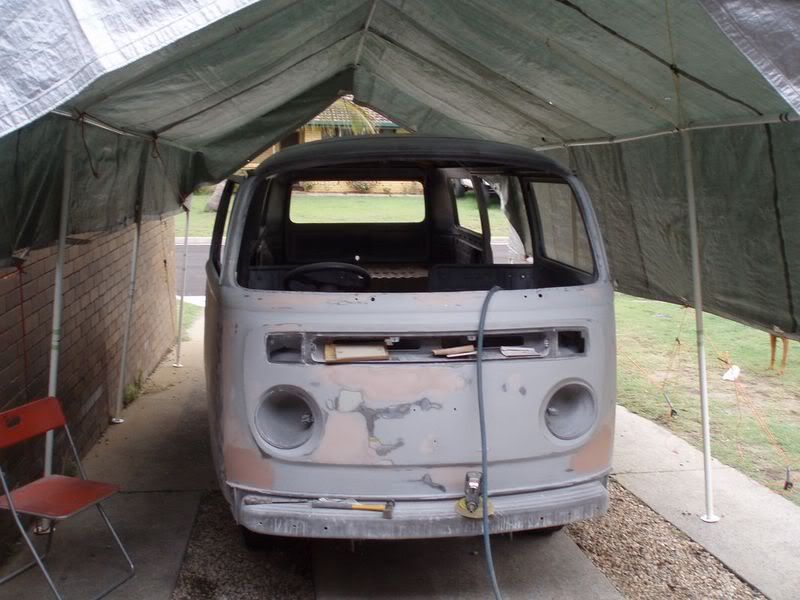
Lots of sanding, filling, guide coat, sanding etc later and the front doors and nose were done.
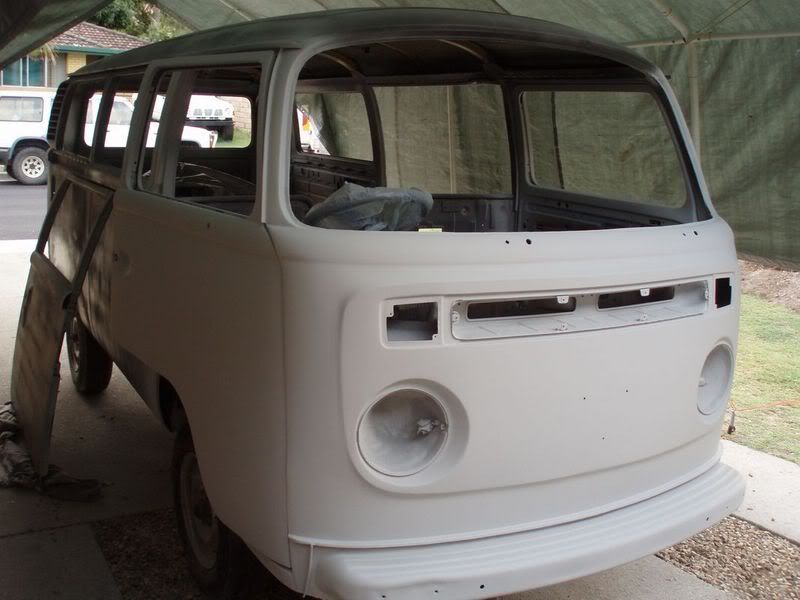
The bus then went back to Cam's so I could resume work on Derek and Lee's bus.
Dasdubber - January 25th, 2008 at 09:48 AM
Side panels had been hit at some stage and were repaired - again I could have spent a lot longer getting them perfect but Cam intends to use his bus
for camping with his family and didn't want a show bus. There were a few wobbles here and there that will show up in paint, but it takes so long to
get these big flat panels perfect.
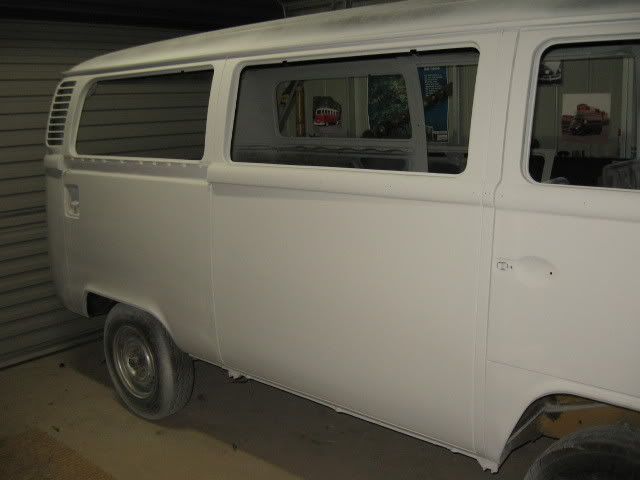
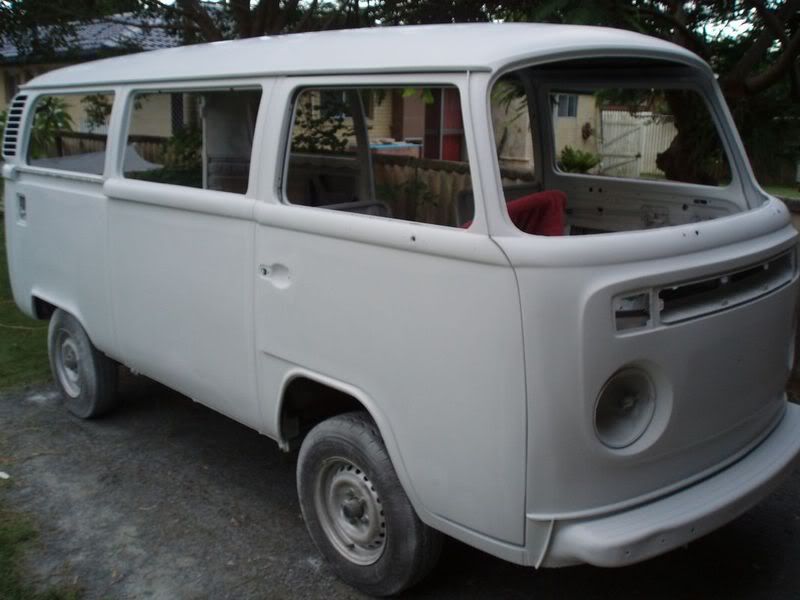
So after quite a few more hours, the bus was back in high build primer ready for its final sand before paint.
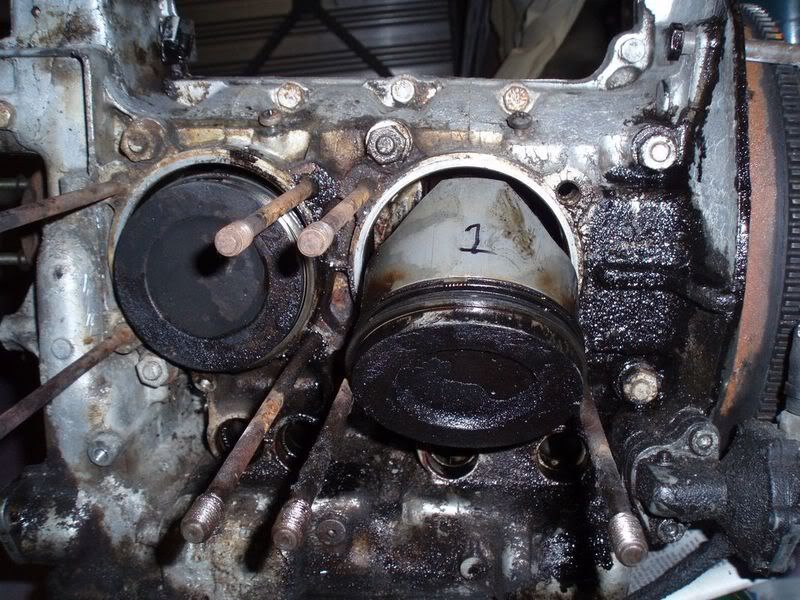
As a favour for Cam since he spent all new years day looking for my dog with us after she escaped due to new years fireworks, I decided to give his 2L
and quick rebuild/check/tidy up.
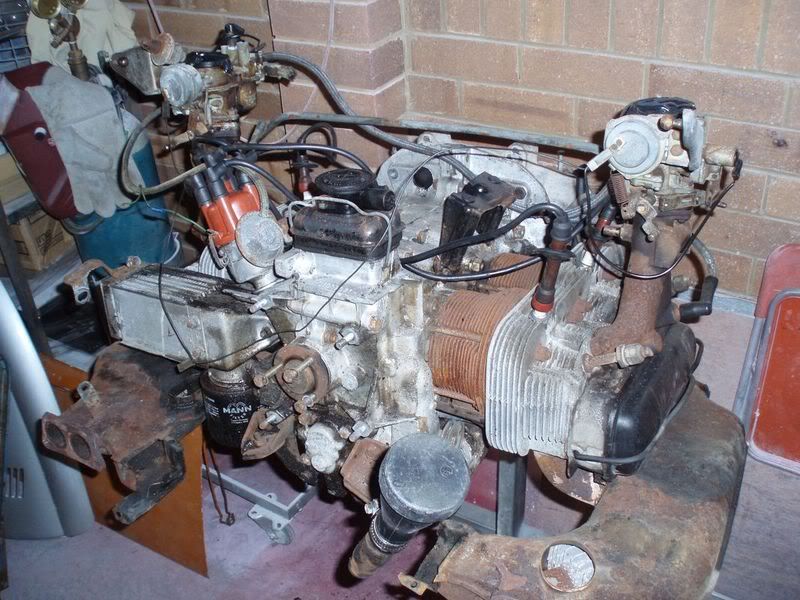
You can see it needed it!
Dasdubber - January 25th, 2008 at 09:51 AM
Savannah beige was the colour of choice for the bus (and cloud white for the roof)
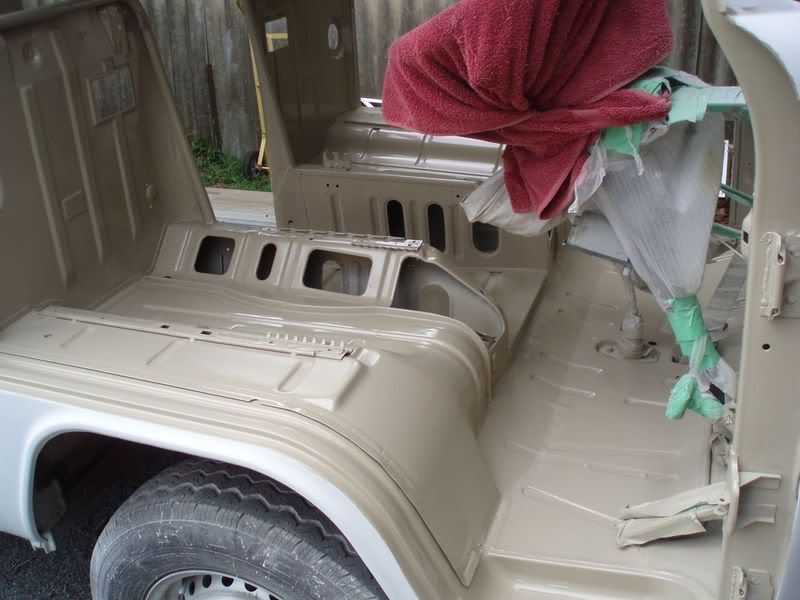
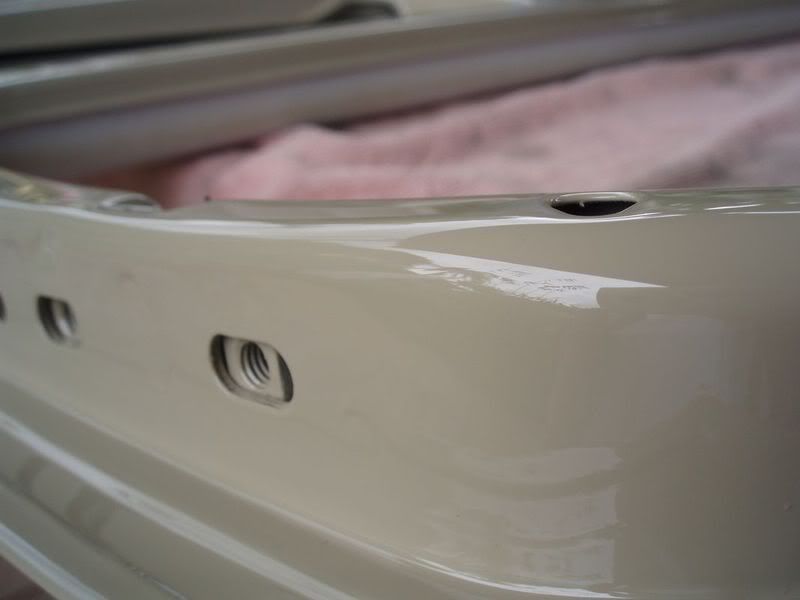
The beige had to be a single stage acrylic urethane, however with advice from the paint supplier, I was able to overlay it with a few coats of 2K
clear to really bring up the gloss (although for the inside no clear was applied - just the outside). However the bits that were exposed and not
covered by trim like door edges etc were cleared.
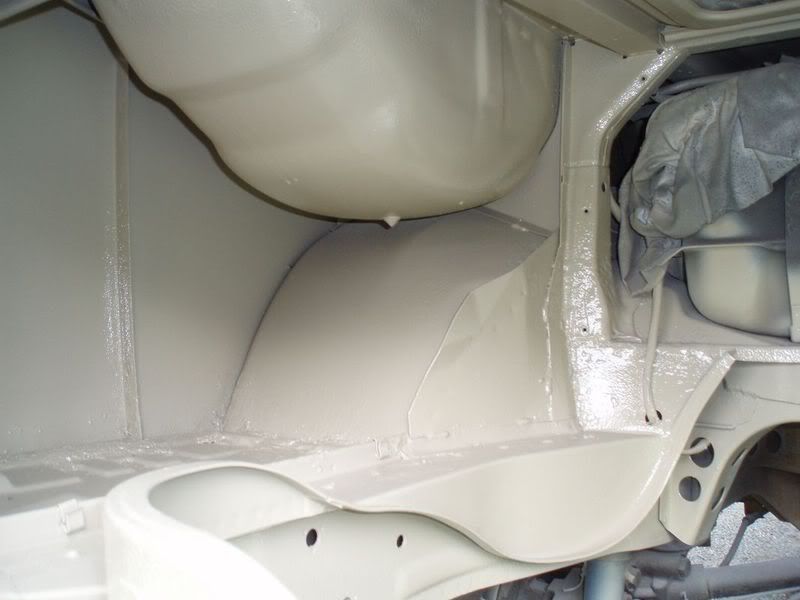
Cam sprayed the engine bay with anti chip paint which can be painted over with colour as seen here:
Dasdubber - January 25th, 2008 at 09:53 AM
Roof colour could be done in single stage or 2pack - the latter was chosen so the base was applied then 3 coats of clear.
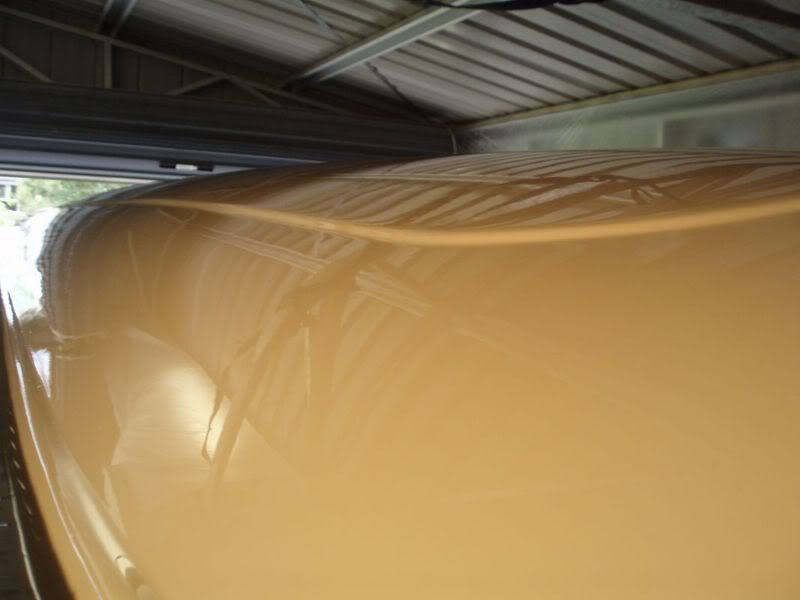
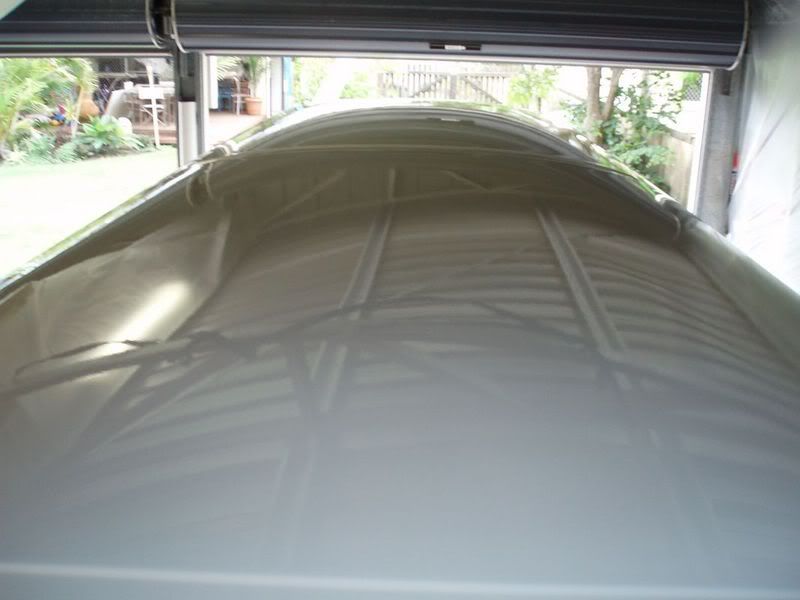
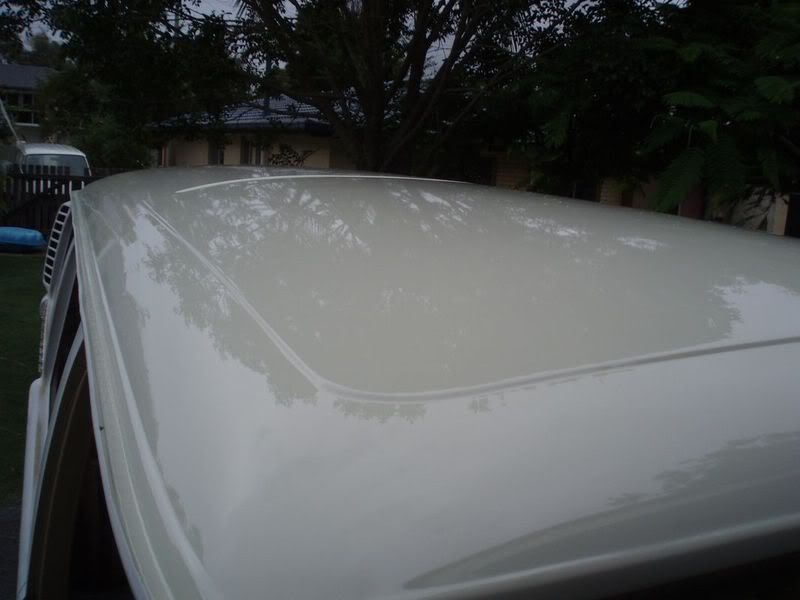
Dasdubber - January 25th, 2008 at 09:55 AM
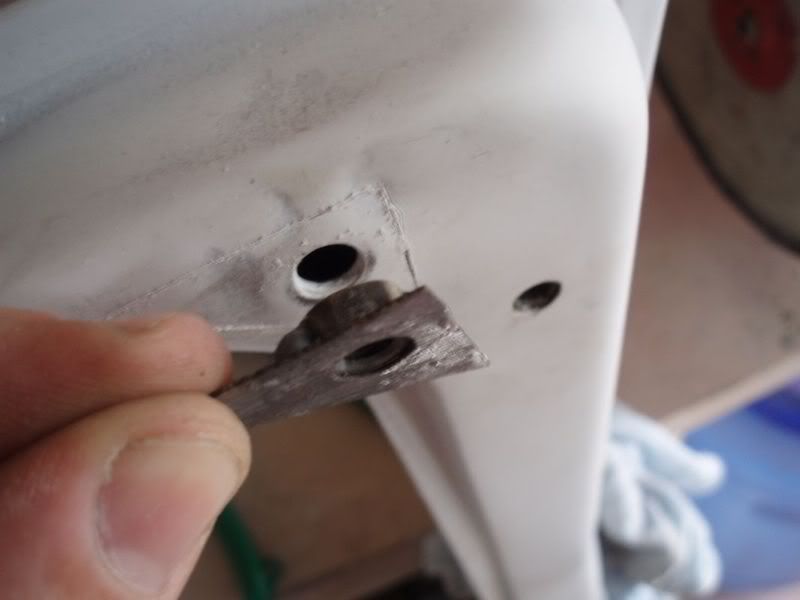
Sliding door runner mount threaded nut was shagged so it needed repair:
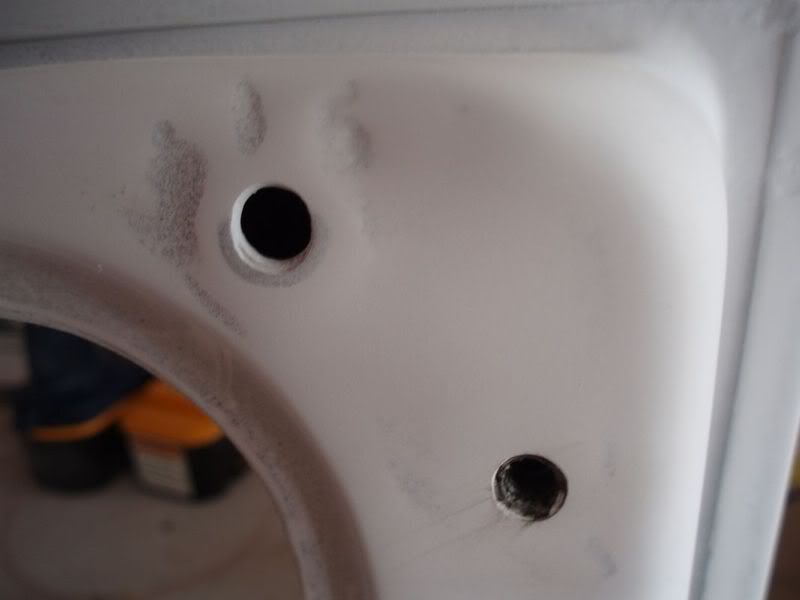
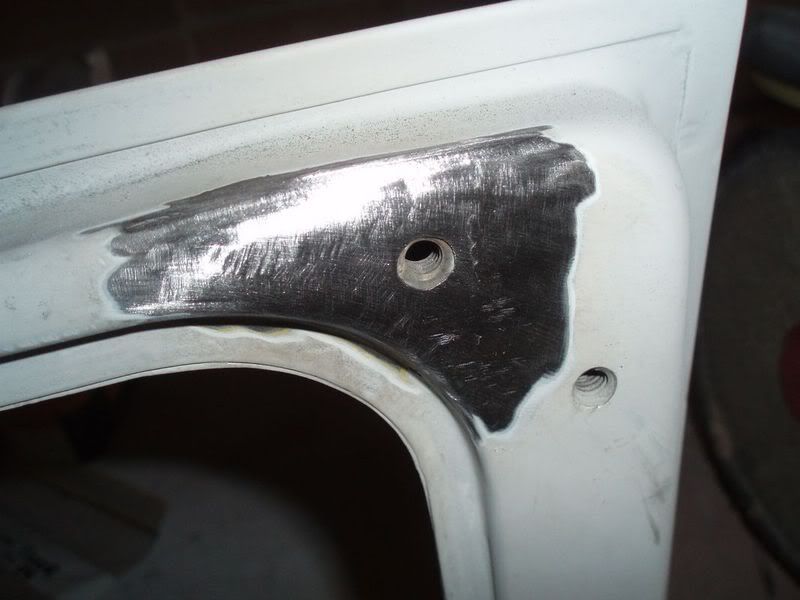
It was cut out, and a repair piece made with nut welded to the outer skin.
Welded in and ground smooth - another problem solved!
Dasdubber - January 25th, 2008 at 09:59 AM
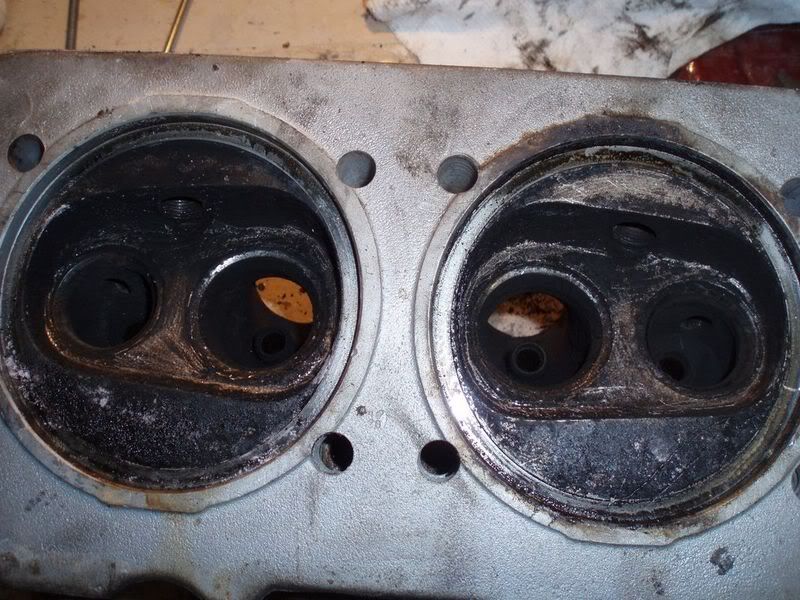
Heads were filthy but in good condition as there were no cracks, and all seats/guides etc were in good condition - they would have been rebuilt at
some stage in the past.
Body was shot in paint earlier this month:
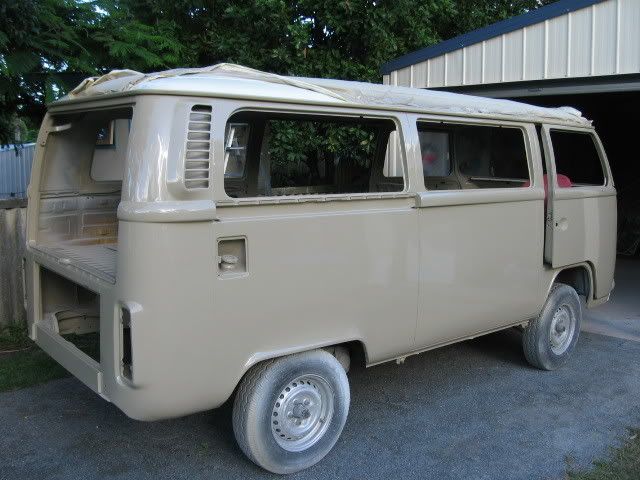
Beige looks good against the white roof:
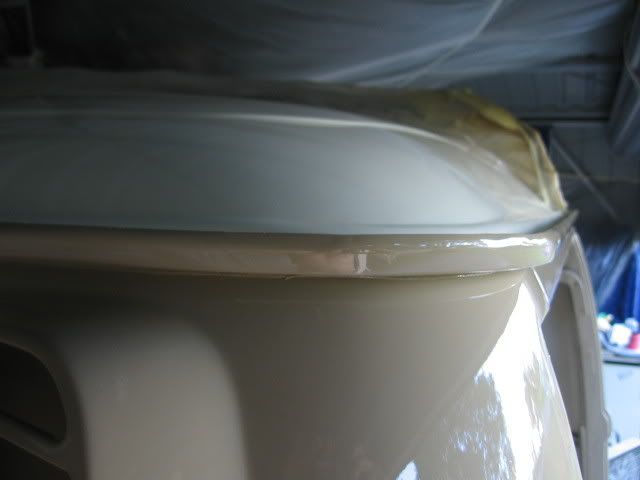
Body will be colour sanded probably early Feb - I need a new clear coat gun as mine is not atomising as well as it used to (or at least need a new cap
and needle) as despite recommended pressures used, finish came out a bit peely as per Derek's bus. I made sure there was adequate build up though to
account for colour sanding....just need to shell out $600 on a new gun - ouch! (but looking forward to it)
Dasdubber - January 25th, 2008 at 10:05 AM
One lobe on the cam was shot, so luckily I have my old reground 2L cam from the ragtop that was replaced prior to warwick...so that will go in along
with the resurfaced lifters.
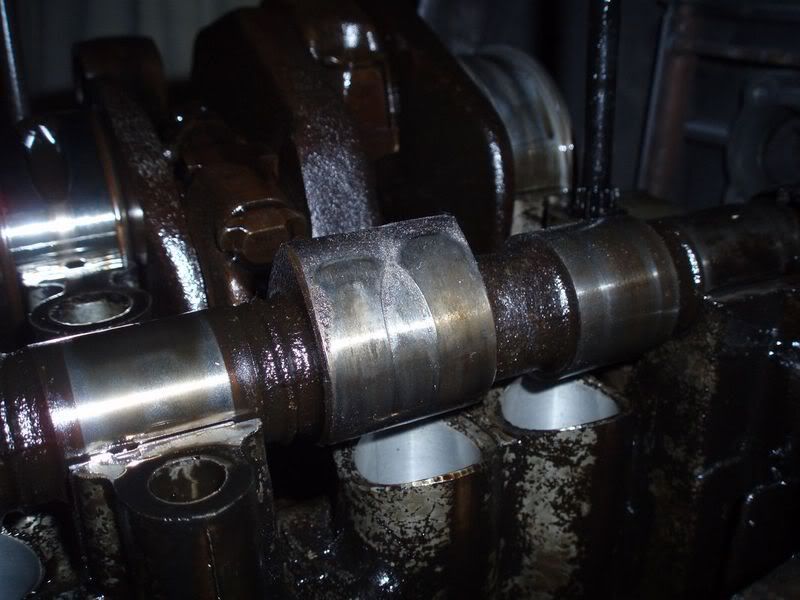
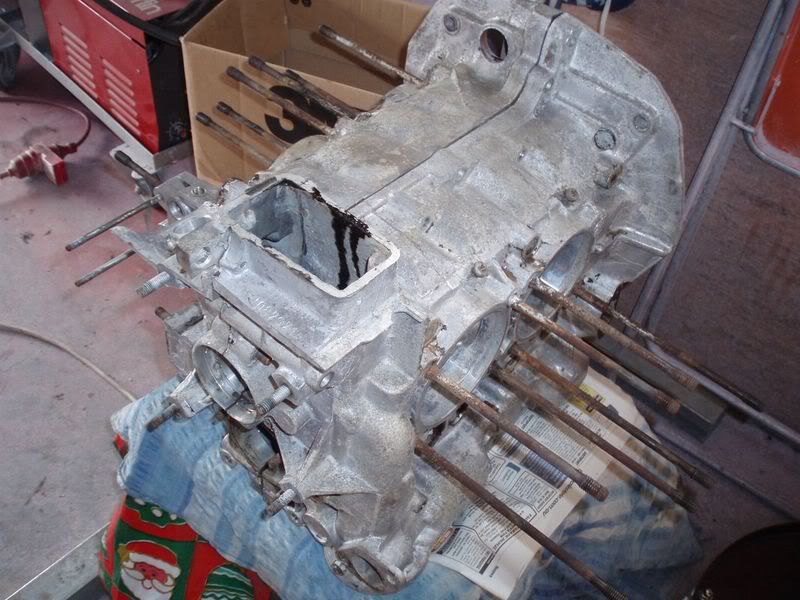
Had the case cleaned, and painted it up yesterday (pics later)
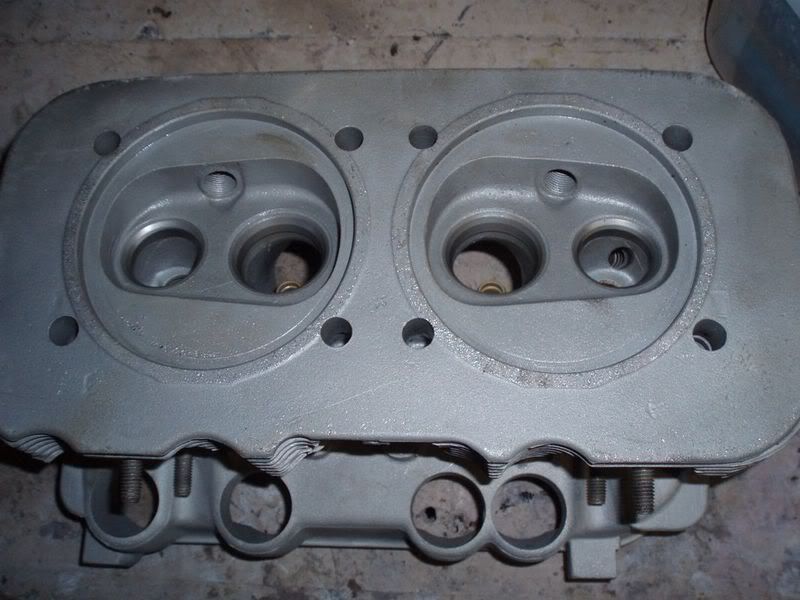
Heads looked much better after blasting as well:
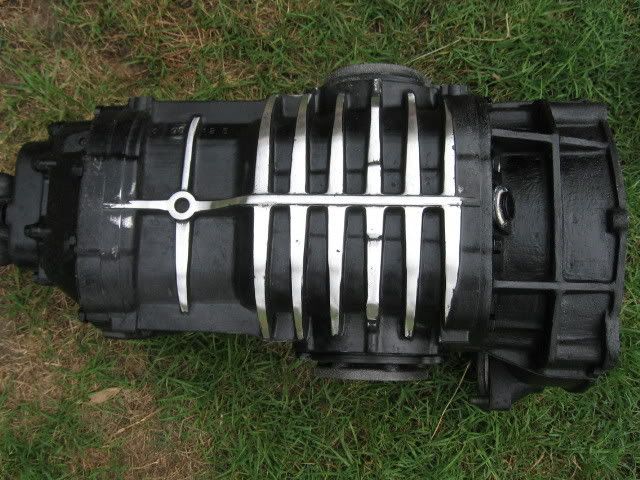
Cam detailed his rebuilt 2L box the other day:
The ugly dis-used emission control tubes were removed and replaced with M10x1.0 bolts to tidy up the appearance of the heads.
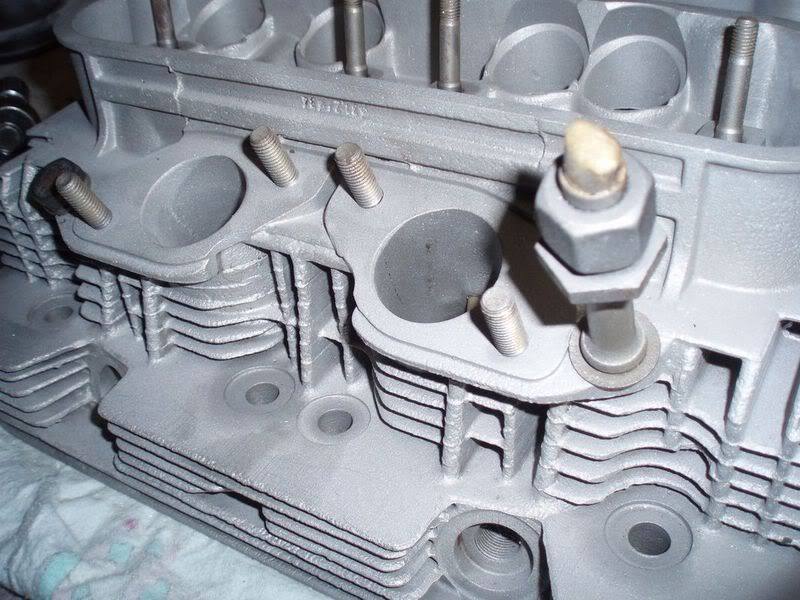
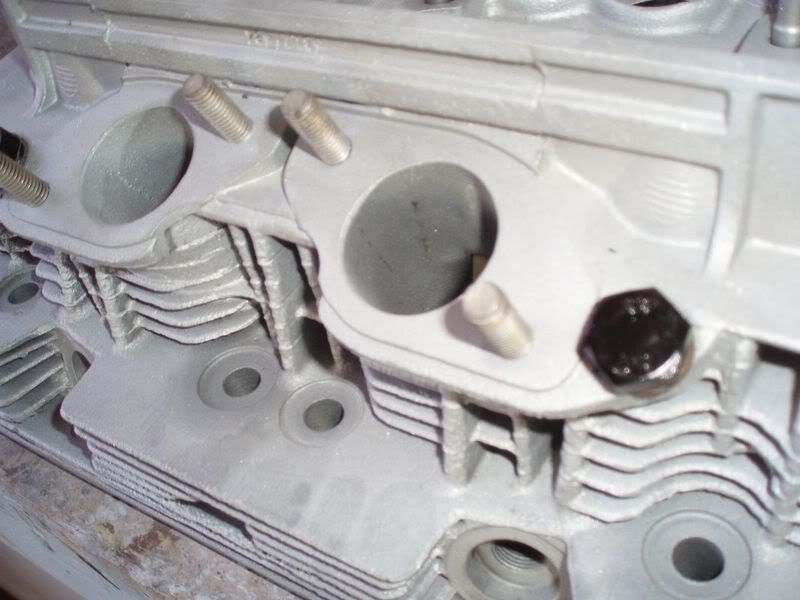
The ports were blended into the seats as there was a slight step/ridge present - nothing major, just a bit of a tidy up.
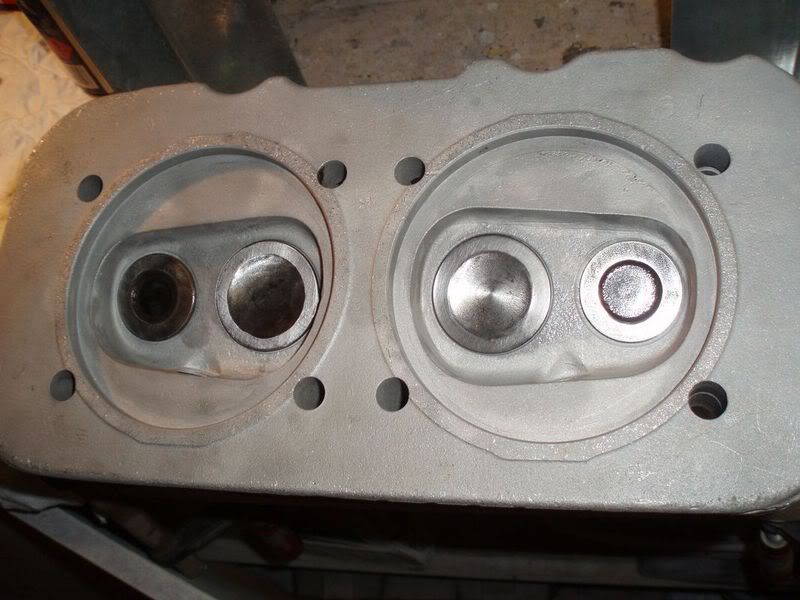
Valves were cleaned up and heads reassembled last night after grinding the keepers slightly so they no longer touch eachother. Valves were lapped so
heads are now ready to go back on.
Dasdubber - January 25th, 2008 at 10:09 AM
Here is my old cam back in (rivets holding gear onto cam have been replaced with countersunk bolts for extra strength).
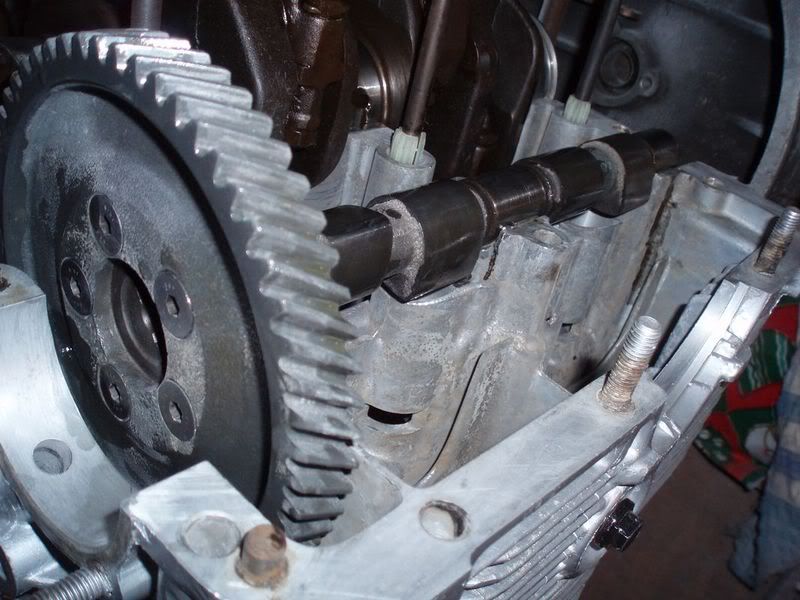
Case was buttoned up - thanks to dangerous (Dave Butler) for pressing the fan hub off the crank yesterday arvo - that bloody thing was so tight it was
unbelievable!
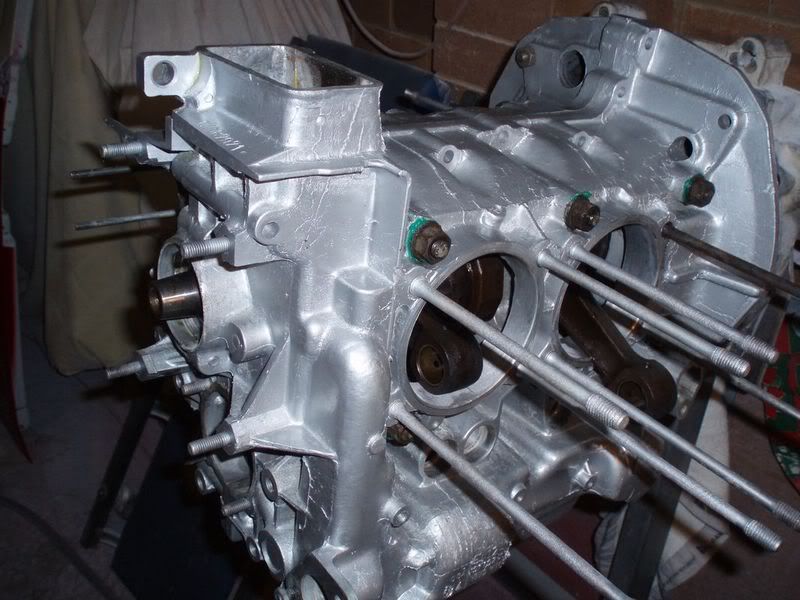
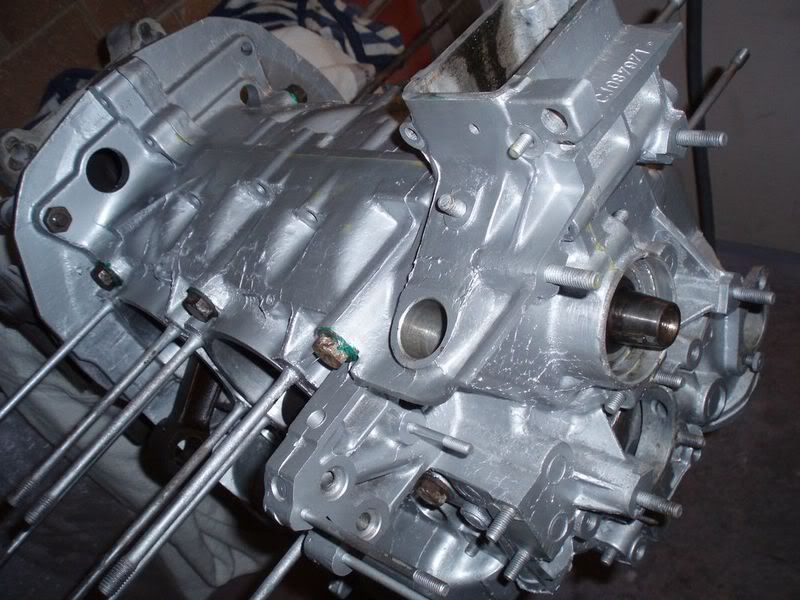
All the bearings were still spot on despite the ugly appearance of the engine externally. Cam and crank bearings were all excellent along with rod
bearings.
Thanks for looking.
Alan
bond - January 25th, 2008 at 10:50 PM
i think the forum needs its own das resto page. where you can number them etc.
nick
Craig Torrens - January 25th, 2008 at 10:58 PM
geez your neighbours must love you !!!!!!
Dasdubber - January 26th, 2008 at 08:33 AM
I didn't do much of Cam's bus at my house at all so all is good!!
Birch Green - January 27th, 2008 at 06:00 PM
Brilliant job as always - love your threads! The work you do is amazing.
Great colour choice also...
Dasdubber - January 29th, 2008 at 09:22 PM
After a busy long weekend, I've found a bit of time to get back into Cam's engine. After shortblock was assembled the other day, the pistons (with
rings in situ) were loaded into the cylinders from the top. I won't go into too much detail as there are a lot of good resources to build an engine
if you are so inclined.
I use a high temp silicon under the barrels between case and barrel spacers and the barrels (that is the red stuff at the base of the cylinders).
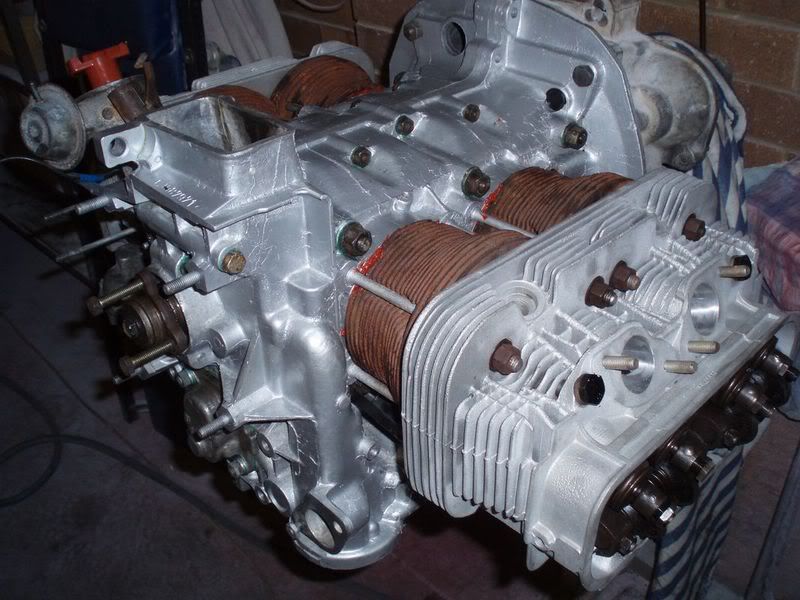
There was no point painting the cylinders as it will just burn off anyway, plus the rusty appearance is normal for used barrels....and will be covered
by the cooling tin anyway! After heads were torqued down (to 12ft/lbs first in a particular criss cross pattern, then to 23ft/lbs), the pushrod tubes
were inserted (using Curil-T to aid with sealing both on the case and head ends). Pushrods came next (after lifters of course - I used my resurfaced
lifters which were done when the cam was reground), then rocker assemblies.....and then valves were adjusted.
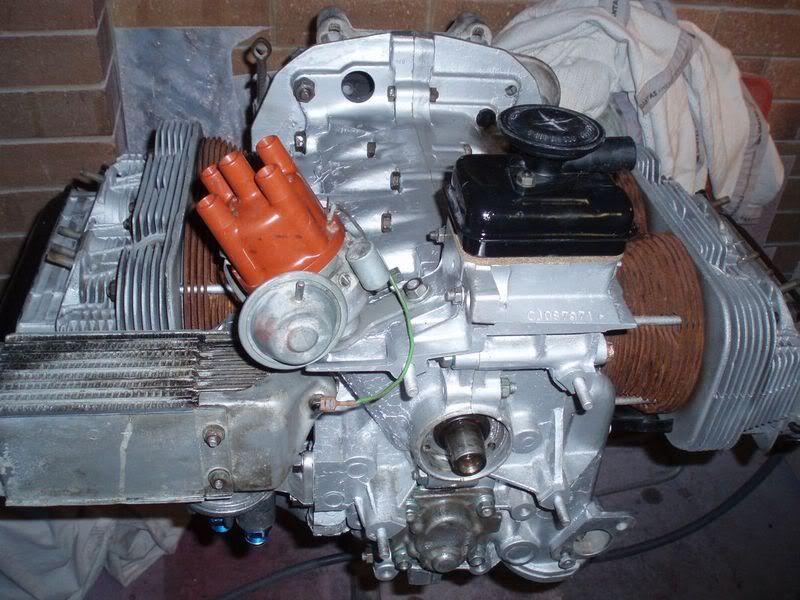
Rocker covers clipped in place, and numerous other bits installed as well. You can just see under the oil cooler is a full flow adaptor that I've
donated to Cam which replaces the oil filter and allows you to run the oil through the filter (remoted on a bracket elsewhere), then up to an oil
cooler, then back into the case. IF you have the engine torn right down and have a few more $ to throw at it, its best to have the case oil galleys
drilled and tapped....then a full flow pump can be used and the return is directly into the case so the stock oil filter location can be retained. The
above method is fine though unless you're really pushing the horsepower envelope (not likely in a heavy bus).
So now once Cam gets back from playing around on a boat, I can start to put the sealing tin back on and get the assembly finalised.
Alan
Dasdubber - January 31st, 2008 at 08:39 PM
Spent half of today around at Cam's commencing the colour sanding - managed to finish the passenger side rear 3/4, both rear corners and the back of
the bus.
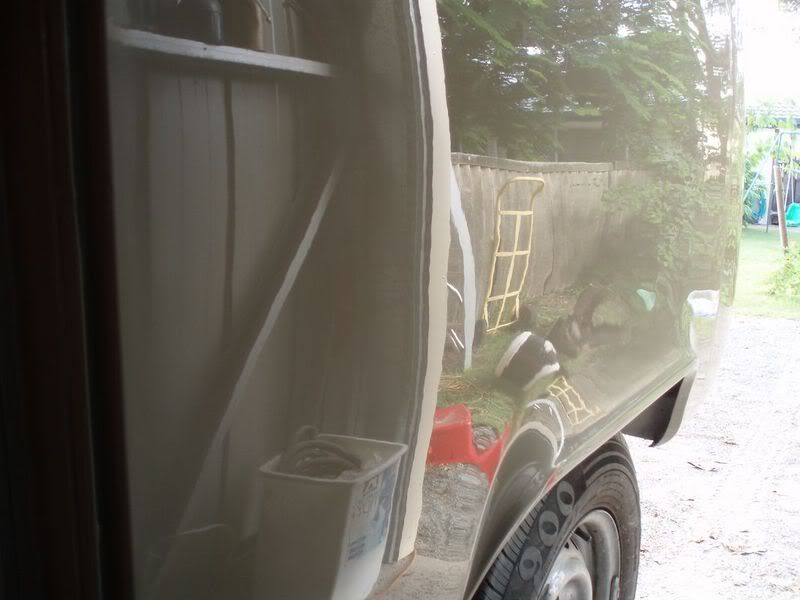
The photos were hard to get in the light, here is the rear passenger corner:
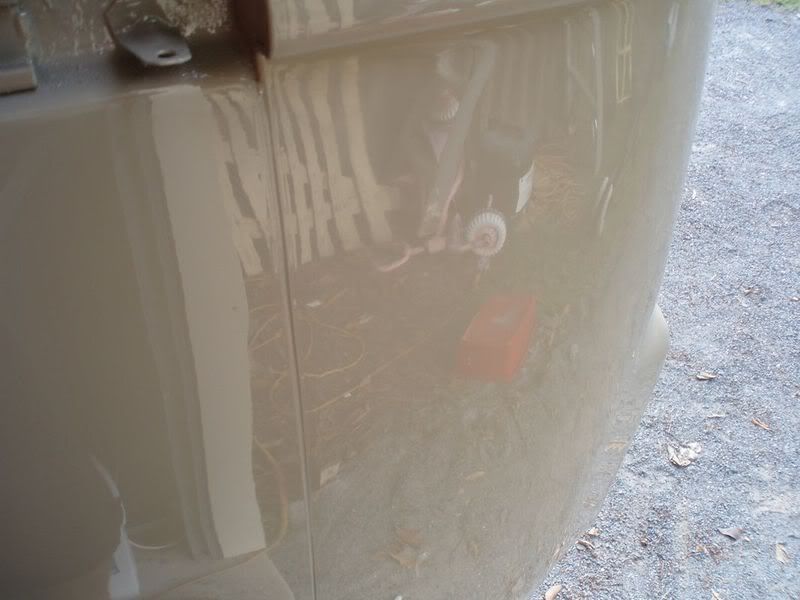
I'll get back over there at some stage soon to keep it moving along!
Alan
Dasdubber - February 2nd, 2008 at 05:10 PM
Spent some more time today annoying Cam - the drivers side rear quarter and middle panel are done now. Here the rear quarter is buffed already, and
the middle panel is dull after sanding it with 1500, then 2000 grit paper on the short throw dual action sander.
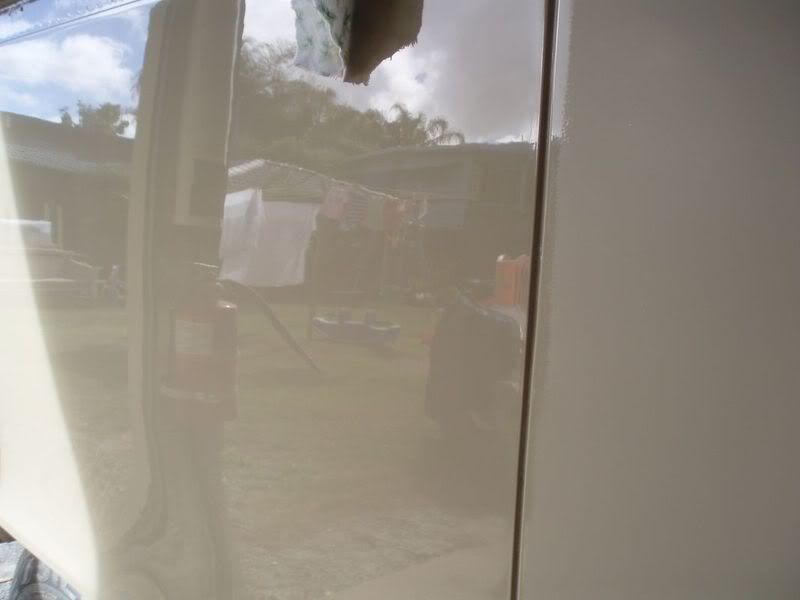
Nice and glossy yeh?
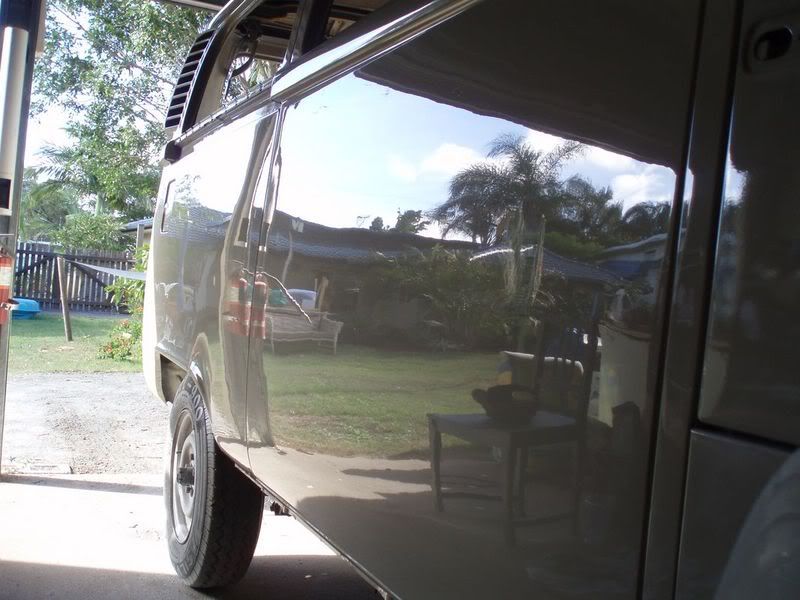
I'll get back to do some more when time permits!
Alan
Dasdubber - February 25th, 2008 at 06:50 PM
After a few weeks off (combination of being sick, having to do a heap of yard work, organising and preparing for a big party we had etc etc)....I'm
back into Cam's bus!
Cam got the remaining engine tinwear to me late last week so the engine assembly can continue. The fan housing looks good now in a hammercoat type
finish. There are a few bits missing that I'll pinch from Cam's spare engine so I can continue on.
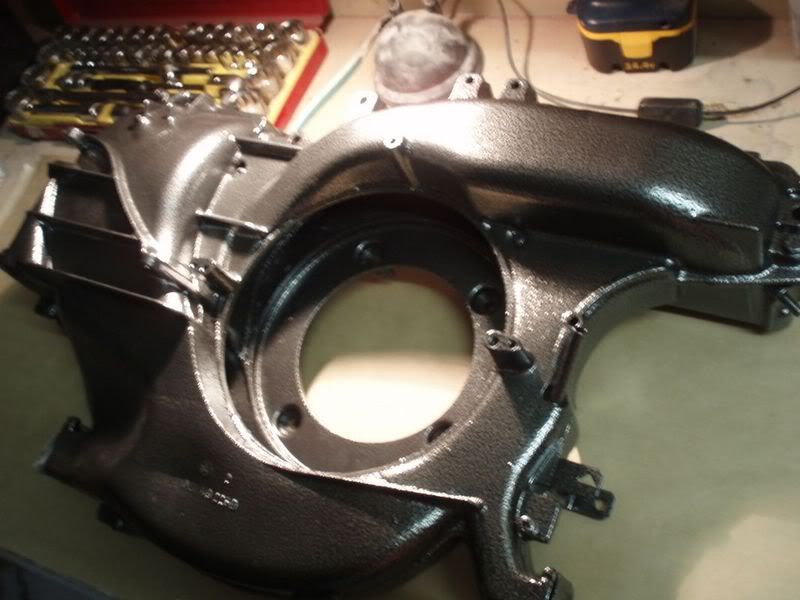
As the fan housing has been powdercoated, many of the screw holes have been caked up such as the one pictured below:
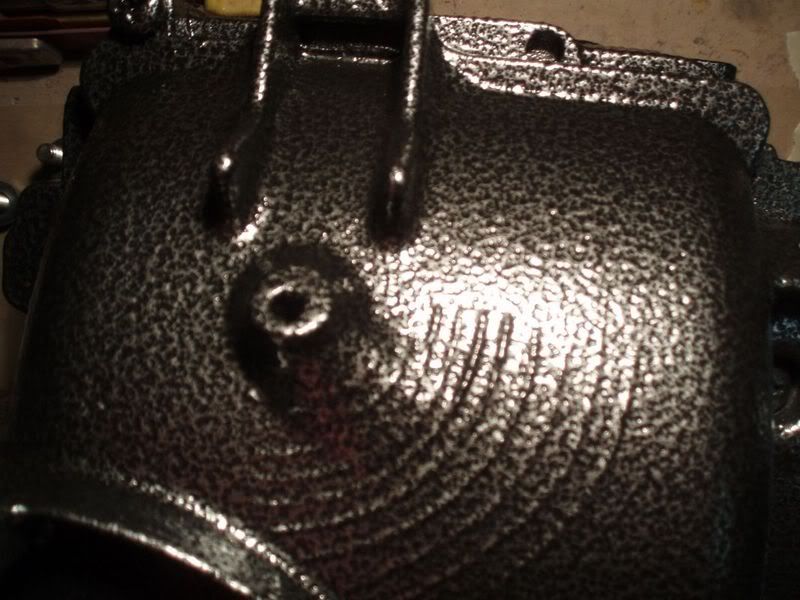
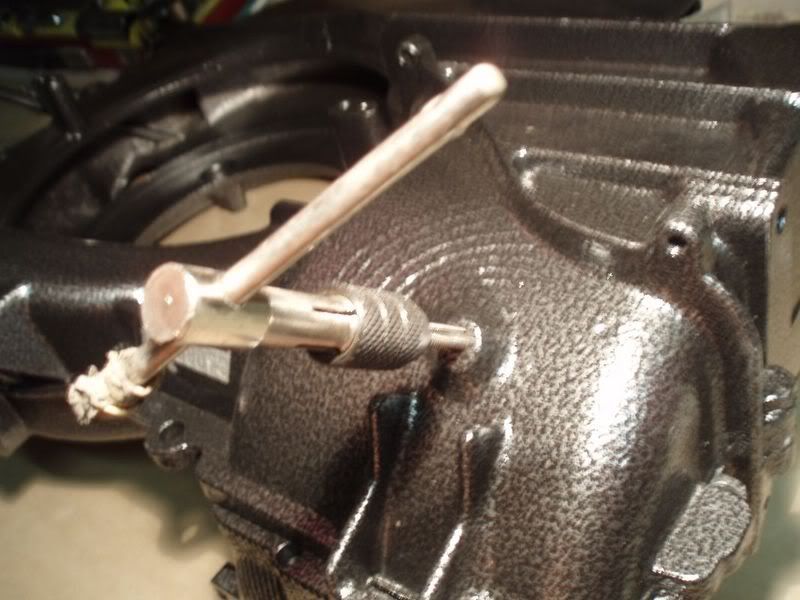
...so I spent some time the other night tapping out each of the threaded holes.
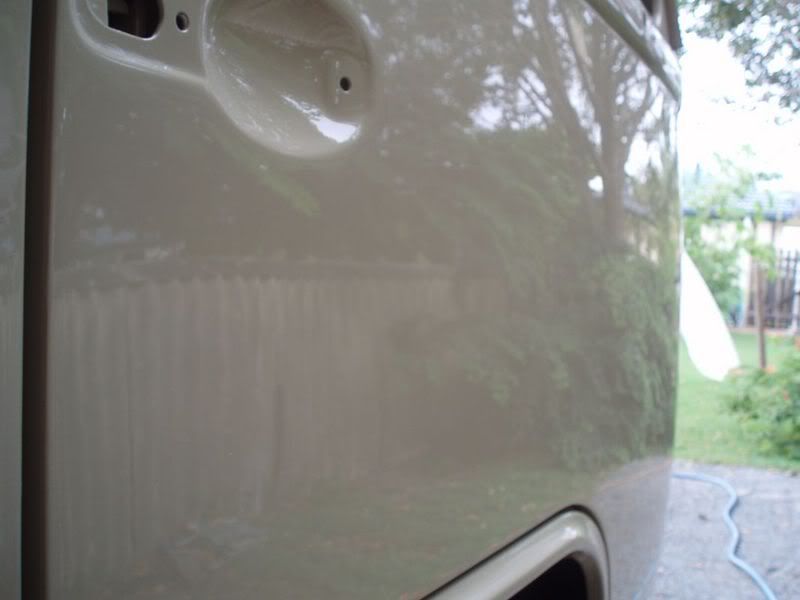
After work today I swung around to Cam's and colour sanded the drivers door - a few hours later and all was sweet....ran out of light for a decent
photo but you get the idea. now just the nose, passenger door, sliding door, rear hatch and engine lid to go!
Rod, if you're seeing this - don't panic, I've been tinkering away at your chop top and it's all under control 
Dasdubber - February 26th, 2008 at 10:55 PM
Just wrapped up for the night - rebuilt one of the carbs with a new gasket kit inc. accelerator pumps/diaphragms etc.
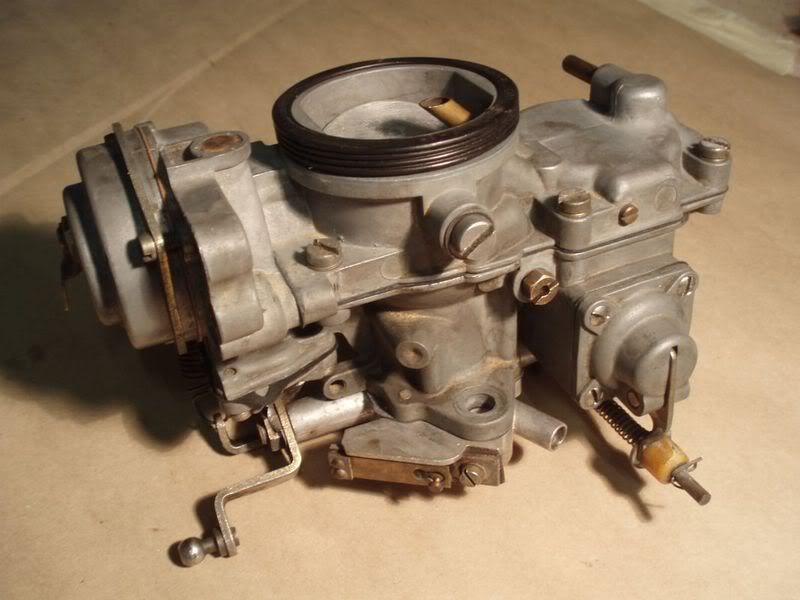
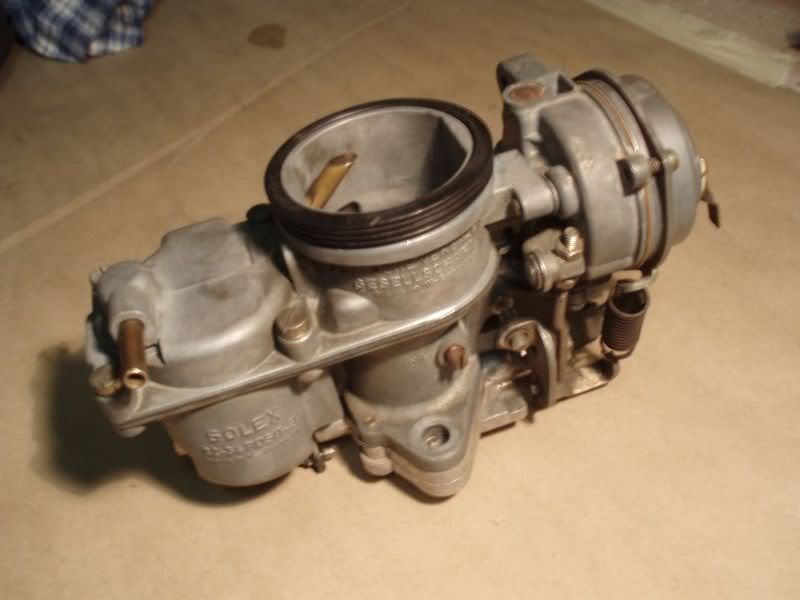
The majority of the engine sheet metal is also on along with the thermostat and flaps etc
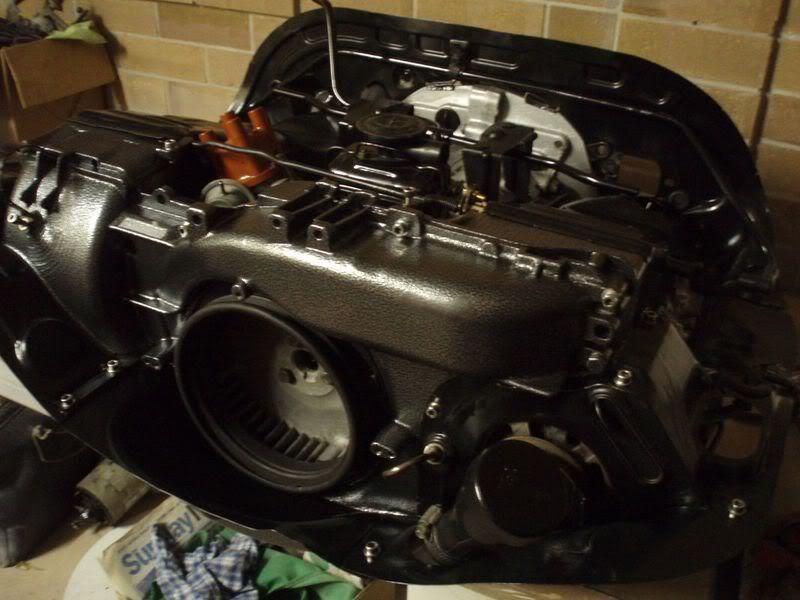
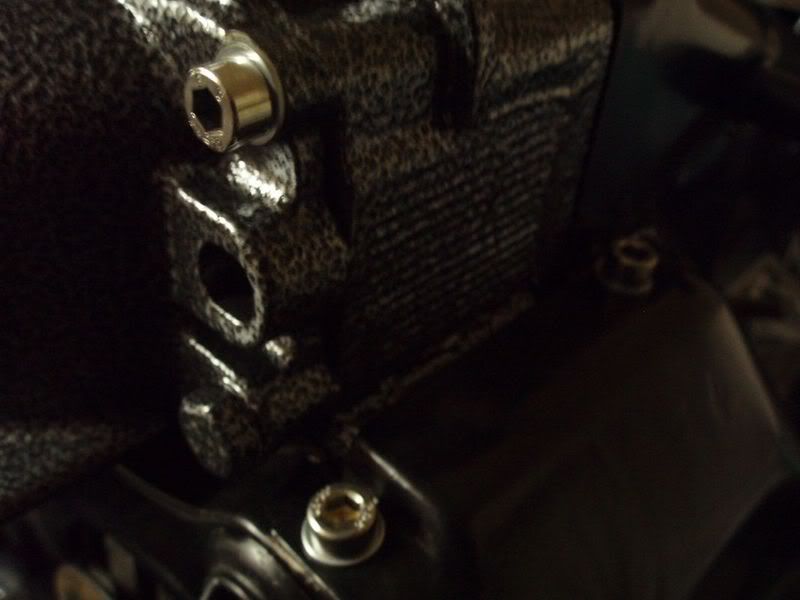
All exposed sheetmetal hardware has been replaced with stainless allen-head screws - I polished the heads on the buffer (on the bench grinder)...came
up nice and shiny (sorry for the dark picture). All of this is not really necessary but I really enjoy being picky and focusing on attention to
detail. Even though Cam's bus is not a show bus, it will still come up a treat!
Al
Dasdubber - February 27th, 2008 at 07:10 PM
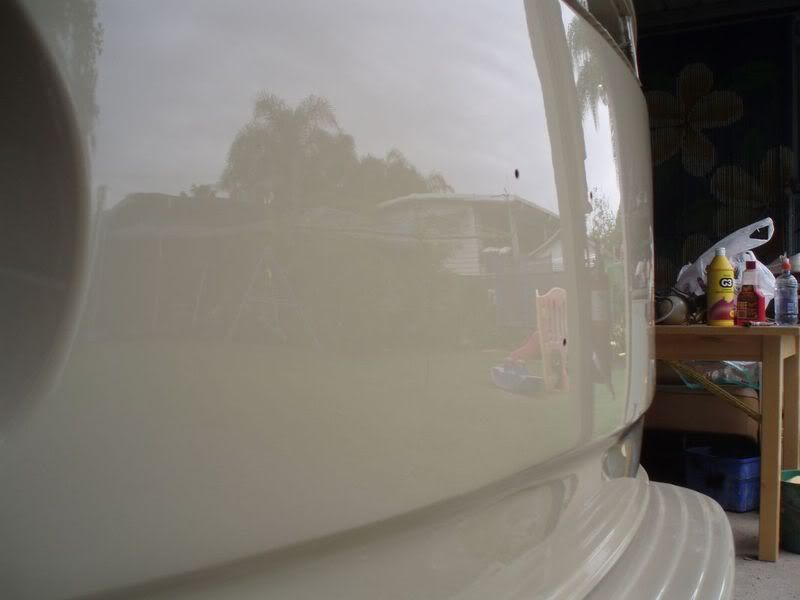
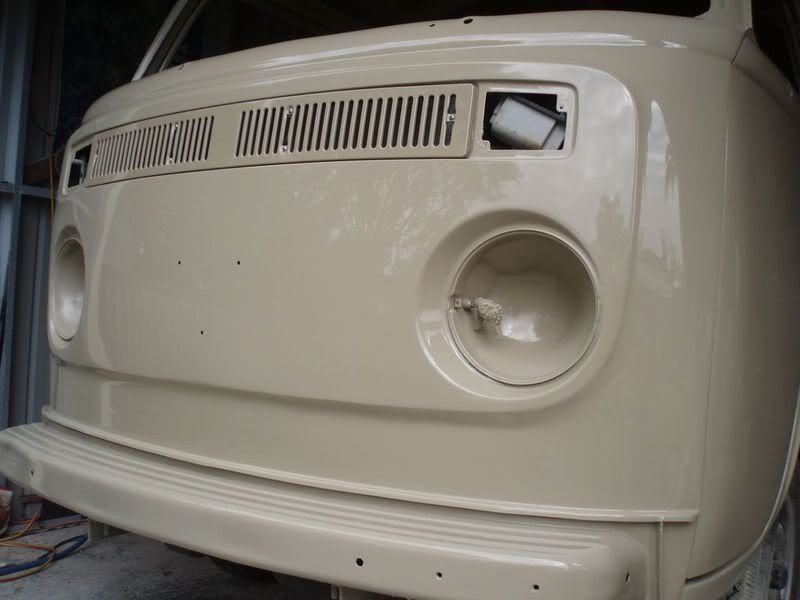
Today was a pretty productive day as the colour sanding was completed on the nose, passenger door and sliding door (ran out of time for the rear hatch
and engine lid - will finish tomorrow!)
Dasdubber - February 27th, 2008 at 07:22 PM
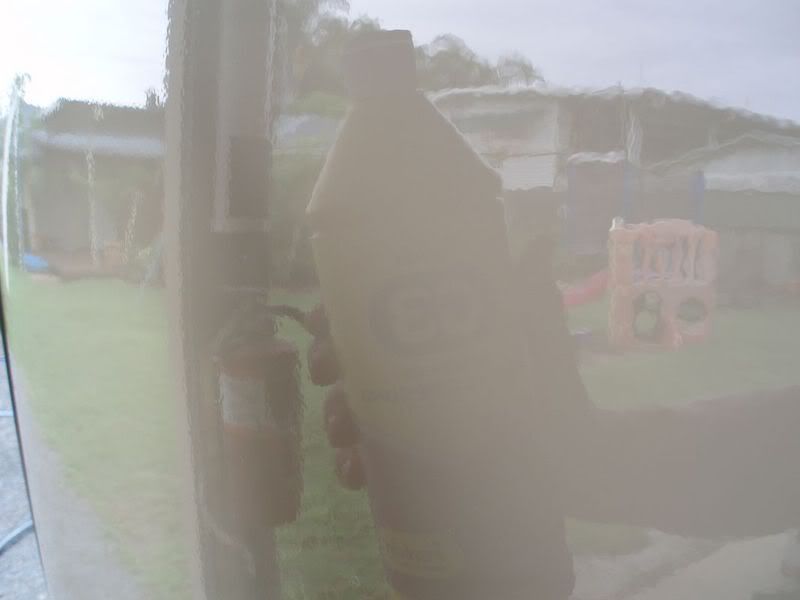
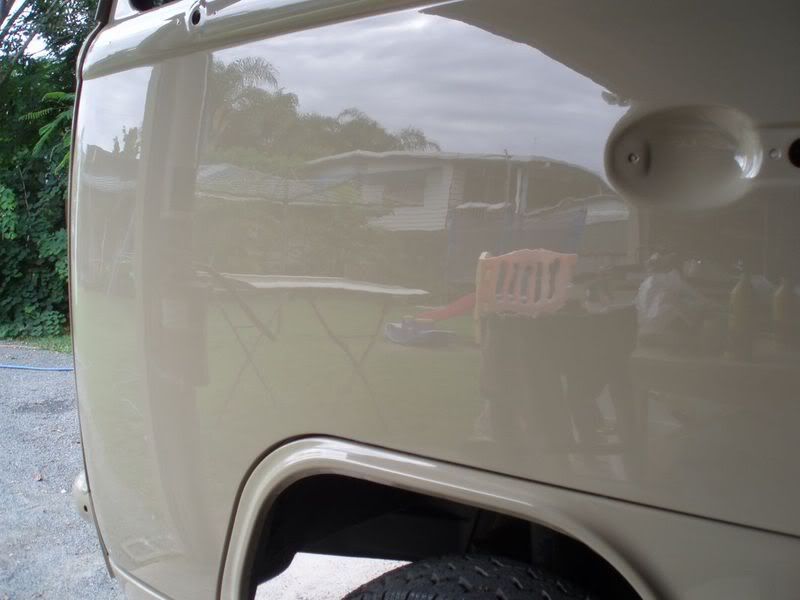
Just another quick example of why one colour sands...if you look at the gutter line of Cam's next door neighbour's house (or the cutting compound
bottle I'm holding), you can see the distortion of the image like its rippled....this is orange peel - this is not terrible by any means but not good
enough for me as I wouldn't want my car looking like this, so I would not leave someone else's car that I painted looking like it!
Colour sanding: 1500 first, then 2000, then a fairly new product I thought I'd try to give my arms a rest - 3000 grit Trizact paper used wet (rather
than dry like the 1500 and 2000).....all of this is on the small orbit dual action sander (the Trizact uses a softer interface pad).
After the sanding, cutting compound was used with a firm compounding pad, then a softer pad with swirl remover. Once the windows are back in I'll
finish up with a machine glaze and wax.
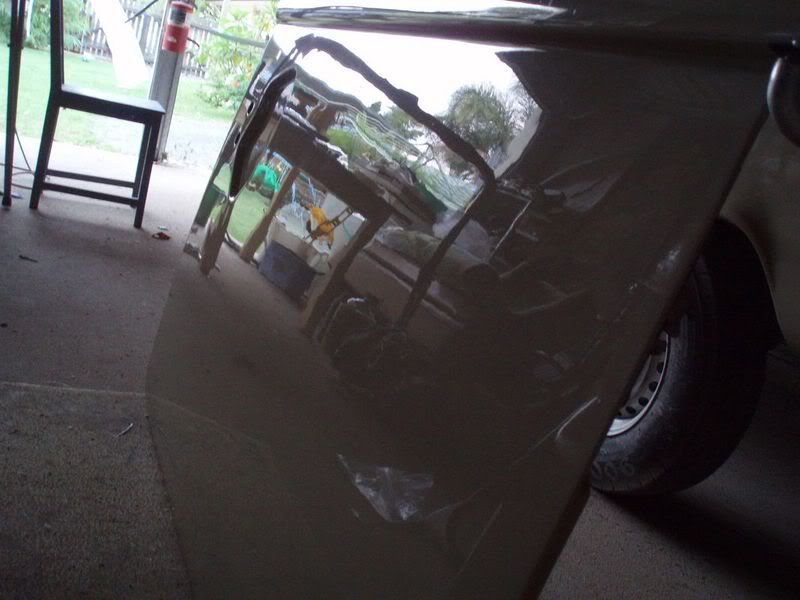
Ran out of light but here is the sliding door finished just before I headed home.
Al
squizy - February 27th, 2008 at 08:25 PM
Looks shite as always. 
 Top job Al.
Dasdubber - February 28th, 2008 at 08:08 PM
Finally, all colour sanding is done on Cam's bus!
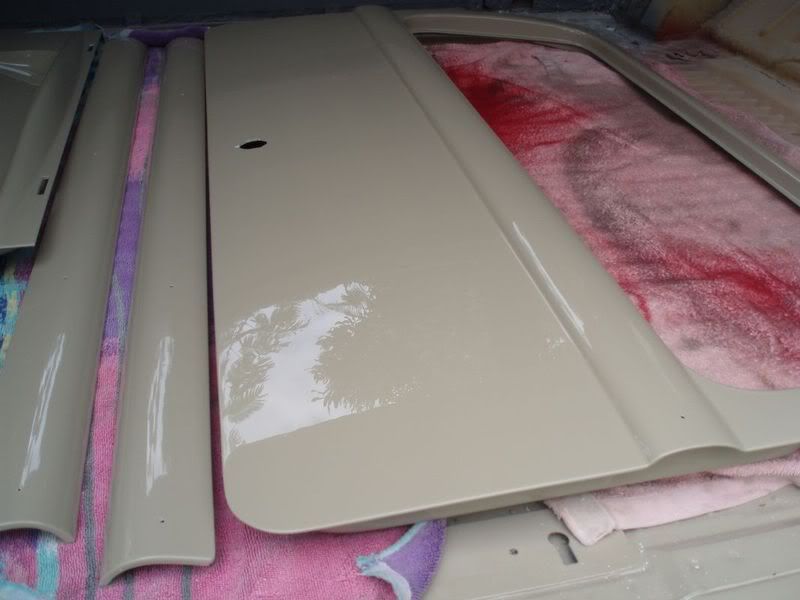
Now he just has to get into it and get some bling on (wheels/trim etc) to really show off that paint!
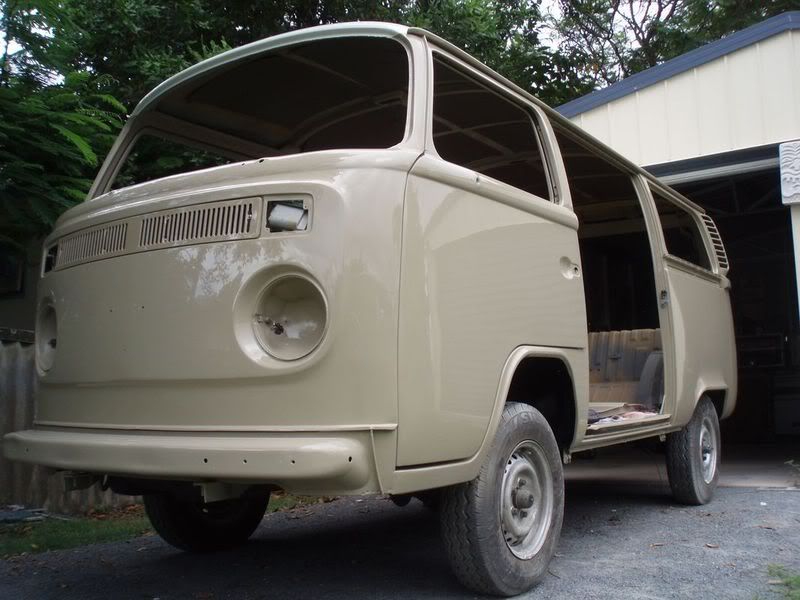
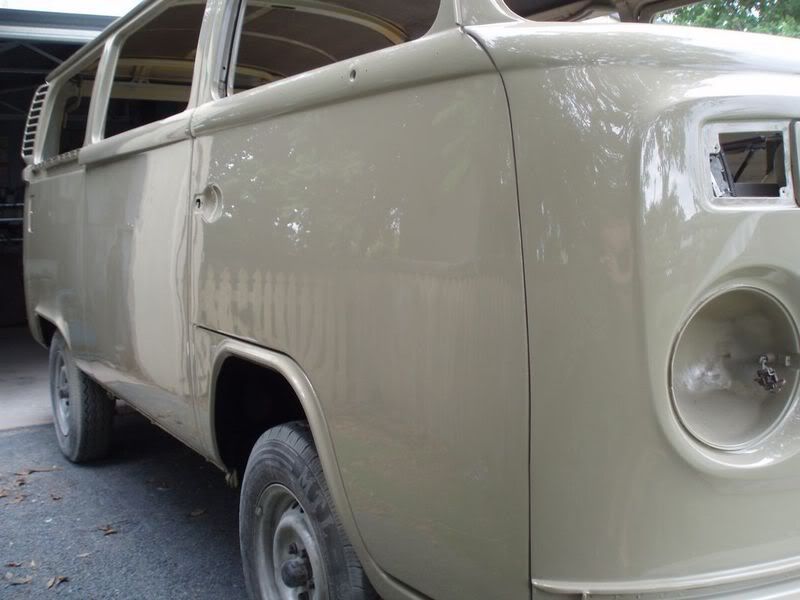
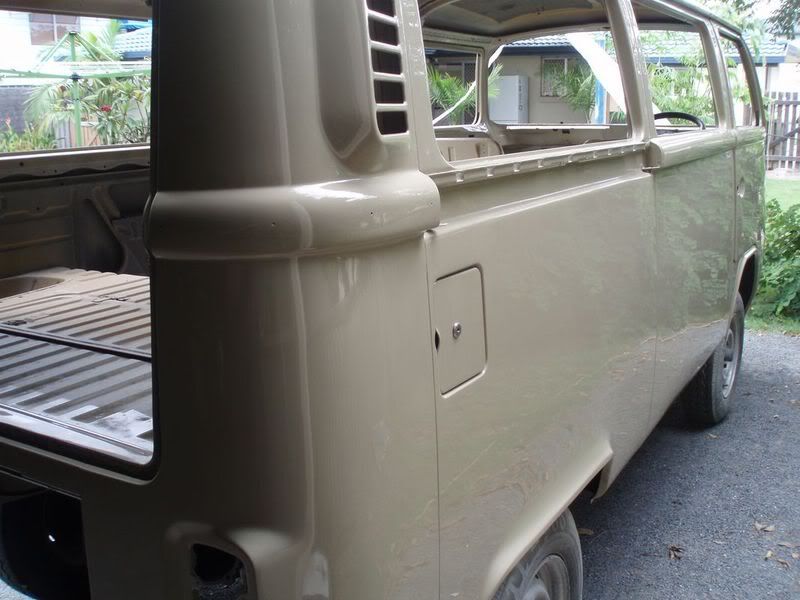
As I've said all along, the sides could be straighter....but lots of time = lots of money, which wasn't warranted for this application.
Dasdubber - February 28th, 2008 at 08:09 PM
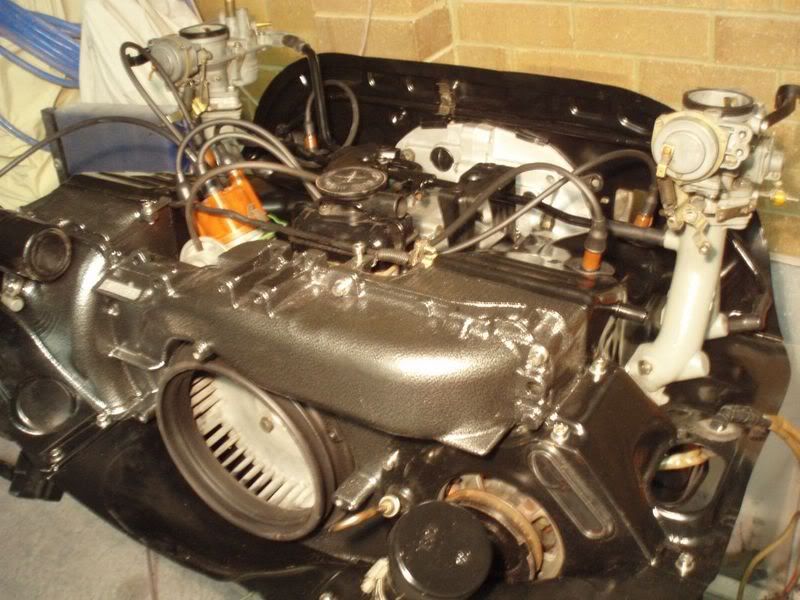
Repainted the inlet manifolds and bolted up the fresh carbs...looking good!
Dasdubber - February 29th, 2008 at 10:40 PM
Had a quiet friday night at home so I tinkered a bit more on the donk - before bolting on the exhaust headers, it is essential the mating surfaces are
square so they seal effectively on the heads. Cam had painted them with high temp paint which provided a good black surface to start with (you can use
permanent marker/engineers dye etc instead)
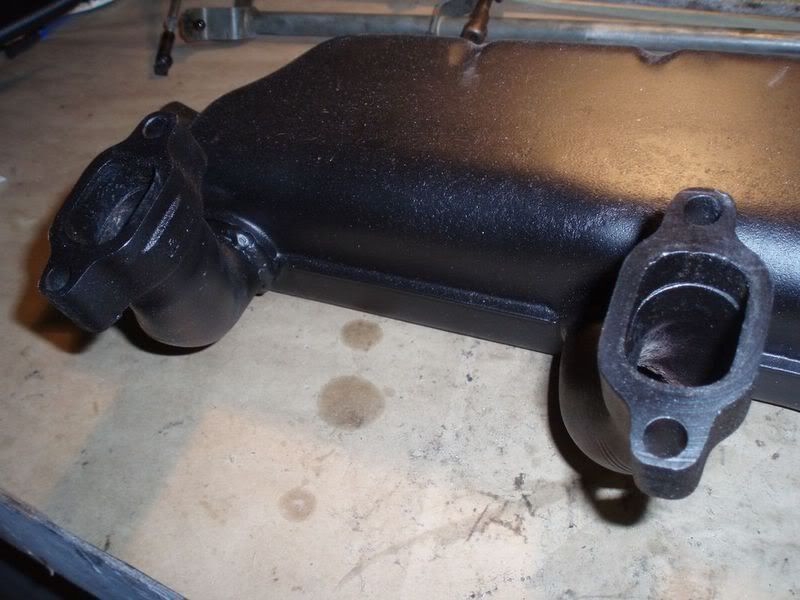
With a long file (this one was just long enough but could have used an extra few inches [story of my life....hehehe]), 'machine' the mating surfaces
evenly (don't do them individually or else you could take too much off one stub pipe compared to the other creating a sealing issue again.
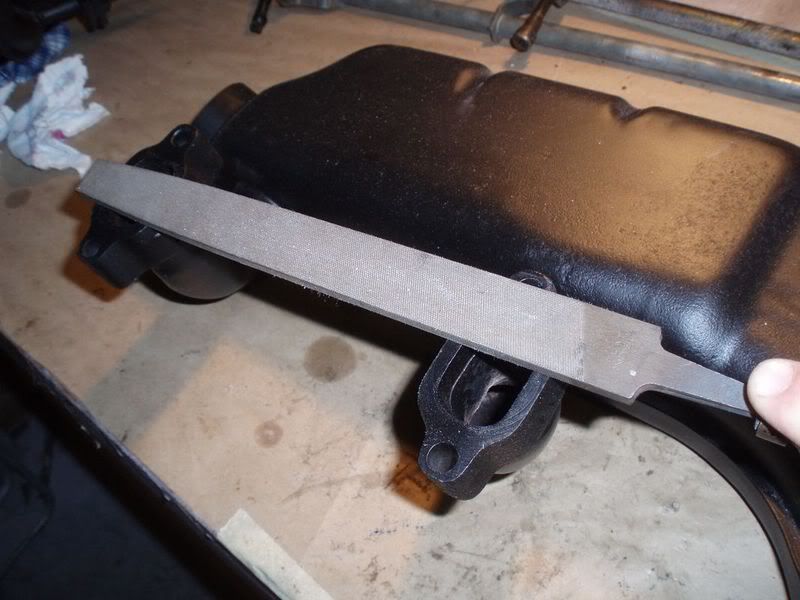
Here it is half way through - you can see some shiny metal and some black....basically (within reason), you keep going until it is all shiny metal and
flat.
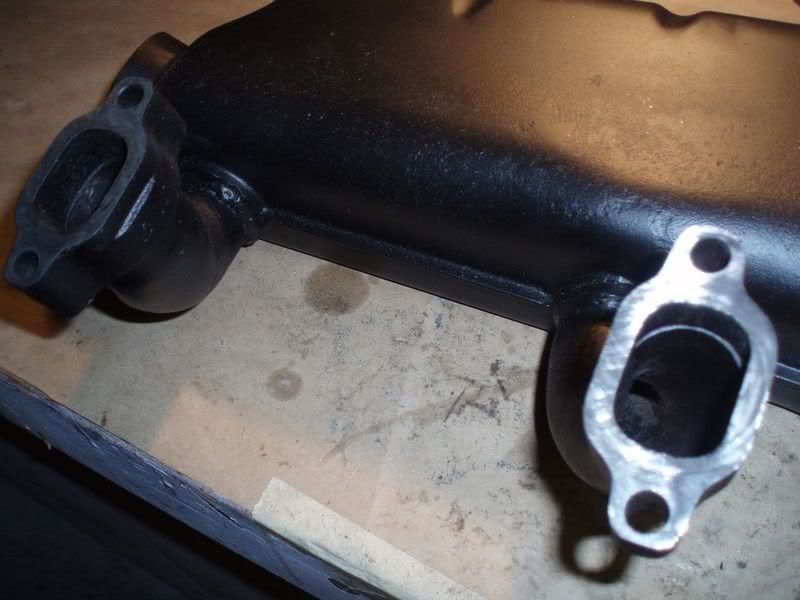
Like this....
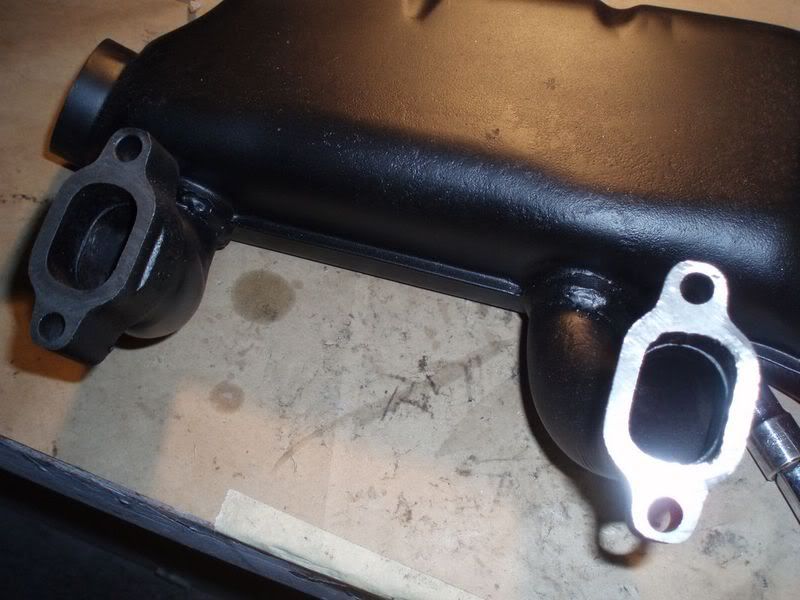
Dasdubber - February 29th, 2008 at 10:42 PM
The headers were bolted back on along with some of the final sheet metal.
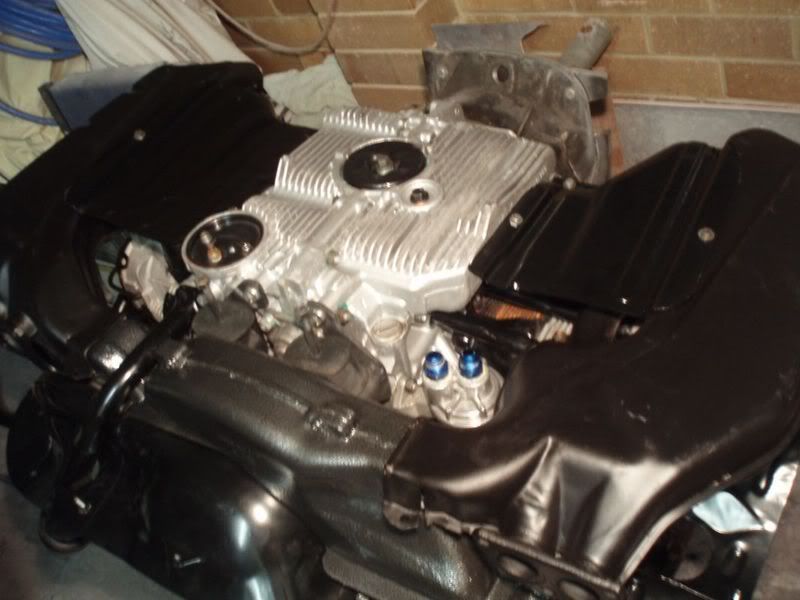
Just have to paint the linkage and then hand it all back to Cam!
Dasdubber - March 2nd, 2008 at 08:34 PM
Speaking of which, a few cold ones are being knocked back after another days work.
Today I polished the down rods for a little highlight - I gave them a thin clear coat to keep them shiny.
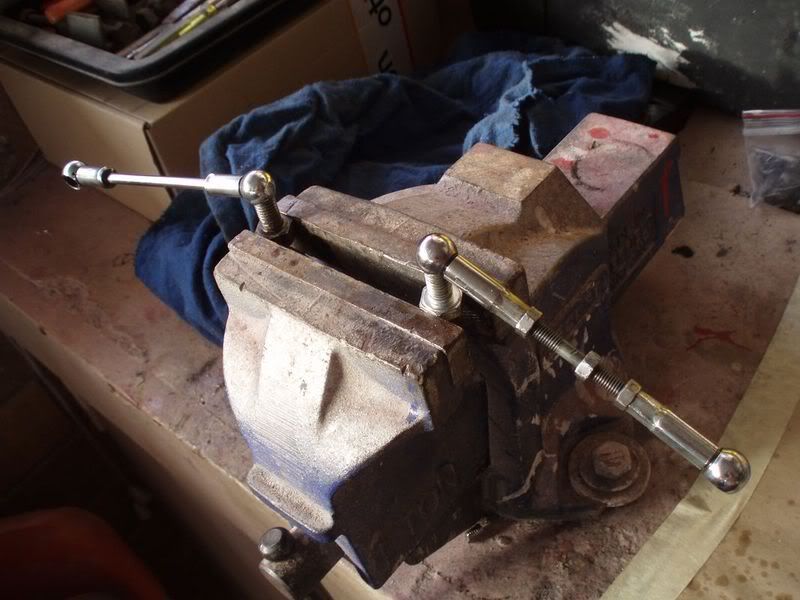
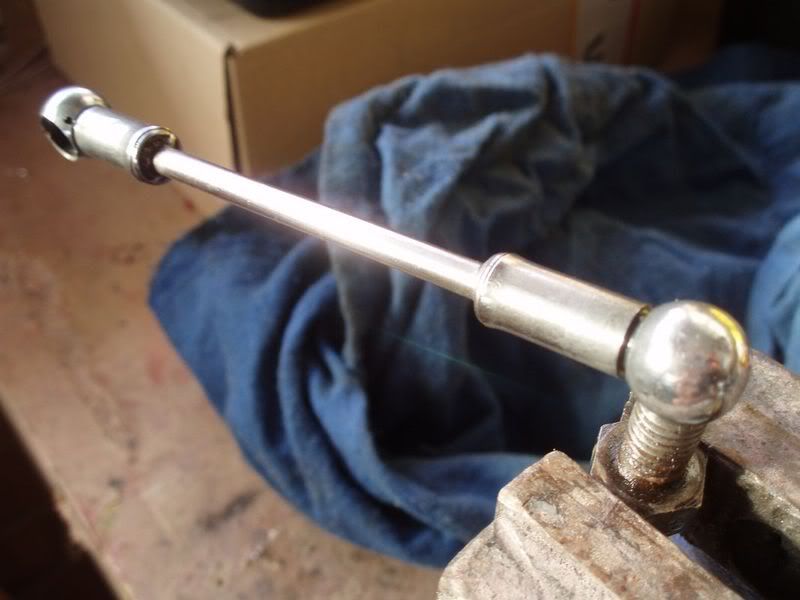
The linkage cross bar was painted same colour as the manifolds in high temp engine enamel and bolted back up again with stainless fasteners. Home
stretch now!
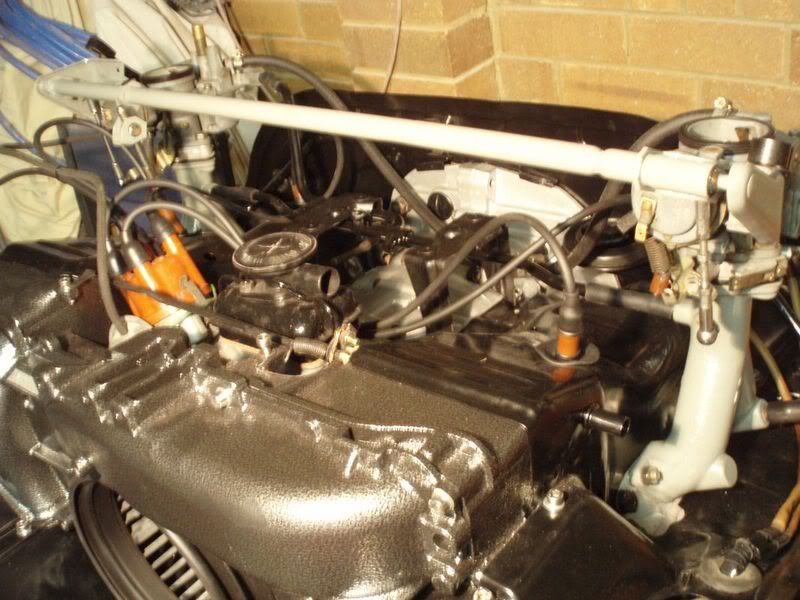
Dasdubber - March 5th, 2008 at 08:43 PM
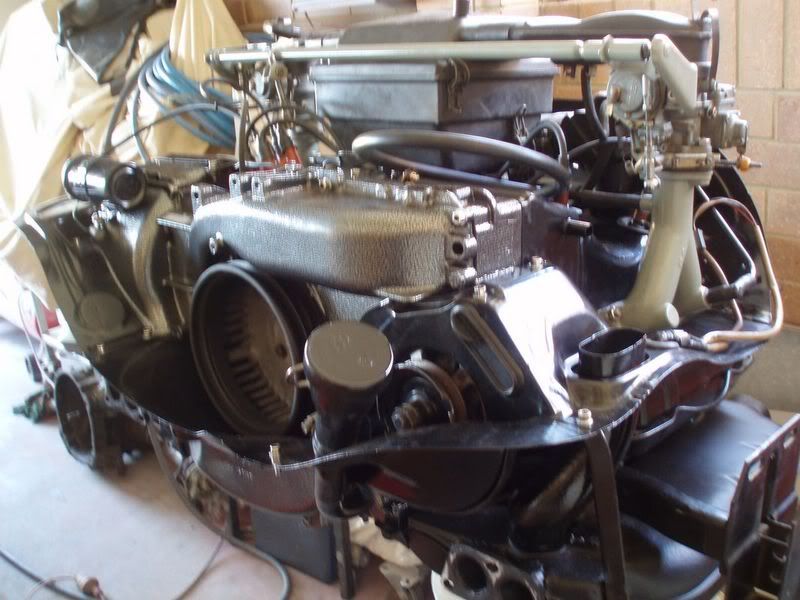
Just a quick update - Cam picked up his engine today...here it is before it left my stables:
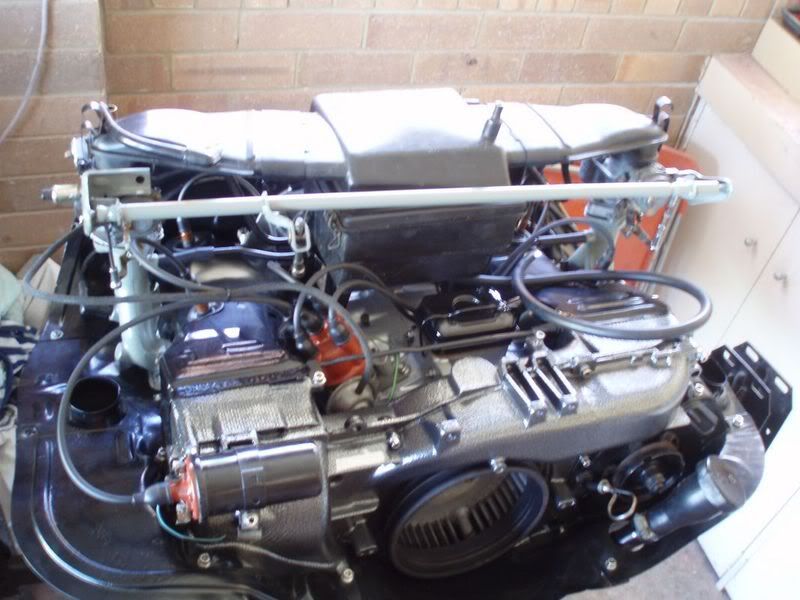
Cam will polish up the air filter box a bit to tidy that up but otherwise it looks pretty nice - and will be easy to keep clean rather than having
something that is very light in colour.
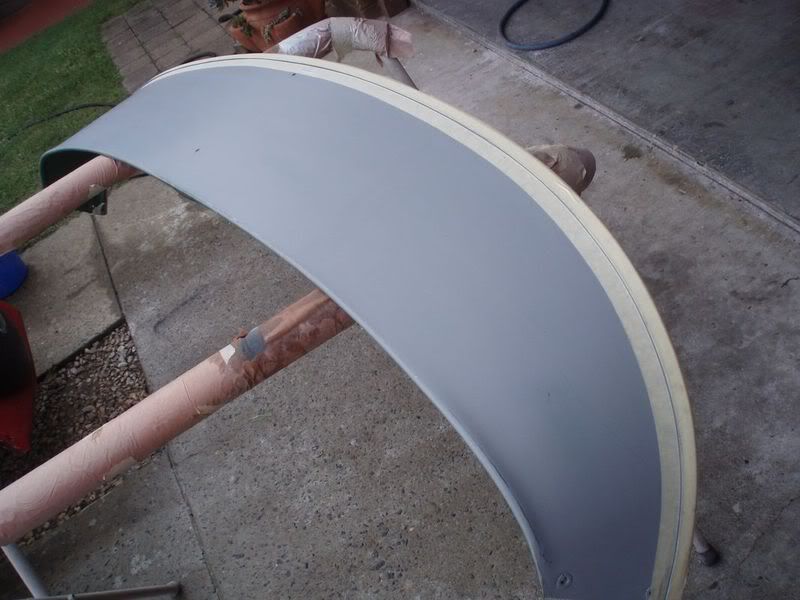
Visor will go onto the bus at some stage - before painting it I wanted to seam seal the aluminium trim so water doesn't ingress and rust it from the
inside out (have seen this happen on some original visors). Masking tape keeps the seam sealer tidy:
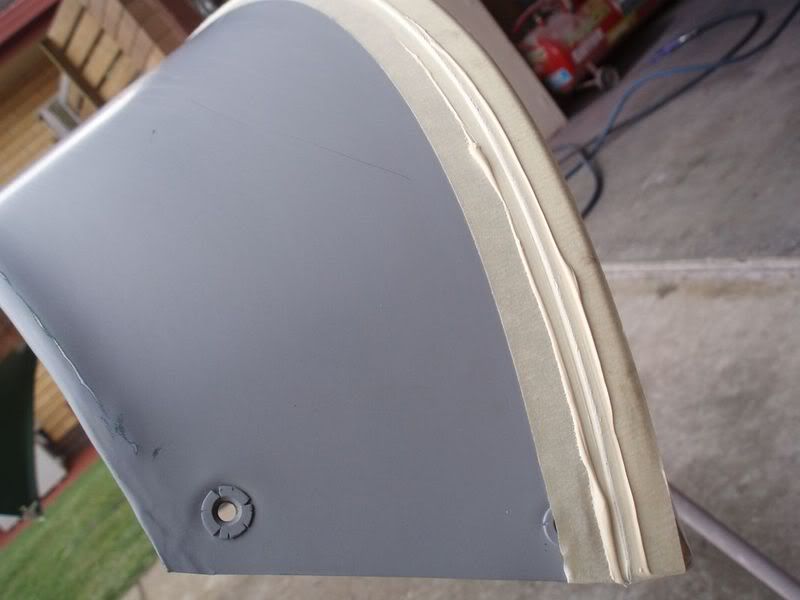
Here is the sealer, after this pic the tape was removed whilst sealer is still went so it flows onto the visor and doesn't leave a hard sharp
edge.
Dasdubber - March 6th, 2008 at 10:34 PM
Cam needed his dash repainted as it had some 'fish eyes' from when he painted it which is like a reaction to silicon/debris deposits on the surface
under the paint. After rubbing them out, I reprimed and repainted in the savannah beige:
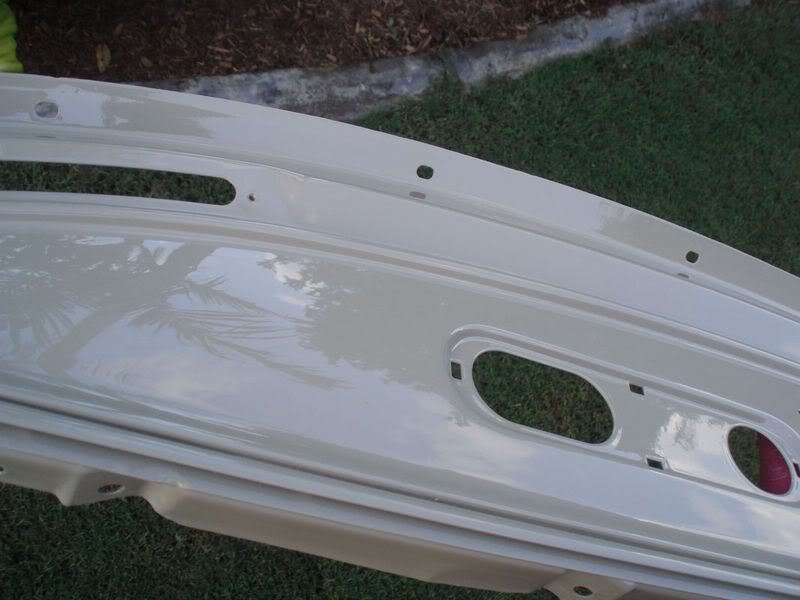
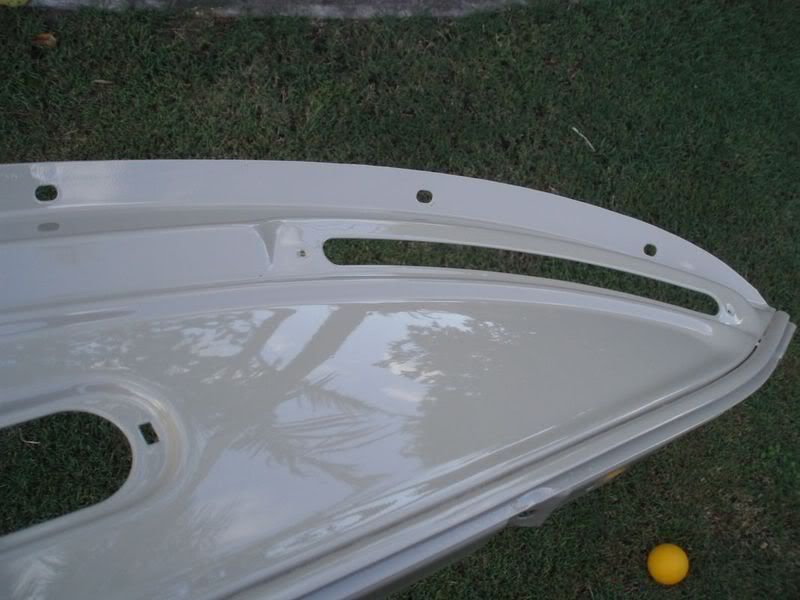
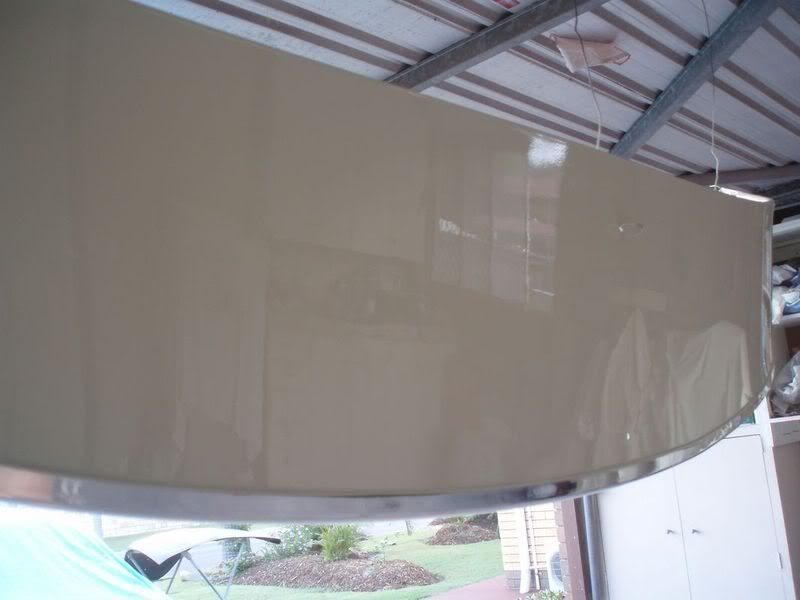
Also the visor received primer this morning then white base coat and clear. Unfortunately got a sag in the clear as the light wasn't the best
(couldn't see how the paint was laying down very well)....but the run will be fixed with some colour sanding on the weekend.
BenettonVW - March 8th, 2008 at 02:54 PM
Nice as always Al.. I have a splitty waiting here for ya..
rocknrob - March 8th, 2008 at 04:23 PM
Alan next time yer dog goes missing can i have first dibs looking for him?


