I have a lot of photos. Should I make them smaller to load a bit quicker
Photos of the car before I started to have my wicked way with it...
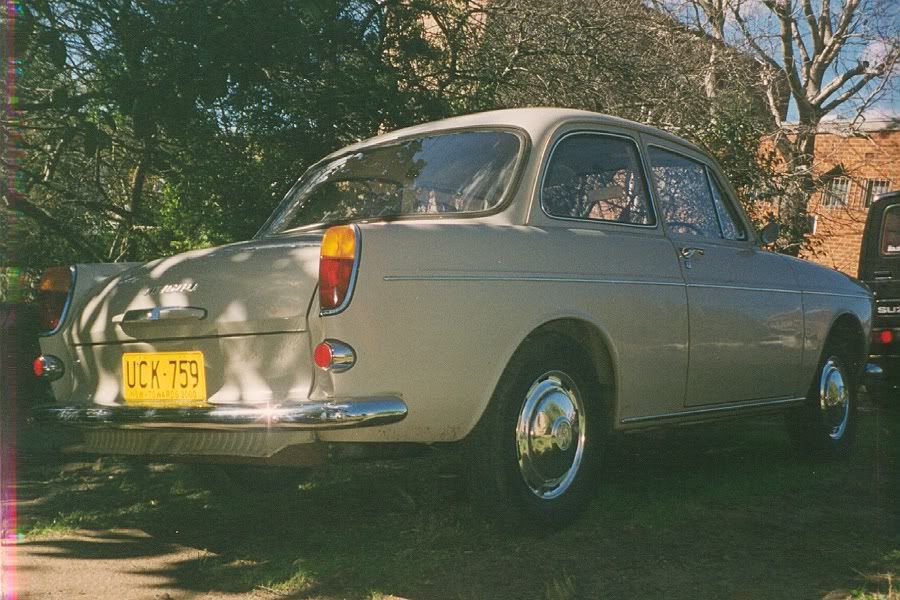
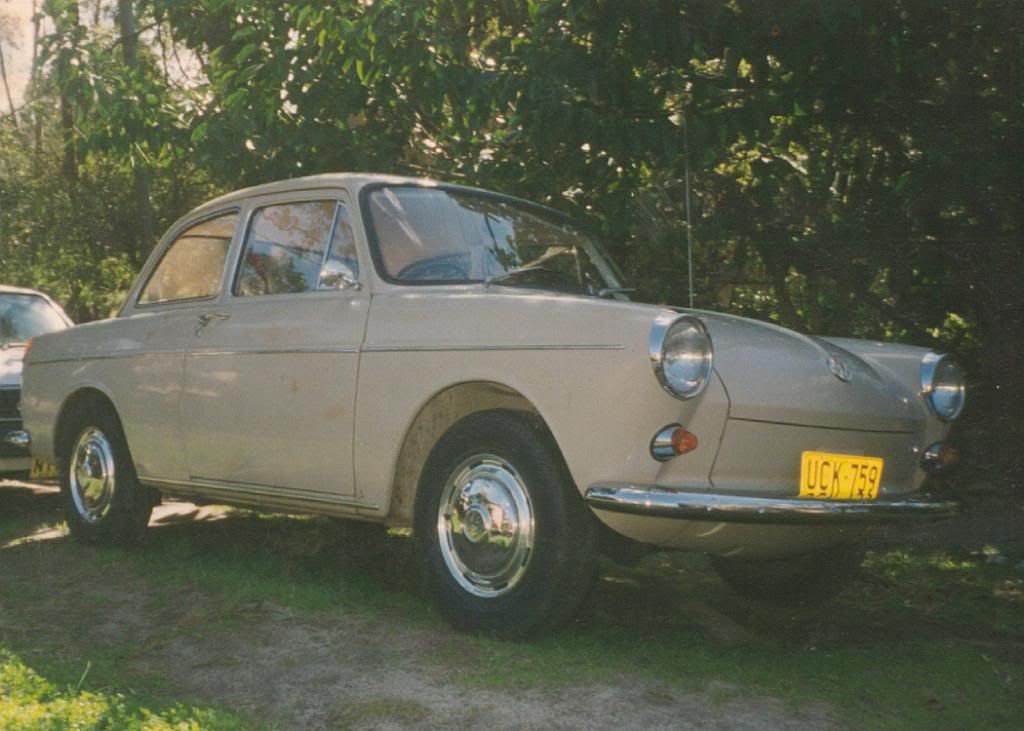
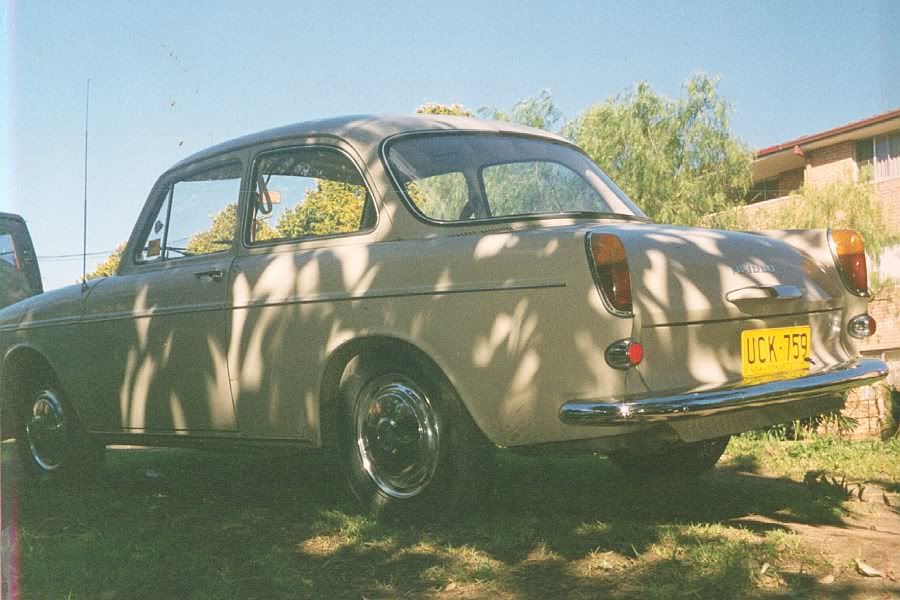
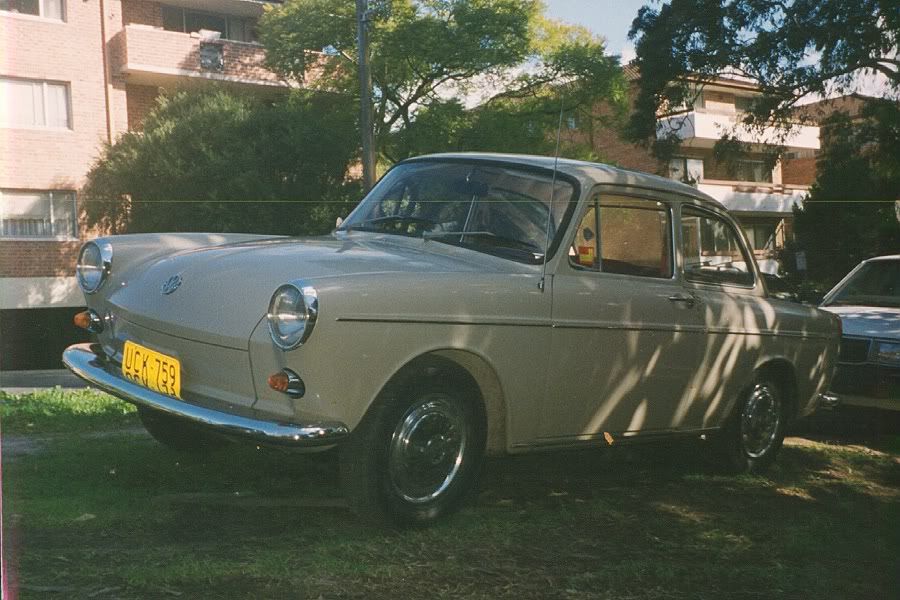
I wish I had taken more...

I am going to post the progress on my VW for what I hope will be your viewing enjoyment.
For starters it's based on a 67/68 type 3 notchback which was my first car given to me in 1988. It was bought from the original owners' daughter
(deceased estate) who found it "too powerful" compared to her Morris 1000. Ha! I bought it with 42000 miles on it. Have only put on another 5000
since I've owned it. I didn't think a lot of it for a while and even bought another car - a VC Commodore - to drive instead. I am so glad I finally
saw the light and came back to VW's. I have owned and driven many pieces of shit and older vehicles over the years which has given me a decent
understanding of how to fix cars, especially since I have always done my own repair work on them. This includes a 68 Beetle,a 76 convertible, a 64
notch and a 76 camper.
After going through my holden and then ford phases and having owned 12 cars in all I decided to go back and "do up" my old car as I had planned to
do with the old man. I started that 6 years ago.........
Various setbacks from lack of finance or lack of time have seen long delays in this project but the time has come to at least get it out of the garage
and onto the street. More work will be done in the future according to the time / dollar ratio. It's safe to say that this will never be truly
finished.
This car is now my #1 hobby and I thought I should share some of the progress with you guys. If you are looking for a "Dasdubber" kind of rebuild
you won't find it here. That guy is on a whole other level! I am a home enthusiast with a passion for my VW - nothing more.
So with that said I know there will be various comments about my choices and methods and the fact that I didn't just keep it original! I can handle
criticism.
Pics to start once I work out how!
| Quote: |
Thanks Al ! I can tell you that the "plan"has changed so many times I can't remember...most of it has been moving forward luckily.
I have a lot of photos. Should I make them smaller to load a bit quicker
Photos of the car before I started to have my wicked way with it...


I wish I had taken more...
With the help and advice of Jeff and Shimo from the former Hellbug Engineering I did the following jobs on the car back in 2001/02...
-IRS conversion modifying my original framehorn and welding the brackets on to accept the late type 3 IRS diagonal arms.
- Station wagon torsion bars - the thicker ones.
- Front disc conversion using type 4 discs and rebuilt late type 3 calipers. NB: Although the car was a 68 model it had many traits of the 67
including drum brakes all round. They were scary man especially on the freeway at night in the wet with a bigass semi trying to push me to go
faster!
- 4 stud bolt pattern - i still can't believe i sent all my old wide 5 stuff to the tip...I'll never forgive myself.
- Gearbox rebuild taken from a 72 beetle with IRS with taller gears, good second hand CV joints (picked a lot from the yard and used the best
ones).
- All new wheel bearings etc, polyurethane bushes all round, kombi bump stops on the rear and lowered.
- Engine rebuild to a 1776cc.
Stockish reconditioned motor with new mahle "forged" pistons and cylinders 90.5mm, balanced std 12v beetle crank (linished only), stock vw rods,
stock AS41 case tunnel bored 0.5mm on the mains, machined for 90.5mm cylinders and full flowed, stock cam with the original vw lifters radiused, vw
pushrods and stock valves with new guides, stock type 3 rockers. Original type 3 heads with new seats 3 angle cut, std flywheel with LUK sprung disc
and kennedy stage 2 pressure plate, new 26mm oil pump anodised with berg pressure relief cover and berg filter mount with a golf oil filter.
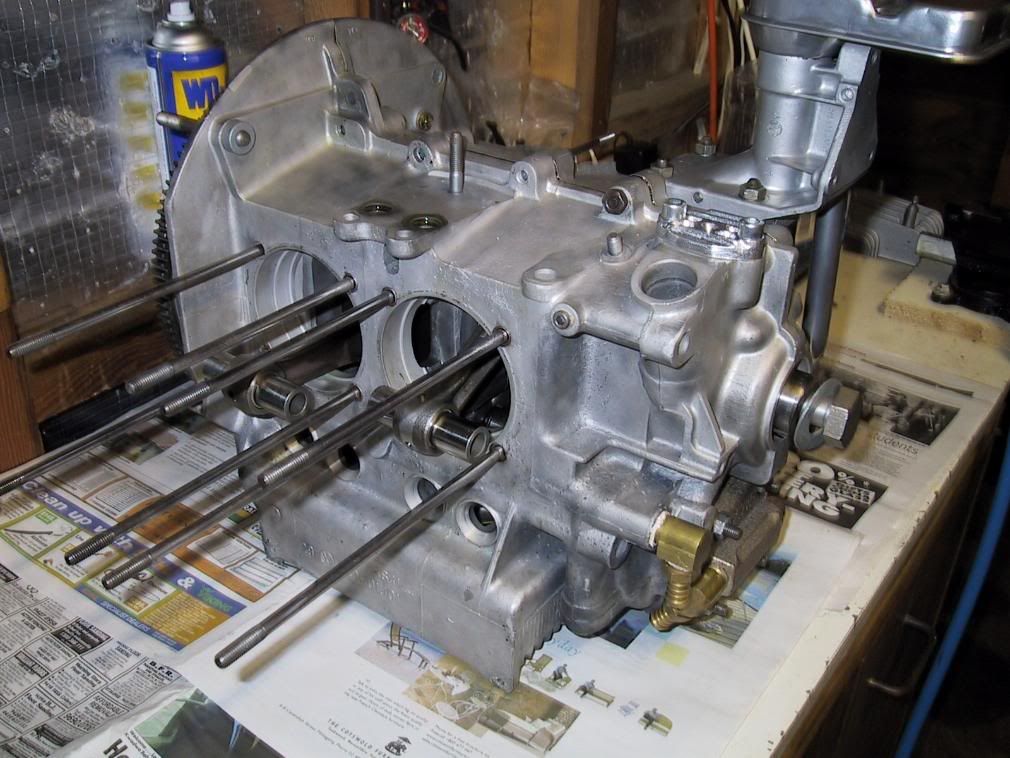
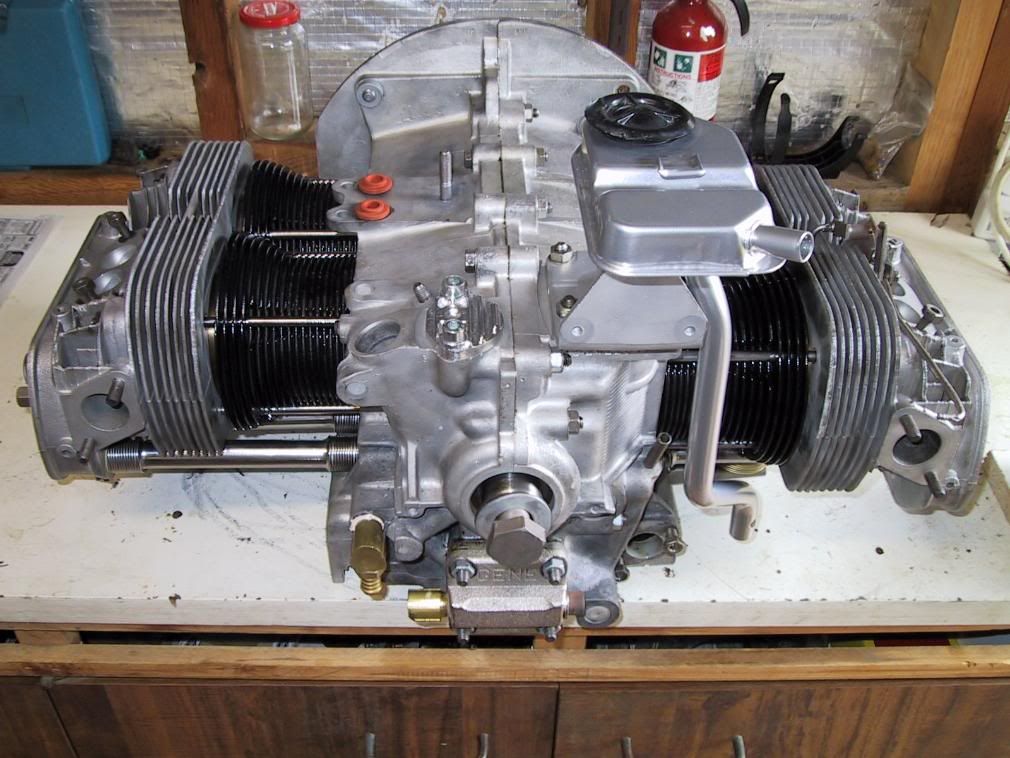
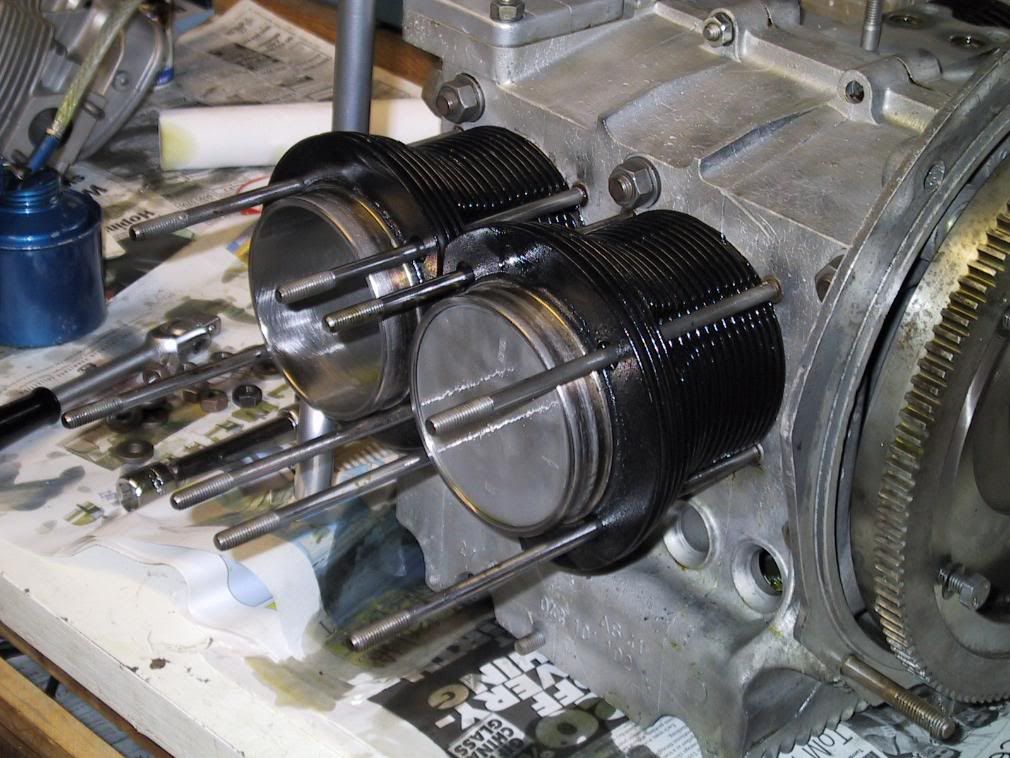
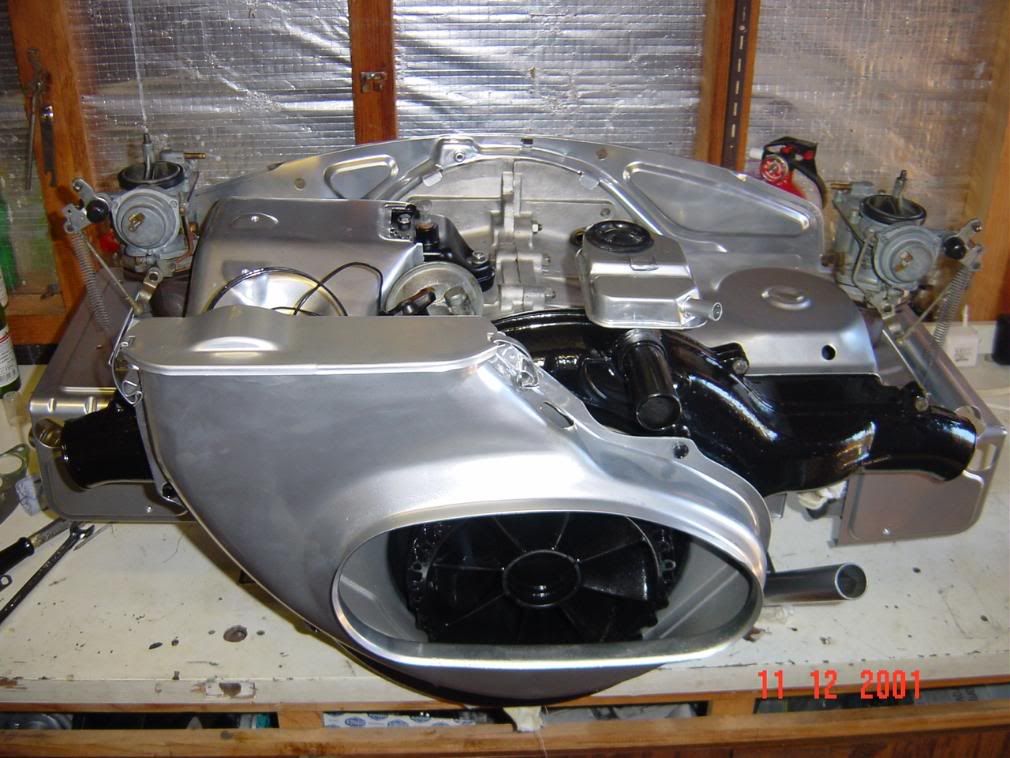
Back then I didn't own a camera so there are a lot of projects that I never took pics for. Fortunately I took some pics of the first engine rebuild
some were lost but this is what I could find...
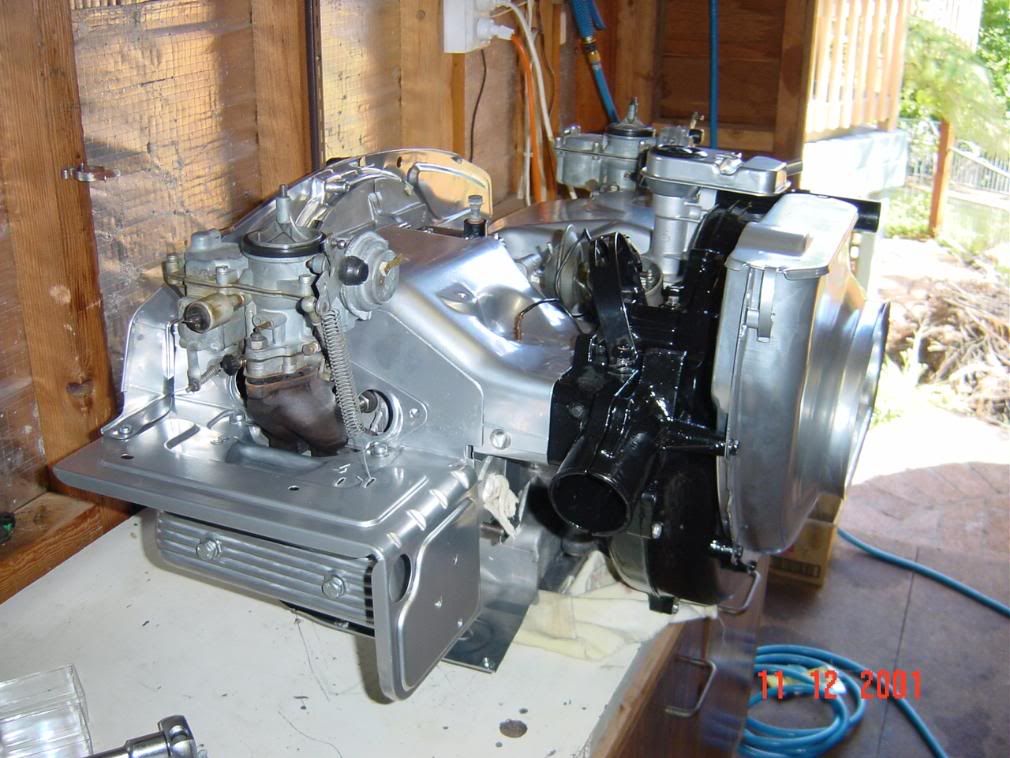
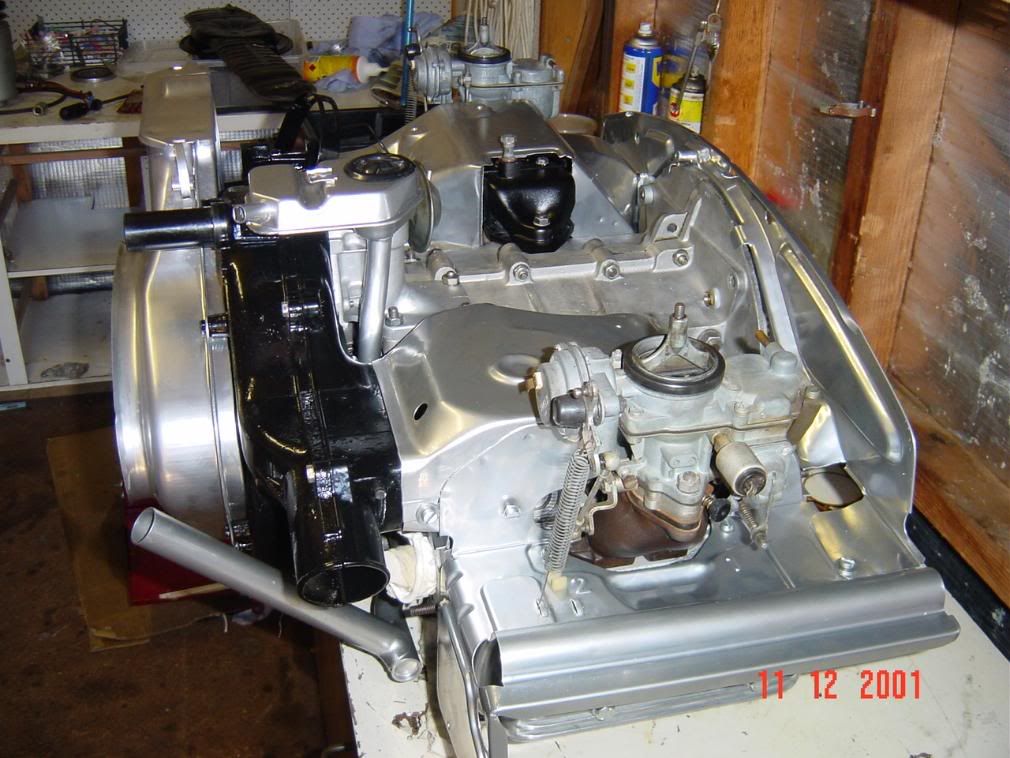
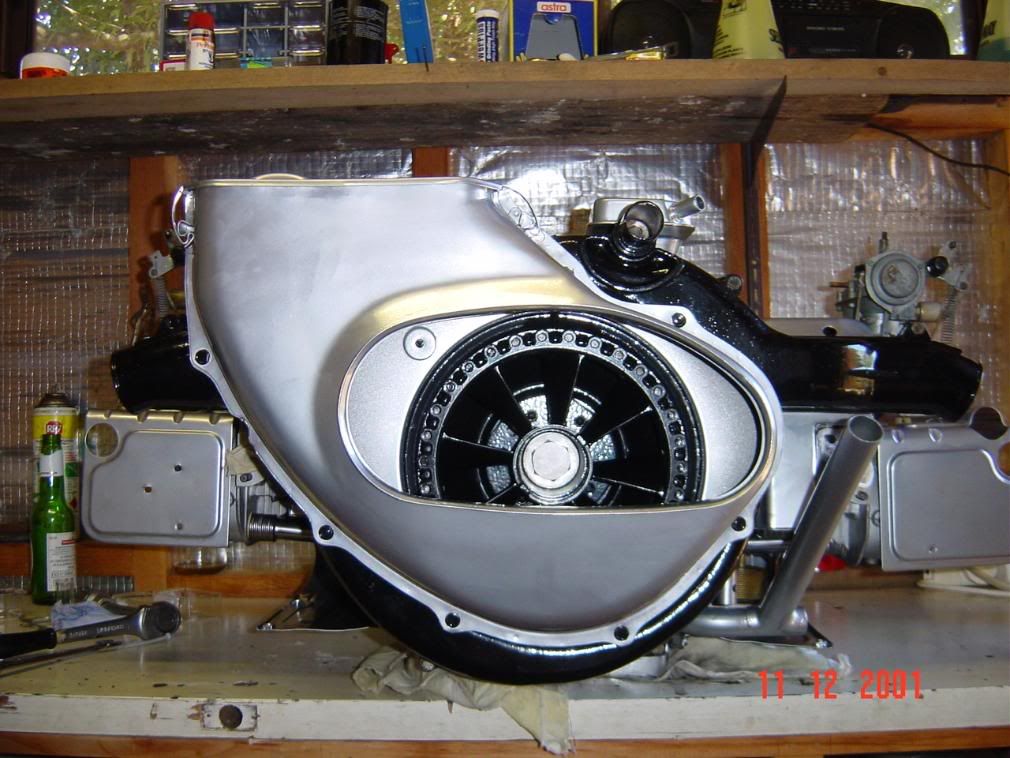
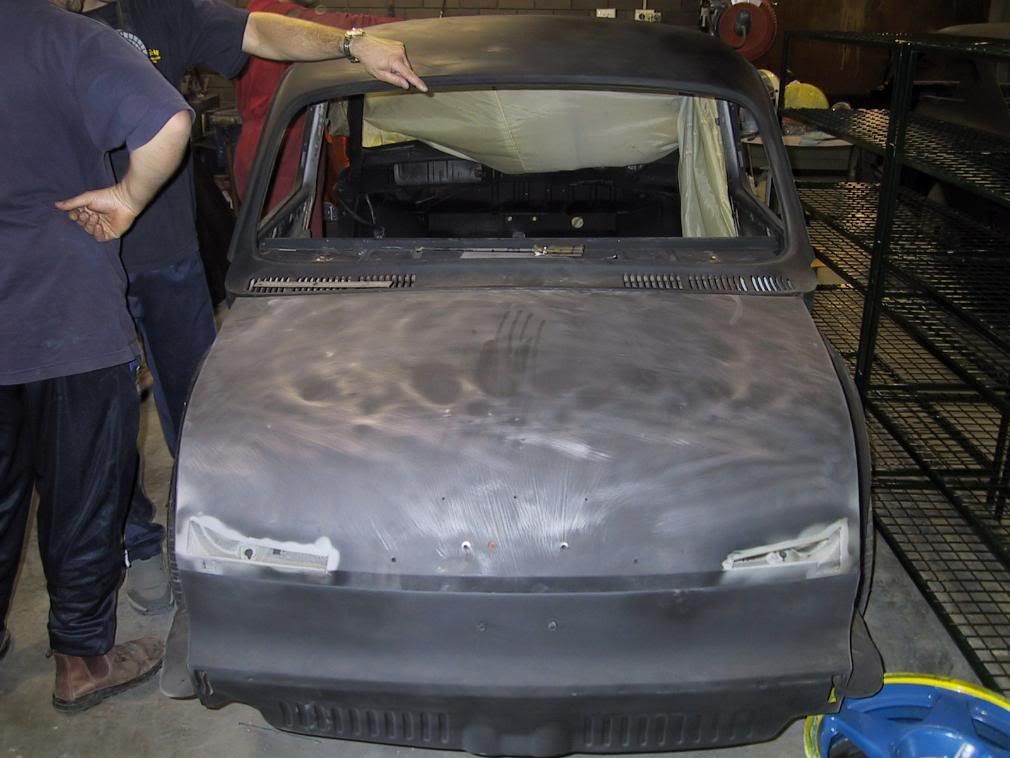
The next job was tackling the body after a stupid accident that I had where the rear bumper, valance and decklid were all damaged. I bit the bullet
and sent the whole car for abrasive blasting and panel repair. Any rust and damage was repaired and the whole body and panels were blasted, etched and
repaired. Here are a few pics of some repair work being done...
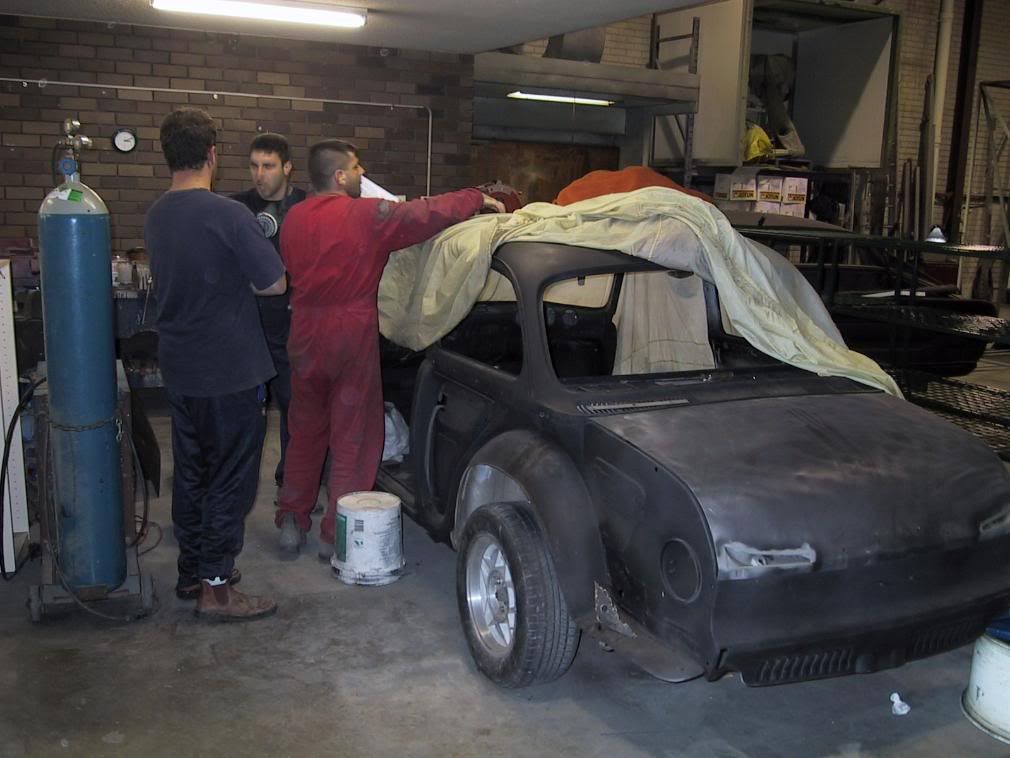
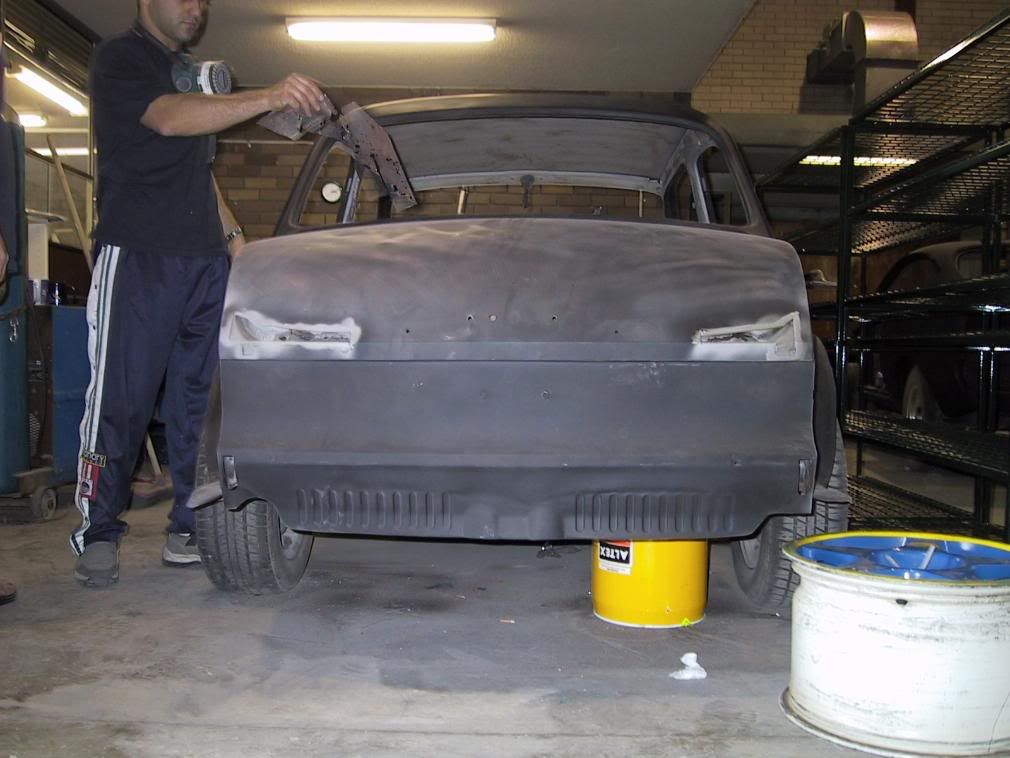
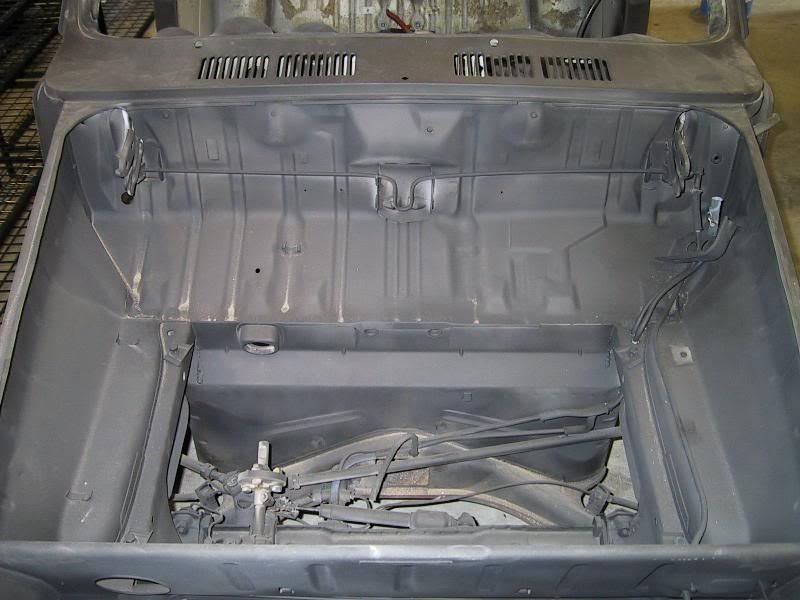
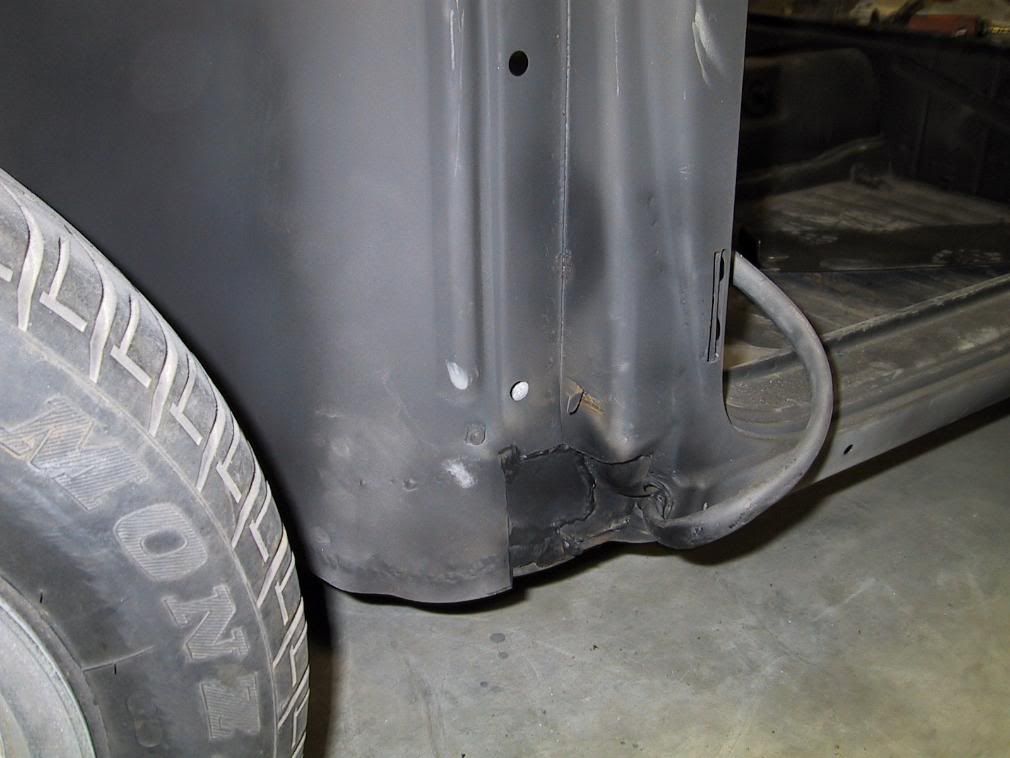
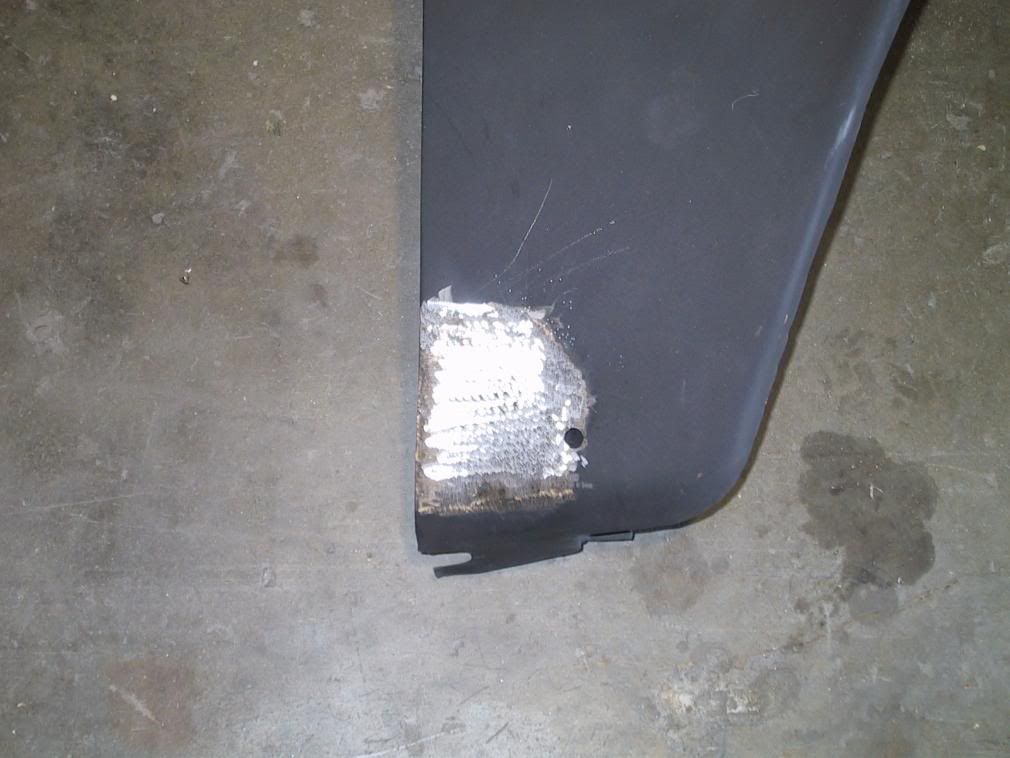
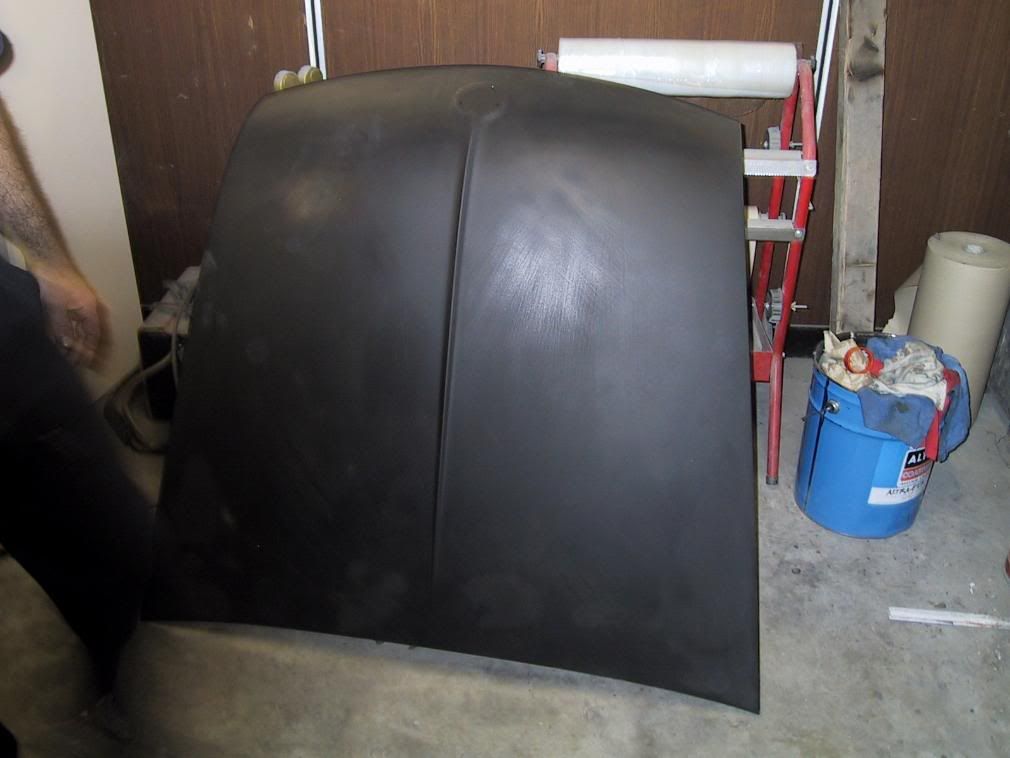
All this happened a log time ago but I wanted to share what I have of the project in the way of pics and descriptions. There is heaps to come.
very nice, well done for keeping at it!!
getting close to your dream car yet?..........turbo still in the "plan"?
Thanks Damo! Yes it is getting close...very close to ready for the street.
You'll just have to wait a bit longer for more updates!
Turbo? EFI? Hell yeah.
fk ey. was a nice original looking base to start with. score!
keep the pics coming!
nick
Here's a few more of the body with the hi-fill applied. Paint shots soon...
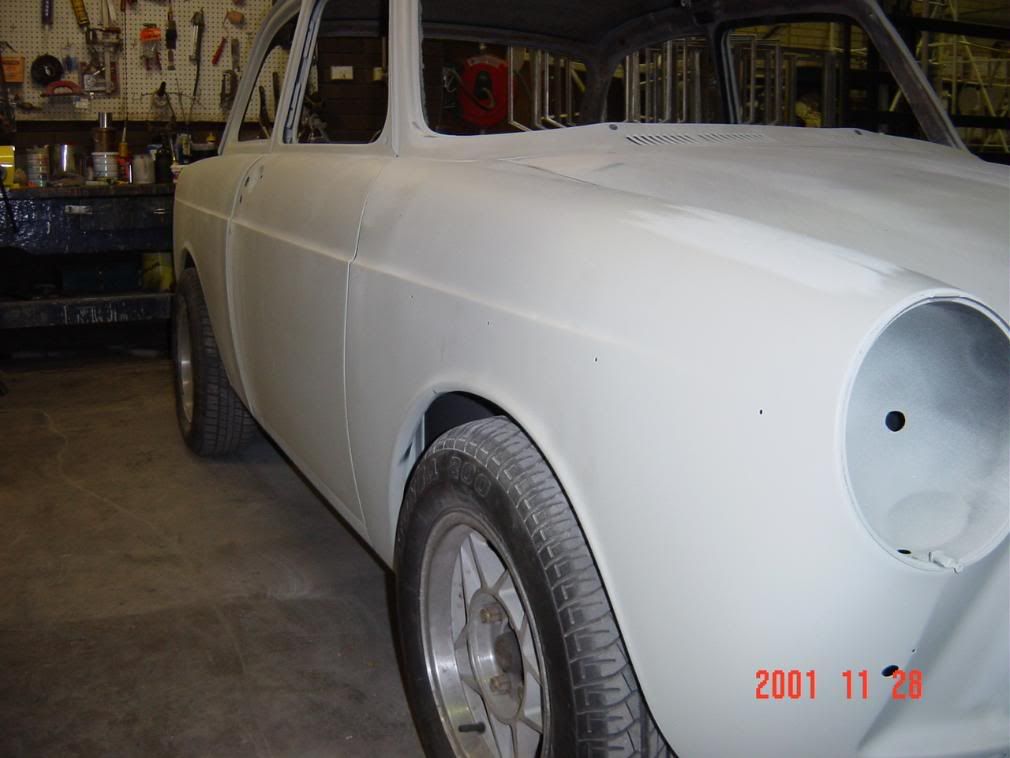
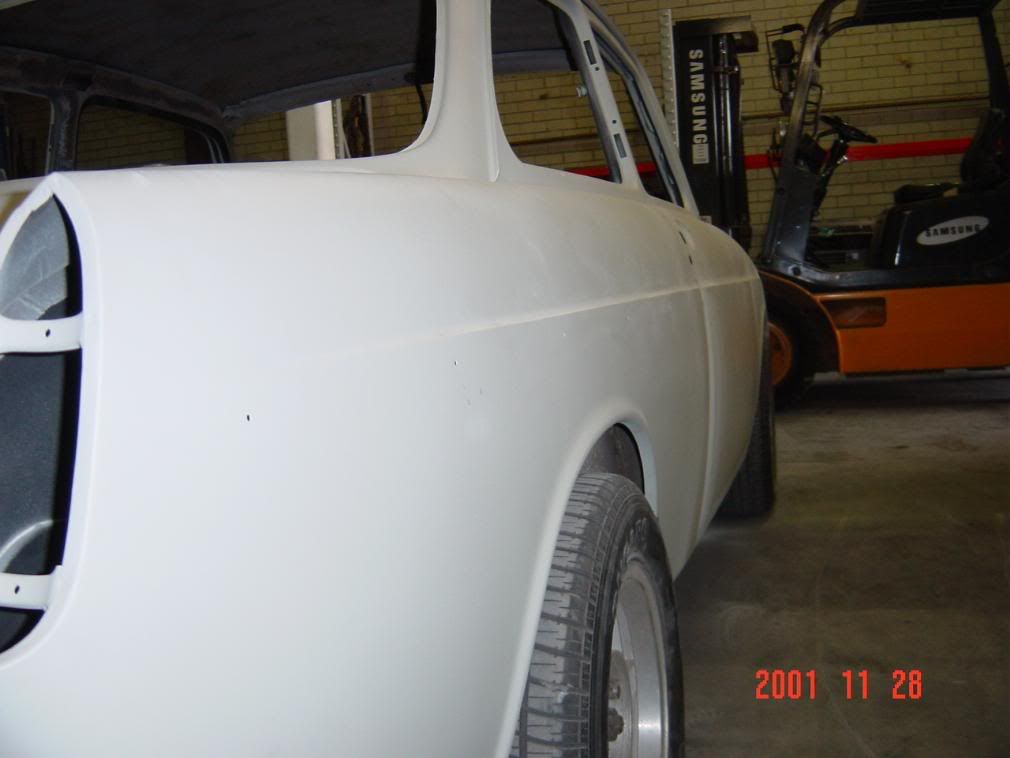
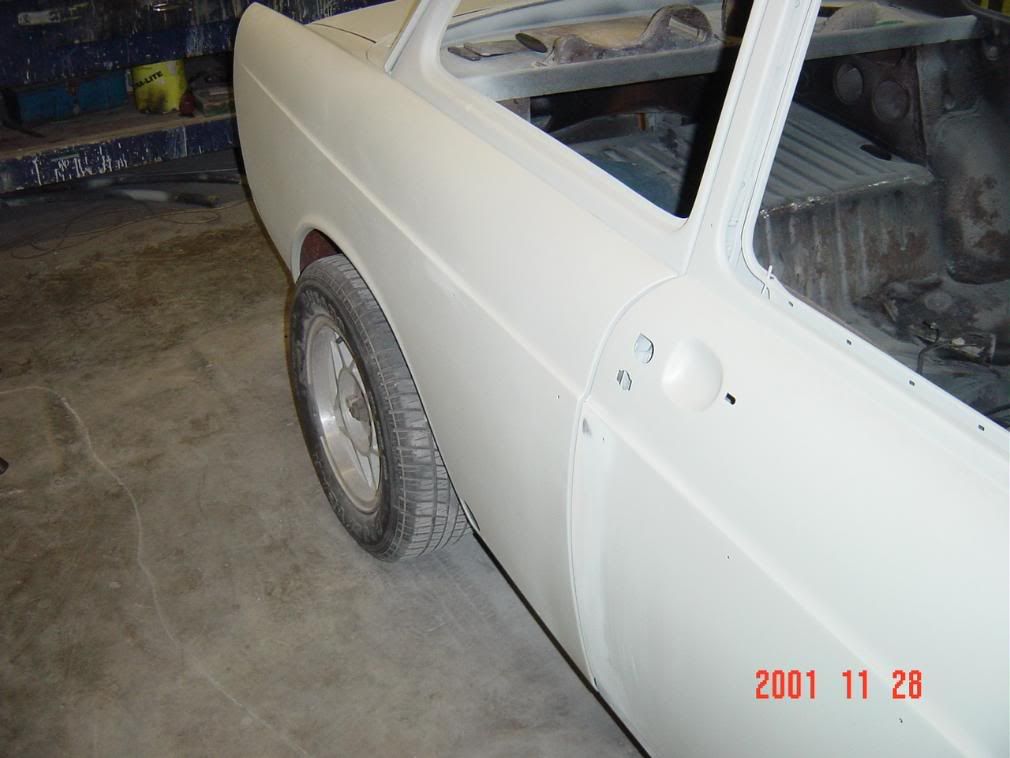
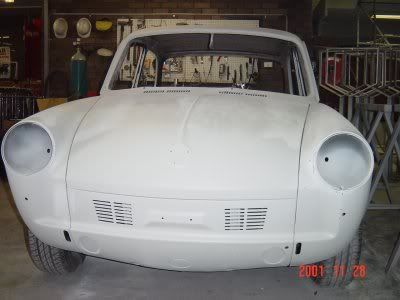
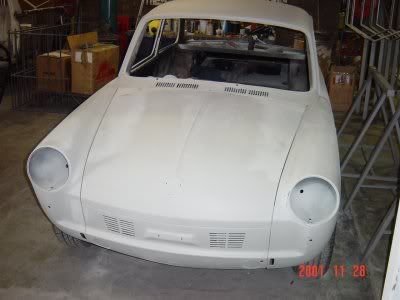
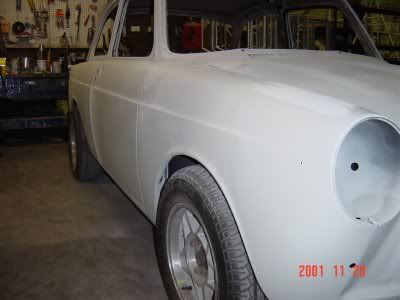

Looking good, if any filler repairs have not settled by now you woul;d be pissed! Can I ask, what are the louvers for in the front apron, that looks like something you would do with a Suby coversin?
Thanks GT. Actually they managed to f#$k the bootlid up when they painted it. Almost no filler whatsoever was used anyhow!
You are on the right track re the louvres / flutes on the front. I had them done not for a suby, but for a radiator (or 2 motorcycle ones) to cool a
liberty water to air intercooler.
This photobucket thing is really cool. Might whack a few more up of the car painted and being refitted.
Hope to have this thread and the photos caught up to the actual stage the car is at by next week...
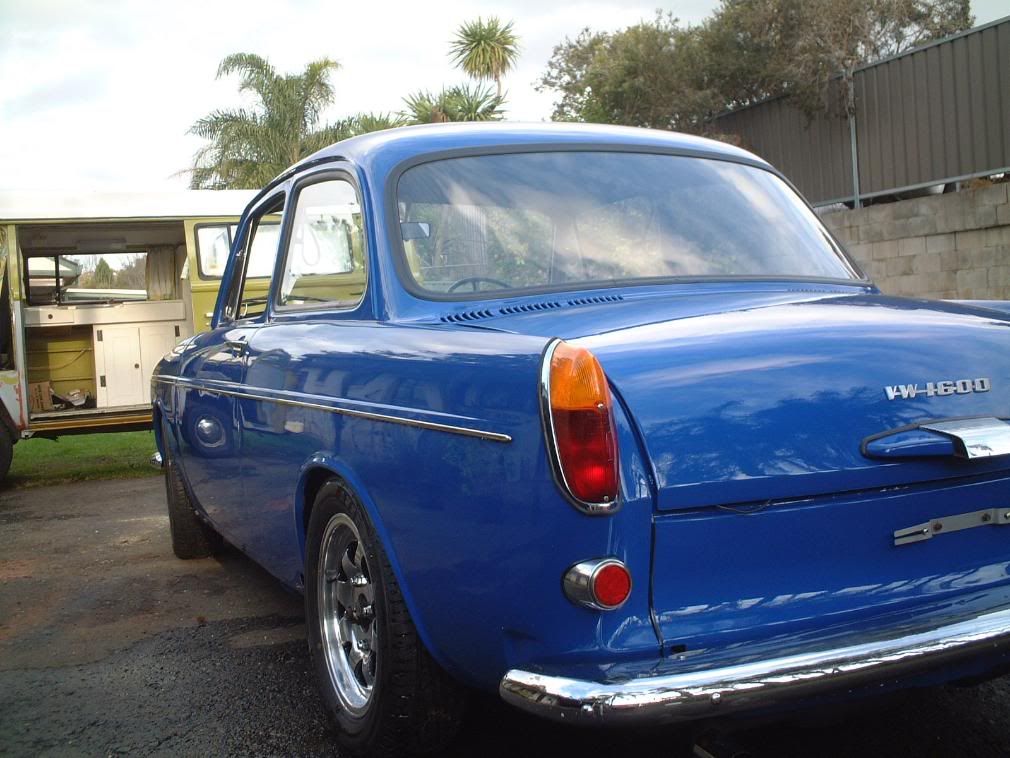
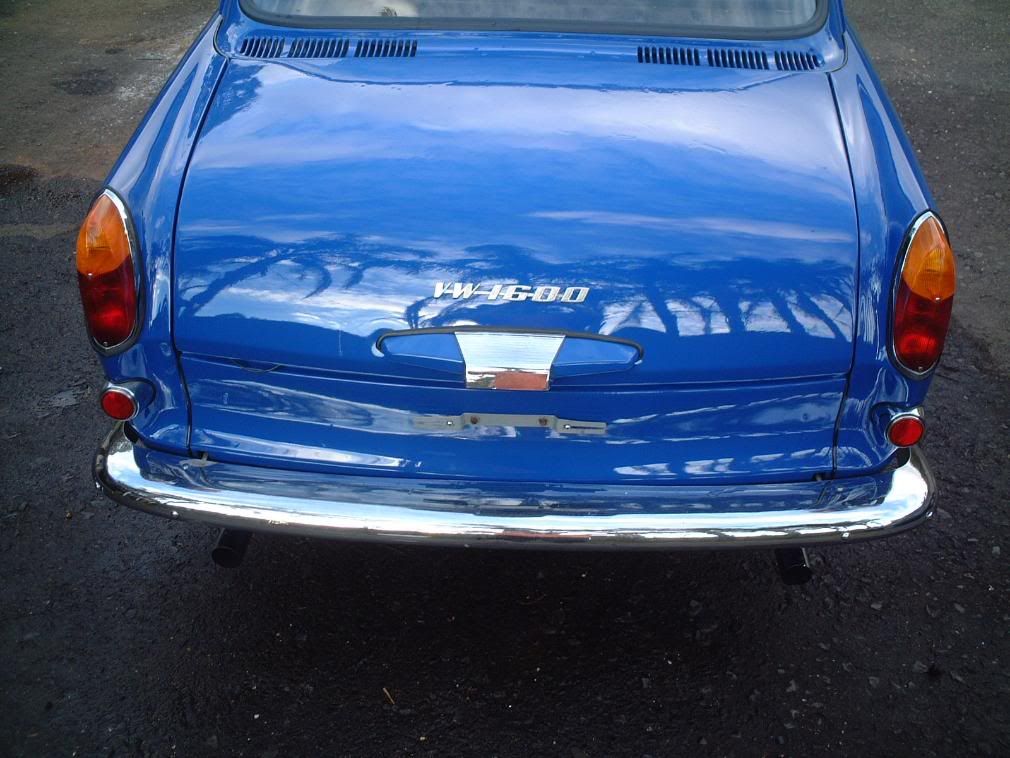
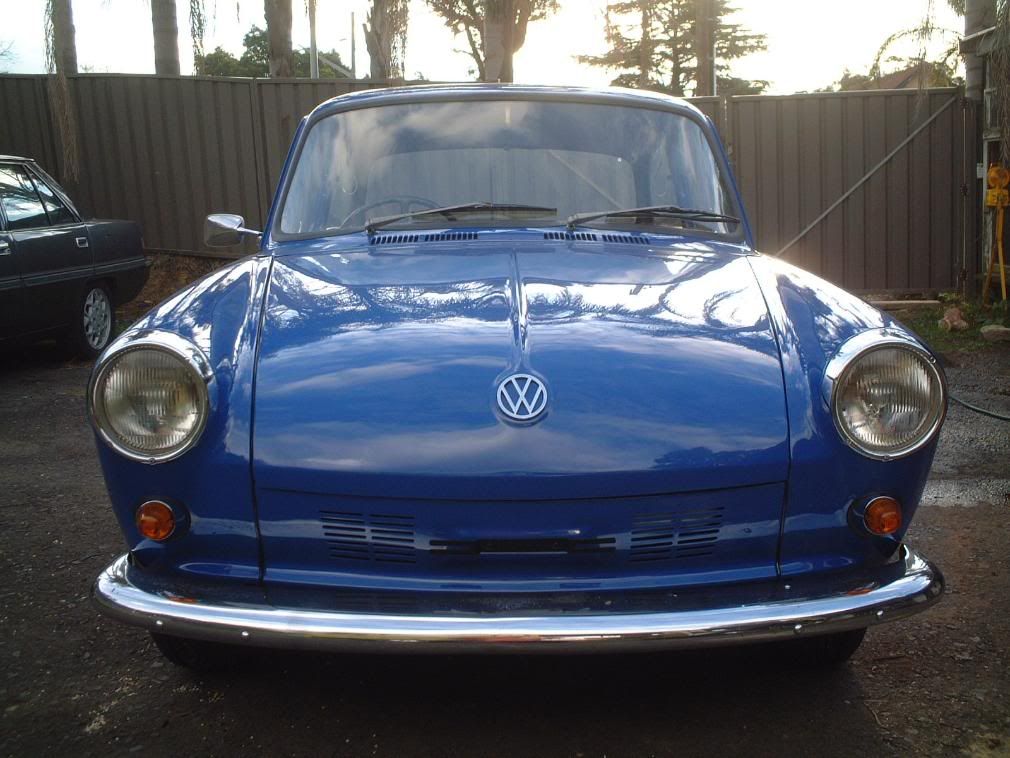
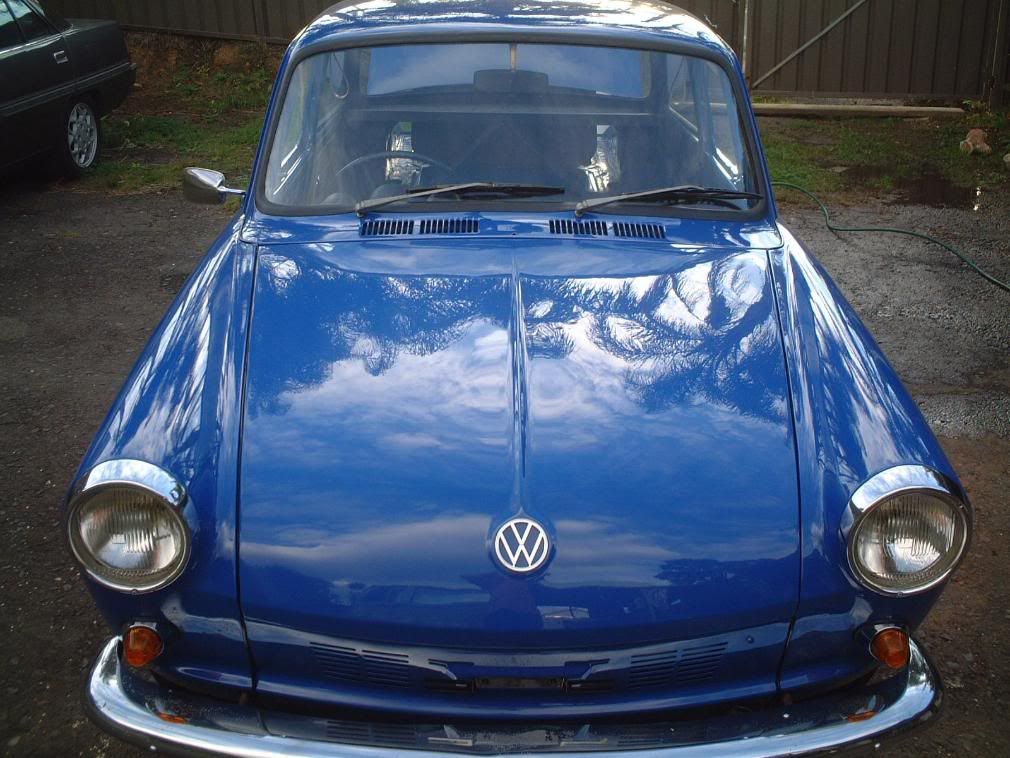
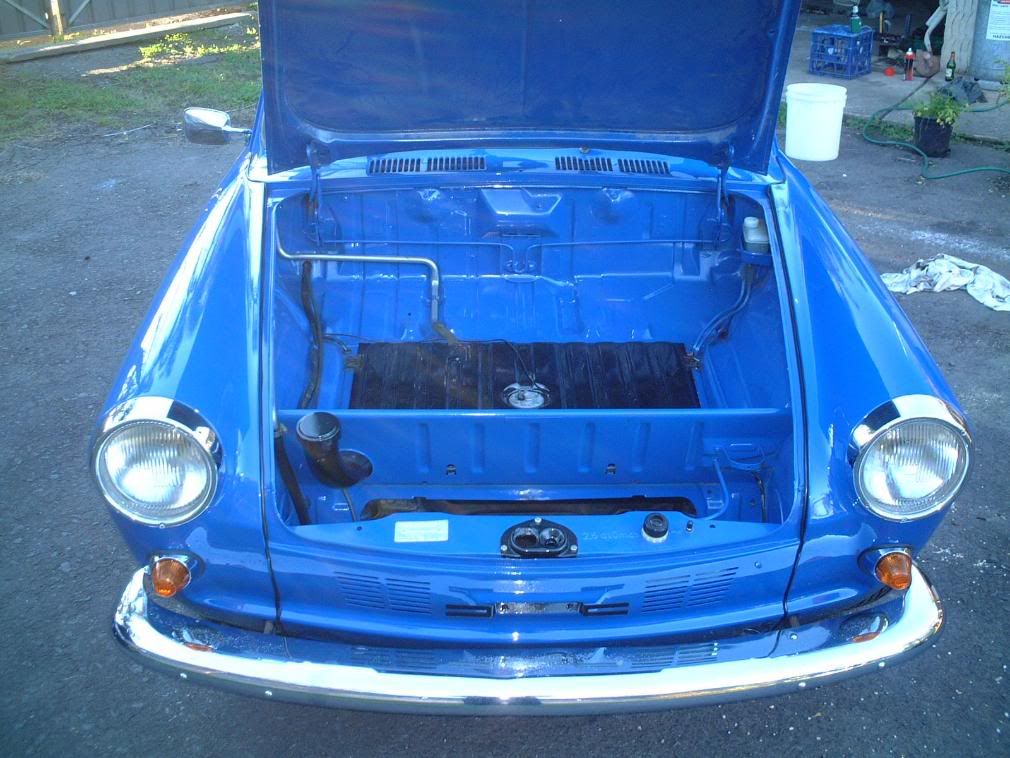
Below are some photos of when the car was last "together".
All new German rubbers were used.
Done heaps since then though...
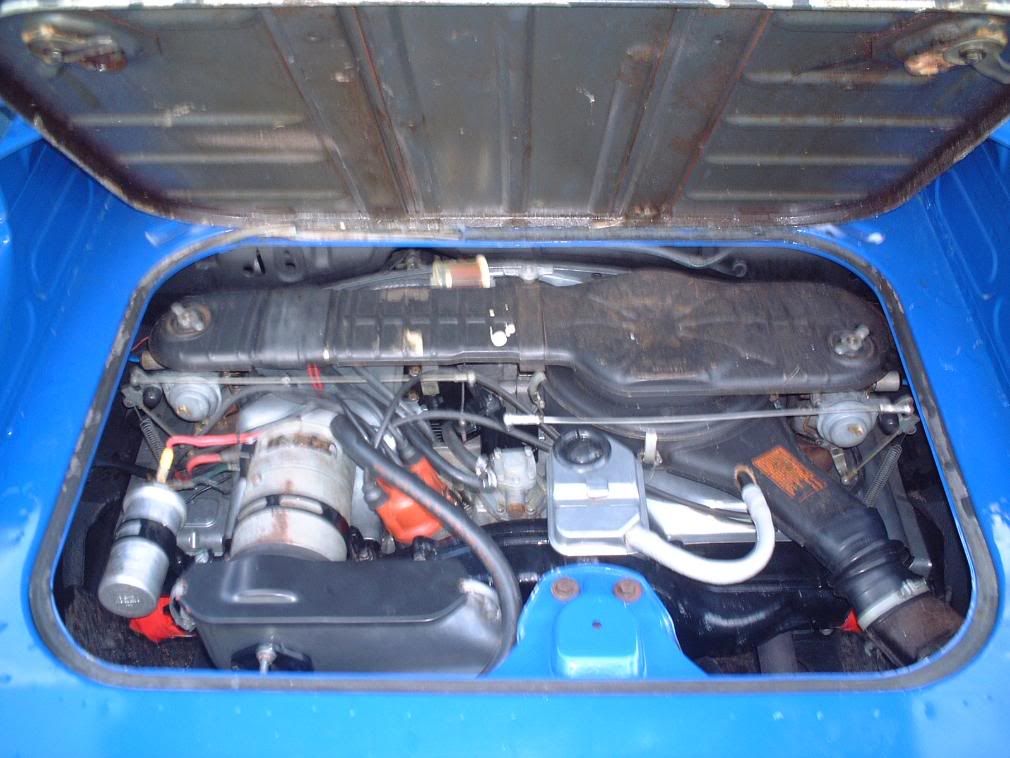
Next update will be of what has been going on in the past few months. I'll start with the engine "re-rebuild" and EFI
conversion progress...
All the pics above were taken during the past 6 years and I have made quite a few changes since those
updates...
I have undertaken an EFI conversion controlled by a Megasquirt II ECU that I bought from the US in kit form.
The engine has been completely rebuilt again. Although it had only done 21 miles since the last rebuild it had been poorly
stored by me for 4 years.
Initially I was going to pull it down, inspect and reassemble and that was all.
When I did this I found that some water had made its way into #3 cylinder bore and had caused a bit of corrosion on the
cylinder wall. It was not an option to just hone it out. Probably would have been just fine for a regular runaround but I
wasn't taking any chances with this motor. The rockers had been left on so the valves hadn't moved for years. That, along
with the fact that they were 40 years old made the decision to replace the springs and have the heads serviced again an easy
one.
As far as the engine internals go I've decided for now to use the same crankcase, crankshaft, flywheel, heads, pushrods and rockers as before.
Here's what new parts have gone into it this time:
- new Mahle P & C kit 90.5mm
- new Eagle #2234 cam from CB performance Eagle Racing Cam - Adv. Duration 274° / Dur. @ .050" 234° / Lift @ cam .387" / Lift w/1.1:1 Rocker Arms
.425
- new Scat "hi-rev" single valve springs
- new solid lightweight lifters with low profile bases (from Vintage Vee-Dub)
- new CB billet straight cut steel cam gears
- All new bearings, gaskets, pushrod tubes etc
Pics to follow...