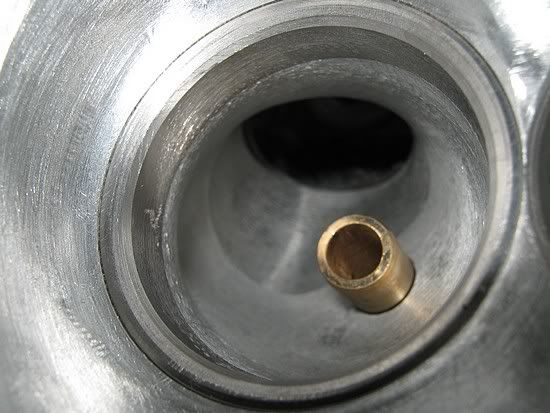

Andrew, for many years has wanted to build up a grunty 2276cc type 1 engine,
which would have many features built into it,
so as to have great drivability, reliability and massive usable torque.
The plan was to have EFI also,
and with help from Crankshaft Engineering, he ordered all the NEW parts he wanted,
and Crankshaft Engineering did some initial machining and checking of most of the parts.
When the time came to assemble the engine,
I was keen to help out.
Some of the parts requested were:
Flanged crank with ALL type 4 sized mains for strength.
Nicasil barrels with JE forged pistons.
ARP chome-moly 10mm head stud kit.
CB mini-wedge port heads with conical,("bee hive") springs,
Pauter 1.5 ratio roller rockers.
i was only there a week or so ago, & that was in 1000000 peices! nice work
The first step for me was to re-check all the parts and clearances,
to make sure that everything would fit and work properly.
There were quite a few things that needed to me machined, made or modified.
To give you an idea, there was over 60 hours of work to get the long block buttoned up to the rocker cover stage.
Andrew will fit up all the tin wear an EFI stuff in his car.
There were approximately four trial assemblies done to various stages, before any final assembly could begin.
The case is the "bubble" top autolinea case that was sourced from Scat.
It is the same as the ones that Bugpack sell,
with just a pair of shuffle pins at the centre main saddle.
(CB's have 6 shuffle pins).
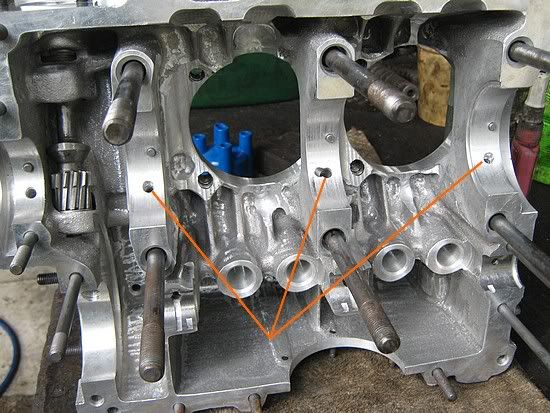
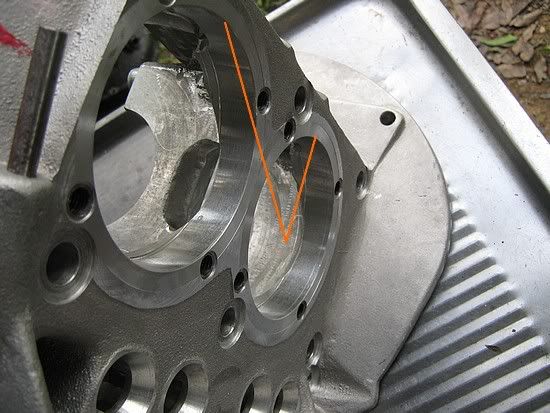
Scat in the USA had Rimco line bore the main tunnel to suit the larger type 4 main bearings.
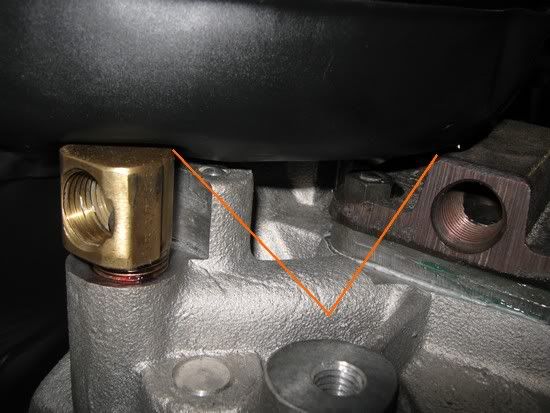
The orange lines above show where I had to align the oil holes to match the holes in the bearings.
After a preliminary clean to remove some burrs and chips,
the case was torqued up to make sure that the line bore was in tolerance.
The conrods were also double checked.
After this, ALL the bearings were mounted in the case and conrods.
The crankshaft AND camshaft journals were measured, to confirm that all the oil clearances were as desired.
Crankshaft Engineering had already done this,
but I feel that it never hurts to have some one double check your work.
I held one of those cylinders (be it ever so carefully) and it weighed about the same as a postage stamp.
Unbelievably light. This will be one very nice engine.
Looks absolutely awesome!!
Which Andrew are you talking about?
Smiley 
Every assembly stage had little things done,
like plug up this oil gallery to stop any bleed-off.
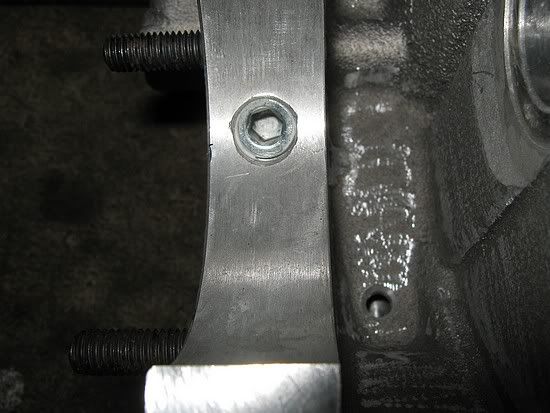
Crankshaft Engineering(CE) had found that the oil clearance on the cam would have caused excessive oil pressure loss,
so they acquired some 0.25mm undesized cam bearings,
and ground the cam mains to suit.
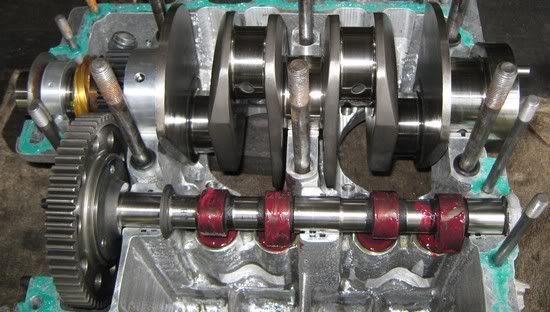
The next step was to assemble some bearings onto the crank and set about checking the end float,
and dial in the camshaft,
whilst checking the oil pump fit/clearance and lifter fit.
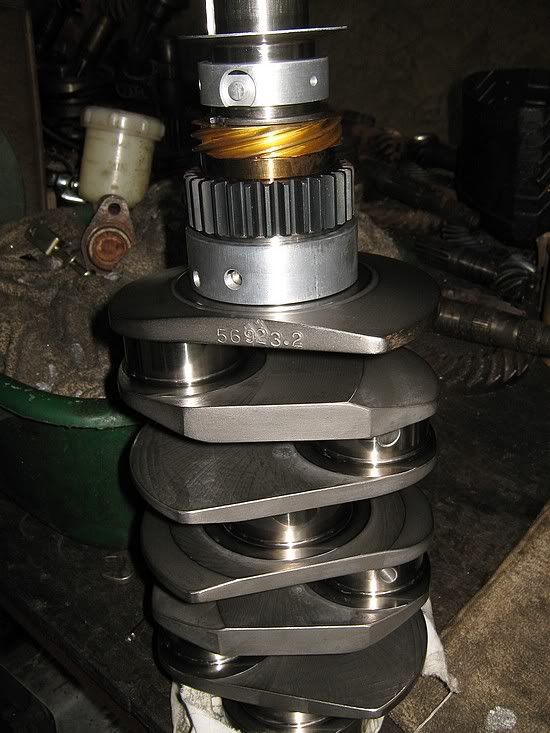
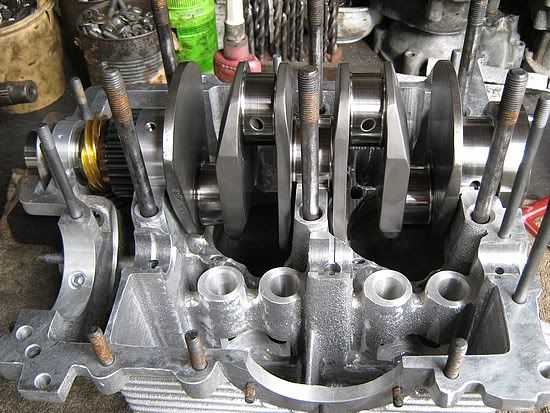
Here is a view of the back of the crank.
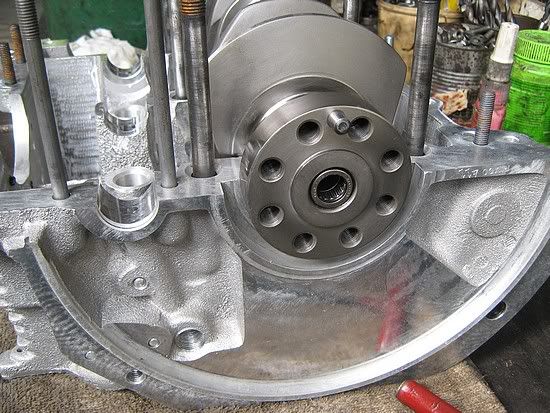
The end float was a little tight for my liking,
so some very fine wet and dry paper(on glass) was used to flatten out the forward face of the bearing.
The cam followers are UDO BECKER german tool steel.
Sounds pretty good hey.
Unfortunately the body diameters varied about 0.025mm.
Sounds like F#$K all, but it meant I had to measure every lifter bore and match the lifters to each hole.
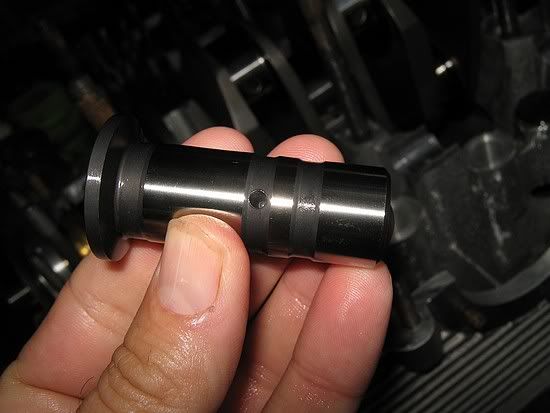
Had I not matched the smallest lifter, with the tightest hole,etc
there would have been a chance that a lifter may have been too loose, or too tight,
if tolerances stacked the wrong way.
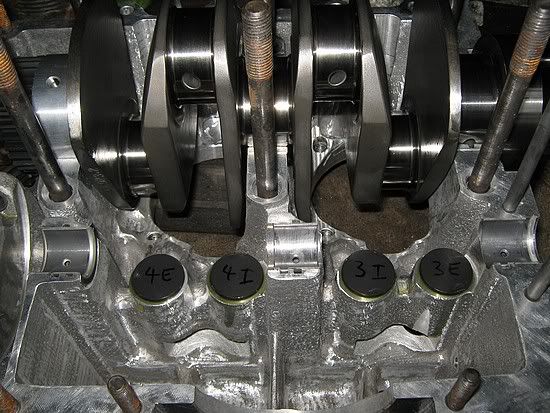
The cam is an ENGLE V26.
It is very similar in lobe duration to an engle W120, but is designed for ratio rockers.
In this case it will use Pauter's beautiful 1.5 ratio, roller tipped numbers.
Cam was dialed in at 2 degrees advance, and ended up with .528" lift at the valve.
Because of the rato rocker and lift at the valve,
the VALVE duration will make the engine behave like it has a much larger duration.
The cylinder onl knows what the valve is doing,
it does not care what I dialed in at the lobe.
Craig at CE ground between the lobes to improve clearance between the rods and cam.
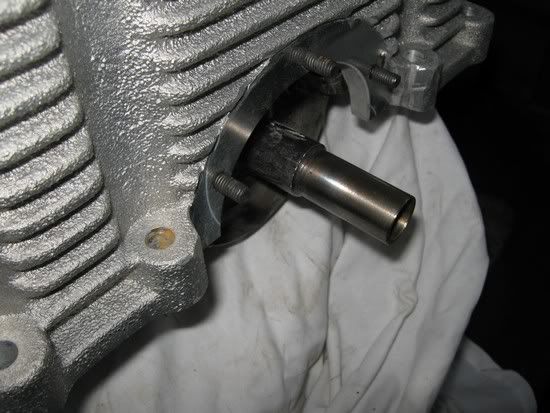
The oil pick up tube was extended with a cusom turned steel tube,
silversoldered to the original tube.
Also the little brace that is on the bell was fully tig welded, since it only had one spot weld waiting to break.
Once it was cleaned and deburred,
I araldited it in place and checked for leaks using the mouth test.
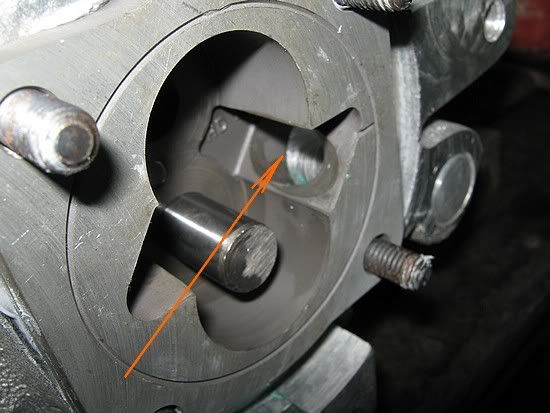
The oil pump(berg 26mm) was trial fited and suction holes match ported.
Stud length was confirmed to be correct and that there was no interference with the cam bolts.
| Quote: |
The second last trial assembly of the case was done to inspect deck heights.
I was aiming for around 1mm(as recomended by the cylinder manufacturer,
but had a fair bit of variance from side to side,(45 to 49 thou),
so i decked the case halves, and zeroed the mill to do each side,
resulting in deck heights between .040" and .041".
In the end I was not totally comfortble running such tight deck height,
so when the heads were flycut, I put in a .005" step.
...meaning final piston to head clearance was .045 to .046"
| Quote: |
That is enough for tonight,
but here are some more pics to bat off to.
Pauter rockers,
a comparison of the "mini wedge" and normal wedgeport gasket,
and those lovely pistons and cylinders:
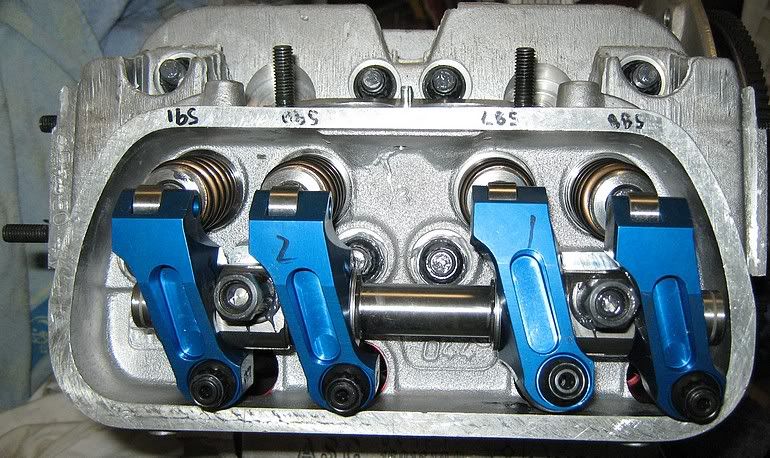
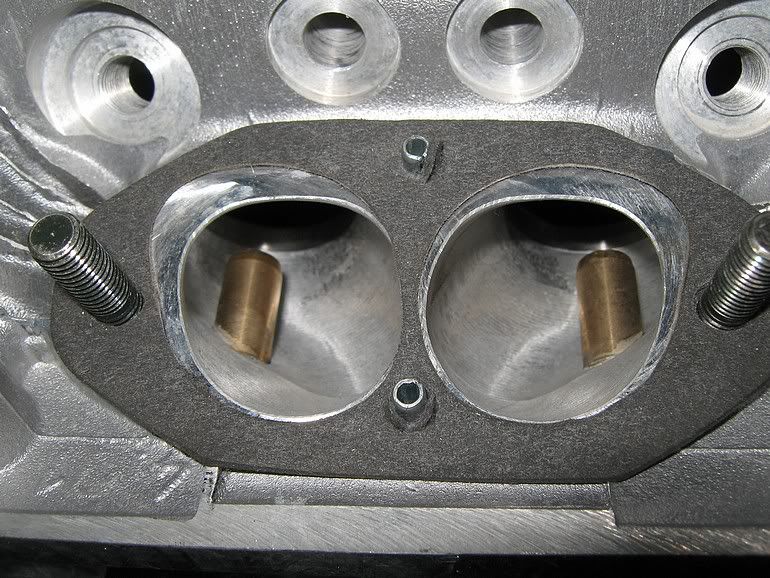
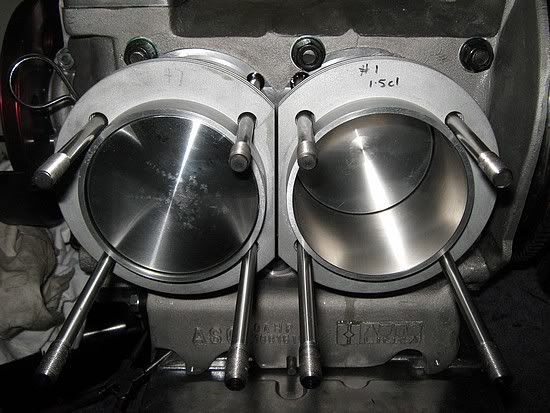
| Quote: |
| Quote: |


| Quote: |


Geez those Nickies would hav cost a pretty penny!
| Quote: |
"mini" wedgeports and not the standard ones, why ?
Nickies FTW. Now to keep saving to buy some 105!!
| Quote: |
As is always the case with new parts these days,
you can't count on everything to fit the way it was intended.
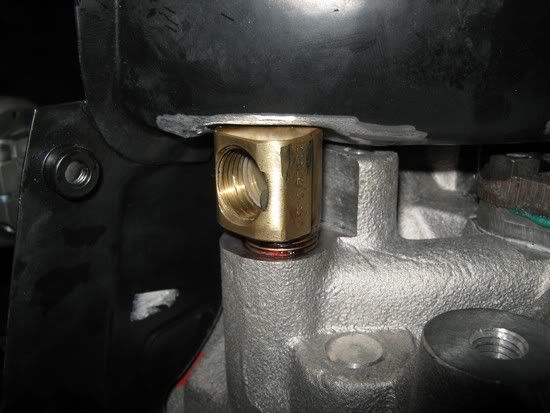
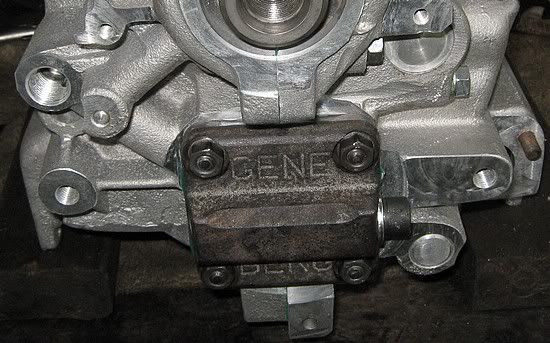
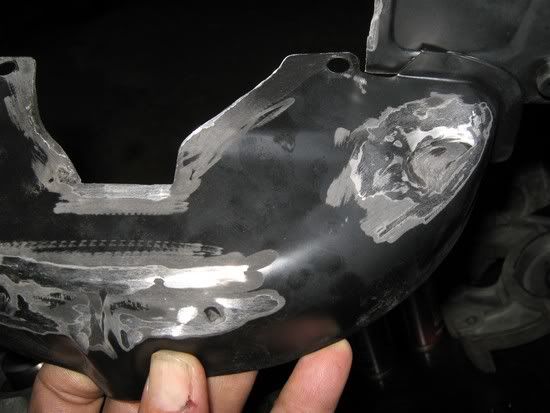
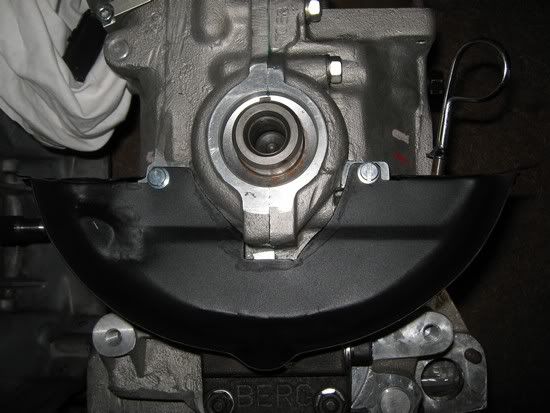
The classic example was the piece of tin behind the pulley.
I knew that it would need some clearance for the full flow return fitting,
but in the end,
the beefy aluminium case interfered almost every where.
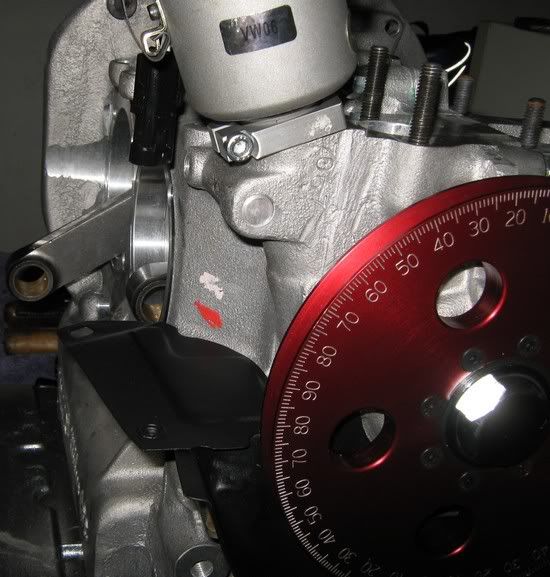
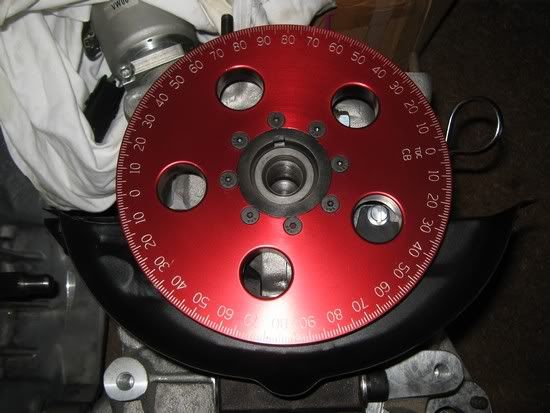
The last few of these CB brand pulleys I have fitted were excellent quality and fit.
While their products are not what I would describe being perfect,(but pretty damn close)
of late,(last few years) their quality control is on par with the best manufacturers of VW products.
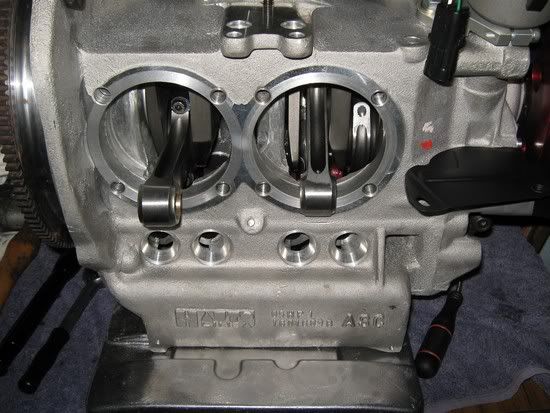
These are the Scat H beam connecting rods.
Craig chose the porshe length,(136mm(5.352"), but Chev 2" journal versions.
He also re-sized the large end to reduce the oil clearance that was present.
This enabled him to also equalize the length.
He also chamfered the sides of the bearing to clear the larger radii of the Crank journal.
These particular Scat rods use the smaller 5/16" ARP2000 bolts.
I measured their free length, and tried various tensions to achieve the correct stretch, as specified by ARP.
The tension required can vary depending on what lubricant you use.
Another one of the many hurdles on the way.
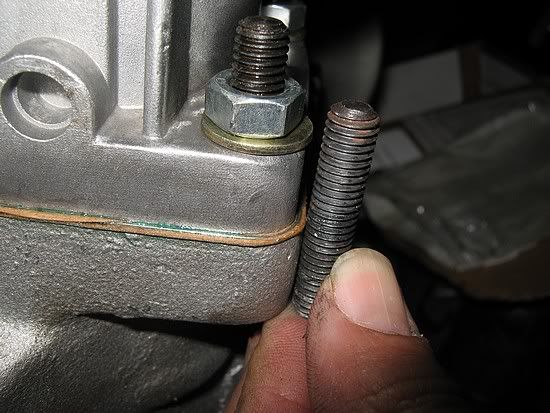
These studs were too short:
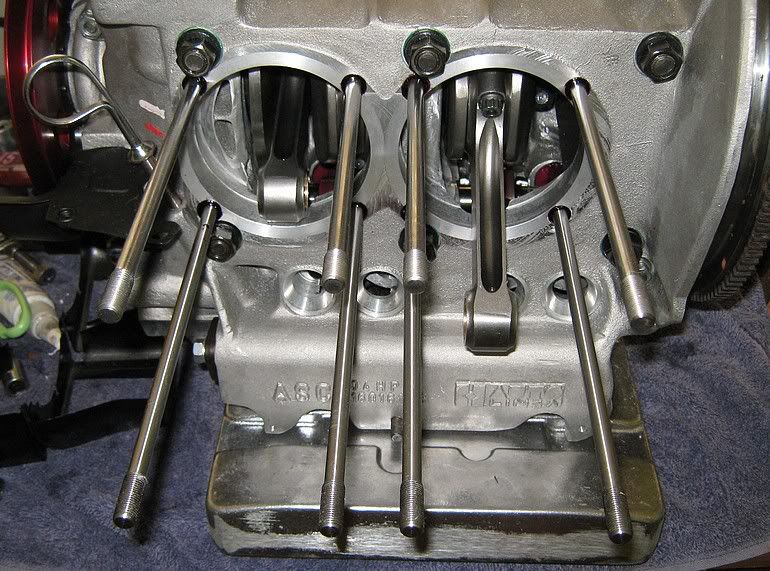
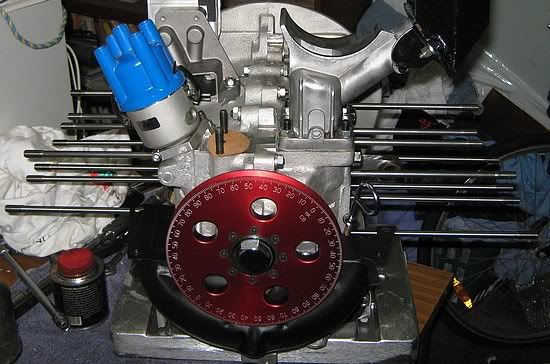
Here are the ARP head studs fitted.
I sealed the threads with loctite master gasket 515.
The two centre top studs needed to be shortened to clear the manifold,(found on one of the may mock up assemblies.)
They have the normal M10x1.5 thread on the case end,
but use a fine 3/8" UNF thread at the top.
Nice 12 point nuts with 7/16" AF socket size, and thick hard washers. make the tools clear the spring easy.
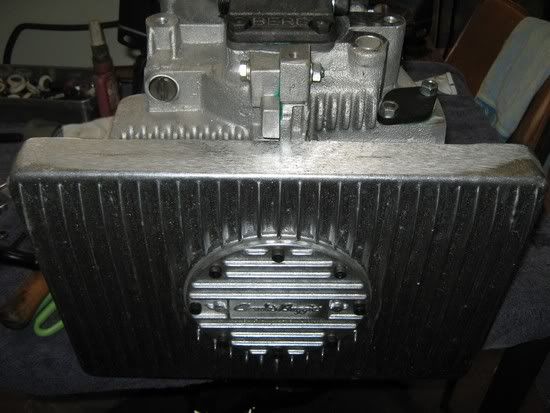
CB sump:
Now, what is the story with these Nicasil cylinders?!
First of all, they are very high quality billet aluminium, and CNC machined.
You can read all the sales hype on the net,
but here is my take.
Yes, way too expensive for any actual or percived gains.
But other than that sore point,
yes I believe they are excellent and should prove to be better for a lot of reasons.
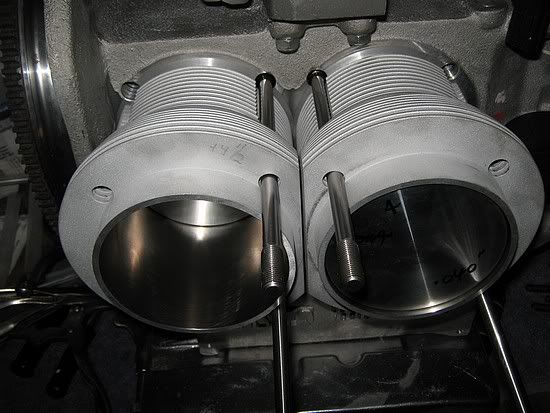
The nicasil coating is very low friction and hard wearing, that is a big plus.
Just fitting the pistons to the cylinders I could feel it had less friction.
Secondly, the fact that they use aluminium for the cylinders means that they will radiate the internal heat better,
and expand at a closer rate than say, a cast iron cylinder.
That latter point means that the cylinder to piston clearance can be much tighter than any cast iron cylinder can be.
This means better ring seal because the piston can not rock as much.
For someone like me that makes my own stuff,
this may be an interesting project for mine in the future.
How much?
$3147 US
http://www.lnengineering.com/type1.html
Once the cylinder to piston clearance was checked,(excellent consistency),
I checked all the ring gaps.
The 2nd ring was perfect,
but the top ring needed to be filed to have enough gap.
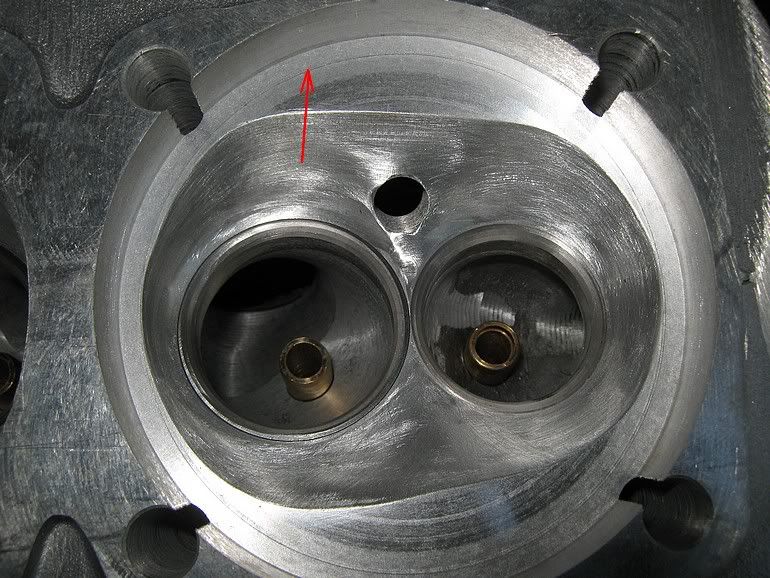
The next step was to prepare the cylinder heads.
After discussions with both Craig at crankshaft engineering,
and Pat at CB performance in the US,
Andrew chose the mini wedge ports.
http://www.cbperformance.com/catalog.asp?ProductID=1704
When these were purchased,
the official flow figures had not been yet released,
but Pat was very proud of them and they actually flow more air(with a smaller port) than the larger oval port models.
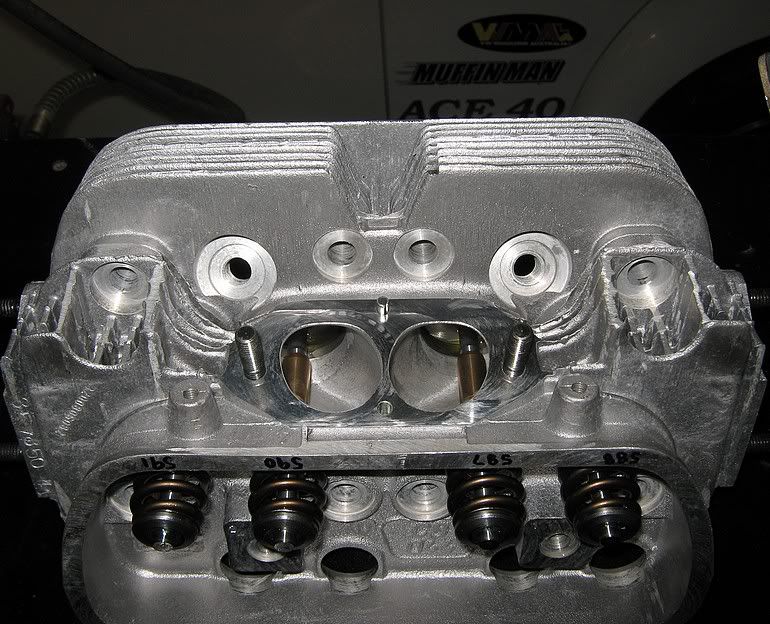
Craig did some very minor chamber work, when re-cutting the valve seats for the larger 44mm intake valve.
This enabled him to put on a better seat job, and nicer blend into the chambers.
