
55 Oval Resto
Dasdubber - March 14th, 2012 at 01:06 PM
I've had this 55 oval for a while now - acquired as part trade for my 63 ragtop...(thought this was a 54 but chassis number turns out to be 55)

It served as a daily driver for quite a while with a 2in beam, BRMs but otherwise pretty standard...

It did a stint with my Type IV upright converted motor before that was sold....

A few years back I decided to give it a freshen up for the Warwick VW drag meet which included a repaint in Savannah beige:

Rod R kindly loaned me his 1916 type I for the Warwick meet but despite a few all nighters to get the car finished, I managed to sieze the motor on
the line before even one pass!

So after being stored for the last couple of years I've decided to give it a more comprehensive repaint (body off pan....but not bare metal as the
paint has remained very stable and a lot of the bodywork was done first time around).
I want to put some focus into my 54 barndoor and hence have decided to get both the body and pan into paint and then sell the oval....if someone wants
us to complete it of course we can do it, but for now I just want to get the paint on, and body back on pan and go from there 
5lam - March 14th, 2012 at 01:15 PM
Wow, nice!
Dasdubber - March 14th, 2012 at 01:16 PM
First order of business was to replace the bent and rusty rear H-apron....picked up one off AVD (repro'd in Europe) and whilst it was better than
what else is available, still needed a fair few tweaks

The lower edges didn't line up with the guards however this was easy to rectify:

The big problem was the top edges not lining up with the body, despite the seal retaining strip (for engine bay seal) being in alignment


Basically had to cut and shut the curvature both in height and in width to get it to sit right


Given the oval is not dead original (don't have OG engine or beam etc), I opted for a removable rear apron setup in case someone wants to go big in
the engine deparment down the track


Thats about it to date, the rest of the resto will be in real time....I'm going to push this one pretty hard so hopefully progress and updates will
be fairly rapid 
Al
Turbo54 - March 14th, 2012 at 06:18 PM
Hi Al,
Great to see it being done, sad to hear your selling it. Can the new owner have any colour they like except silver? Maybe a good selling pitch?
Can you tell me where the repro apron is from? Just bought one, hooping it fits better.
Thanks
Heath
T54
Craig Torrens - March 14th, 2012 at 06:34 PM
Will look nice next to the Ragtop........

Dasdubber - March 14th, 2012 at 09:32 PM
Let me know what colour you want Craig, just not allowed silver 
Heath I bought the repro apron from AVD - will have to go back through old pms to find out supplier (was eastern europe possibly?)
66deluxe - March 15th, 2012 at 06:37 AM
Can you
66deluxe - March 15th, 2012 at 06:39 AM
Can you please just keep it and put that turbo engine in it. You gotta have some vw for yourself.
Dasdubber - March 15th, 2012 at 07:43 AM
Damo......barndoor bus + 2442 turbo = fun (but lots of $$$) 
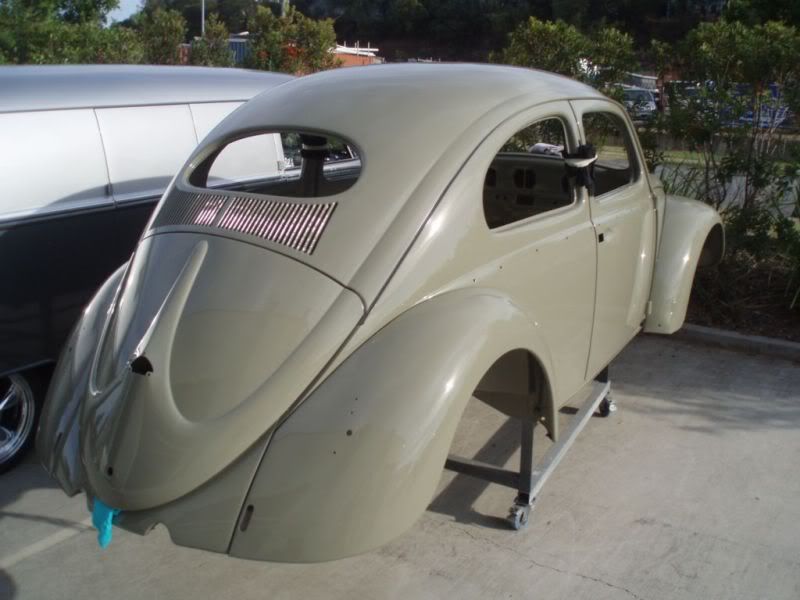
This was a custom olive mix I came up with for a 56 that recently went to sydney....probably won't go as dark this time
Dasdubber - March 15th, 2012 at 08:43 AM
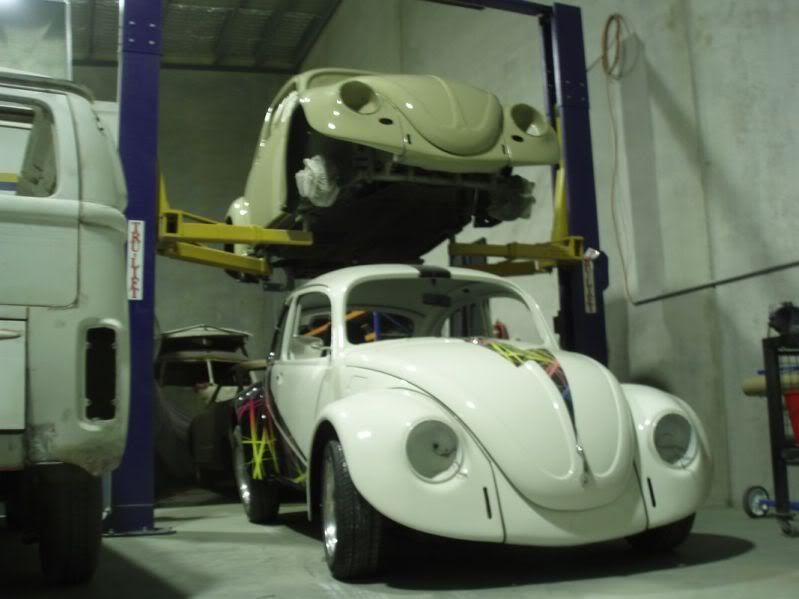
This was the 80s-inspired "Rad Bug" we built for the same year at Warwick running my brother in laws 2110 engine.
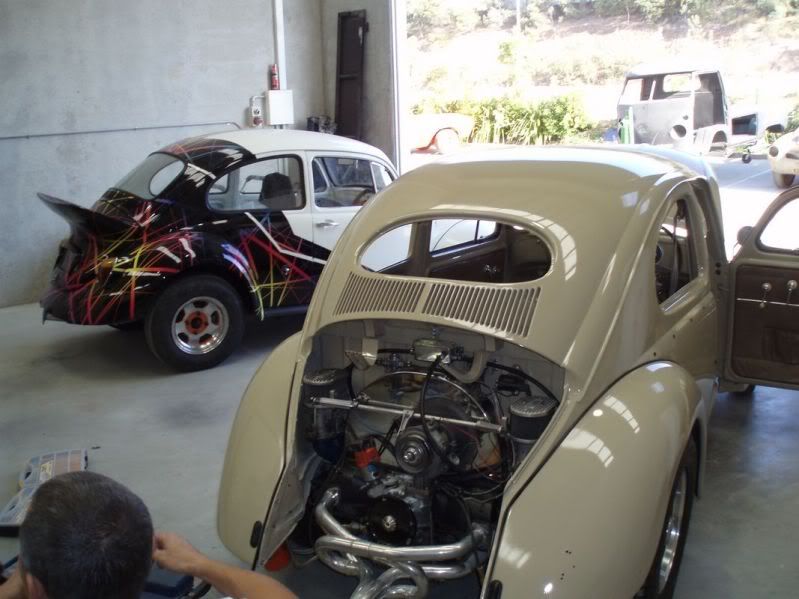
And the oval with Rod R's type I 1916 that I siezed before a run
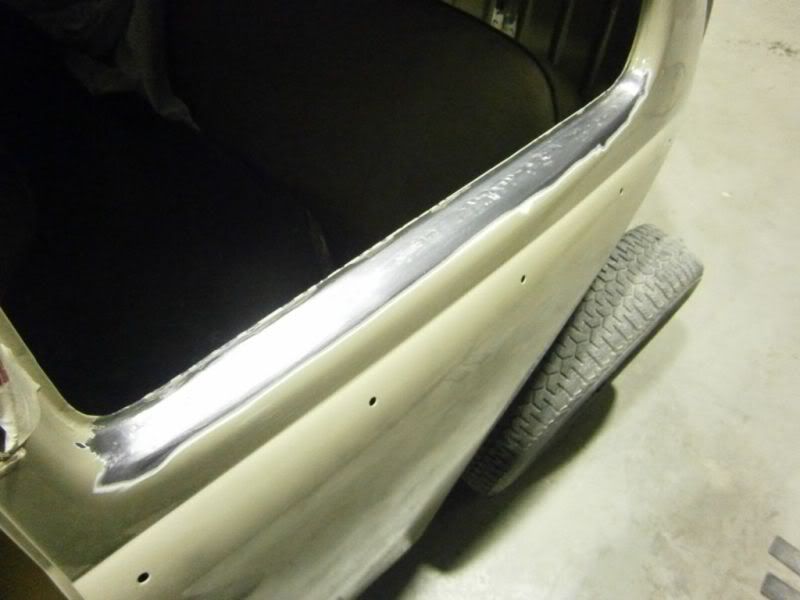
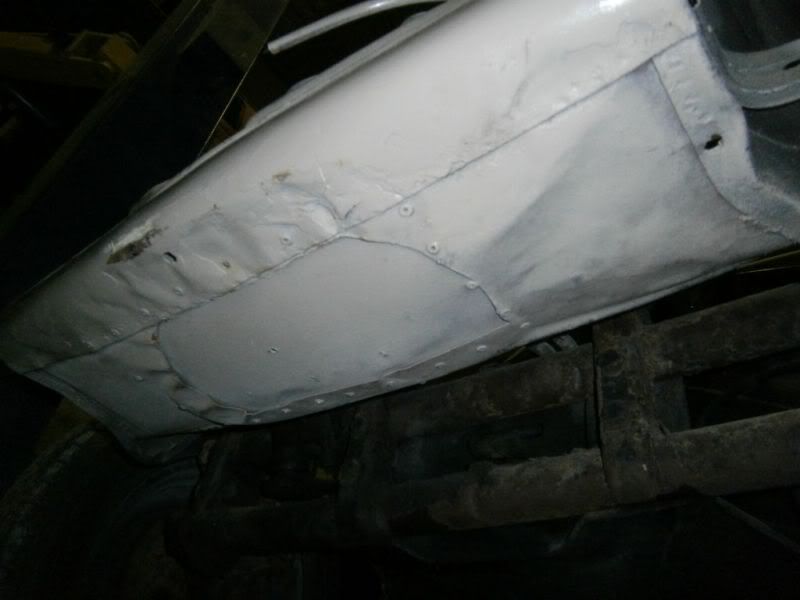
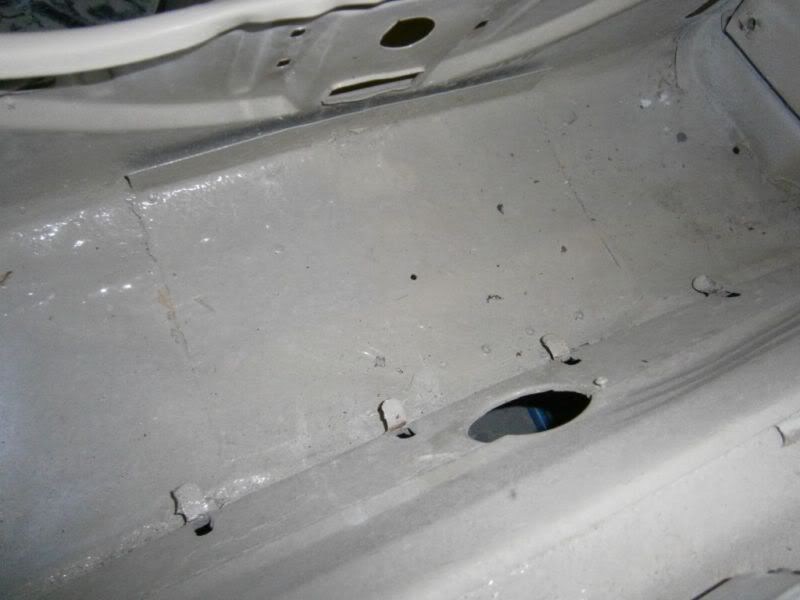
Area under the rear side window seals were very slightly pitted so it was taken back to bare metal, any pits zipped with the mig to ensure the metal
wasn't too thin, then dressed back and acid treated
Front apron is nasty and will be repaired properly
Work starts on that today/tonight
Cheers
Al
Pumba - March 15th, 2012 at 03:52 PM
| Quote: |
Originally
posted by Dasdubber
Damo......barndoor bus + 2442 turbo = fun (but lots of $$$) 
This was a custom olive mix I came up with for a 56 that recently went to sydney....probably won't go as dark this time

|
Damn thats a nice colour al 
Dasdubber - March 15th, 2012 at 07:48 PM
That must be a pretty familiar hue to you Shane! Hope the reassembly is going well.
Bit more on the 54 today....front apron was a little hammered as they (almost) all are (esp when lowered)

After cutting out the rusty/poorly patched wheel well, some hammer and dolly work was far easier to get the major dents out

Small spot of rust on the left side was an odd spot (perfect on teh right side) so this was welded up today (forgot to get a pic)....more tomorrow

Cheers
Al
Pumba - March 15th, 2012 at 08:31 PM
Im slowly getting there al ,the pan was a little more crusty than i thought so im changing the pan halfs,motor started and compression tested at 125
on all cylinders,looks like its had some work at some point its very clean in the heads etc.
Its ready to go back in,im going for the vintage speed look.
cheers shane.
gerggl - March 16th, 2012 at 04:09 PM
FANTASTIC WORK ........!
Dasdubber - March 16th, 2012 at 07:40 PM
Looks great Shane - will be a perfect compliment to the 56.
Back onto the 54 today...
Pan is in excellent shape - couple of holes (urgent battery clamp) to weld up but otherwise just needs some prep before it goes onto the rotisserie
for two pack paint. External larger diameter fuel line was for the type IV engine....will be removed before paint

After cutting the bulk of the old wheel well out, the next step was to carefully drill out the spot welds


Wurth spot weld removal bits are effective


After some tweaking the spare wheel well went in and was plug welded from the underside and welds dressed


Craig Torrens - March 16th, 2012 at 07:46 PM
Are you going to leave the fuel line under the car or move it to inside the tunnel ?
Dasdubber - March 16th, 2012 at 07:47 PM


After a thorough sand then acid treatment (deoxidine), the bare metal was given a couple of coats of two pack epoxy primer. Next seam sealer will be
applied along with some minor filler work
The metal on the front roll was worked as far it could be without thinning it out excessively - very little filler will be required


small spot at front repaired

Dasdubber - March 18th, 2012 at 03:51 PM
| Quote: |
Originally
posted by Craig Torrens
Are you going to leave the fuel line under the car or move it to inside the tunnel ?
|
The one under the car will be removed Craig. Unless otherwise specified by a potential new owner, I'll just leave the stock one in situ (still
functional)
Dasdubber - March 18th, 2012 at 04:04 PM
Front valance now ready for primer after a thin skim of filler

Rear guards are back on for some tweaking to align better with rear valance and fix a crack in lower left guard edge

Door hinge pins will be replaced next along with some rust repair on drivers side lower a-pillar....then body will come off the pan.
Al
ColonyVW - March 19th, 2012 at 07:02 AM
Looking good Al!
Dasdubber - March 19th, 2012 at 09:58 PM
Cheers Clint 
Left rear guard had a split on rear lower edge - since the metal was fairly thin, a weld would have resulted in the crack reappearing

So a small repair section was welded in

One thing that annoyed me was this area of the left rear guard - the beading hides some variances in the body to guard tolerance, but this gap was too
big for my liking

I had the choice to build up the edge with welds, or cut the guard, close up the gap and reweld (chose the latter option)

This pic shows the cut size grew once the gap was closed up

I didn't want to do a double long butt weld (by welding a piece in) so the slow process of building up the tacks, dressing them, and welding some
more whislt controlling heat ensued

Some mild planishing and then welds dressed smooth....small amount of filler to come and the bad gap is gone

tar76 - March 19th, 2012 at 10:07 PM
Loving this, nice work man. what type of carbs and linkage setup were they on the motor you took a pic of ?
Dasdubber - March 19th, 2012 at 10:12 PM
Cheers Tarin, the carbs on my type IV motor were 40mm Dellortos with CB Performance linkage....teh latter photo with type I engine were Webers as far
as I can remember wiht same sort of linkage (was a borrowed motor so can't remember the specs).
Al
benny_acko - March 20th, 2012 at 04:17 PM
wow great build thread!
Congratulations the Oval is looking great..
What kind of price range are you going to be asking in when moving it on?
Dasdubber - March 20th, 2012 at 07:09 PM
| Quote: |
Originally
posted by benny_acko
wow great build thread!
Congratulations the Oval is looking great..
What kind of price range are you going to be asking in when moving it on?
|
cheers Benny, not 100% sure what the figure will be - it is highly dependent on how much time I invest in the oval and how complete (or incomplete) it
is at time of sale (re. beam/gearbox etc etc).....and most imporantly what the market is willing to pay.
Al
Dasdubber - March 20th, 2012 at 07:39 PM
The lower edge of the front right guard has annoyed me for a while now as it tapers away from the valance

Initially I was going to pie cut it and reweld, but it needed to be tweaked a little too far for a single cut

So a section was cut out, new piece fabricated and welded in

Tacked and tweaked....

Its these little things that you don't notice when the car is finished....but if not rectified end up standing out....all time consuming niggly stuff


cam070 - March 20th, 2012 at 08:07 PM
This really is a quality build. Love your work Al.
annosL - March 20th, 2012 at 08:37 PM
I appreciate your posts and pics, great motivation for an amateur like me to try and emulate your work, never will though but it's the inspiration
that counts!
I am doing little "niggly" bits on my '69 body now for an EV conversion and love seeing what can be achieved as per your '54
benny_acko - March 21st, 2012 at 05:40 PM
Thanks Al
Its great to see someone who takes pride in their work and wants it to look as good as possible...
Ive always been told "Do it once,do it right".
Ill definitely be following this build thread!
Goodluck
Aussie - March 22nd, 2012 at 07:32 PM
Nice work Al - look forward to the thread progressing. Shame you can't hang on to the car after the work you will be putting into it. How far are you
going to take the resto before selling?


