
Buster - my 72 beetle
Special Air Service - May 14th, 2012 at 11:17 PM
Been on here for a few years now & have never really put too much up about my beetle, have always wanted to do a build thread like a lot of other
menbers have done over the years but have never gotten around to it.
Over the last couple of months I have been working towards preparing it in the hope of getting on the start line for the Nationals Supersprint, like a
lot of us on here, I have let the project idle along too long until I was going day & night pretty solid for the past 4 weeks.

I have now come to the realisation that I am not going to make the deadline so I thought I would relax a bit & get this thread started so I can
document what I have done thus far & what will get done in the not to distant future. Supersprint will be on next year & I will be there fully
prepared.
Anyway the story starts now.........
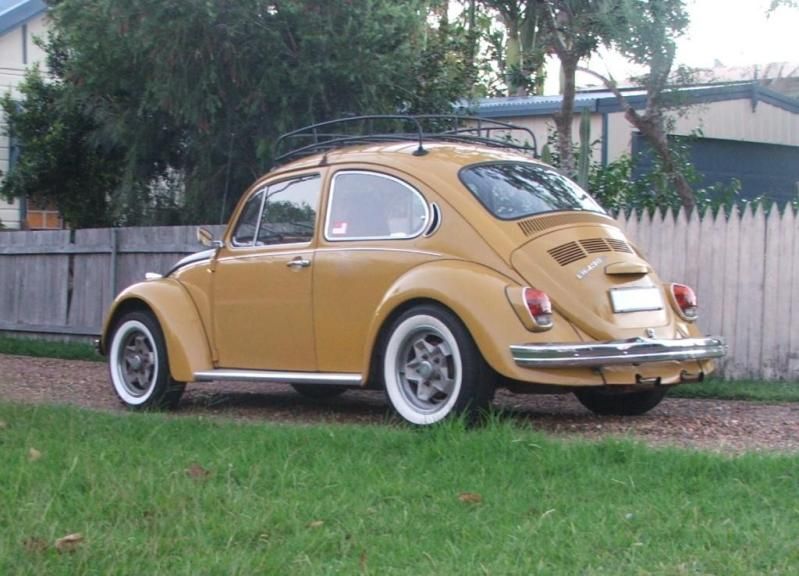
My beetle "Buster Ramone" Is a 1972 poverty pack standard beetle which was in pretty much stock form when I bought it in early 2002 (i think), after
my previous beetle sucumbed to the dreaded rust disease.
Drove it for about twelve months until I got the urge for a few changes.
I installed avis adjusters in the front beam, bought blank discs & type 3 front calipers, a set of of type 3 rear brakes & drilled &
studded everything for porsche 5x130 bolt pattern, then bolted up a set of 15x6 cookie cutters. Got myself a personalized plate "VLK55Y'.
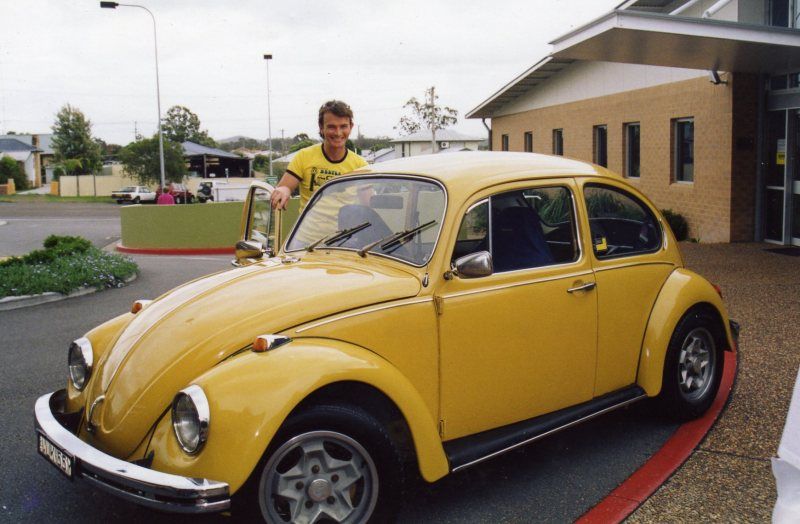
Here is the earliest photos I have, & pretty much explains the sentimental attachment I now have with it.
Here I am in late december 2003 arriving at Taree Hospital to pick up my 7 week old twins to take them home for the first time. I had spent every
spare moment in the week leading up to this cleaning & polishing so it would sparkle.
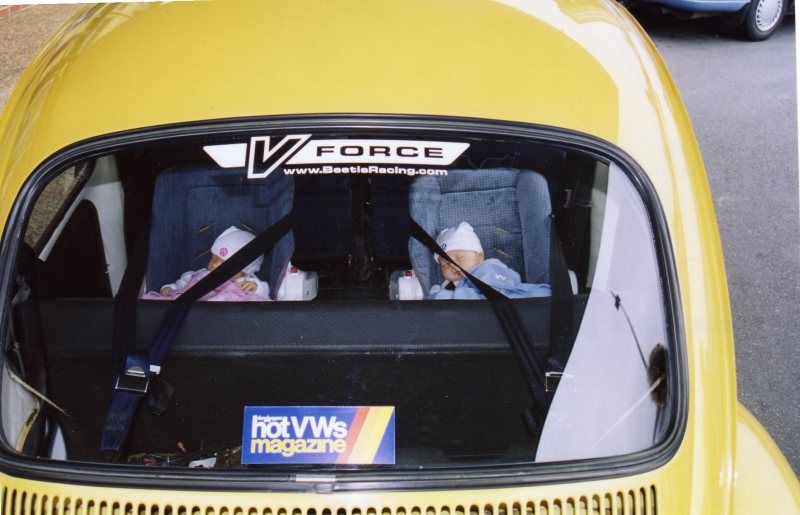
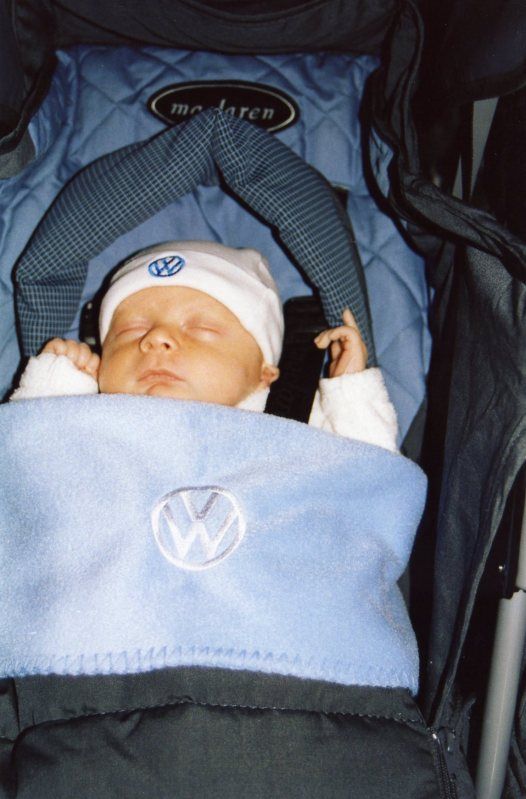
Here is the precious cargo, note the custom made his & hers VW beanies & blankets

we'll that's it, first installment over, more to come in the following days, weeks & months as the story unfolds.
Cheers
Brendan
helbus - May 15th, 2012 at 12:01 AM
The story starts off perfectly. Fill us in
69bug - May 15th, 2012 at 07:40 AM
Best shape and love the wheels!! 
dubster - May 15th, 2012 at 11:40 AM
Very clean bug, I wish my paint was in the same condition as yours.
Special Air Service - May 15th, 2012 at 01:02 PM
| Quote: |
Originally
posted by dubster
Very clean bug, I wish my paint was in the same condition as yours.
|
It's not anymore as you will see in the up coming posts.
dubster - May 15th, 2012 at 01:08 PM
oh ok are you going to respray it the same color or you thinking of changing it?
Special Air Service - May 15th, 2012 at 10:07 PM
Going the same colour at this stage, lots of people don't like the factory mustard colours it, but it actually grows on you after a while.
dubster - May 15th, 2012 at 10:14 PM
Yeah I agree, it's different thats why I think I like it so much.
Hoping to respray mine next year.
beetleboyjeff - May 15th, 2012 at 10:26 PM
Same with my Martini Olive beetle - hated the colour when I first got it - did for years. But it grew on me, and now I have had it re-sprayed the same
colour.
Special Air Service - May 15th, 2012 at 10:34 PM
This is the next stage of developement / degredation.
picked up an old school suction cap roof rack & on she went after I added a bit of height to the legs & narrowed it by about 150mm.
Alloy running boards were added as well after the originals became a higher percentage of iron oxide than actual steel.
You can also just make out the damage to the bonnet caused when I hit a roo at 100km (spun me through 360 degrees). this completely stoved in the
bonnet & also pushed the front apron back until it made contact with the spare wheel. What you can see here is after I flogged it back out into
rough shape.
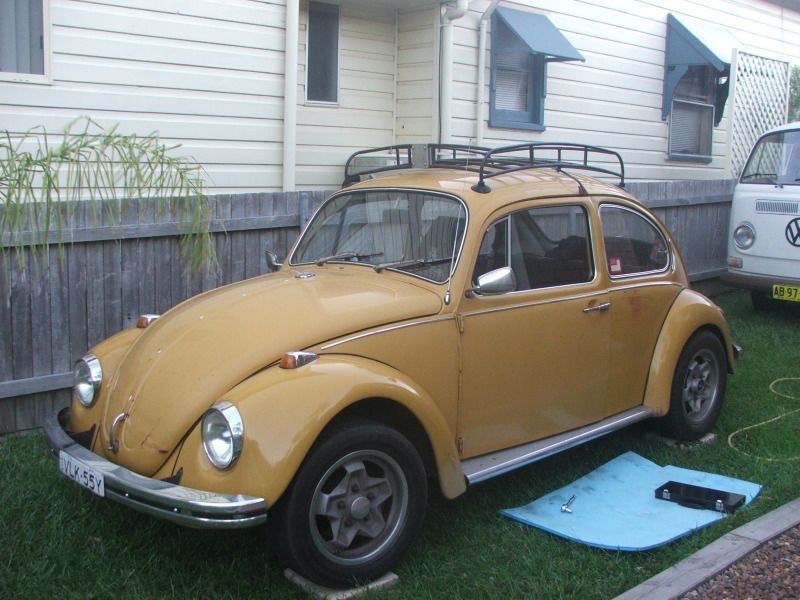
The old mans lowlight is lurking in the back ground as well.
dubster - May 15th, 2012 at 10:35 PM
It's funny how first off you hate a color and you swear you will do a complete color change,
but then you decide to respray it the color you originally hated.
I couldn't see my bug in any other color now
dubster - May 15th, 2012 at 10:58 PM
just thought id post a pic of mustard up and show you my bug
Special Air Service - May 15th, 2012 at 11:05 PM
yeah will end up the same basic colour but with a few "hopefully" taseful changes.
The roo incident prompted the next phase which consisted of the satin black bonnet. couldn't afford a colour match, & didnt want to paint it the
straight original shade as I thought that would stand out like dogs ball any way.
Picked up a reasonable second hand bonnet & after a couple of rounds of fill / prime / sand, I squirted it with satin black. In the back yard of
course.
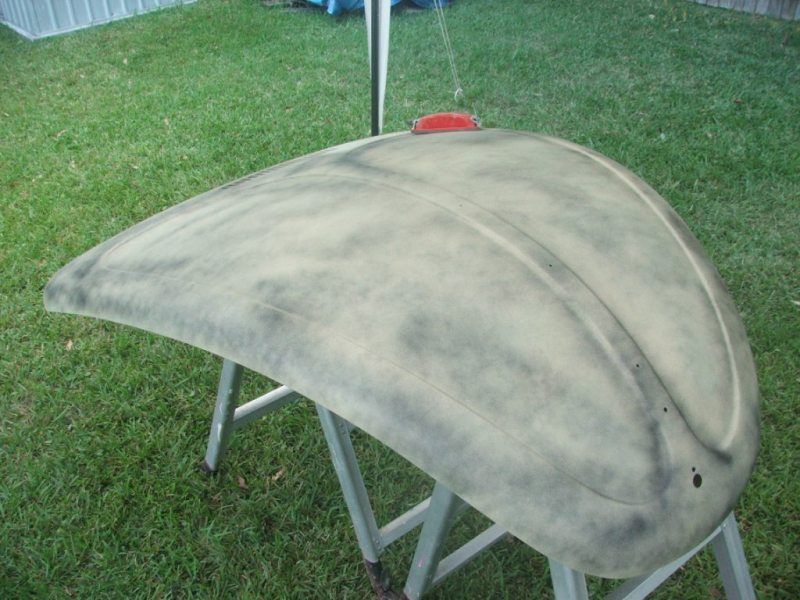
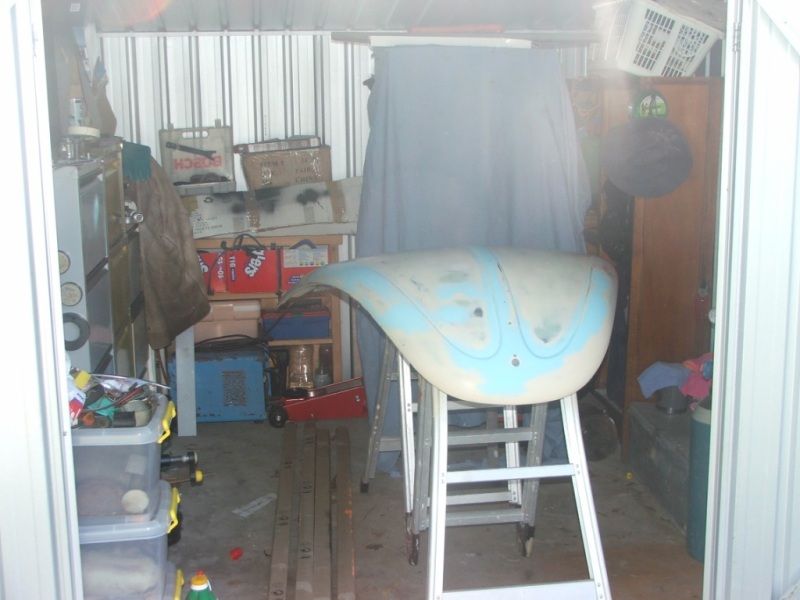
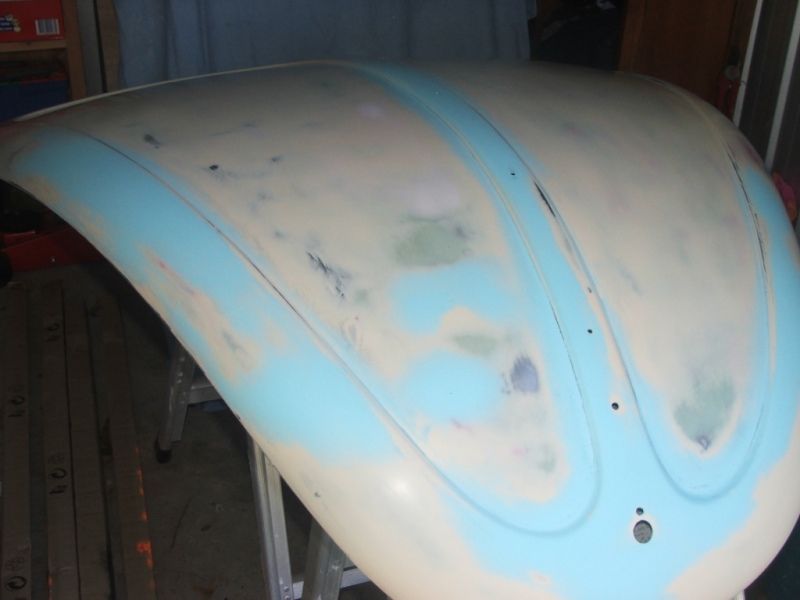
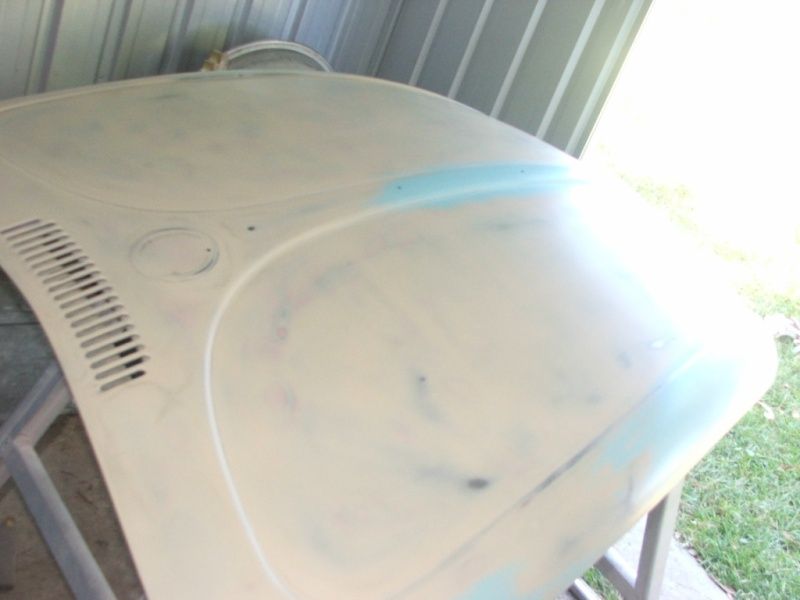
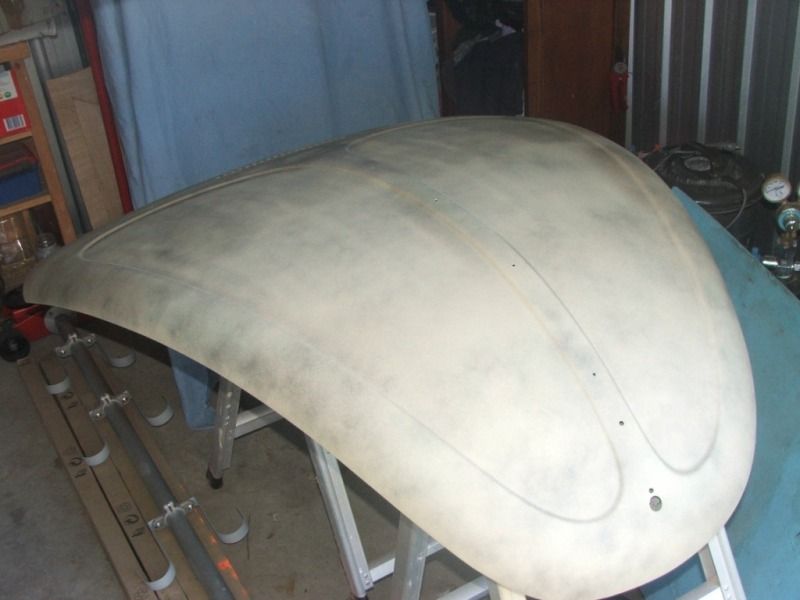
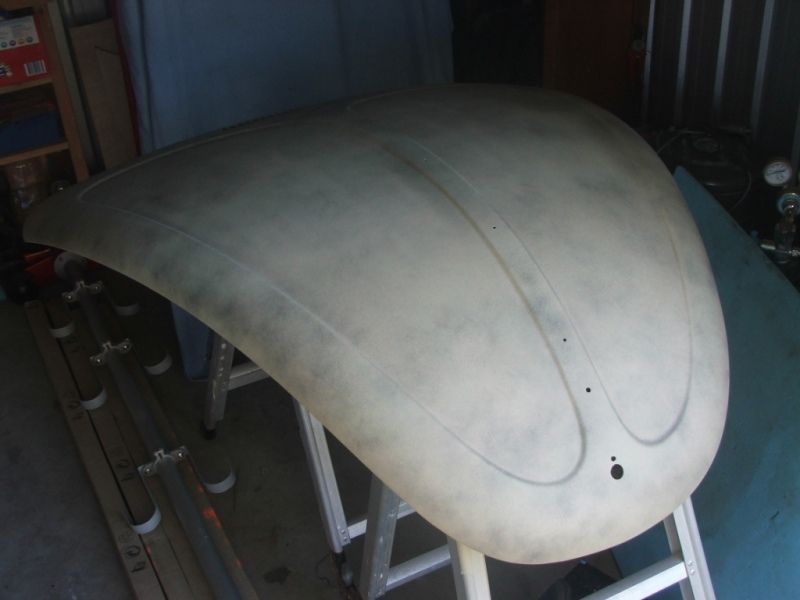
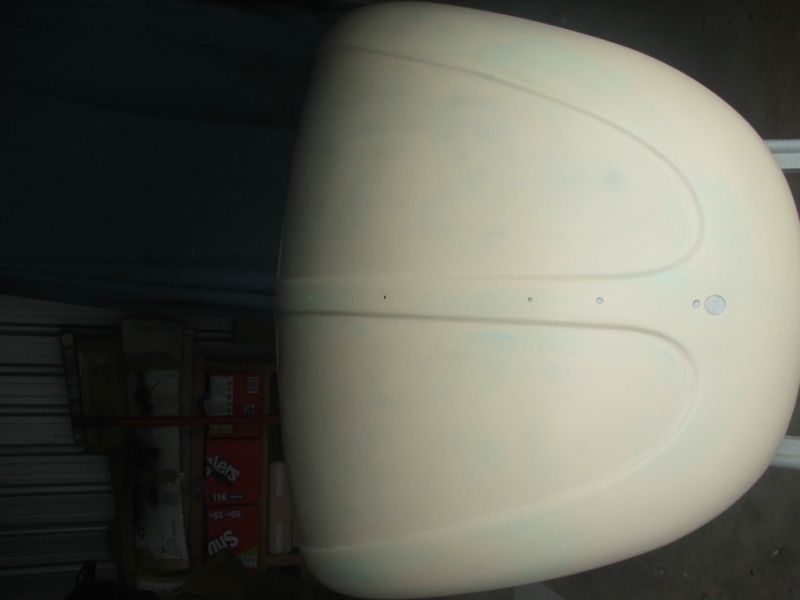
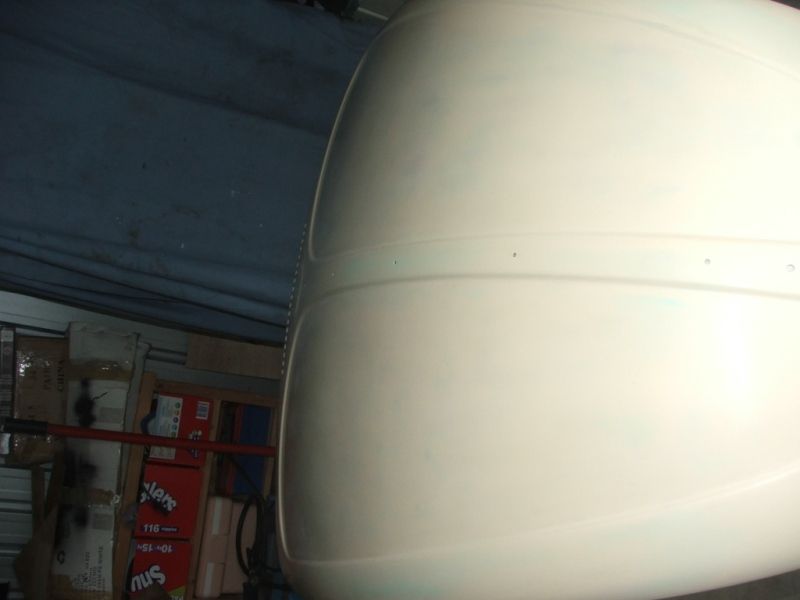
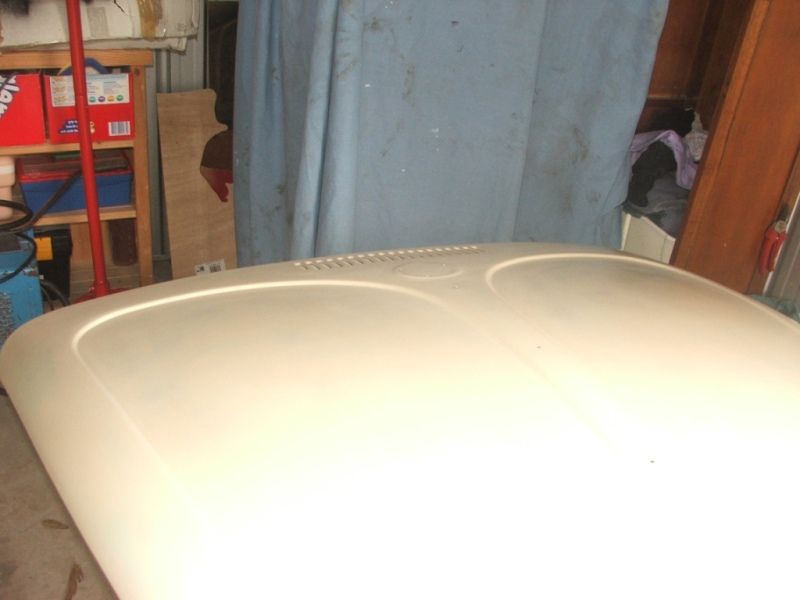
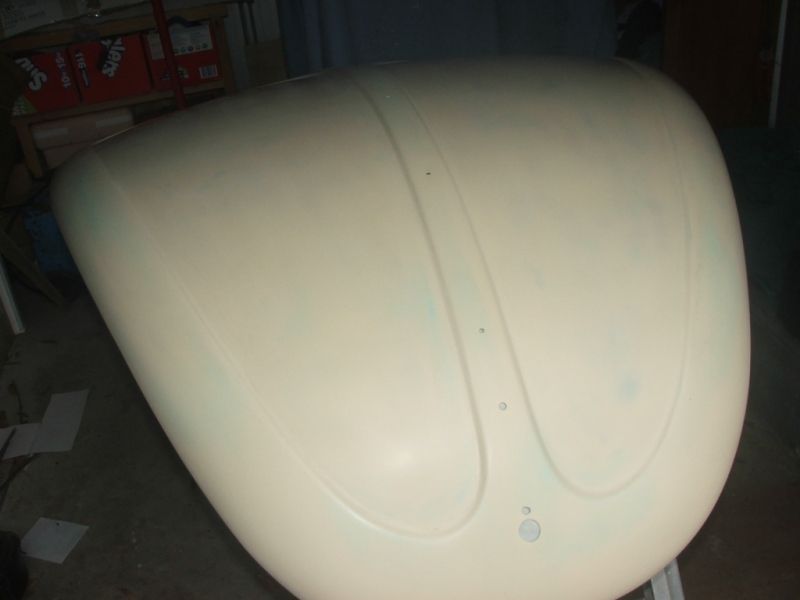
Here you can just see the edge of the black bonnet, at Maccas on the way to the 2008 BugIn at oran park.
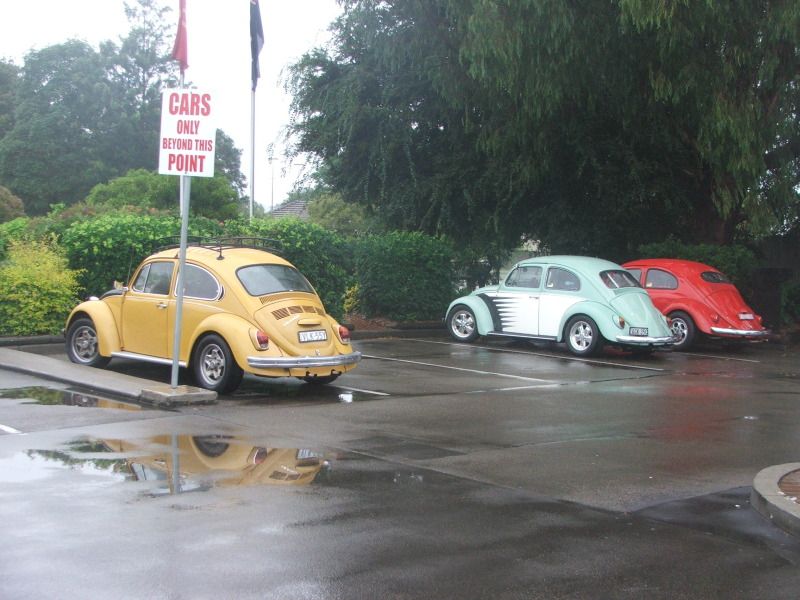
I think this was also around the time I replaced the passenger side floor pan due to more rust issues. replacement pan half came from Wolfsburg
Automotive in Victoria. Cant find any photos at the moment though.
dubster - May 15th, 2012 at 11:09 PM
nice work looking forward to seeing the progress on it.
Cheers Dubster
dubster - May 15th, 2012 at 11:21 PM
here is a few more pics of progression with mustard
Special Air Service - May 15th, 2012 at 11:25 PM
Thanks mate.
Next up, painted white walls.........
Tyres were nearing the end of their usefull lives so I thought I'd see what whitewalls would look like. Once again the budget was evaluated & the
decision was made to go with home brew painted on whitewalls.
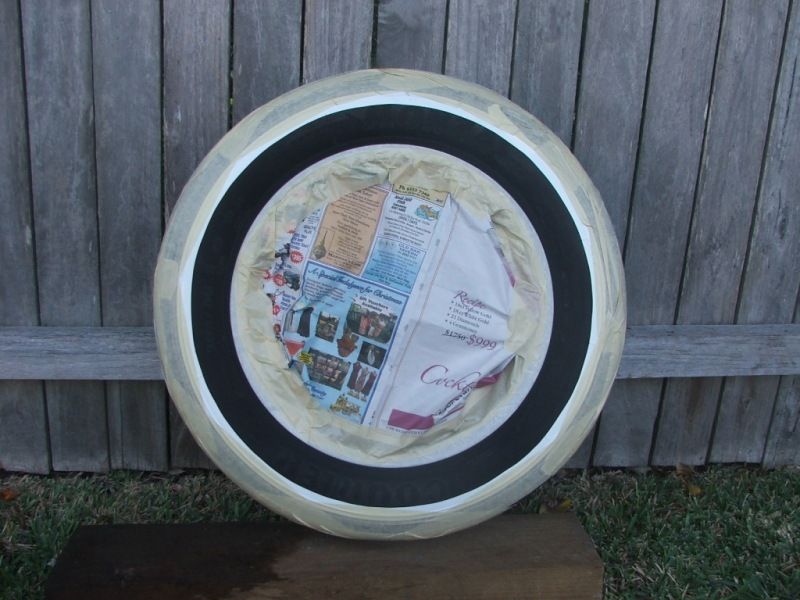
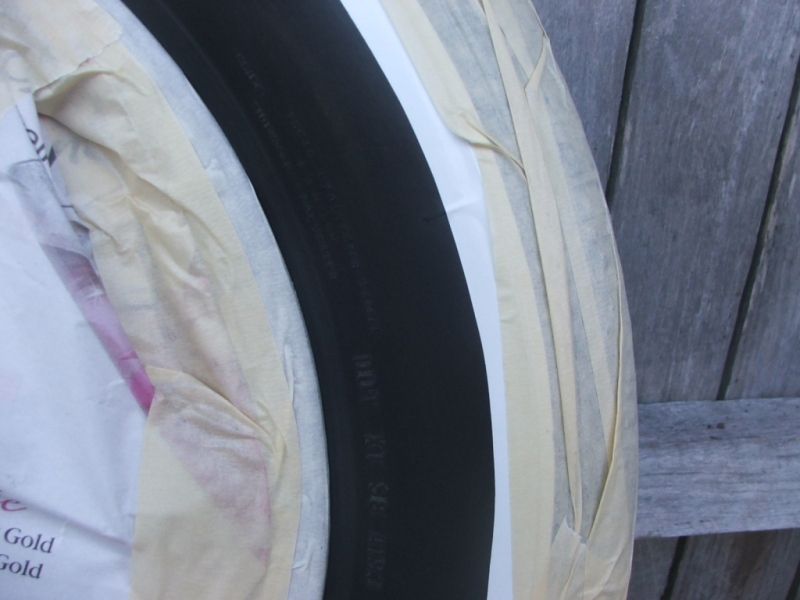
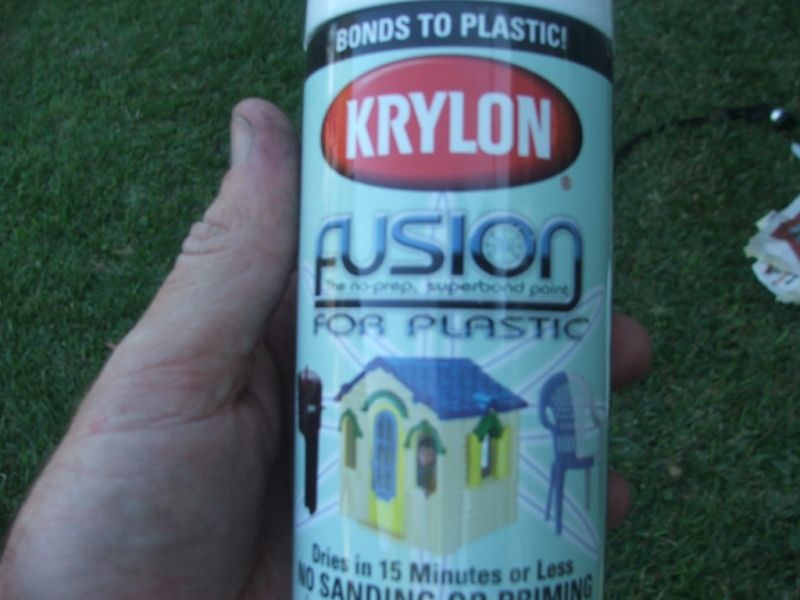
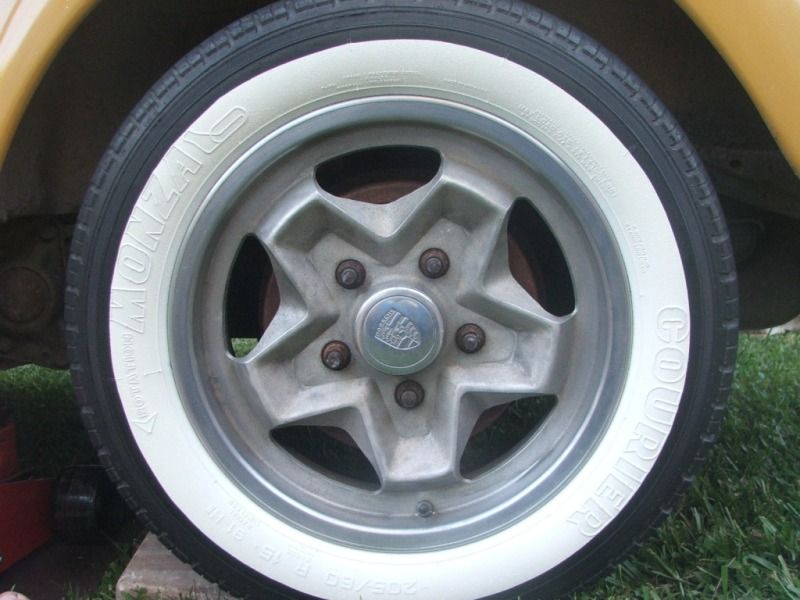
These last 2 are a bit blurry but you get the idea.
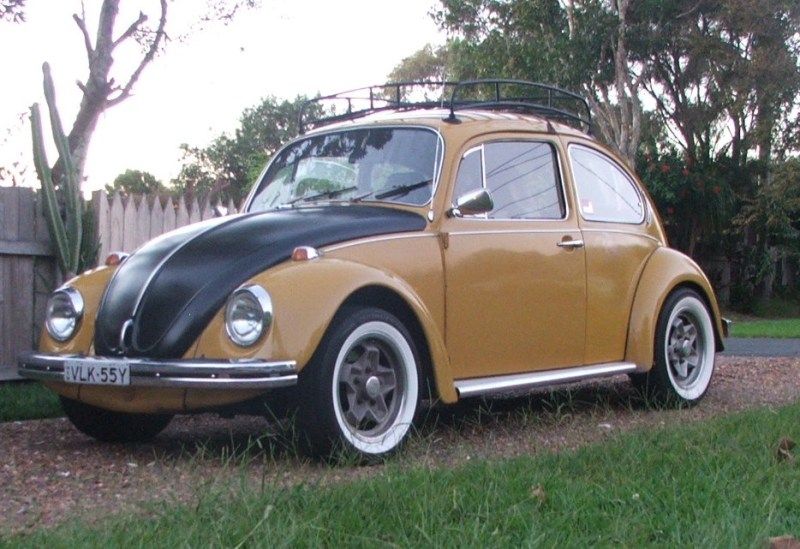
dubster - May 15th, 2012 at 11:30 PM
pretty good job for a DIY i had a guy come around and did them all for $100
matberry - May 16th, 2012 at 08:35 AM
| Quote: |
Originally
posted by hellbugged
| Quote: | Originally
posted by dubster
just thought id post a pic of mustard up and show you my bug
&
here is a few more pics of progression with mustard
|
you have several threads about "mustard" keep YOUR pics on there! As Brendan has stated in his 1st post, it's taken a long time for him to do this
thread, so leave it about his car!
the corteous thing to do would be remove them 
|
x2
dubster - May 16th, 2012 at 10:54 AM
I was just showing Brendan my car for ideas.
hellbugged - May 16th, 2012 at 11:58 AM
Good stuff Brendan ..... Can't wait for the dyno story, it made some sweet numbers from memory
Shame you're not up to the sprints, you still going to spectate?
Special Air Service - May 16th, 2012 at 11:12 PM
Thansk for the comments guys , all good, but yeah would like to try & keep most of the pics on here mine.
Damo, dyno chapter is on it's way soon. No supersprint trip for me, will most likely be makin a day trip to the show& shine on Sunday if
anything.
Still ticking over doing a little bit each arvo / night. my caravelle is playing funny buggers at the moment though so spending a bit of time on it at
the moment.
More later.
Cheers
Brendan
Special Air Service - May 17th, 2012 at 08:39 PM
Found the floor pan pictures, & they have bought back some bad memories.
Water had obviously been getting in for sometimebefore I discovered the problem during a big wet period & the passenger side became flooded.
couldnt find the entry point even when using the garden hose in all suspicous locations. Too late to save the original floor by then anyway, so the
hunt was on to find a decent replacement panel.
here's the damage.
Special Air Service - May 17th, 2012 at 08:51 PM
front of the heater channel was rooted as well, so a rather large patch was welded in there as well.
holes were drilled & nuts wedled on the back side so the floor pan bolts had something the screw into. gave everything a coat of black killrust
(both sides) except those areas that would be welded. Those ares were painted after welding (obviously).
A patch was also needed in the wheel well side fo the heater channel as well, but no pics of that one.
dubster - May 17th, 2012 at 08:54 PM
I had a problem with water getting in on mine too.
My leak was coming in from the drain hole just behind the dash, might be worth taking a look.
Cheers dubster
Joel - May 17th, 2012 at 09:00 PM
Flat screens don;t have that drain 
Special Air Service - May 17th, 2012 at 09:01 PM
done a bit of research & finally opted for a replacement pan half from wolfburg automotive in victoria. These are heaps thicker than the usual
pan halves that are available.
They dont have seat rails fitted so it's a case of cut my existing rails from the rust pan & weld them back in place.
You can see where I have drilled the holes around the inside edge for me to wedl though. also had to dress the sharp edges of the pan bolt holes.
Special Air Service - May 17th, 2012 at 09:01 PM
| Quote: |
Originally
posted by Joel
Flat screens don;t have that drain 
|
beat me to it Joel
dubster - May 17th, 2012 at 09:07 PM
Oh ok I didn't know that
Special Air Service - May 17th, 2012 at 09:10 PM
there is a few areas on these pan halves where it looks like they have to cut & relieve the metal to allow it to form properly. These areas are a
bit rough, but were the only real negative about them.
these two are on each side about half way along the panel.
Special Air Service - May 17th, 2012 at 09:14 PM
these next 2 are in each of the back corners. I had to give these a little touch up with the welder as there was a couple of small pin holes &
cracks. Will probably give these two a bit of a re-jig some time in the not too distant future.


