
Kev's Turbo Fuel Injected Engine Build (Update 14/12/14)
Camo - May 15th, 2014 at 07:24 PM
Hi all,
Firstly this is not going to be a full on engine build thread with everything written or photographed as there is lots of those type threads already
on the internet if you do a search. It's more a quick overview of the process with photos telling most of the story.
Link here to previous parts
that arrived since last year.
Quick list of recent main parts (Supplied by Rod Penrose) :
CB Performance Aluminium Case
Pauter Roller Rockers
Scat Wedge mated Crank, Flywheel and Gland nut
Scat 'H' Beam Rod
Scat Chromoly Head Studs
AA 92mm thick wall cylinders
AA Forged (really) pistons to suit
CB Mini Wedge Port heads
Engle TCS 20 cam and Followers
Most of the fuel injection stuff is from the 'VW Speed Shop' in Great Britian. ECU, wiring, coils and sensors from the USA.
This long process started around November 2013 when I pulled the motor out of my car that I had intended to convert to turbo, injected etc. After
pulling the engine down and inspecting, it did not have the internals that I was told it had when I purchased it as a completed running motor. The
parts were good for what it was, but not for what I am planning on doing. I then had months to wait for some of my parts to arrive from the good old
US of A.
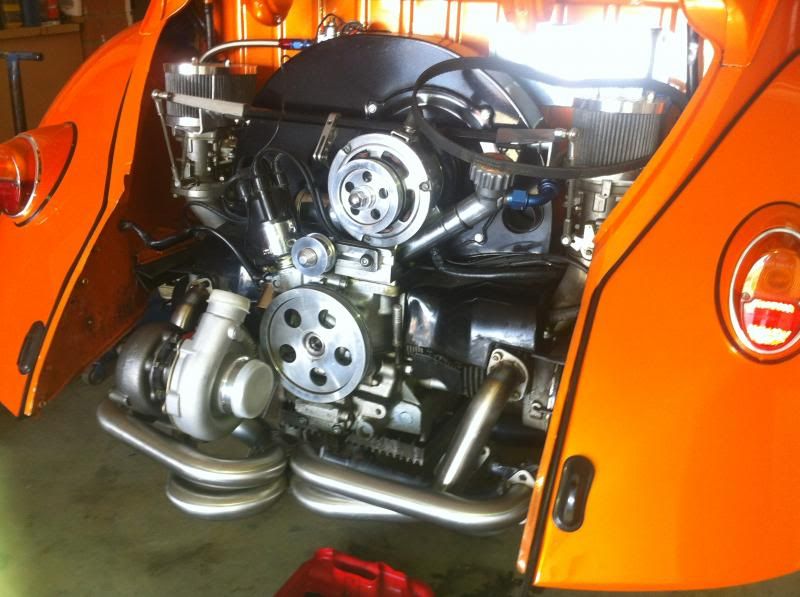
This is just a mock up of the Turbo exhaust to see how it fits and to make sure the Turbo was going to clear my rear valance before I pulled old motor
out.
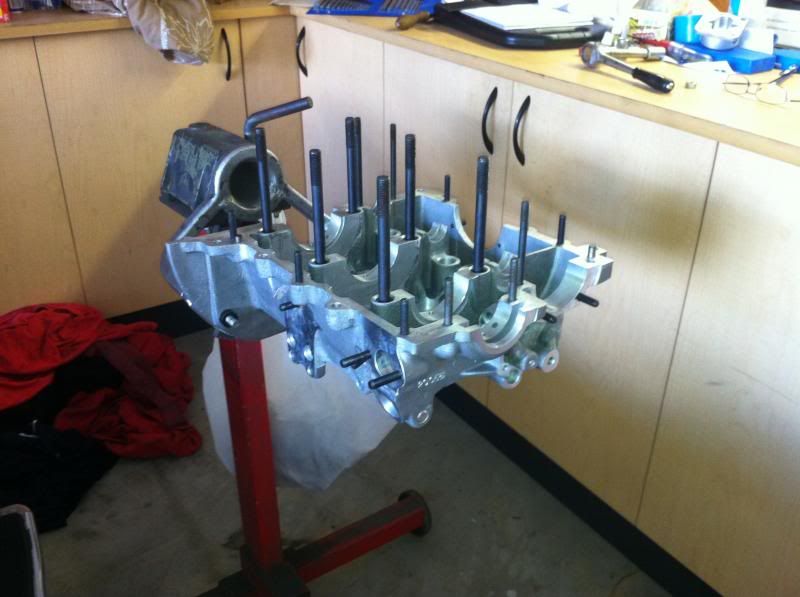
Parts finally arrived and the long preparation process of blueprinting the engine begins.
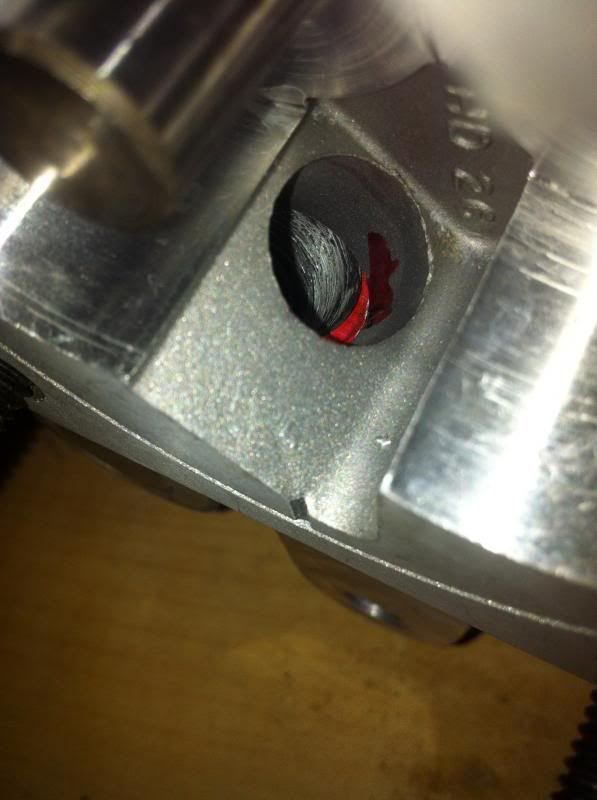
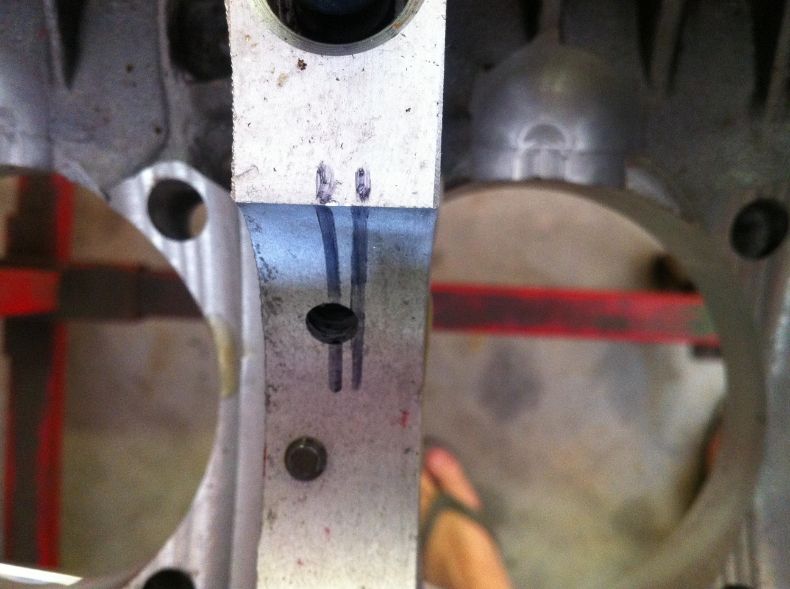
The engine case havles themselves need modifications. The oil pump pickup hole is misaligned and as were the main journal oil supply holes. The black
texta lines are indicating where the actual bearing oil groove lies. Both needed porting to match up.
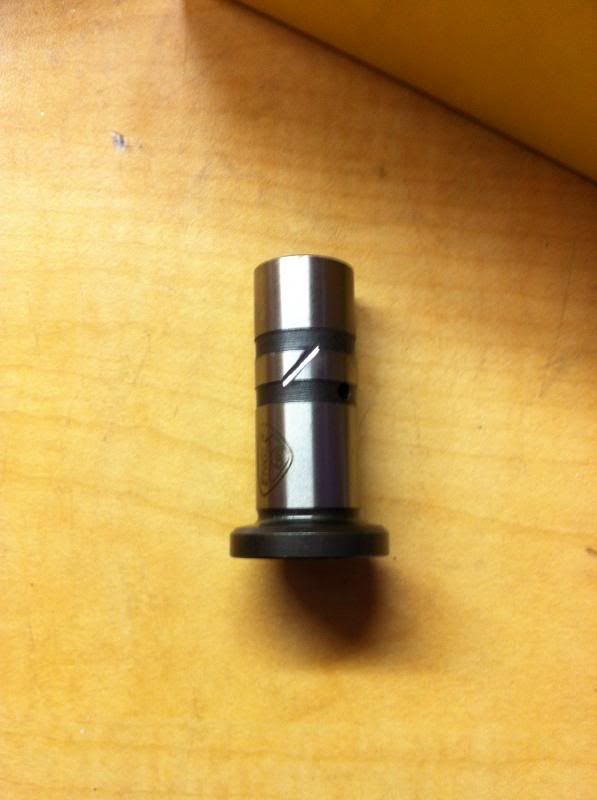
A modification to the Cam followers allowing more oil to pass through and up to the rocker gear. This aids in lubrication, but also aids in increased
cooling of the heads.
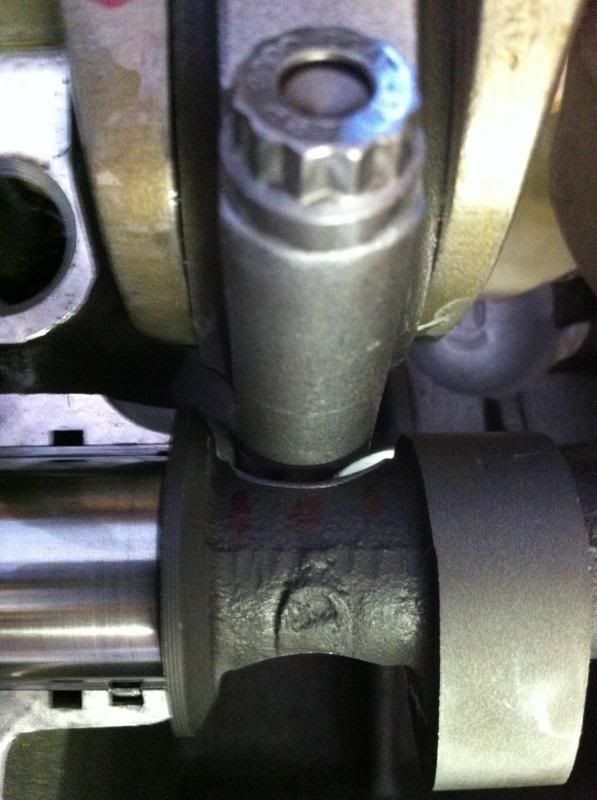
The camshaft needs to be clearanced in 8 positions to stop the conrod big ends hitting it due to larger crank stroke.
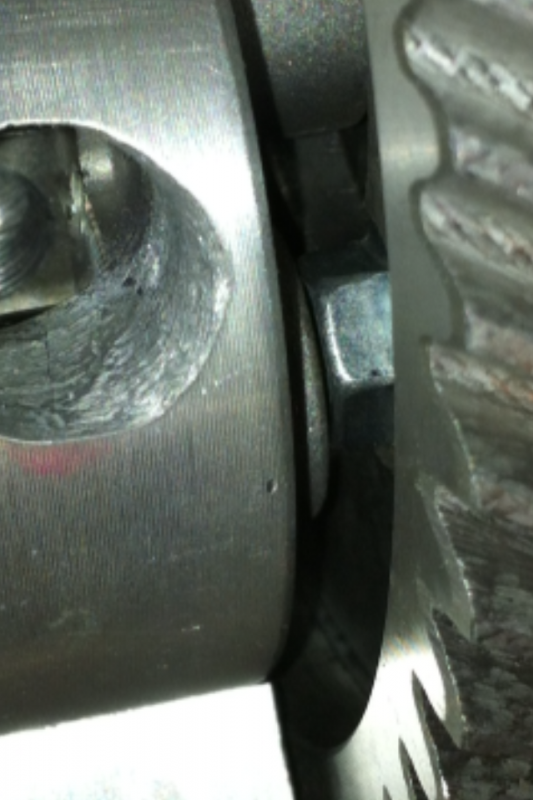
Camshaft bolts also need clearancing to make sure they dont kiss the oil pump.
Checking the cam lift to make sure it is the same as the supplied information card.
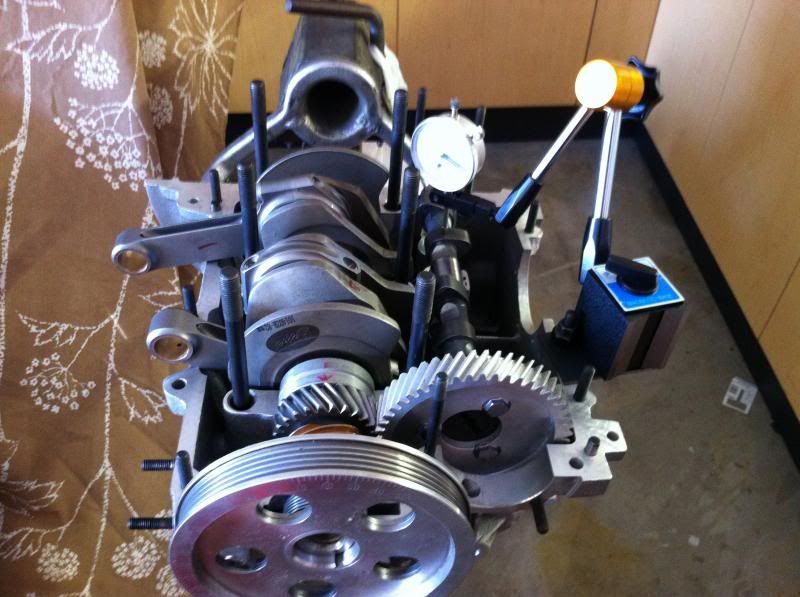
Bolted top half of case on and checked cam shaft and crank shaft end floats. And about to check deck height to see what I have to start with.
Obviously way to much, but needed to work out how much material I need to remove to obtain the desired compression (deck height).
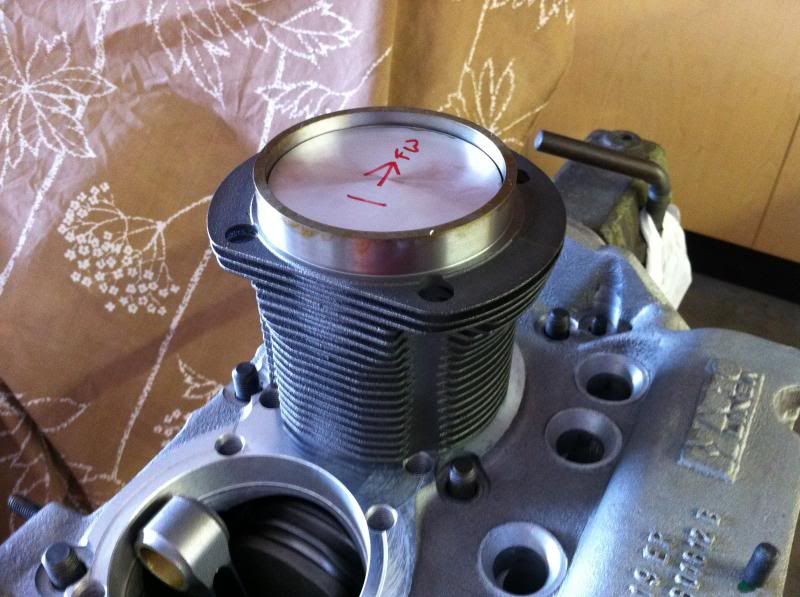
Then time for cleanup so as the assembly process can begin.
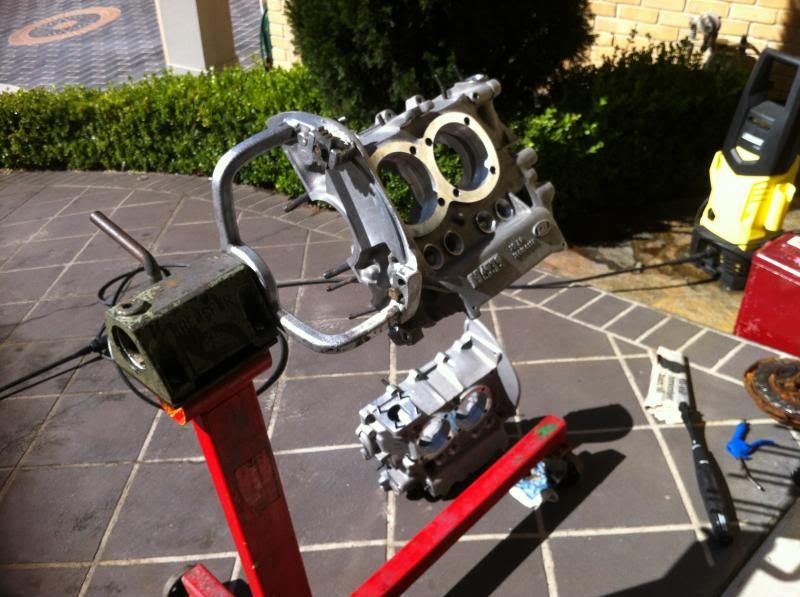
Although this doesn't show a time line, there is a lot of work involved to getting the engine case and components to this stage. This actually took
me weeks to here as only working on it here and there. Beginning of the assembly process. Also as going full flow from the oil pump, need to fit
threaded plugs into case and oil pump.
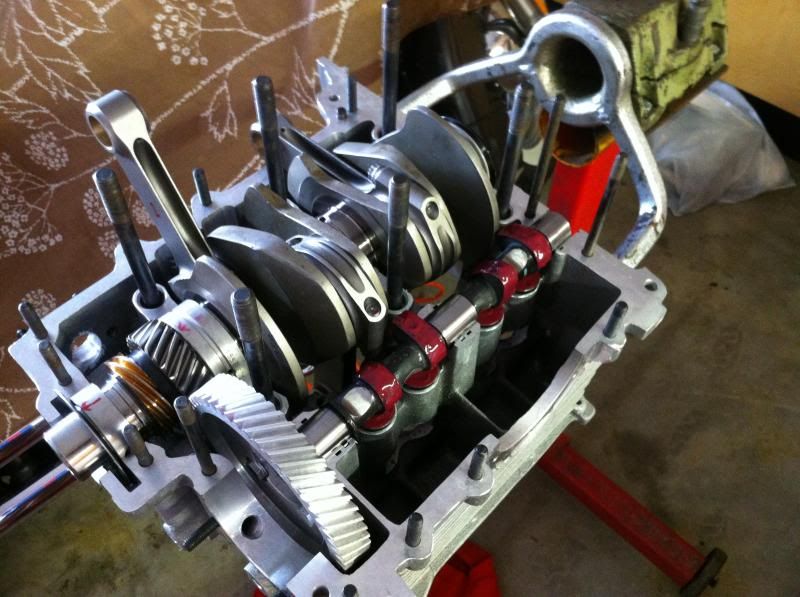
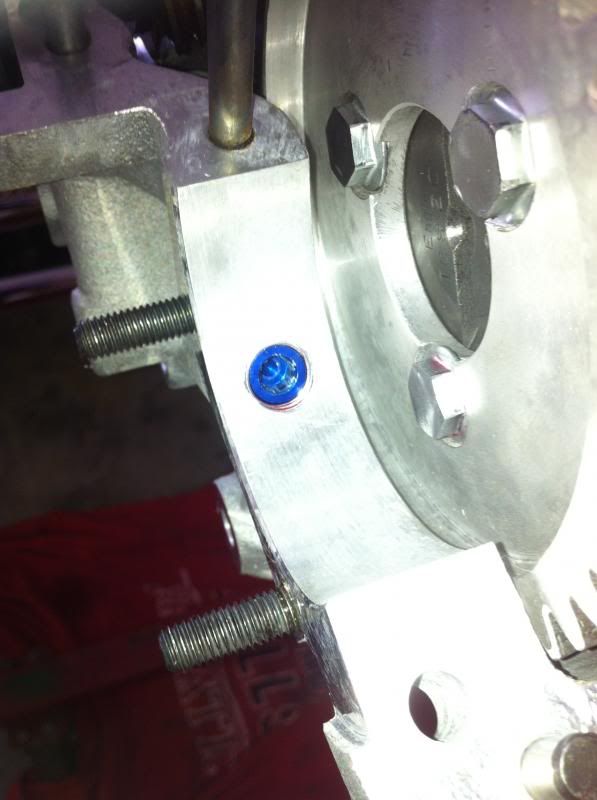
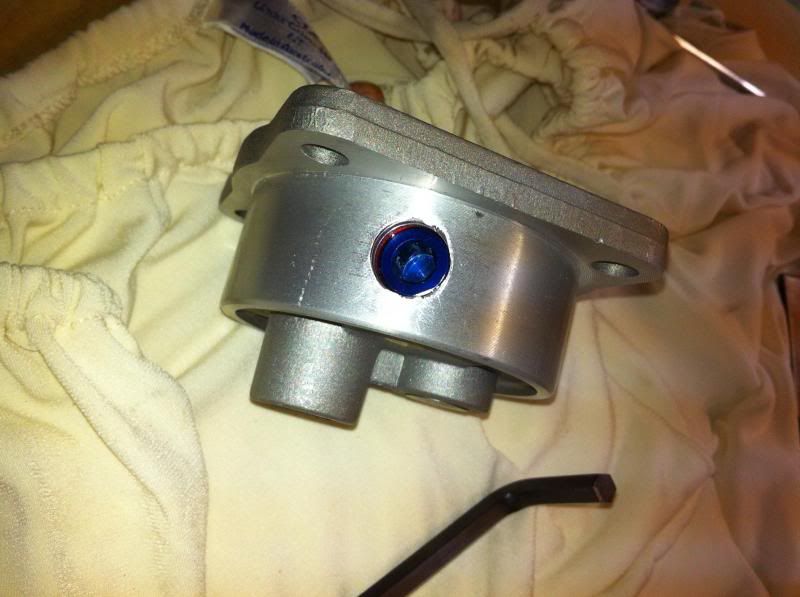
Case halves finally together, oil pump fitted.
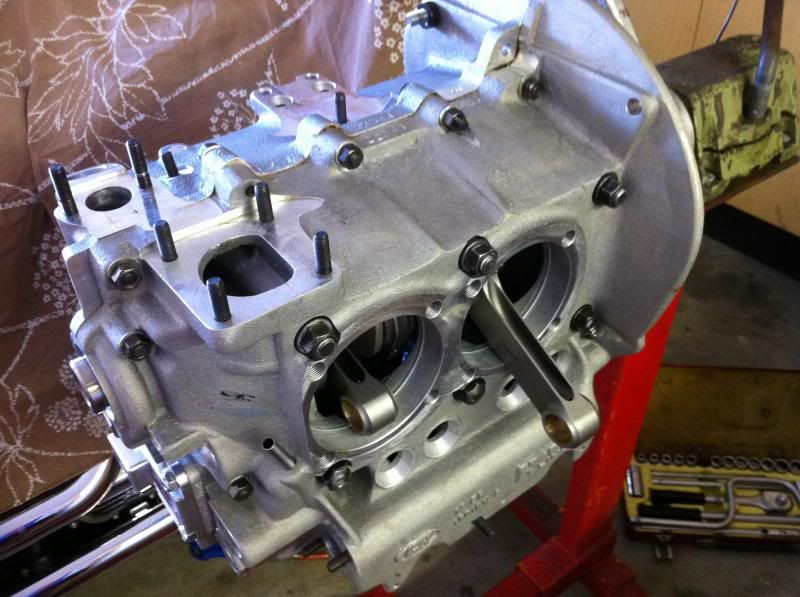
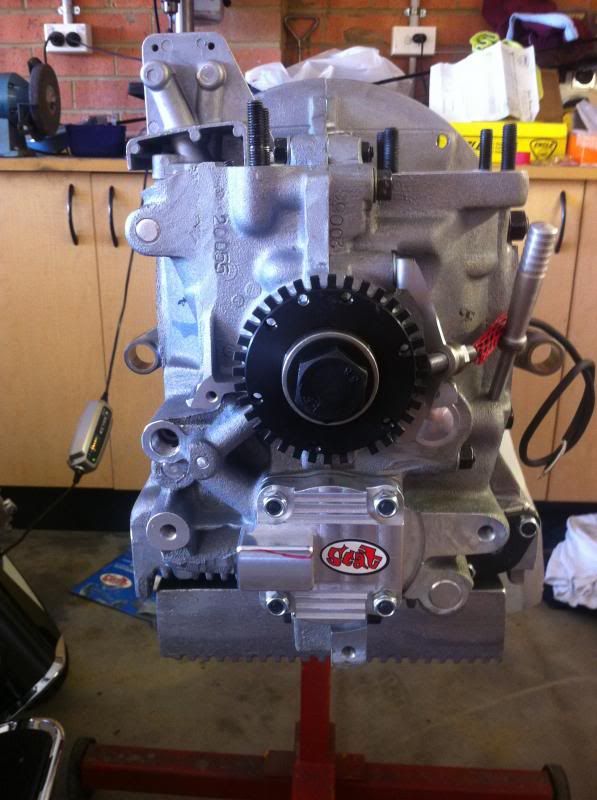
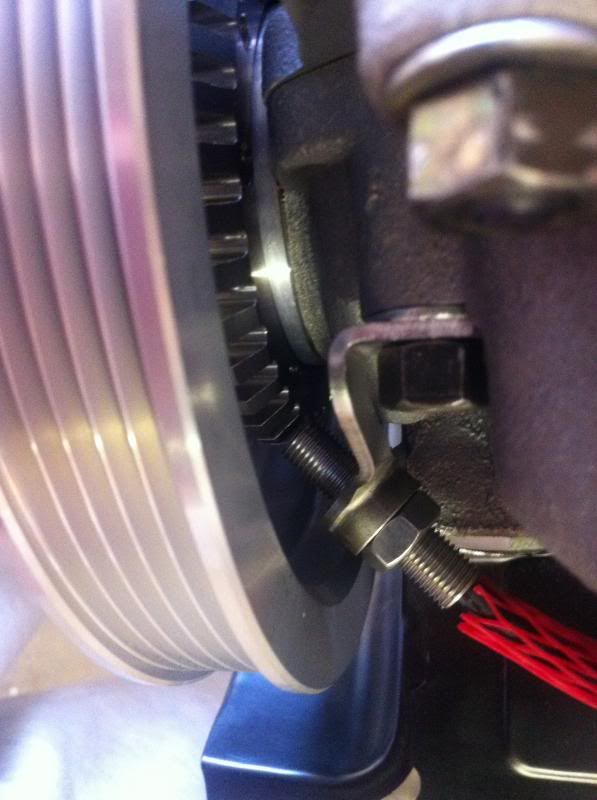
Then started fitting a few of the external accessories. Deep sump, oil cooler adaptor, crank angle sensor parts.
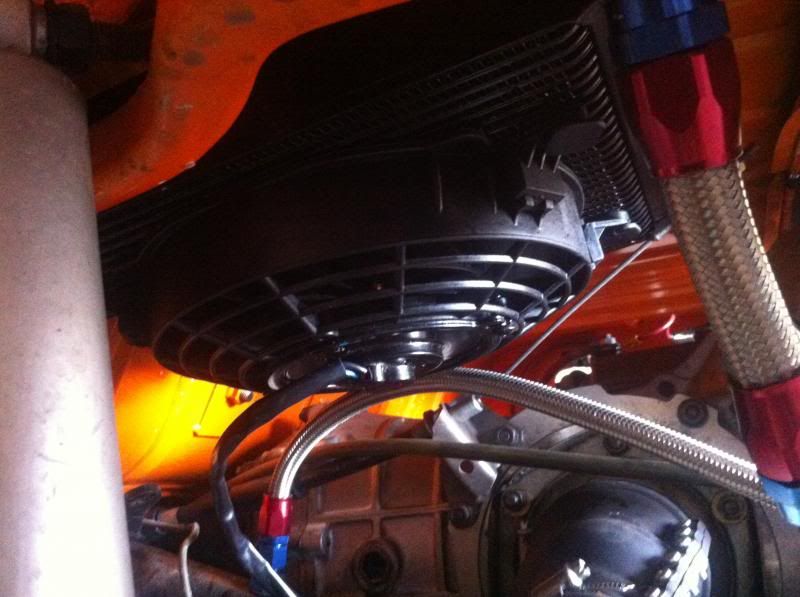
Added an extra external oil cooler to the car.
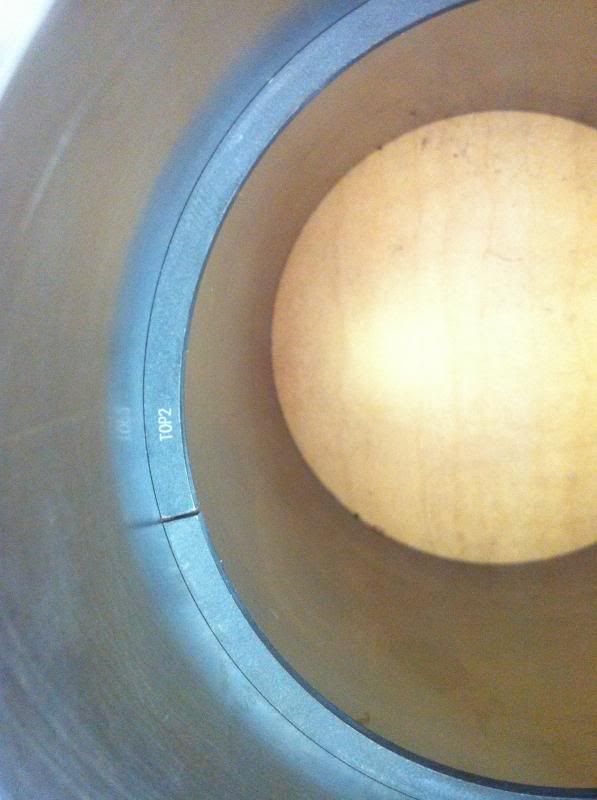
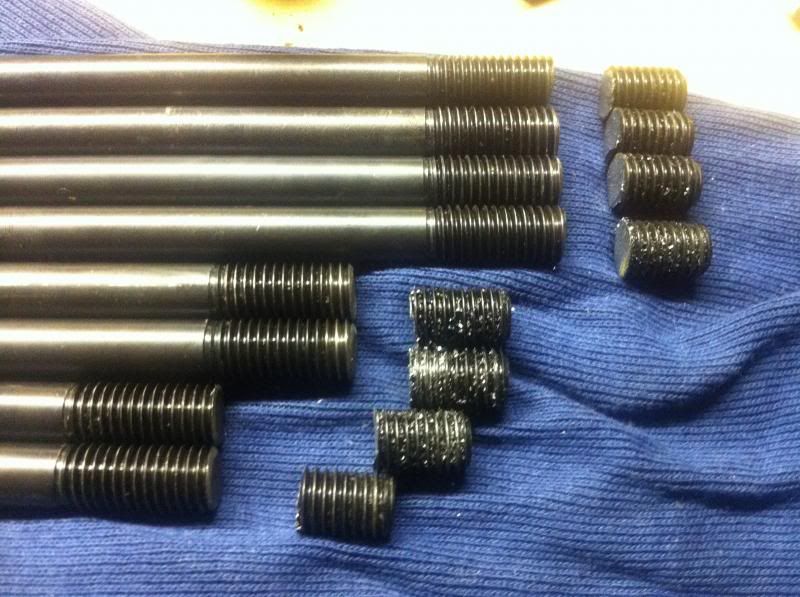
Checking ring clearance and adjusting to suit. Case savers and barrels (no pistons) fitted to engine case as mockup to check head stud bolt lengths.
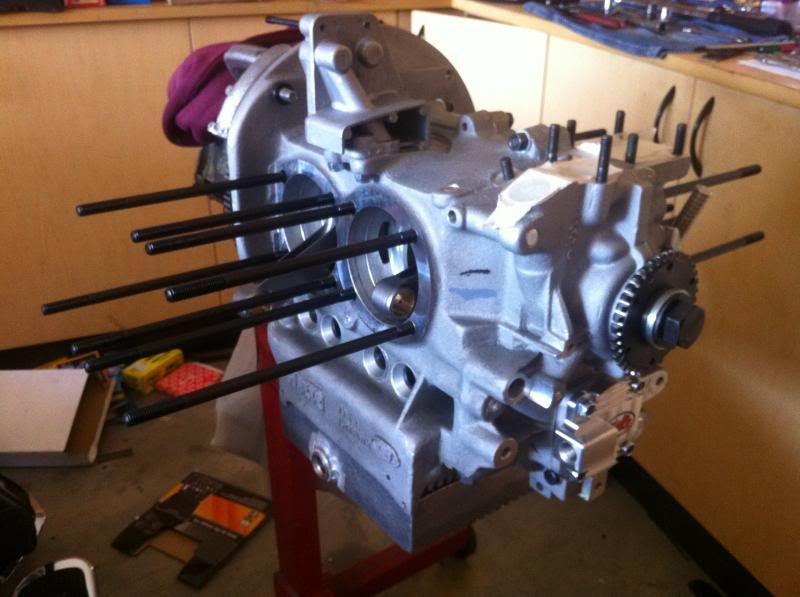
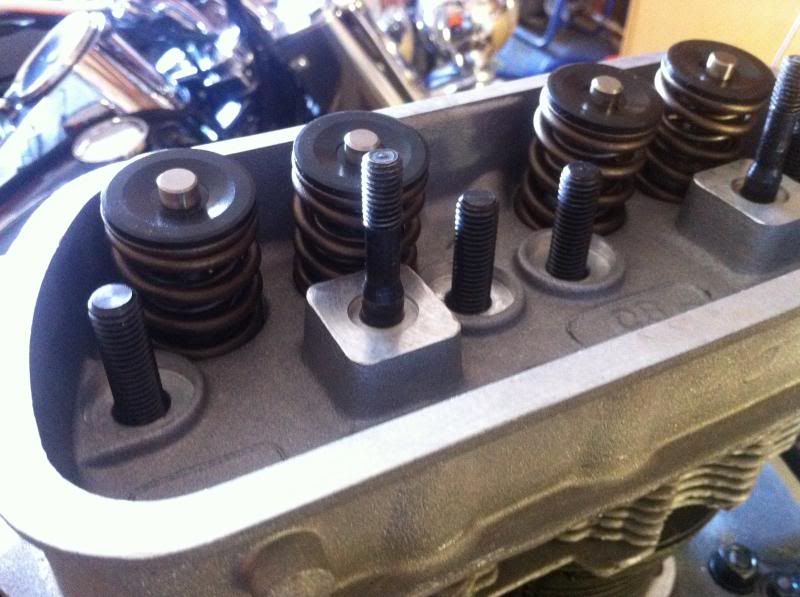
As you can see here, the head bolts are to long and all need to be shortened.
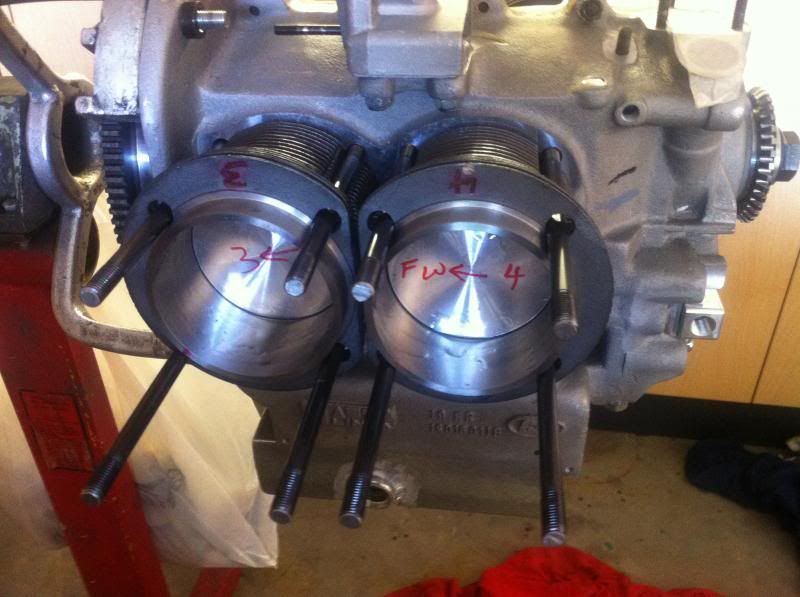
All rings fitted back onto pistons and pistons fitted into barrels. Then barrels and pistons fitted to engine.
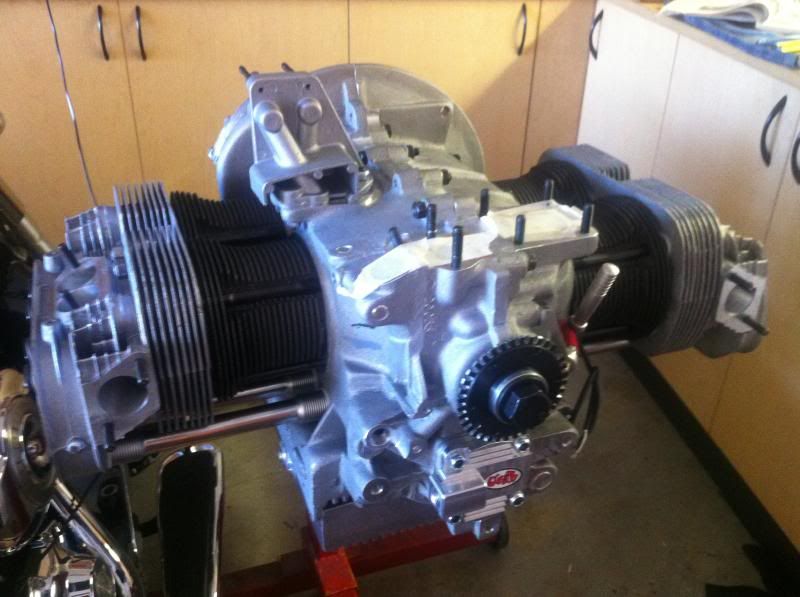
As of today, heads now bolted on for last time with new pushrod tubes and seals.
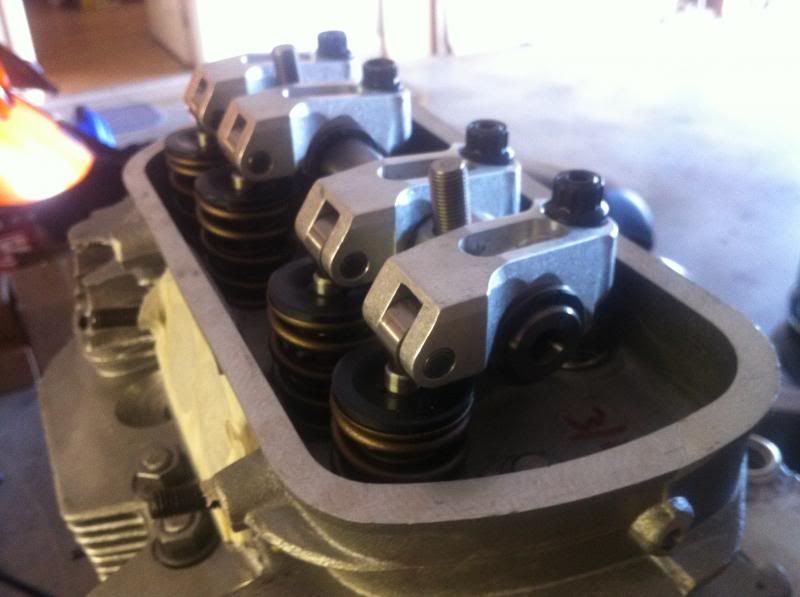
Just sat rockers on quickly to see how they look and I love it.
As I said, this engine build process has taken me about 2 months working on it when I can. If you ever have anyone build you a half decent motor and
ask why it cost so much, I can vouch there is a lot of work involved and more then I had realised.
I will continue to update over time and when new things are added or changed. Hope this hasn't been too much in one post and bored people.
Cheers, Kev
AUSSIE_MICK - May 15th, 2014 at 08:10 PM

Craig Torrens - May 15th, 2014 at 08:41 PM

Bizarre - May 15th, 2014 at 08:45 PM
Can you leave the rocker covers off?
Those roller rockers look cool 


TorxKiwi - May 15th, 2014 at 08:56 PM
It's like automotive porn 
vw54 - May 16th, 2014 at 07:41 AM
coming along nice
Shuffs - May 16th, 2014 at 08:18 AM
Well done Kev
For one horrible moment there,I thought,you're a brave man doing it in the kitchen,but as I scrolled down I can see you have a very well set up Man
Cave
fish26 - May 16th, 2014 at 09:54 AM
Looking good mate, did you set up rocker geometry before you buttoned everything up? Otherwise you run the risk of wiping the cam lube off
rickp - May 16th, 2014 at 08:12 PM

 hope to someday be patient enough to build something like this. Well done Camo
mandog - May 18th, 2014 at 08:30 PM
Good job mate, just finished similar project with CB magna fuel and spark. It is a lot of work. What injection? Maybe I missed it.
Good luck with it all.
Camo - May 20th, 2014 at 04:08 PM
| Quote: |
Originally
posted by mandog
What injection? Maybe I missed it.
|
Photos of my EFI stuff are in the link at the top, but here it is again 
http://forums.aussieveedubbers.com/viewtopic.php?tid=103555&page=1#pid973090
Kev
HappyDaze - May 20th, 2014 at 04:30 PM
Nice going, Kev.....nothing much more to do - looks like we'll see the car at Wakefield Park on Saturday, then ? 
Subarugears - May 20th, 2014 at 04:49 PM
Hey Kev, good to meet you at Vintage yesterday. Engine build looks sweet!
pete wood - June 5th, 2014 at 04:49 PM
Nice stuff mate.
Camo - June 6th, 2014 at 05:51 PM
Thanks Todd, Pete and others.
This was just setting up geomertry for the roller rockers. Half lift and then set adjustable pushrod so as rod is inline with rocker adjusting
stud.
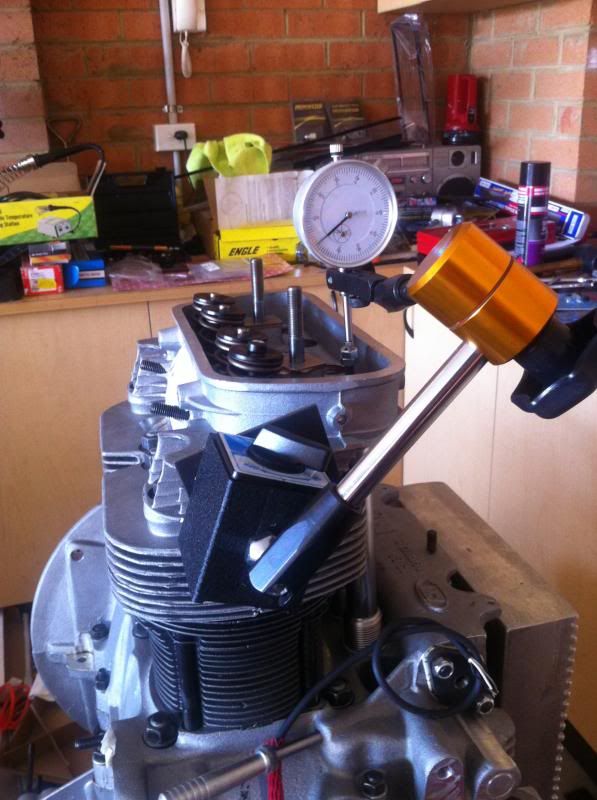
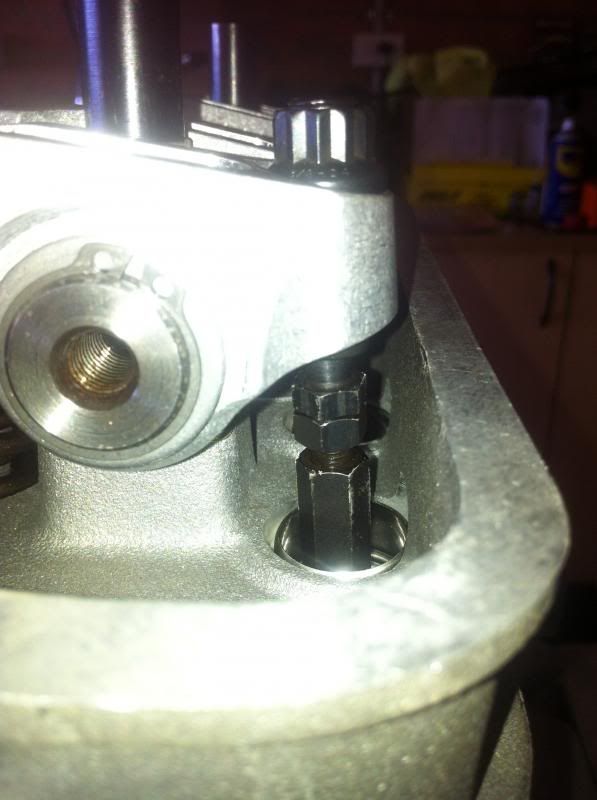
Have done a little more, fitted up tinware and carbies for breakin test run on stand. Hopefully by early next week I will fire her up, all depends on
family commitments this weekend.
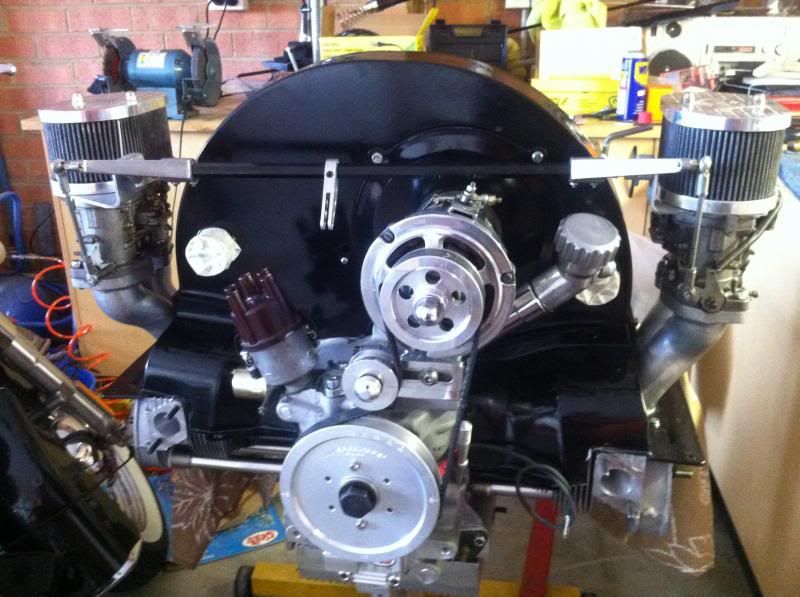
Kev
vassy66T1 - June 7th, 2014 at 08:57 AM
Awesome 
cam070 - June 7th, 2014 at 09:01 AM
Lookin good Kev
Camo - June 13th, 2014 at 05:31 PM
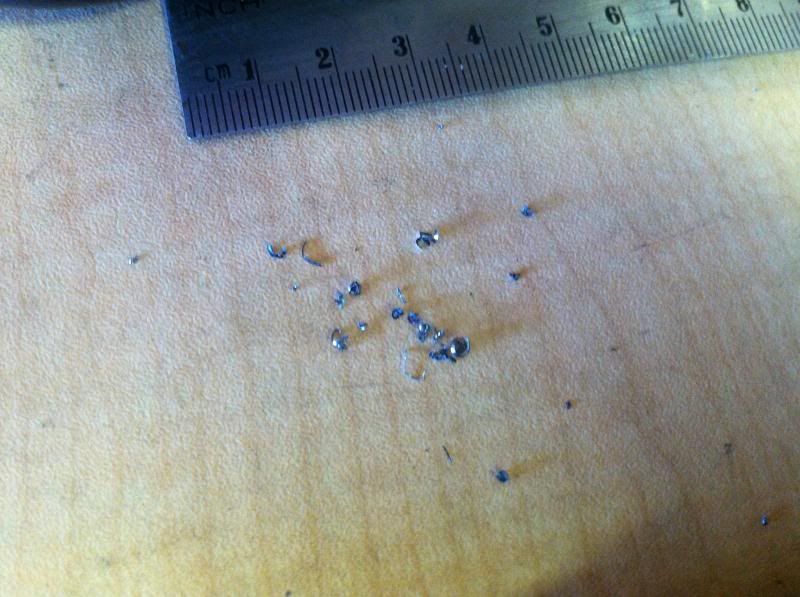
Had all the chromoly pushrod tubes cut (machined) to length. The machine shop rang and offered to fit all the tips for me, but I asked them not to.
Look at all the metal shavings that came out of them. Imagine if this went through your engine or blocked the oil supply through the pushrods and you
had no oil getting to the rockers.
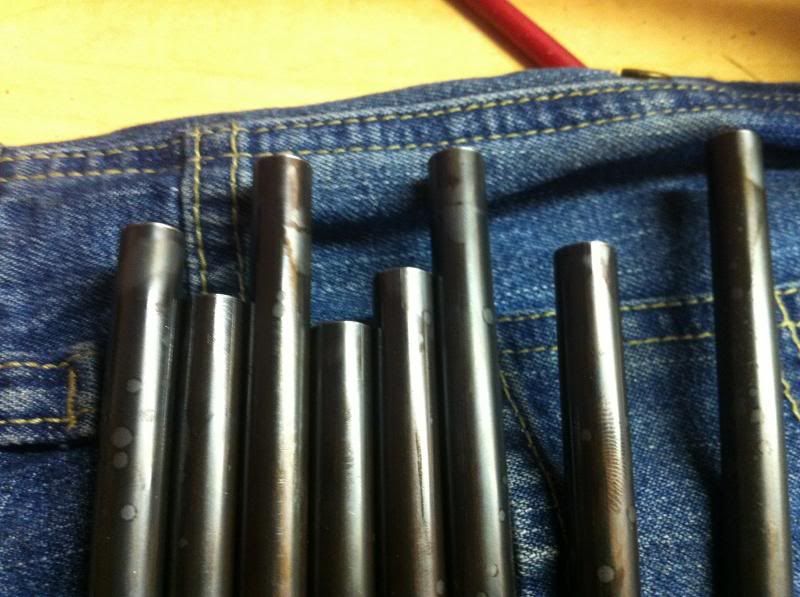
Now that I finally had my pushrods back I could install them and finally fit up my new lovely roller rockers. Look at this photo, can you see the new
problem that arose.
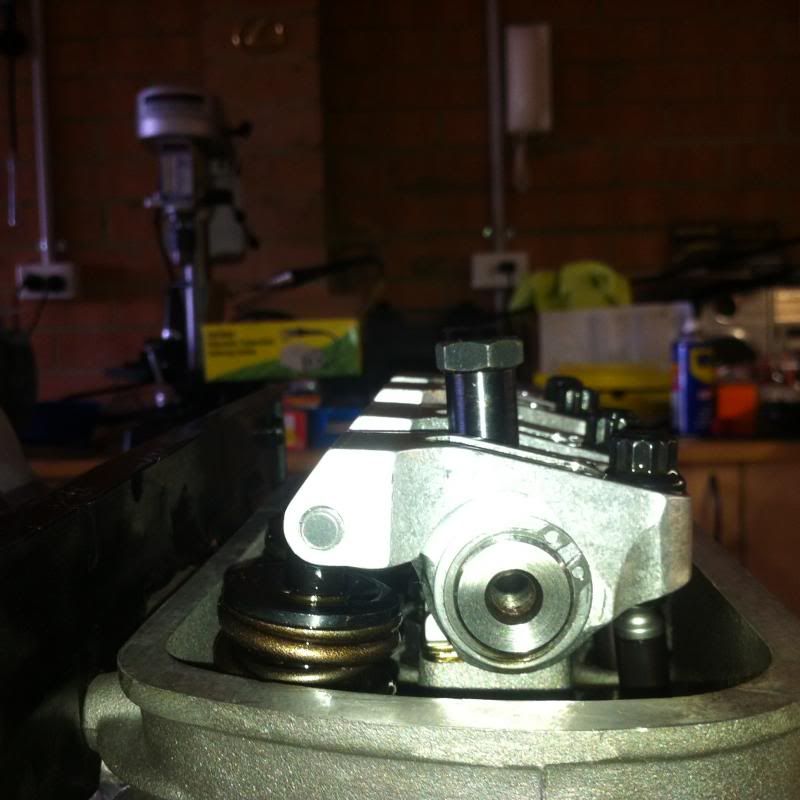
That's right, now there is no way my standard steel vw rocker covers are going to fit with those long cam lock down nuts. They are actually made for
bolt on rocker covers. And to add to this, the bigger (thicker) rockers also touch on full lift at pushrod end.
But guess what, I have a spare pair of alloy bolt on covers here and those nuts are still to long. Take the nuts back off again and have them
machined down 5.5mm (more delays) so I can finally get some covers to fit on there.
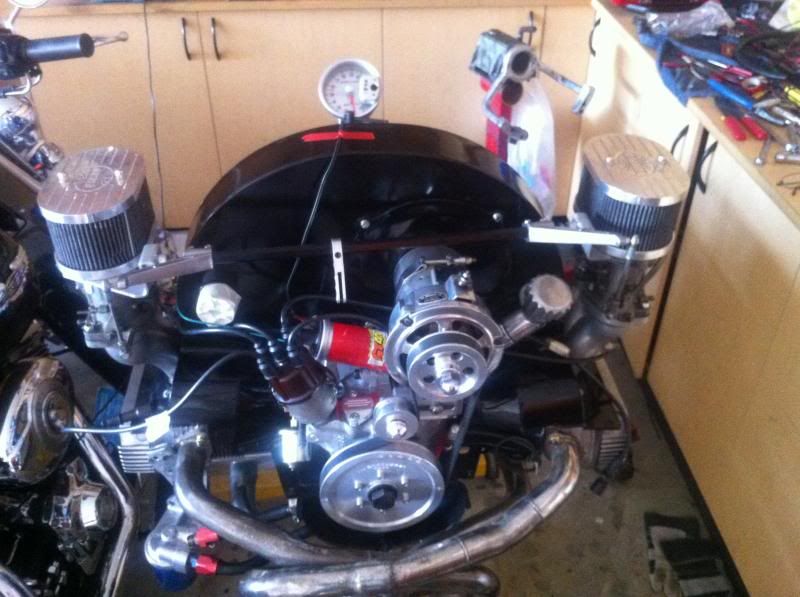
As you can see above, getting very close to start up. Wired up coil, tacho etc. Just need to get a oil pressure switch and some fuel line, add oil
and fire her up.
But I feel this has been the easy part getting to here. I think wiring in heaps of wires to the ECU, throttle position sensor, air temp sensor, crank
angle sensor, cam angle sensor, oxygen sensor, head temp sensor, map sensor, 4 x coils, 4 x injectors, water pump for intercooler (radiator for this
still to be fitted) and whatever else I have forgotten will be the harder part.
But I will get there, eventually 


Kev
P.S. I would like to also say another thank you to Rod Penrose for his assistance. I needed to borrow a couple of things to assist the engine build
and more so I could get to this stage (exhaust) and he was more than willing to help 


P.S.S. Also to AUSSIE_MICK for lending me the tacho. If I don't say it, he might have a bit of a whinge 


hellbugged - June 13th, 2014 at 06:44 PM
Nice work Kev  thanx for posting, takes time and effort to do so,
but makes for a much needed "go to read" here.
Neat wiring takes a lot longer than you would think, so be patient.
vlad01 - June 13th, 2014 at 07:11 PM
EFI and electronics is the fun and easy part i reckon 
Camo - June 13th, 2014 at 08:14 PM
| Quote: |
Originally
posted by vlad01
EFI and electronics is the fun and easy part i reckon 
|
Well, do you need a holiday in Sydney 


vlad01 - June 13th, 2014 at 11:50 PM
nah, no way going near that dump! 
vw54 - June 14th, 2014 at 08:48 AM
Top work its rewarding to do the job your self
Camo - June 16th, 2014 at 06:12 PM
Hi all,
it's alive - YEAH 


As I said, I have the engine set up on a stand and started it up today. Still just using carbies, distirbutor and different exhaust for the break in
period.
These videos don't give a true sound at all, it sounds very crisp and I am very happy with it. I think it does sound better in this first clip than
the second one.
https://www.youtube.com/watch?v=r747aDlfdHA
another one
https://www.youtube.com/watch?v=IHXqq9yq5PQ
Kev
PAZZAN - June 16th, 2014 at 06:42 PM
Great job, there just something about a tuff aircooled vw ,sounds sweet

reub - June 16th, 2014 at 09:10 PM
Congrats dude!
AUSSIE_MICK - June 17th, 2014 at 07:10 AM
I have only one thing to say, scratch
Sorry guys, private joke!
cnfabo - June 17th, 2014 at 11:21 AM
Ah that sweet sound of clackity clack..love it..can't wait for turbo time..are u running a muffler off the turbo or dump pipe if that's what they
are called?? I personally think they sound better with a muffler...have fun
Fabo...
Camo - June 17th, 2014 at 03:53 PM
| Quote: |
Originally
posted by cnfabo
are u running a muffler off the turbo or dump pipe if that's what they are called?? I personally think they sound better with a muffler...have fun
Fabo...
|
I'm pretty sure I will be running a muffler, as I think it will be to loud for my liking without one. Although I must say, they sound hot without one
but that DB level is more for drag strip I think.
Time will tell 
GottaSplit - June 18th, 2014 at 12:49 PM
Muffler for street.. dump pipe for track 


