 , appart from that its pretty simple from what i recall a few months back doing
my first
  (still havent put it back together.)
since am not selling the old bug, it's time for a clean up and for starters the engine. It ran quite well except for a bit of smoke when was on the
highway (guess reduction boxes will do that too ya), but seeing as how i have thashed the pants off this thing every other weekend for the past 3-4
yearsin which time i have managed to fill the sump up with water 4 times (and drive home on that milk shake) All from an engine that i had no real
history on to begin with, I think it deserves it!
will try to keep to a resonable budget, thinking about a grand, nothing too flash just a good tidy up.
now this is the first time i have split the case on a beetle, so any pionters will be much appreciated(i know some of you guys can be brutell) i'm
not an engine builder, so lets hear it.
heh may already know but when cracking the case the strainer from the oil sump has to come out before you try and split the case  , appart from that its pretty simple from what i recall a few months back doing
my first
  (still havent put it back together.)
right, first things first, its all about cleanliness and preperation right?
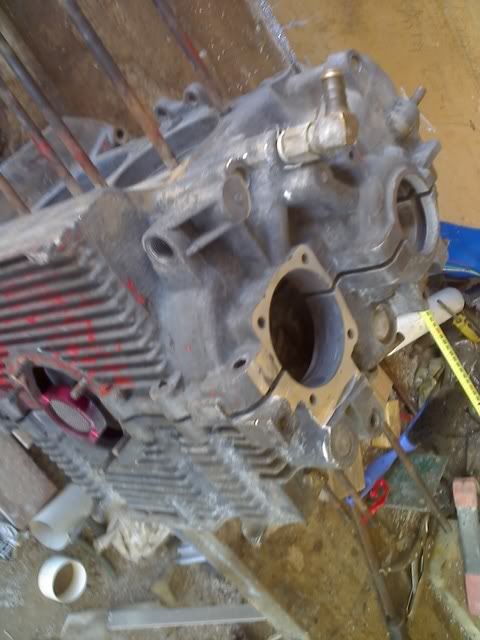
clean block to within an inch of its life, line bore crank and cam, face the pump face(always did leak there) grind crank, new bearings, recondition
rods
- $480
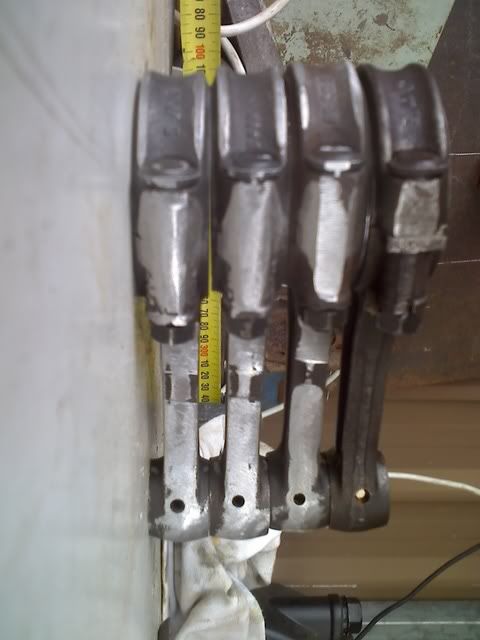
I balanced the rods within a gram (might be overkill but i got stuck into it and got carried away) there was 25 between the lightest and the heaviest!
they are all at 605g now. looks funny that one is untouched and one has a little something of every surface
honed the bores and balenced the pistons within a gram too,(were all within 3g anyway) it is stated that the maxium alowable difference between the
piston and barrel size is 0.2mm, mine are 0.15, 0.17, 0.18 and 0.22 . . . . .. . comments?
so, i was told that there was a 110 cam inside this puppy and after opening it up- SURPRISE!, liers stock as a rock, so got me an engle 100, is more baja friendly anyway. prolem came that the stock cam is a 4 bolt
deep dish, so .. . . . . . . . new oil pump and cam gear aswell, the budget just flew out the window
- $304
am curious how different people mod there pumps for full flow? didn't like the idea of jaming something up the case or the pump exit, incase
something warped or broke.
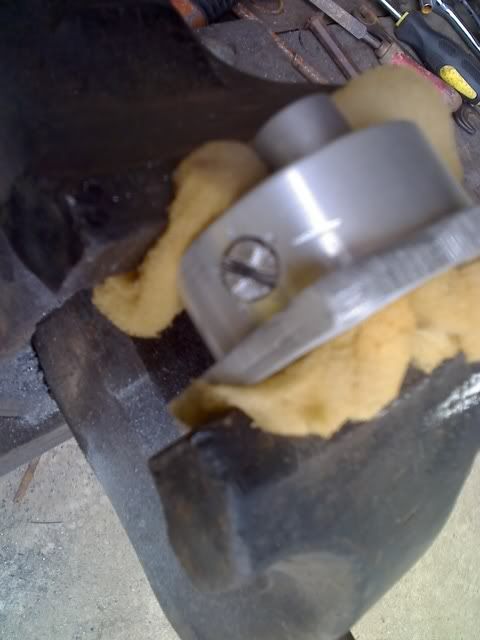
so i taped mine put a bolt in with plenty of lock tight and cut the rest off
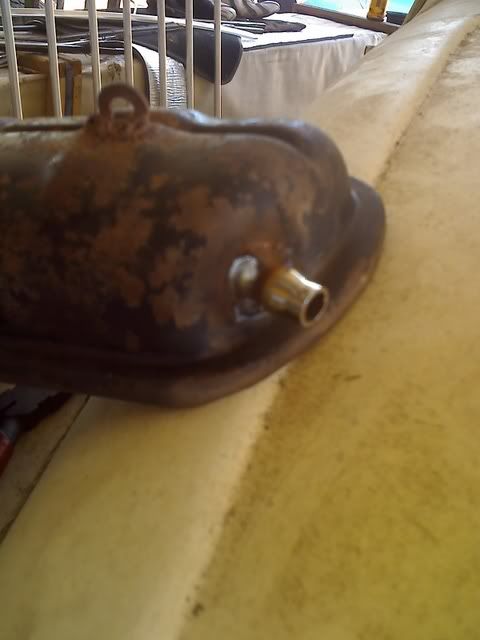
I also cleaned up the pushrod tubes and painted them and welded breathers into the valvecovers and painted them too (i only had white killrust)
guess i will see where the oil leaks are coming from nice and easy
heh heh, good one eraser. i can just see that now, though mine had sooooo much mud on it when i cracked it, i missed one of the 13mm nuts altogehter,
didn't come apart either!
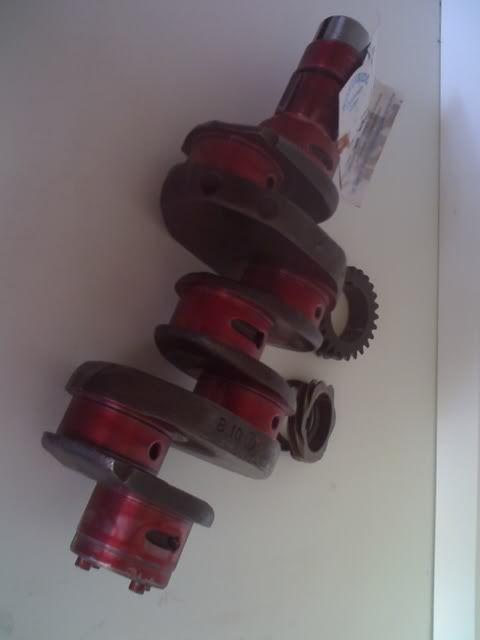
Anyway, show and tell time. got my crank, ground 0.25
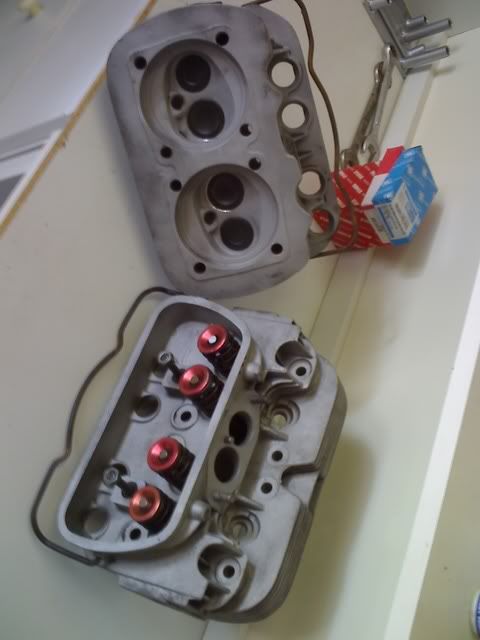
and my heads are ready, nothing too flash here, new seats and guides, high rev springs and billet retainers - $350
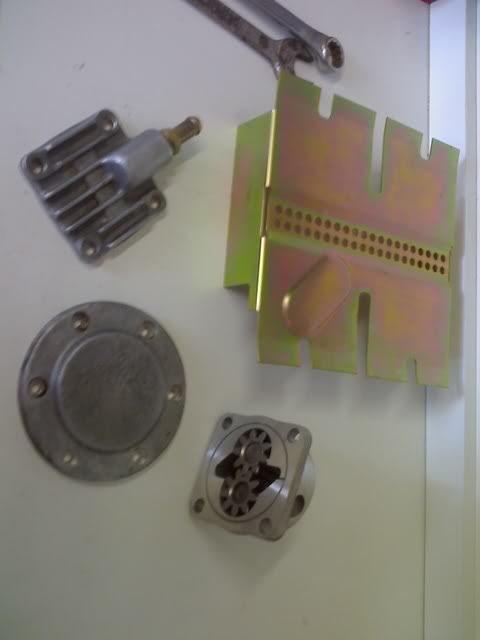
windage tray, faced the pump and full flow cover, deeper pickup for the oil, still have to tap this for a sump plug
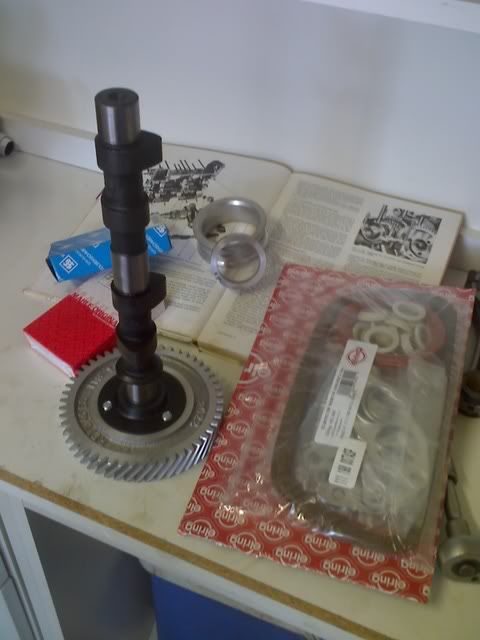
new cam, bearings and elring seal kit with crank seal
gave the block a good coat of heat paint too, (yes! i know its gold! had it left over for the block on the HQ)
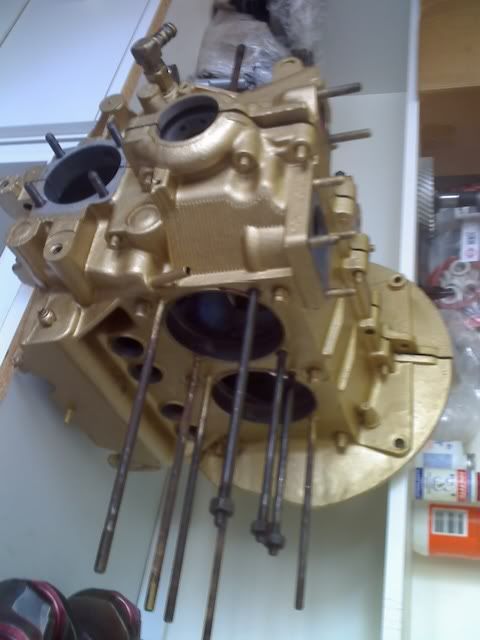
ok now your just showing me up  May i ask what you cleaned it with? I used
the dish washer (misses wasnt too happy). What did you use? What was the process?
slowly does it......... measure twice, build once 
ha ha ha ah ah ! AMWAY over cleaner, even took the old engine enamel off. not sure if i would use this stuff indoors!
sweet, so will in make Beach Run ??
was aiming for that originally, cutting it very fine though! but i got sold the wrong rings and can't get the right ones till after new year
booooo!
more updates this afternoon, see if i can get the botom end together today
dont make it to pretty, you'll never take it offroading again
Joel, if you saw the car that this thing came out of, will be the shinest thing on it.. . . . .it takes about 10 minutes to get from where the car is
stored to the forestry, so i guess it will take about 11minutes before the motor is muddy as hell again. all the cleaning and painting is just so i
know it is clean when i am putting it together, asthetics don't my squat to me. (I have a pretty car, this one is a thrasher!)
OK, started on the bottom end this morning, (had a try at it last night, but everything was turning to pot,so pulled everything apart, read damo's
1776 hellbuild, then with a fresh head this morning and started again) put the bearings in measured the crush - all good ( though the big end needed
bit of convincing to get in . . . . . . . the thrust was tight on the sides of where they slip over the case) debured, oiled, and some gusto and home
it went.
Assembled the crank and rods, got 0.3, 0.33, 0.33, 0.35 as the side play. the manual that i have mentions nothing about tolerences here. . . . ..
.. sombody have an opinion?
by the way, is a gascooker an exceptable way of heating the gears?
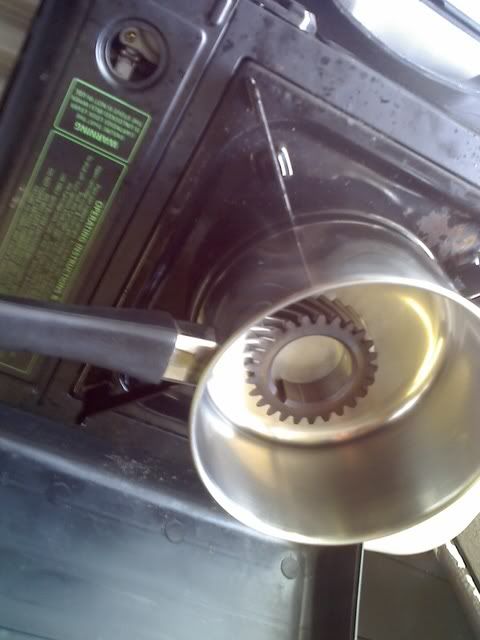
torqued the cam and rod bolts to 24ft/lbs (didn't use loktite, rethinking that now. . . . . . hmm)
Checked the end play on the cam, seems to be 1/10th of f*#kall here. . . . .i can feel it move (just and thats with alot of force) put the dial
gauge on it and got 0.02mm. . . .. acceptable or should i sand the thurst bearing a wee bit?
Also not sure how to check the backlash of the gears (nor what it should be for that matter), seeing as how it is a new cam gear and by hand it
feels to be a very very small amount I am not too worried
And the clearance on the new oil pump is ok too,
Yes! i didn put in the cam followers all of which are very happy with bores they are in,
SO. . . . . happy days so far! . . . . . . . .what have i missed before i bolt the other half home (feels like i have done it a dozen times already
this morning)
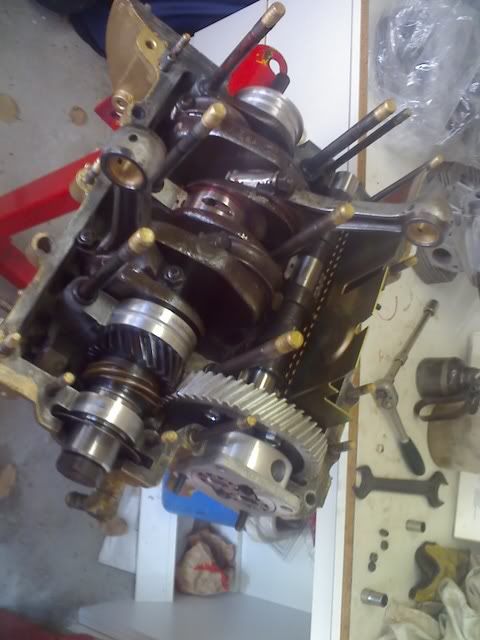
for those who are picture crazy, i was going to post alot more but after reading damo's biuld, i really don't think that is necessery. If you want
to know any specific about this build, just ask i will post it special, (nothing better to do on the holidays) speaking of, think the bikini girls are
calling from the beach
glad your making use of my build thread, that's what it's there for
pics are great, keep em coming, you can go back and double check things for your self or someone might log on and spot something you've missed
don't see the cam plug in that picture above?
set the dizzy drive gear up before closing the case.
don't forget cam lube on that new cam and run through a PROPER break in procedure when your ready to start it up
will lube the cam up before i close, and glue the cam plug, still trying to work out the dizzy drive, not real sure on the exact position 90' from
the seam at TDC or at firing position? (8 degrees right?) really not a good decription in my manual.
what is this PROPER procedure by the way? i got nothing
and lastly permatex aviation alright on the cam plug, or should i gett some red?
- thank daimo, your a legend
line the rotor button with the mark on the distributor casing (firing position for no 1cylinder) and install in case, clamp and all, so the "oil
slot" is lined with the oiling window looking from inside the case 1/2..........this will have the dizzy in the TDC for no. 1 cylinder so when you
lower the crank in position holding it by the no. 1 rod (it's TDC position)............. it's all timed and ready to go right up to when you hit the
starter!
leave the dizzy in so the drive gear doesn't disengage throughout the build
dont forget the two metal washers/shimm's under the drive gear..........you should have some "end play" (up and down) of the drive gear (around
0.020inch) with the dizzy in position
personally i'd use red on the cam plug, it's a rather big tear down if it leaks
haven't had much time to do anything in the last few days,. . . . . . . but i did set the dizzy (i took it out with the clamp still in its timed
position) surprisingly at TDC it just went straight back in at the same place - easiest bit so far,
now the bad news - put the case halves together, torqued the main studs up , .. . and . . . . . . . . . . . . . .seazed .. . . . . . . hmm,
definatly missed something, pull apart and start again, my guess is going to be that rear bearing that was a pain to get in in the first place,
what a mess
so, engne apart again. . . . . . except for one problem, the rear main is stuck where it is
have a feeling i may have misalined the dowel in the last pull apart/put together,not real happy with myself at this piont. . .. . but move on, any
ideas on how to get it(and the crank which it is attached to) out? 
mark the bearings at the dowel location with a felt pen/scribe...........next time
sounds like you better double check the size of that bearing verse your case bore............
maybe the case bore isn't straight ? All the journals can measure correctly, but no point if they don't line up..................just a thought.
ah nills, the memories, i did that once too, had to do it all over again, you can take your anger out at skirmish, just not on me
SO. . . . . . . . just to prove the female world wrong, this was definatly my stuff up. Not sure how i did it(possibly didn't notice the misalinment
due to how tight the rear bearng was) but all that don't matter because its done and i and i alone stuffed it.
i really did manage to miss the alinment of the dowel pin on the end bearing.
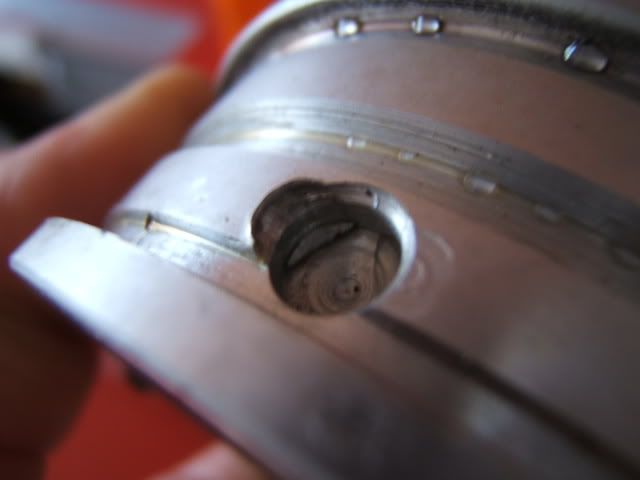
And steve, if i shoot at you at skimish, it will not be out of anger but out of jealiously (anyone who has seen his pile of projects will understand)
by the way any of you fellows know if i can buy just single bearings, or if im up for a new set? and then the age old question is where?
does the bearing still spin on the crank did it bruse the inner surface
If not i would still use it once its in place correctly it wont move
concidered that just filing and drilling it to fit again, but i really just don't want to chance it.
Just start again and wear the cost as a learning experience, so no dice on whether you can buy seperate bearings?
Do not use that bearing ,
even if it does spin on the crank, 
buy a new set 
lol if you can bugger it up im really worried :P
iwas really just a stupid oversite(mental note : mark bearing position) think of it as the reason we go onto these forums, not only to learn form
your own mistakes but others aswell.
Is killing me to wait till the 12th to get new bearings! oh well, at least my rings will be here be then aswell and have got a start on that roll
cage (now at $30 a meter, seamless tube is real dear to make mistakes with!)- new target DUBS
by the way anybody between brisbane and the sunny coast got a pair of sled tins for under the cylinders?
hooray! new bearings! i had the thrust machined an extra 0.1mm this time to stop that tightness that caused me so much trouble last time now the rear
main goes snuggly home EVERY time. (let that be a lesson, close enough is still WRONG).
Have the case torqued together at the moment with only the crank inside and was wondering, how tight should it be? should i be able to turn it by
hand?, it turns stiff then lightly with a spanner on the pulley bolt (just braking the surface tension of the oil right?) and yes, smoothly.
get my rings tomorrow, finally a full parts list! (pity i do't have the time to put it together)
next to chase down is a new exhaust, anybody no where to get a decent baja exhaust?
Ahh Nils how to say this without making you feel bad........Crank should be smooth all the way, no spanner, no tight-loose feel, should be able to get it turning with fingers on dowel pins.
last time you came into one of my threads you came bearing good news Matt, what happened? Think i am going to rename this thread, "101 things you can screw up putting your bottom end togehter"
Really have no idea where the problem is this time, crank is .25, case is 1.5, bearings to suit. am i missing something? begining to believe that
my case bore is either not straight or not truely 1.5
add crackpot ideas to what is wrong here----->
This morning has been fun, buy new tools, strip block and crankshaft, measure EVERYTHING 20 times-
Heres what i came up with
- line bore straight - check
- oversize of line bore - 1.26, 1.25, 1.25, 1.28 + 10thou (.25) for crush i am told = 1.5 case is good 
- bearings - i have 2 sets of these suckers now, they are the same and can both be wrong 
- undersize of crank (looking for a scratch over 0.25) - 0.3, 0.3, 0.3, 0.1, 0.1,