
Gretl the 1303s
SebastienPeek - January 29th, 2014 at 08:06 PM
I figured I best bring the AVD community up to speed with my current build.
A couple of months ago I came into the possession of Gretl. She was to be a ground up restoration and at the time of purchase, I race car on the
weekends. Since then I have changed my mind.

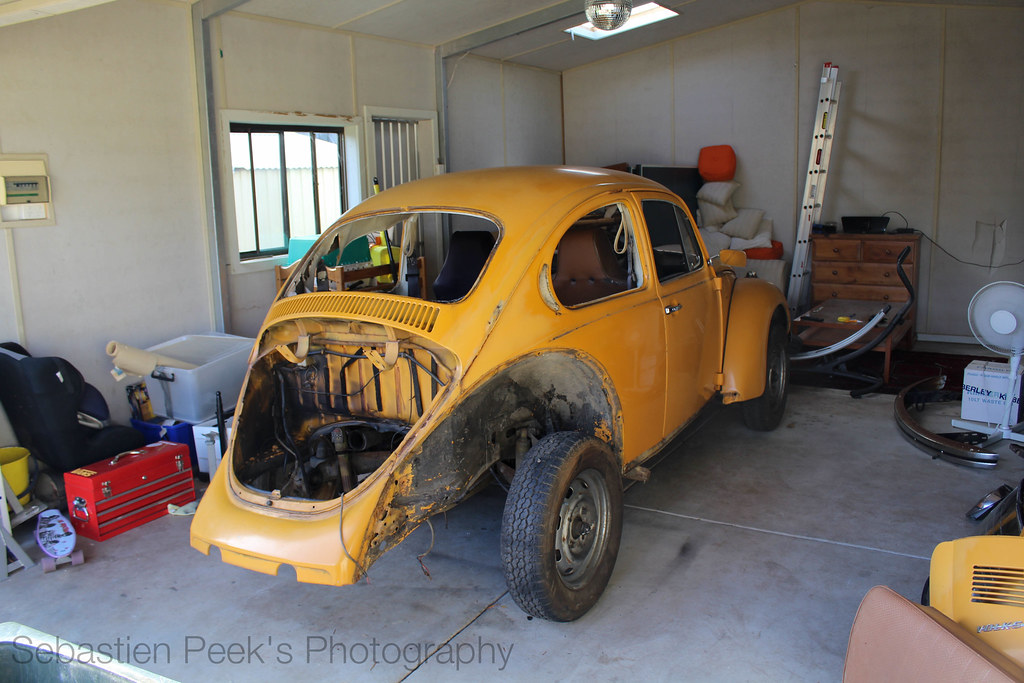
IMG_0089 by sebastienpeek, on Flickr
It wasn't long until she was stripped down and I started finding cancer everywhere.
IMG_0099 by sebastienpeek, on Flickr
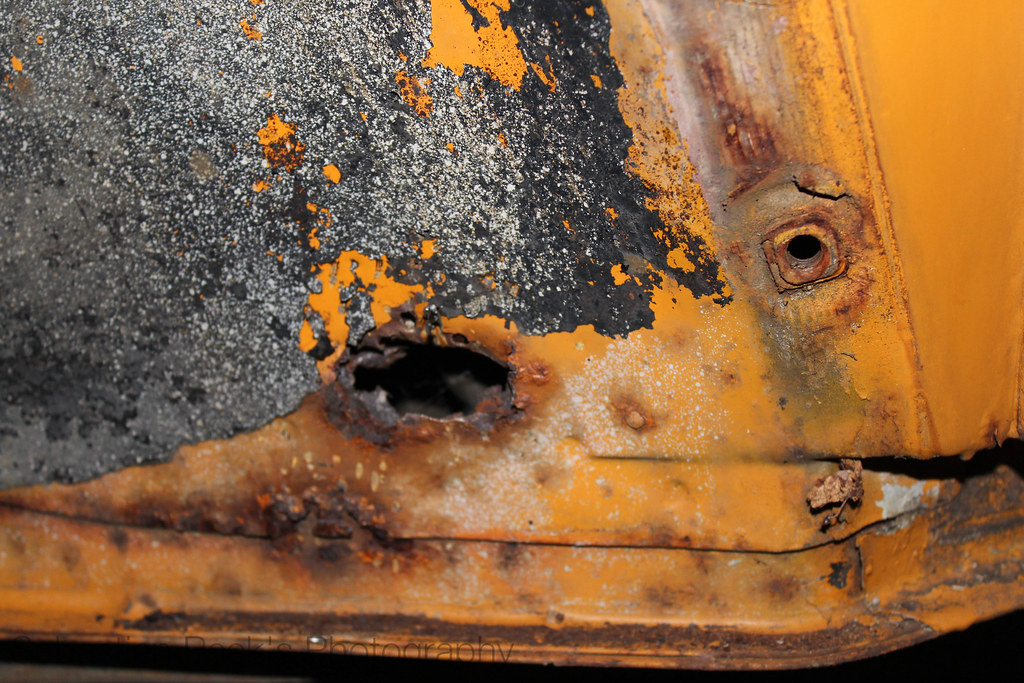
IMG_0139 by sebastienpeek, on Flickr
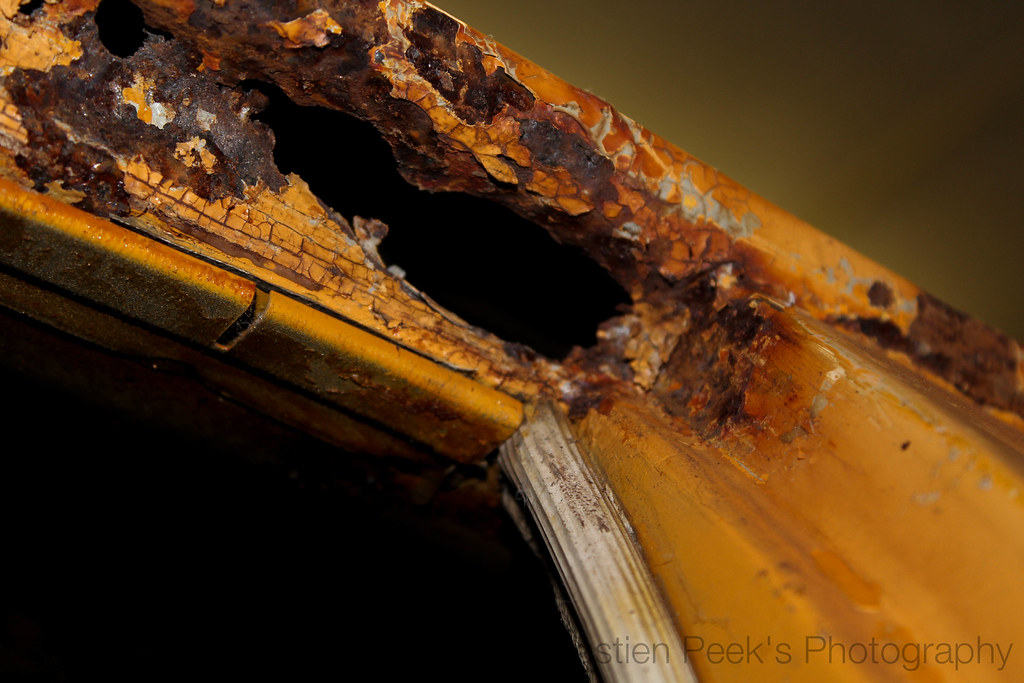
IMG_0128 by sebastienpeek, on Flickr
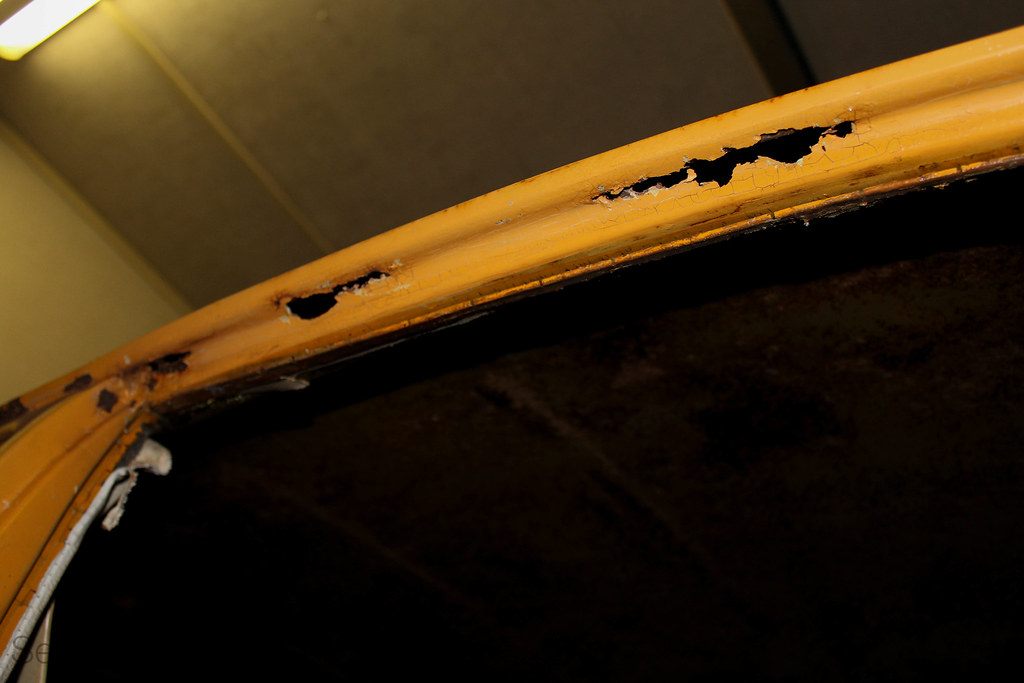
IMG_0130 by sebastienpeek, on Flickr
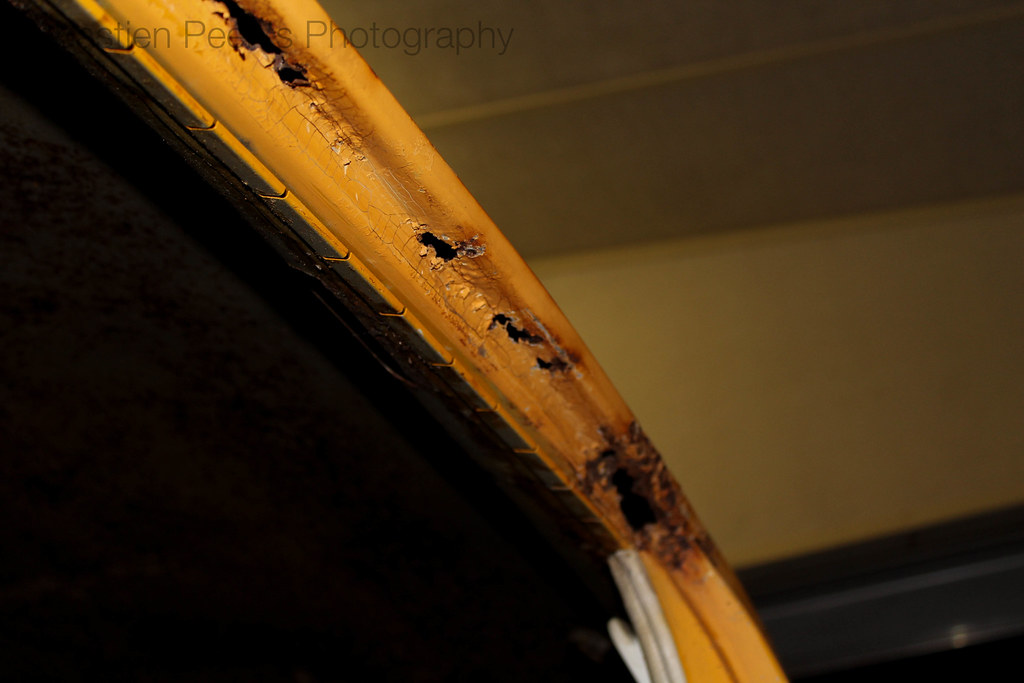
IMG_0129 by sebastienpeek, on Flickr
Fast forwarding a bit I got the shell and pan split and started working on cleaning up the pan.
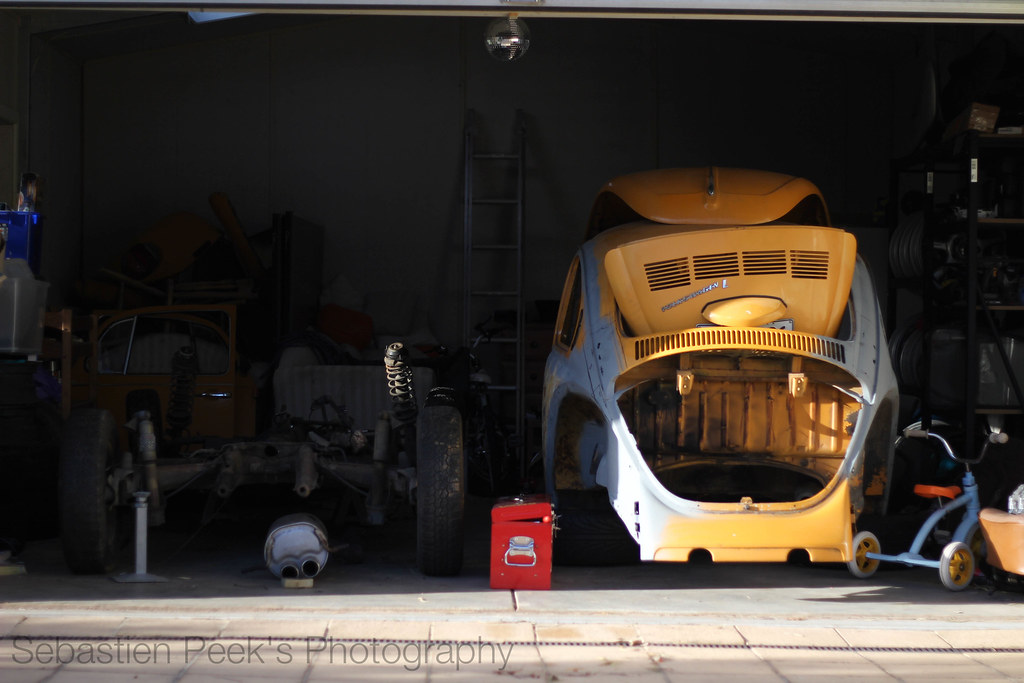
IMG_0260 by sebastienpeek, on Flickr
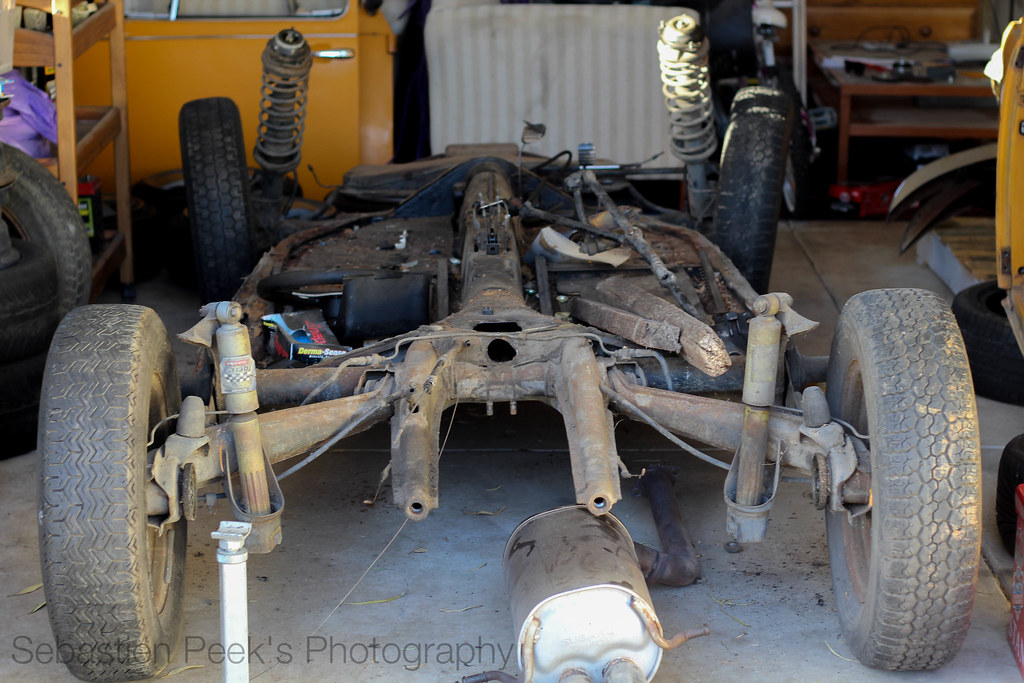
IMG_0264 by sebastienpeek, on Flickr
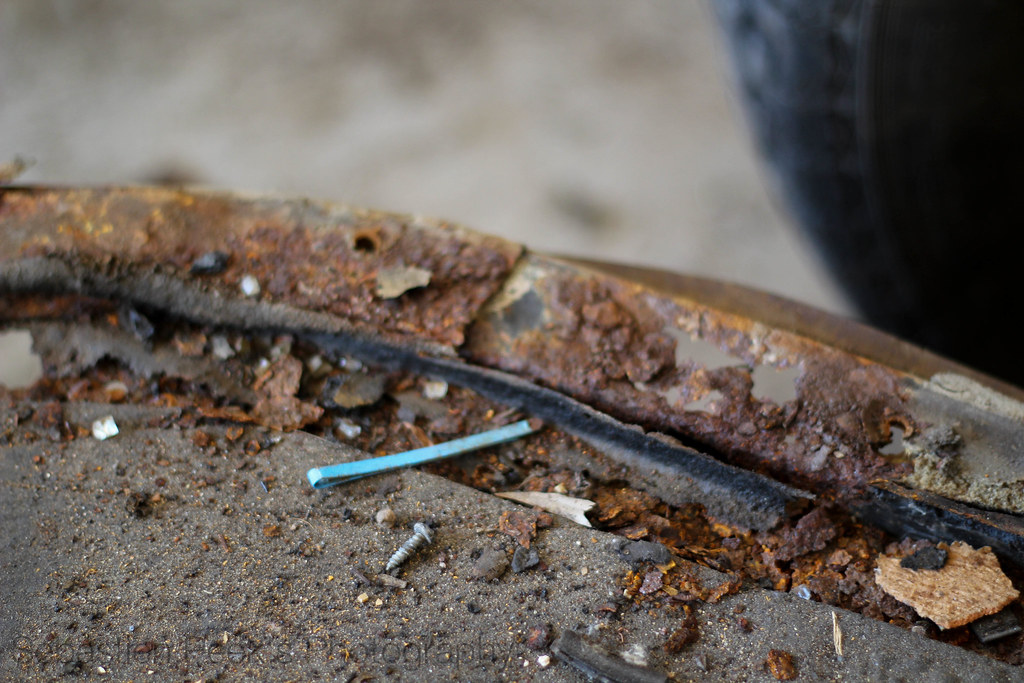
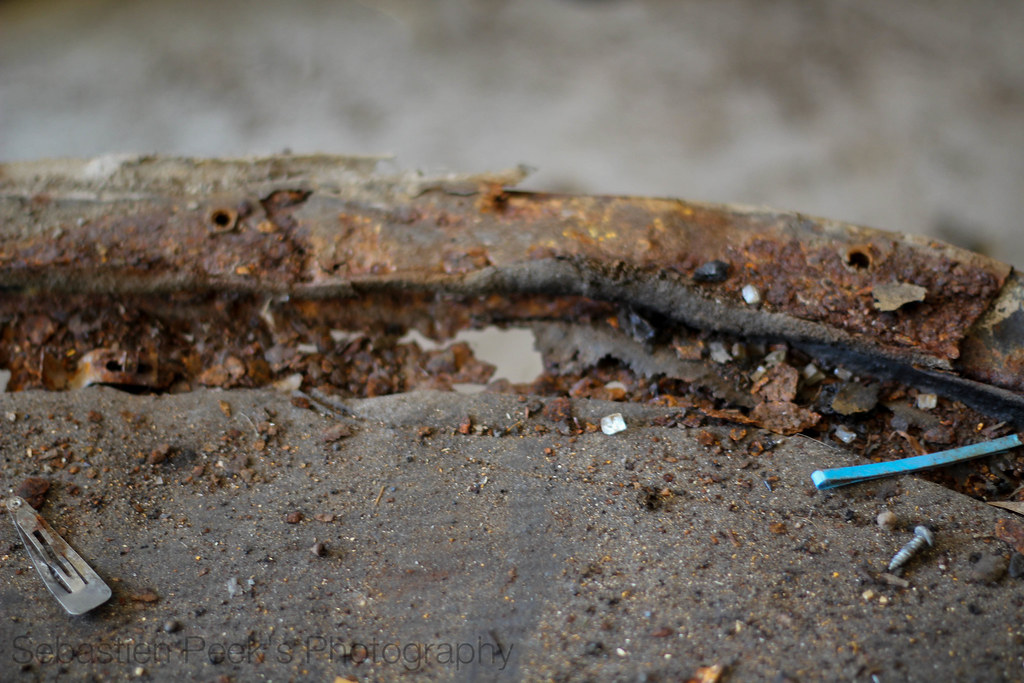
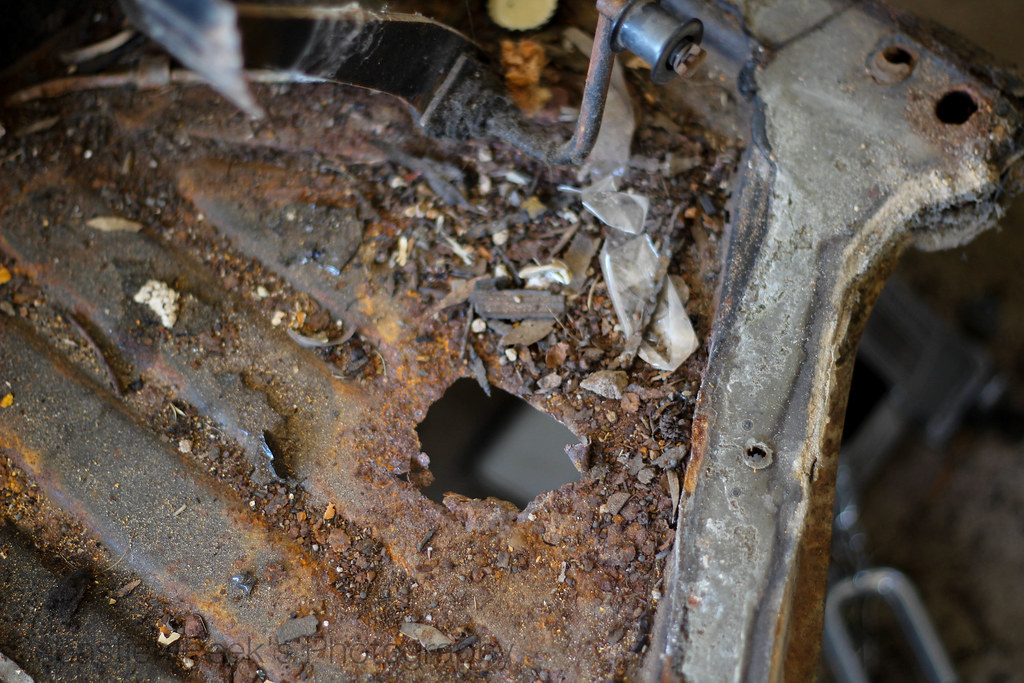
It was at this point I realised I needed to get some brand new pan halves for her.
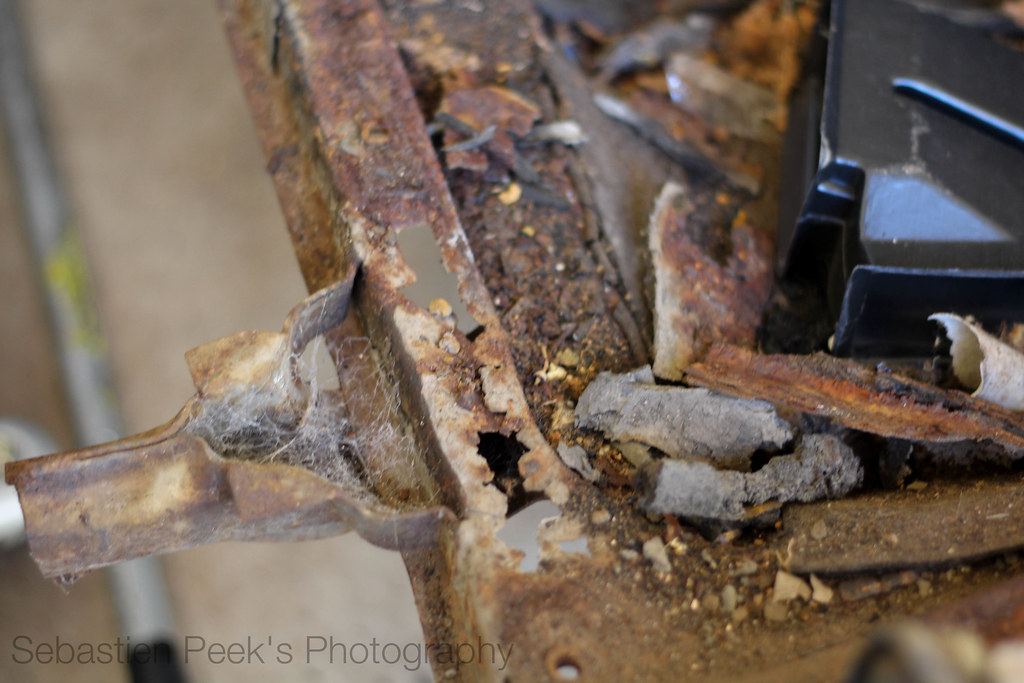
IMG_0266 by sebastienpeek, on Flickr
IMG_0267 by sebastienpeek, on Flickr
IMG_0268 by sebastienpeek, on Flickr
IMG_0269 by sebastienpeek, on Flickr
Then came the fun bit at the time, which was soon realised to be a mistake on my behalf.
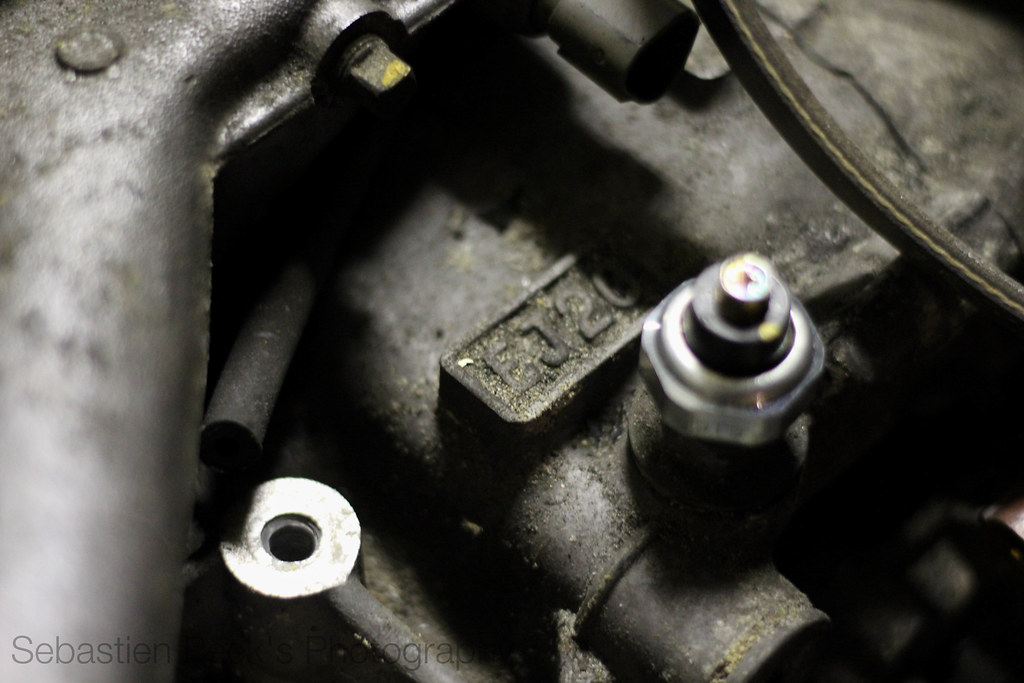
The engine arrived. An EJ20 Twin Turbo setup out of a JDM import Liberty.
IMG_0283 by sebastienpeek, on Flickr
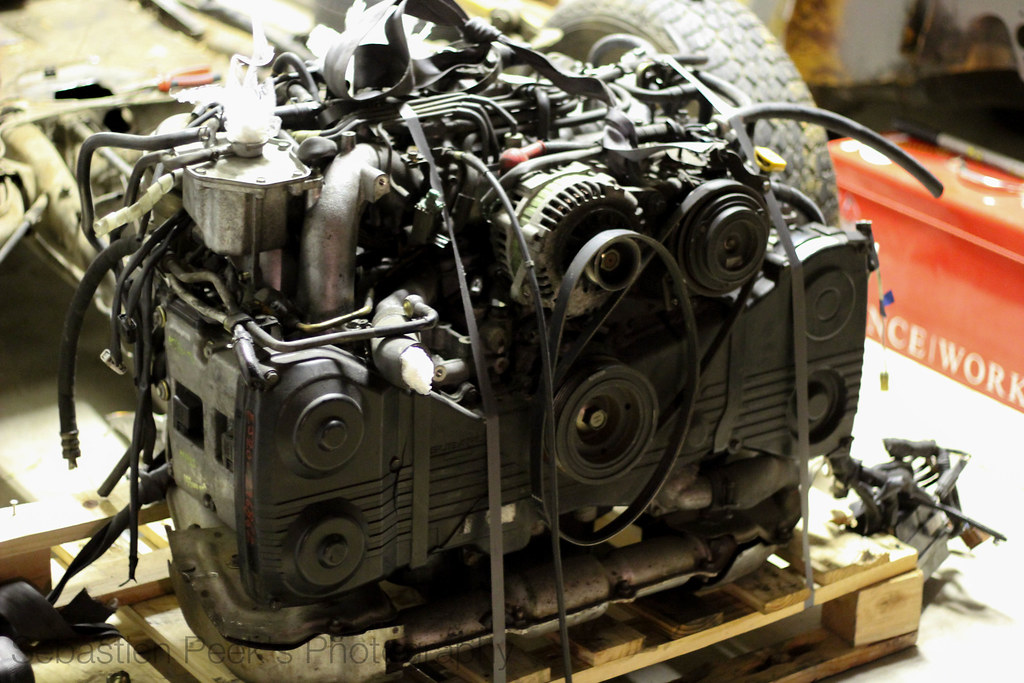
IMG_0271 by sebastienpeek, on Flickr
I soon realised this was a big mistake and sold the engine quickly.
Got one of the halves cut out. Removed spot welds from the tunnel and removed the pedal assembly.

IMG_0343 by sebastienpeek, on Flickr
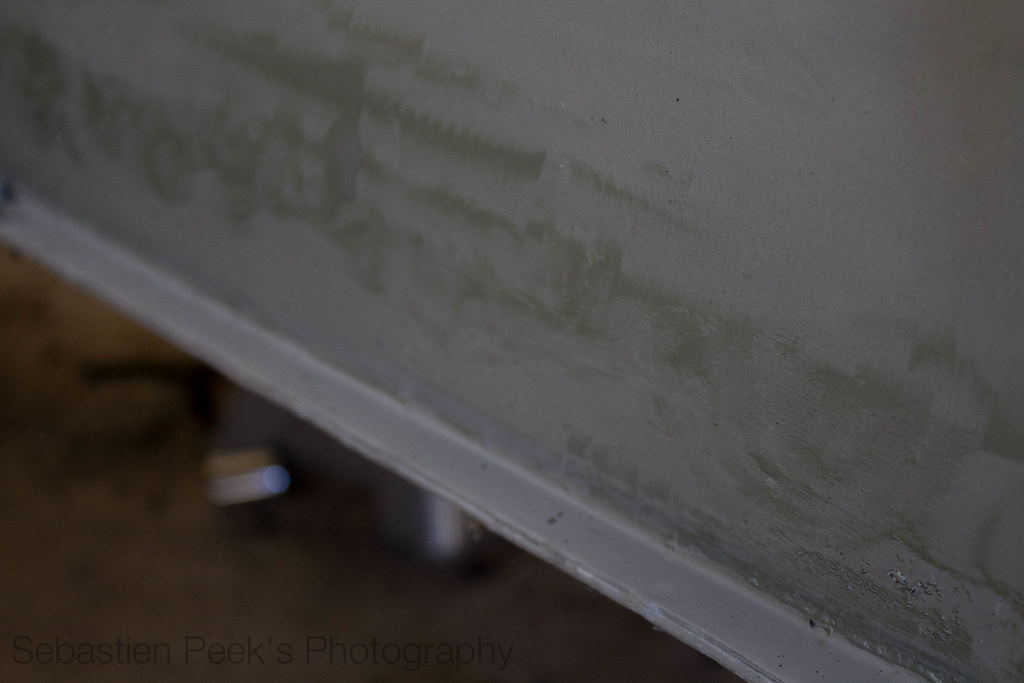
IMG_0501 by sebastienpeek, on Flickr
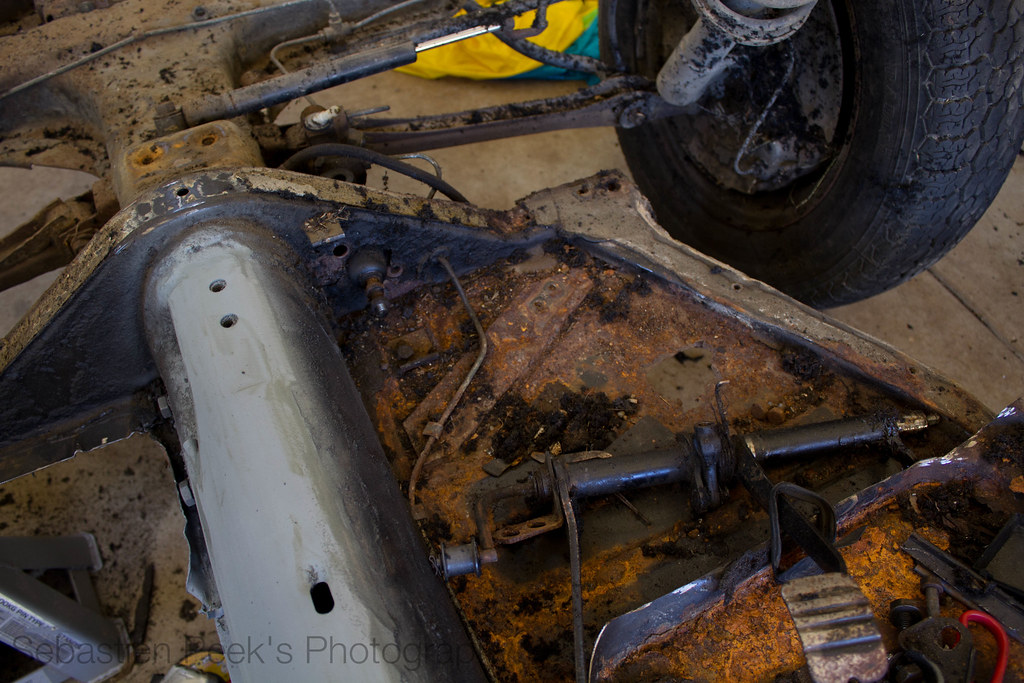
IMG_0504 by sebastienpeek, on Flickr
The worst job I have done so far is the cleaning up of the tunnel and the tarboard. It would have to be the worst thing other than the foam of death
Volkswagen filled the C pillars with that caused them to rust.
Thankfully I was able to find some rust free panels to repair the C pillars.

IMG_0508 by sebastienpeek, on Flickr
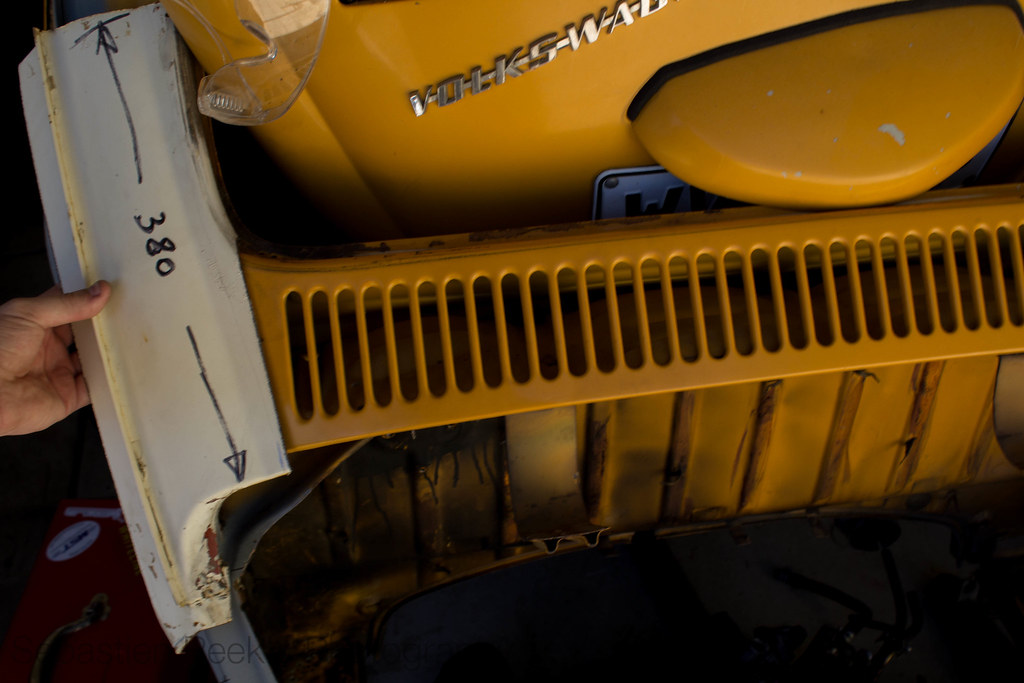
IMG_0510 by sebastienpeek, on Flickr
And that brings us up to where I currently am in the build. Both pan halves have been cut out and replacement ones ordered. I need to sort out a MIG
welder and then the welding in shall commence.
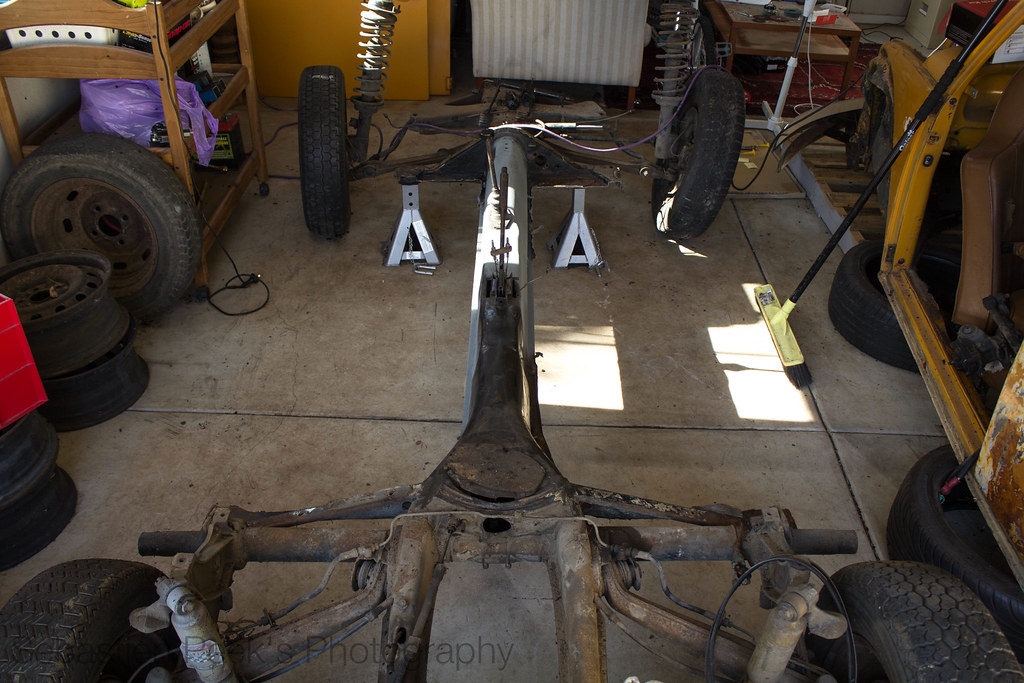
IMG_0512 by sebastienpeek, on Flickr
Just need to clean up the tunnel bits when the new pan halves come and then cut out everything that needs to be cut out before welding in the new pan
halves.
Need to source a new engine. Have got a gearbox waiting to be picked up and hopefully I can sort out all the mounts etc to dummy fit the engine and
put the body back on.
Craig Torrens - January 29th, 2014 at 08:15 PM
are you still going to use a subie motor ?
Camo - January 29th, 2014 at 08:18 PM
Wow there was some rust in that body, hope you got it cheap.
Did you get rid of the twin turbo as they are harder to fit than the single turbo's, so I am told or what was wrong with it.
You certainly have taken on a big project. Good luck with it.
Kev
bajachris88 - January 29th, 2014 at 08:22 PM
why was ej20 twin turbo big mistake?
SebastienPeek - January 29th, 2014 at 08:30 PM
| Quote: |
Originally
posted by Craig Torrens
are you still going to use a subie motor ?
|
It will still be Subaru powered. I'm in the market for a 90's WRX front cut. There's one in Adelaide that I am saving for. Hopefully it doesn't
sell by the time I have the cash.
| Quote: |
Originally
posted by Camo
Wow there was some rust in that body, hope you got it cheap.
Did you get rid of the twin turbo as they are harder to fit than the single turbo's, so I am told or what was wrong with it.
You certainly have taken on a big project. Good luck with it.
Kev
|
There is a lot of rust in the body. But I am taking my time with this build and would like to spend the time repairing the body work etc myself just
so I know the whole car.
| Quote: |
Originally
posted by bajachris88
why was ej20 twin turbo big mistake?
|
As for the twin turbo setup, I got rid of it due to the complexities of getting it to run in a normal Subaru, let alone a bug. It will be a lot easier
to purchase said front cut and use the standard ECU etc for a complete plug and play deal.
SebastienPeek - January 30th, 2014 at 06:57 PM
Everyone loves a little teaser of what's to come.
I haven't given anything away yet as to what my wheel setup was going to be, but I will most likely be running a set of RS'. Well, two sets, one for
dailying and one for shows.
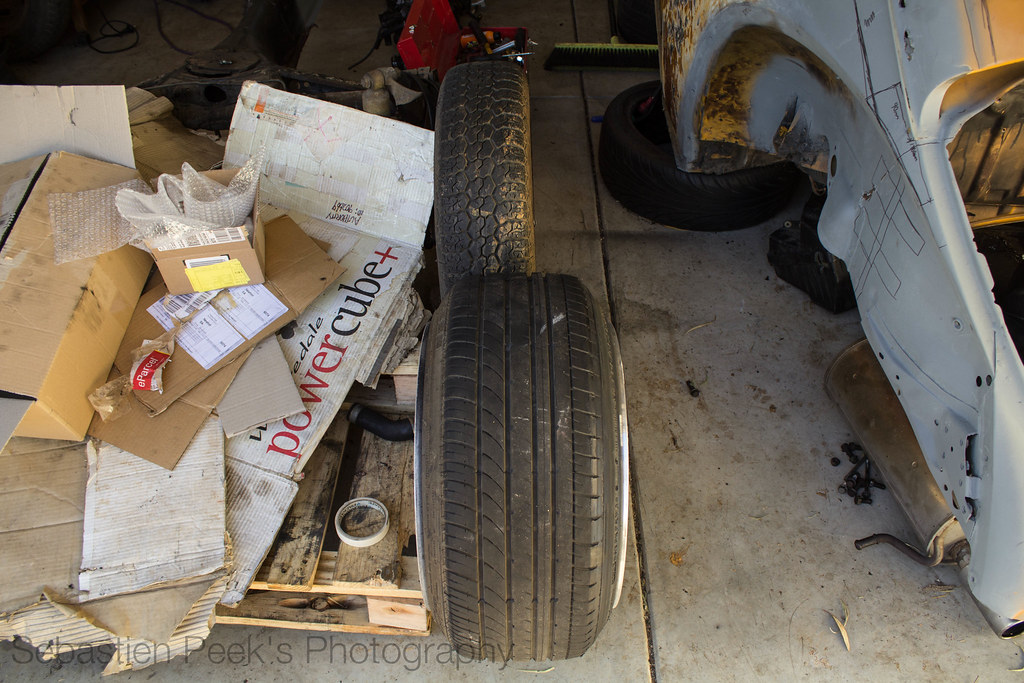
IMG_0534 by sebastienpeek, on Flickr
I figured I'd see what the RS' off the Subaru would look like just positioned where they would probably sit for real.
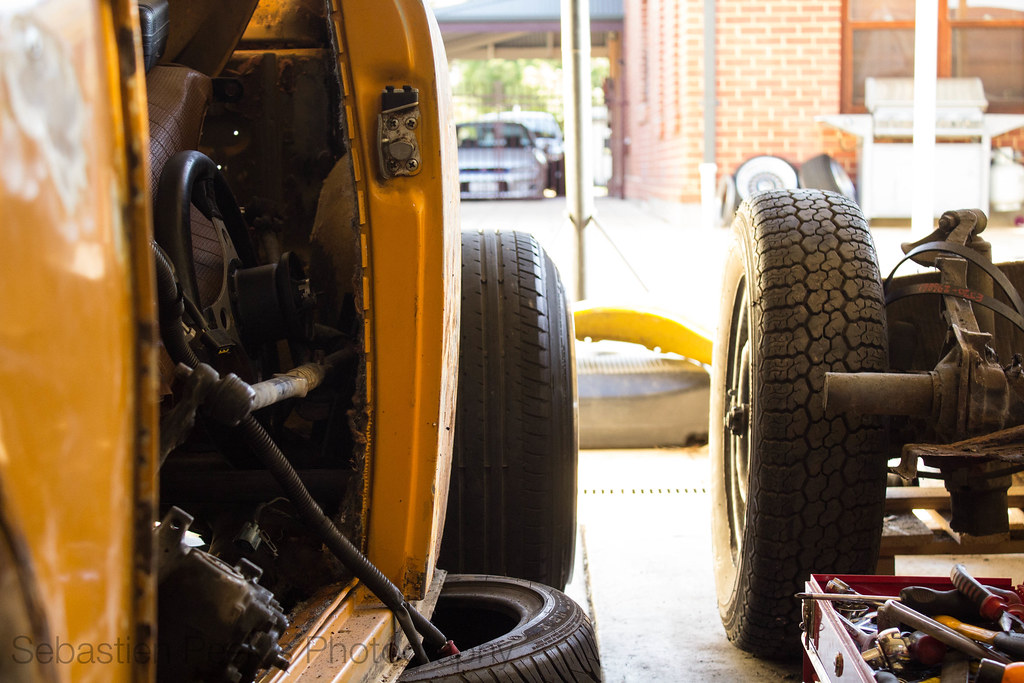
IMG_0533 by sebastienpeek, on Flickr
And a that ass photo.
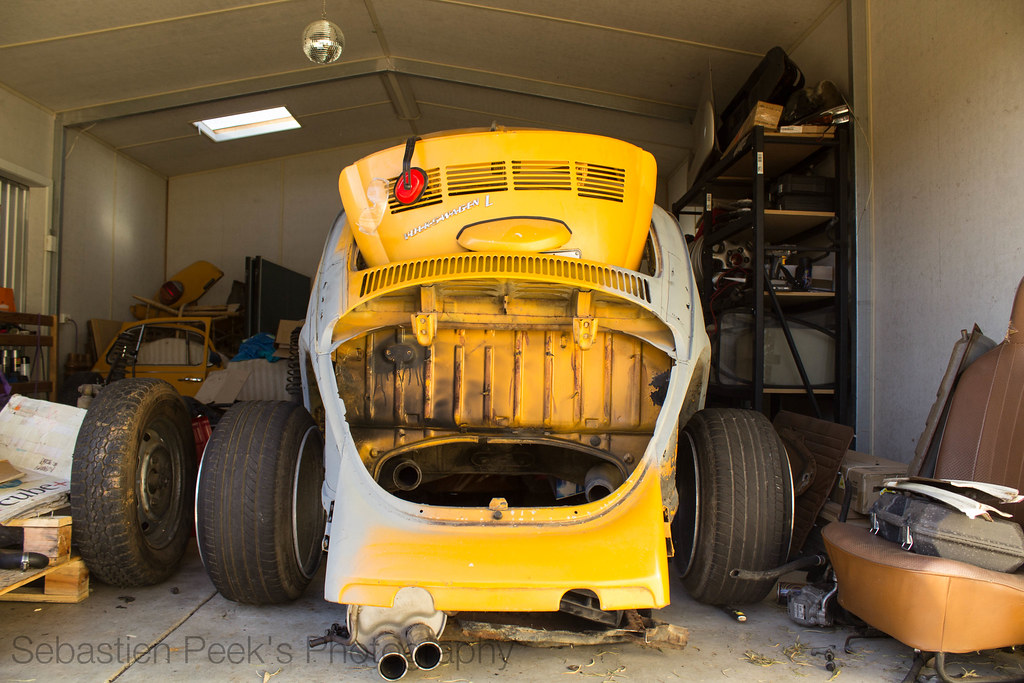
IMG_0532 by sebastienpeek, on Flickr
I may have organised a half cut today, but need to save some more cash before I can even consider it. Hopefully I can find something that will be
perfect for what I need and then I can continue along with the build. The pan halves should arrive some time next week.
1303Steve - January 30th, 2014 at 07:32 PM
Hi Seb
Good luck with this build but I cant help thinking that you would be better off with a less rusty shell, the rust above the doors is some of the worst
I've seen.
Steve
1303Steve - January 30th, 2014 at 07:33 PM
PS, Dave has some 114.3 RS that he's selling
SebastienPeek - January 30th, 2014 at 07:59 PM
| Quote: |
Originally
posted by 1303Steve
Hi Seb
Good luck with this build but I cant help thinking that you would be better off with a less rusty shell, the rust above the doors is some of the worst
I've seen.
Steve
|
| Quote: |
Originally
posted by 1303Steve
PS, Dave has some 114.3 RS that he's selling
|
Hey Steve!
I would probably be better off with another shell, but I'd like to tackle this one as I want to do as much as I possibly can on this build myself. So
fixing the rust is just a part of the build.
As for the RS', I might need to contact Dave shortly. I already have a couple of sets, but another set might need to be added to the collection.
1303Steve - January 31st, 2014 at 09:08 AM
Hi
The RS s are left over form his Cressida, he has a Lexus now, doing teh VIP thing on it.
Steve
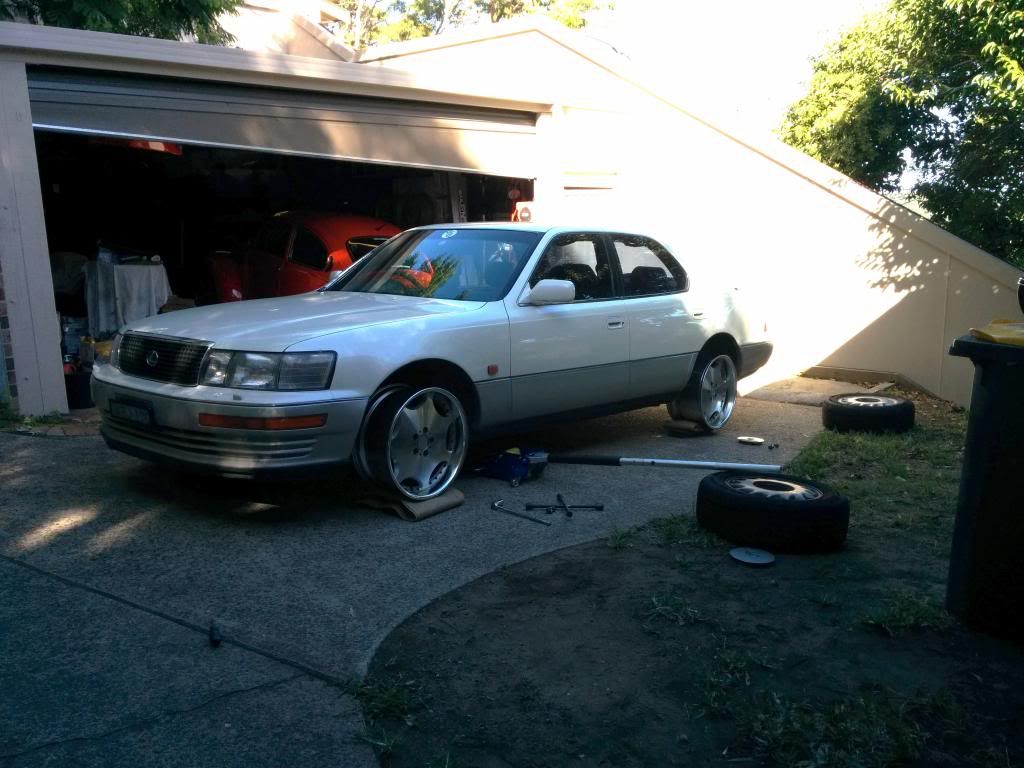
Craig Torrens - January 31st, 2014 at 10:32 AM
new type of run flats ? !
Joel - January 31st, 2014 at 12:21 PM
Must be the new 10 series tyres.....
ian.mezz - January 31st, 2014 at 01:26 PM
if you change your mind .
.
motor and loom, radiator etc
1974 (standard) Vw beetle with Subaru wrx turbo engine. Engineered and registered. Has disk brake front end, adjustable beam, porsche 5 stud /Vw 4
stud drilled hubs, HID head lights, standard interior( hood lining needs replacing) plastic rear windows with NACA ducts ( feeds air to intercooler).
Has a 97 Subaru ej20t motor with adaptor plate to a Vw gearbox. 3" custom exhaust. Radiator is up front under bonnet. Car runs well needs a few tidy
ups here n there. PORSCHE WHEELS NOT INCLUDED ( will provide stock wheels) NO TIME WASTERS OR JOY RIDERS. And NO swaps $
i think josh was after about $2700 for just the engine and adaptor set up. exhaust , cat convertor, radiator . pipes & hoses etc, give him
a call, engine 225Hp i think , give him a call, engine 225Hp
Tenambit, NSW 2323
phone josh 0413871901 or pm me
ian.mezz - January 31st, 2014 at 01:36 PM
we have struts for sale.
.
http://forums.aussieveedubbers.com/viewtopic.php?tid=104817
SebastienPeek - January 31st, 2014 at 08:43 PM
| Quote: |
Originally
posted by 1303Steve
Hi
The RS s are left over form his Cressida, he has a Lexus now, doing teh VIP thing on it.
Steve

|
Yeah, I saw Dave post it up on his Instagram, going to look boss!
| Quote: |
Originally
posted by ian.mezz
if you change your mind .
.
motor and loom, radiator etc
1974 (standard) Vw beetle with Subaru wrx turbo engine. Engineered and registered. Has disk brake front end, adjustable beam, porsche 5 stud /Vw 4
stud drilled hubs, HID head lights, standard interior( hood lining needs replacing) plastic rear windows with NACA ducts ( feeds air to intercooler).
Has a 97 Subaru ej20t motor with adaptor plate to a Vw gearbox. 3" custom exhaust. Radiator is up front under bonnet. Car runs well needs a few tidy
ups here n there. PORSCHE WHEELS NOT INCLUDED ( will provide stock wheels) NO TIME WASTERS OR JOY RIDERS. And NO swaps $
i think josh was after about $2700 for just the engine and adaptor set up. exhaust , cat convertor, radiator . pipes & hoses etc, give him
a call, engine 225Hp i think , give him a call, engine 225Hp
Tenambit, NSW 2323
phone josh 0413871901 or pm me
|
That's alright Ian, I'd like to source the parts locally as paying for freight is going to be a killer. That and I can source it locally a lot
cheaper...
I will be going a proper coil over kit from CSP. Thanks though!
cam070 - January 31st, 2014 at 09:32 PM
Seb, if you need a bit of panel to fix rust in the rear drivers side quarter, I have a bit of OG panel I can sell you. t is rust free and POR15
treated on the inside to protect against future cancer attacks. Cheers Cam
lou0060 - February 3rd, 2014 at 06:54 PM
hi Seb, good to see all that stuff i sent you on the TT wasn't wasted!! 
I think going single turbo is a wise desicion particularly on a street car as the TT is just too complex and tight without major cutting. looking
forward to seeing progress.
SebastienPeek - February 3rd, 2014 at 08:33 PM
| Quote: |
Originally
posted by lou0060
hi Seb, good to see all that stuff i sent you on the TT wasn't wasted!! 
I think going single turbo is a wise desicion particularly on a street car as the TT is just too complex and tight without major cutting. looking
forward to seeing progress.
|
I do appreciate your help Lou, I really do! It definitely helped me make my decision on going with a single turbo as it was just too much more work as
I had to piece together the engine etc.
Anyway, my pan halves rocked up today so I was over the moon. I spent a couple of hours outside so that was great. Was cleaning up the tunnel a bit
more and then I got a little carried away on the body.
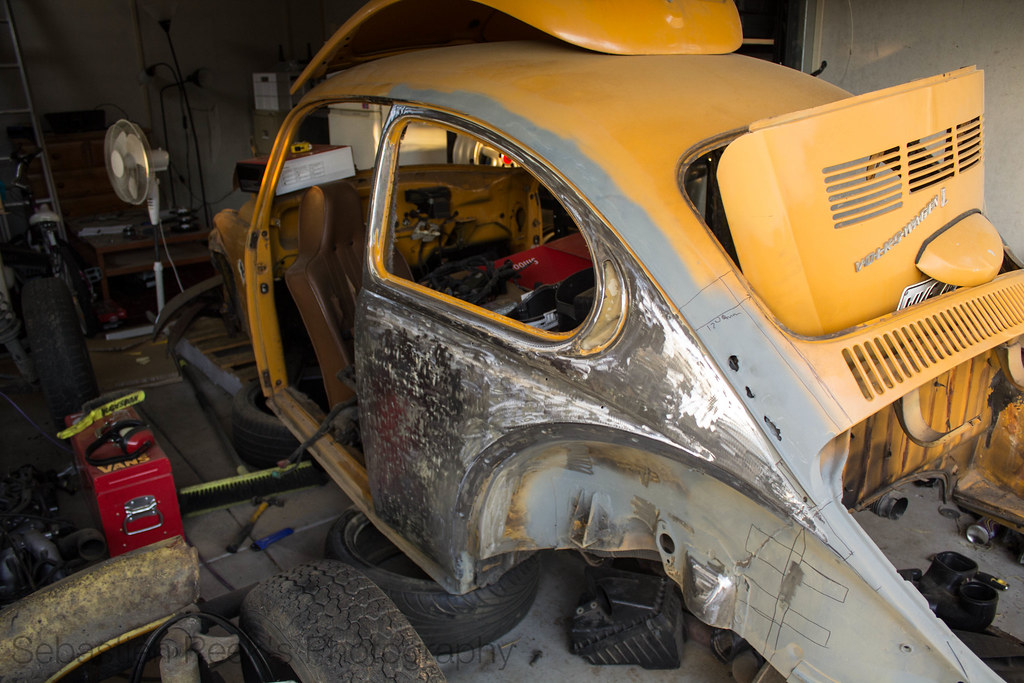
IMG_0623 by sebastienpeek, on Flickr
So I got it back to bare metal while hunting for rust. Didn't find any thankfully and then sealed it all with galv.
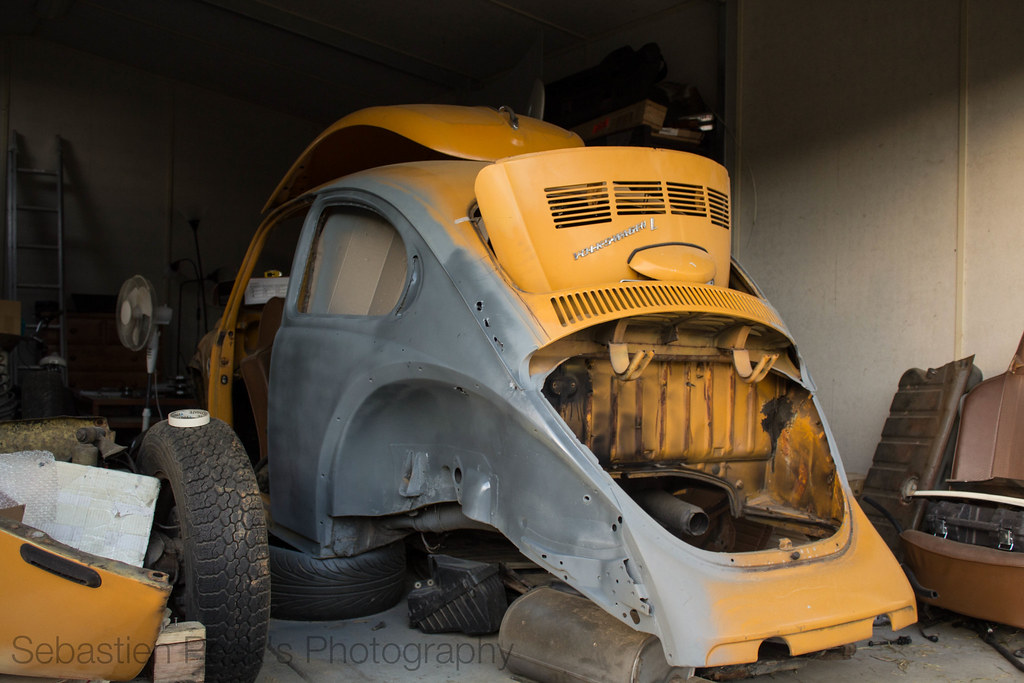
IMG_0627 by sebastienpeek, on Flickr
And here are the pan halves.
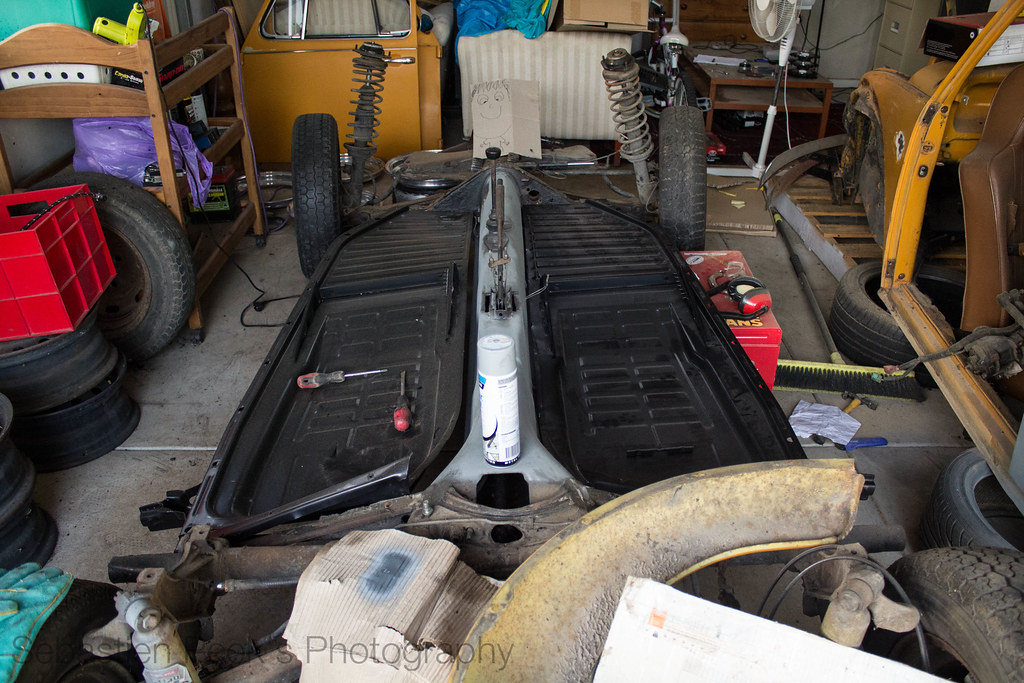
IMG_0629 by sebastienpeek, on Flickr
So excited. Going to keep the standard seat rails but just adapt the ones on the bottom of the current seats I have to use them with some Bride's I
reckon.
Might spend some time this week rubbing back the rear guards so I can see how much I need to widen them. Also sorted out my brake setup for the
moment, purchasing the setup I had on Zelda back. Exciting times ahead.
1303Steve - February 4th, 2014 at 09:44 AM
Hi Seb
There's a car on German Look now with rust above the doors like your car, he has photos up of his repair, the user is GL 1303.
As the door opening is the same on flat screen cars cars you should be able to get donor parts from flat screen cars.
Steve
SebastienPeek - February 5th, 2014 at 09:19 PM
Hey Steve,
Just had a read. Looks like I've definitely got my work "cut" out for me!
Now just need to find a donor shell, or find a 74 shell that is in a lot better condition and use that.
Thanks!
SebastienPeek - February 14th, 2014 at 04:36 PM
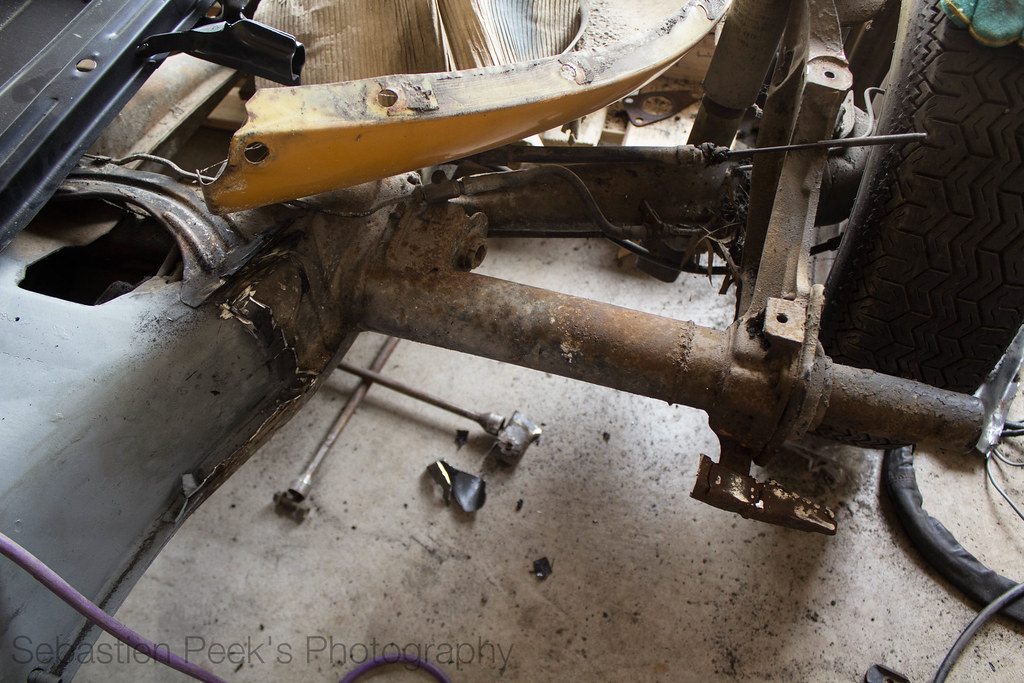
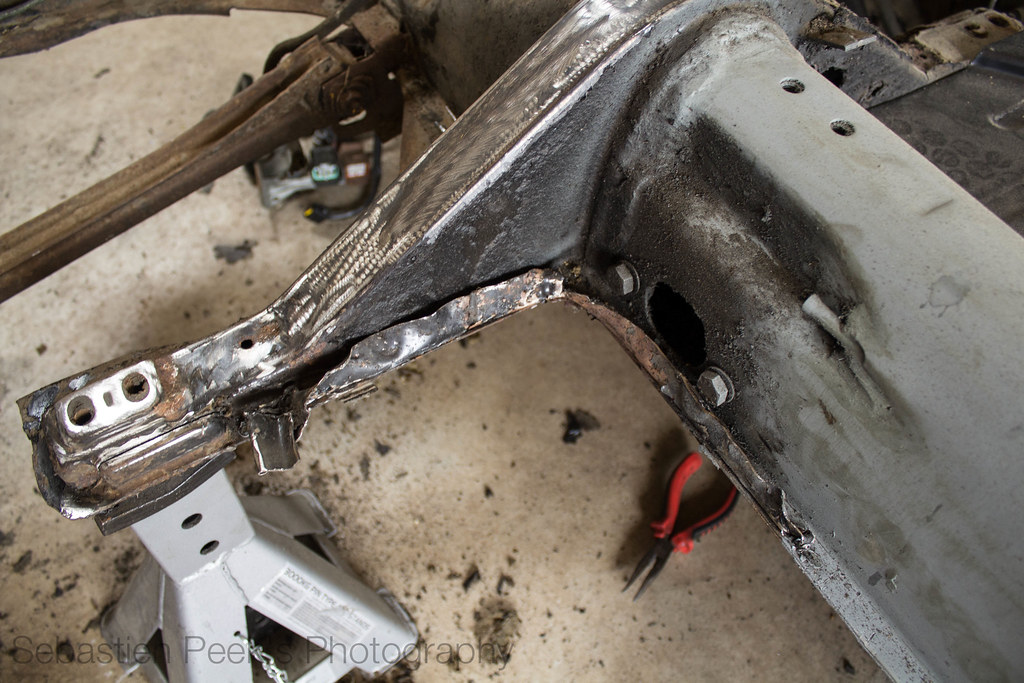
So, I spent a bit cleaning up the tunnel. Now the majority of the previous pan is gone, need a chisel to get the rest of it.
IMG_0668 by sebastienpeek, on Flickr
IMG_0666 by sebastienpeek, on Flickr
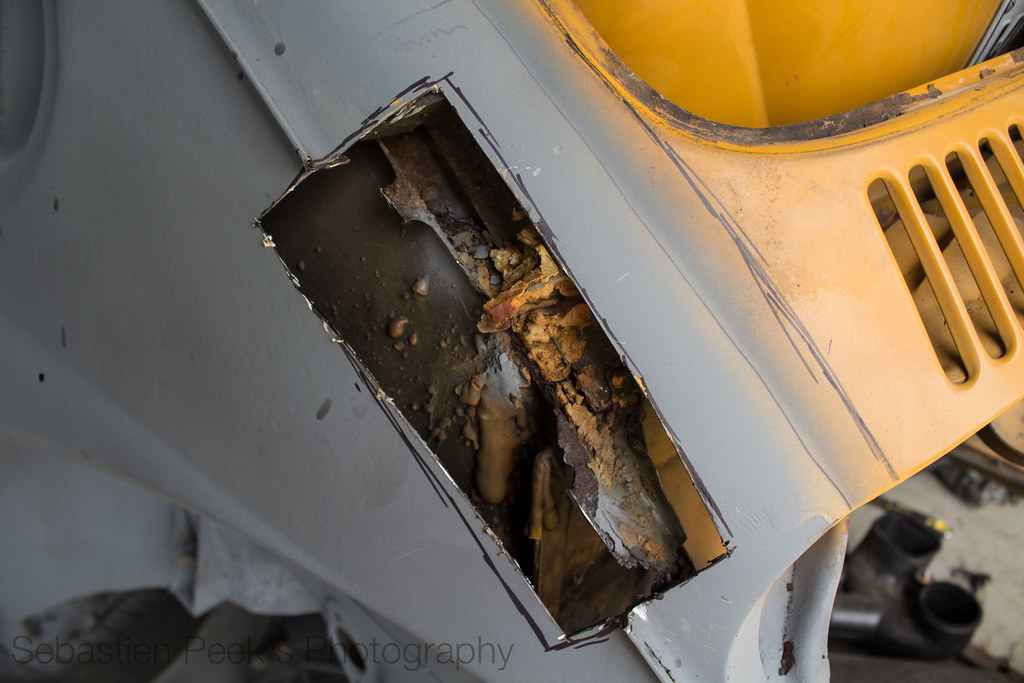
Then today I moved on to the body. Finally grew some balls and cut out the rust in the C pillar, to find more rust.

IMG_0659 by sebastienpeek, on Flickr
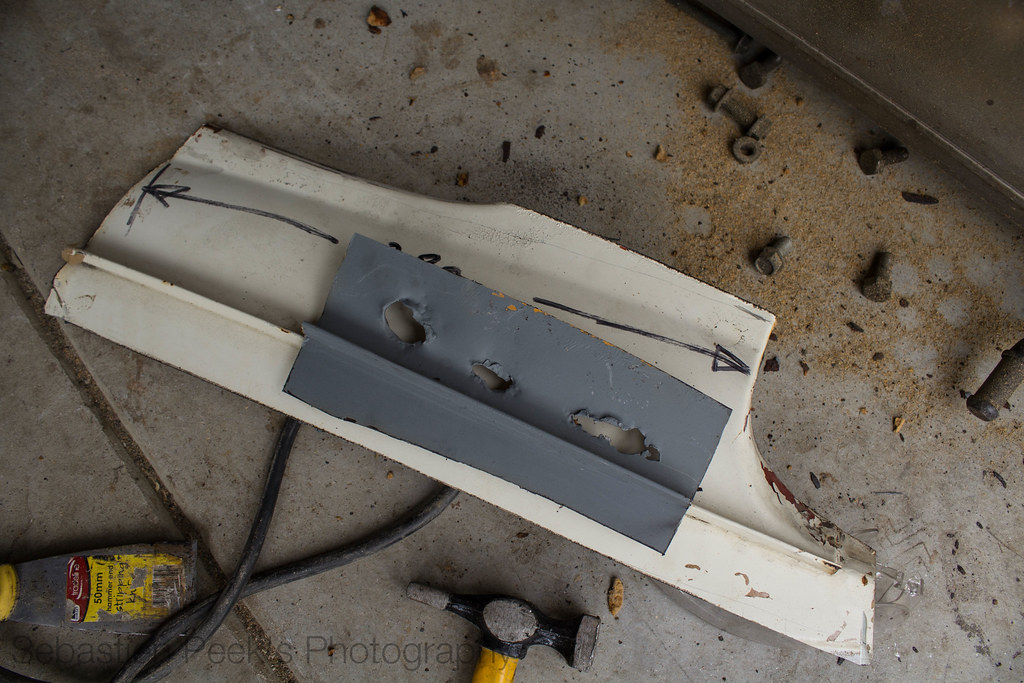
Replacement panel compared to cut out panel. Measure twice, cut once.
IMG_0660 by sebastienpeek, on Flickr
IMG_0655 by sebastienpeek, on Flickr
Now I can get rid of the foam of death a bit more with this nice little access hole I have made.
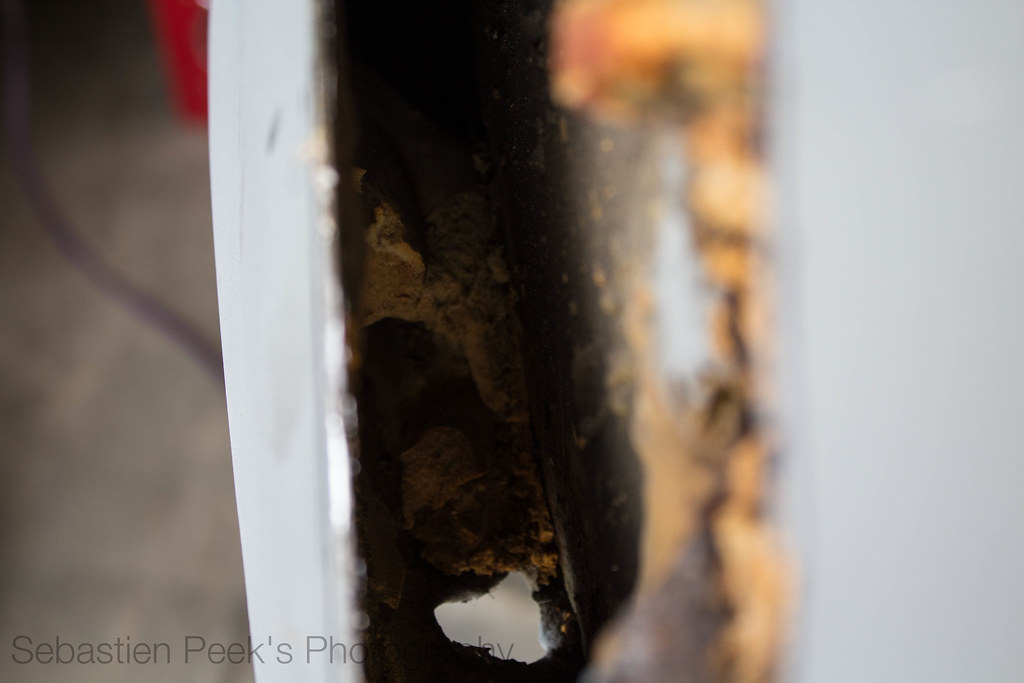
IMG_0658 by sebastienpeek, on Flickr
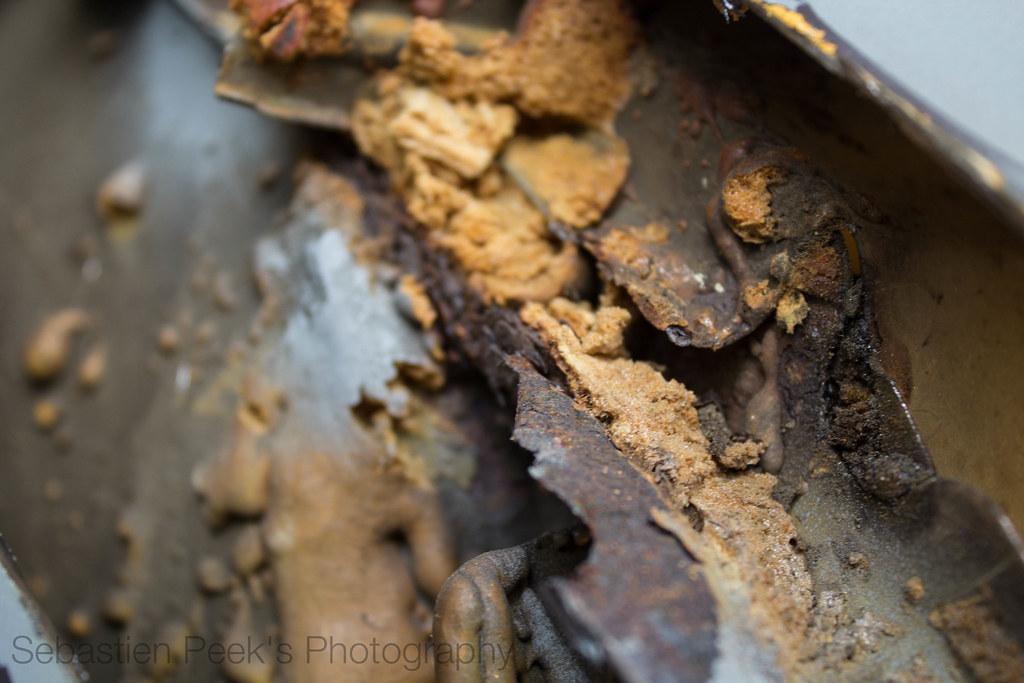
IMG_0656 by sebastienpeek, on Flickr
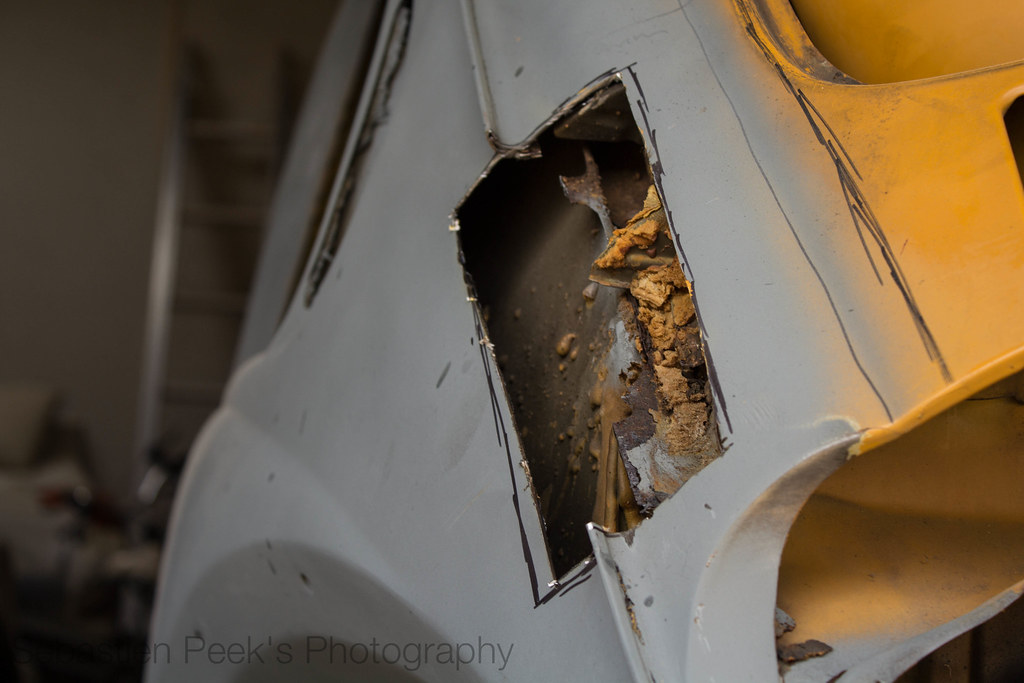
IMG_0665 by sebastienpeek, on Flickr
Still need to pick up some filler rod and some sheet metal. Then I can repair all this rust in the rear of Gretl and move on to the front.
SebastienPeek - February 15th, 2014 at 06:02 PM
Spent some time out on Gretl this morning/afternoon. Went out this morning to get some filler road and a cold chisel to get the rest of the old pan
halves off the tunnel.
Cleaned up the foam of death in the body some more.
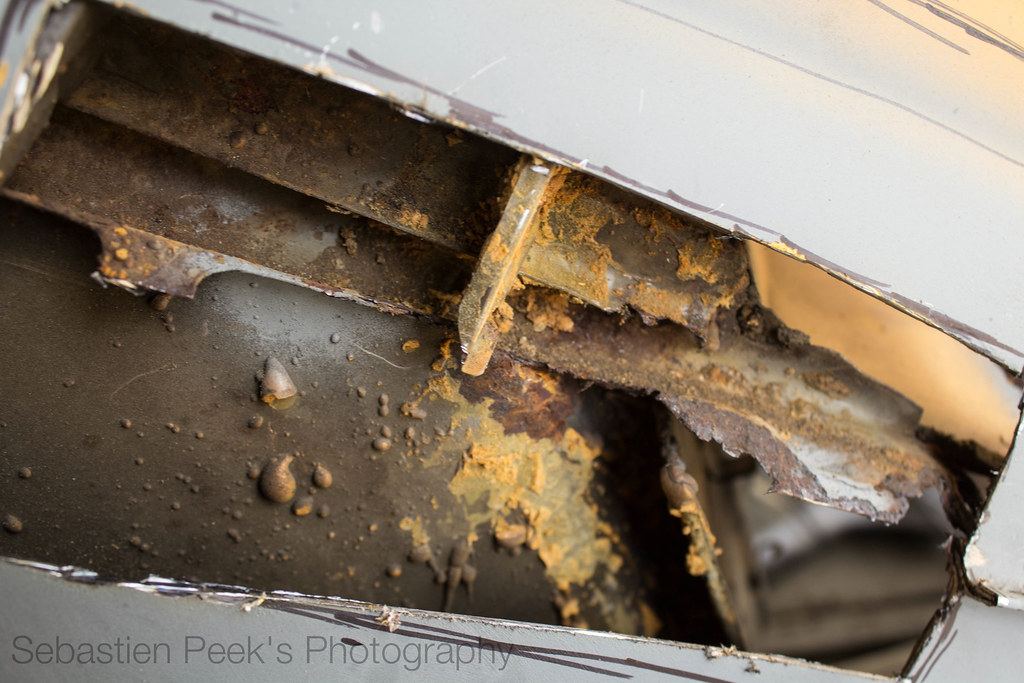
IMG_0669 by sebastienpeek, on Flickr
Then got on to some welding. Decided I'd get the passenger pan tacked in and run some welds to strengthen it all up. One at the front and one at the
rear.
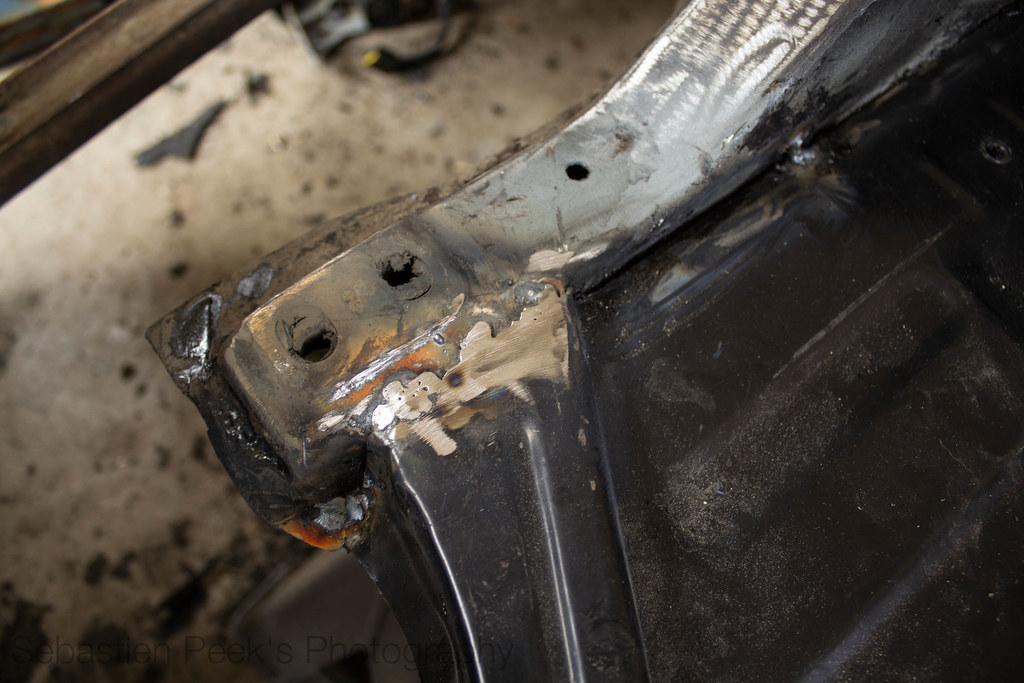
IMG_0671 by sebastienpeek, on Flickr
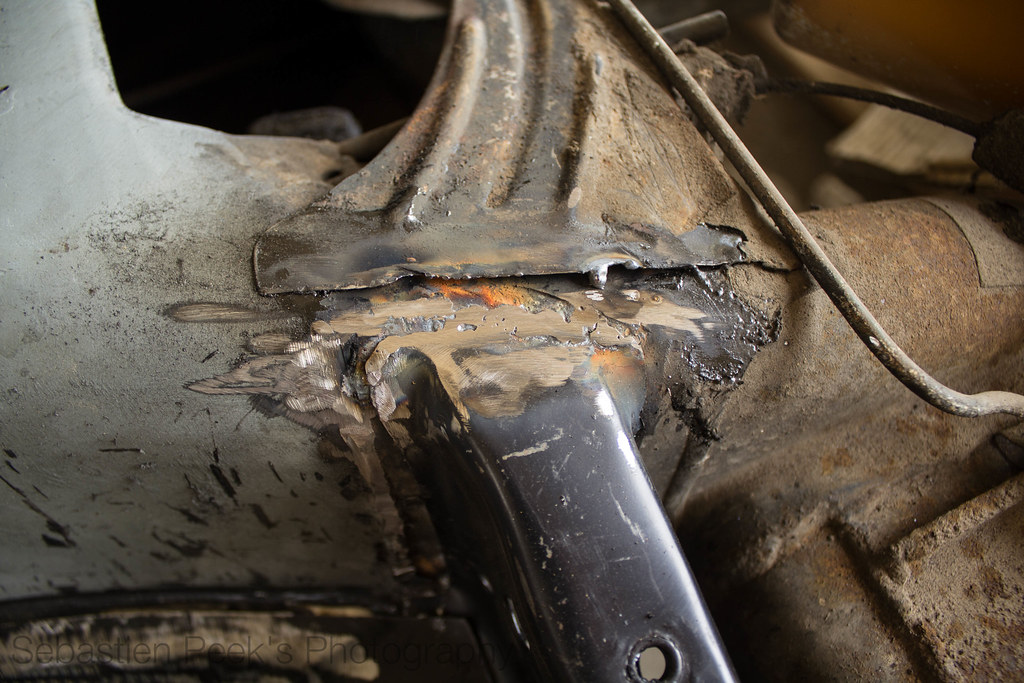
IMG_0672 by sebastienpeek, on Flickr
Then coated them with some galv. Still need to weld them in properly, maybe tomorrow or during the week some time.
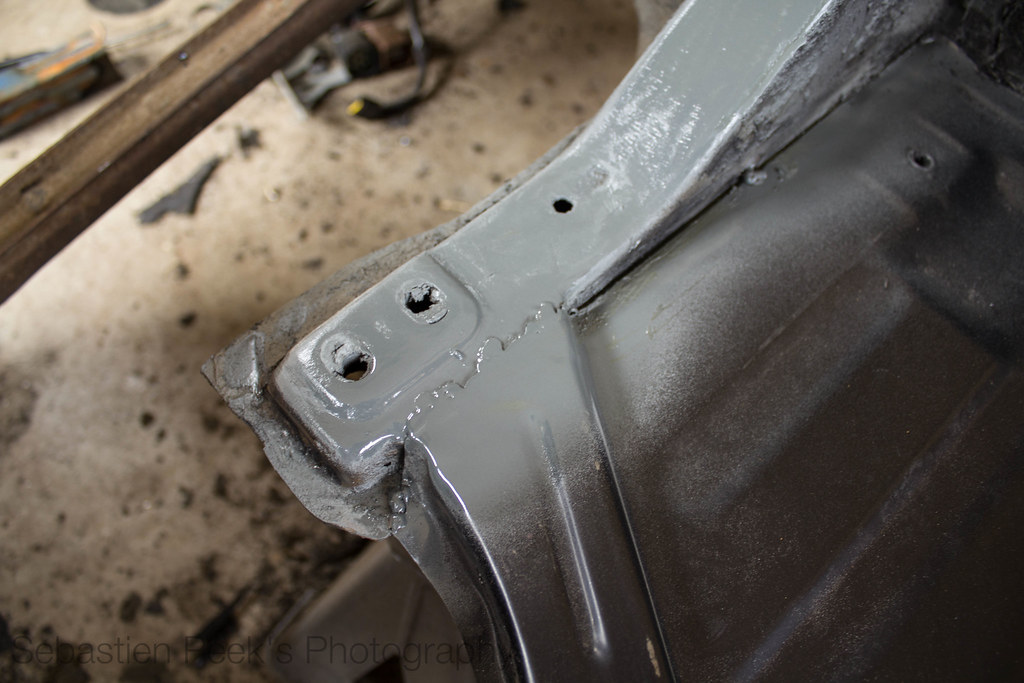
IMG_0673 by sebastienpeek, on Flickr
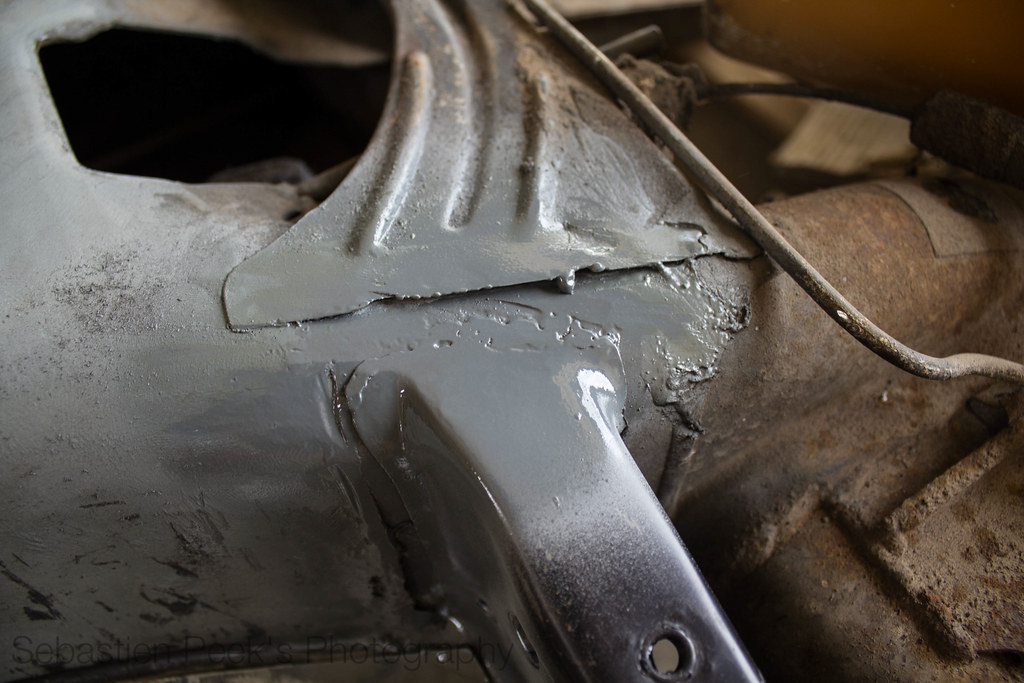
IMG_0674 by sebastienpeek, on Flickr
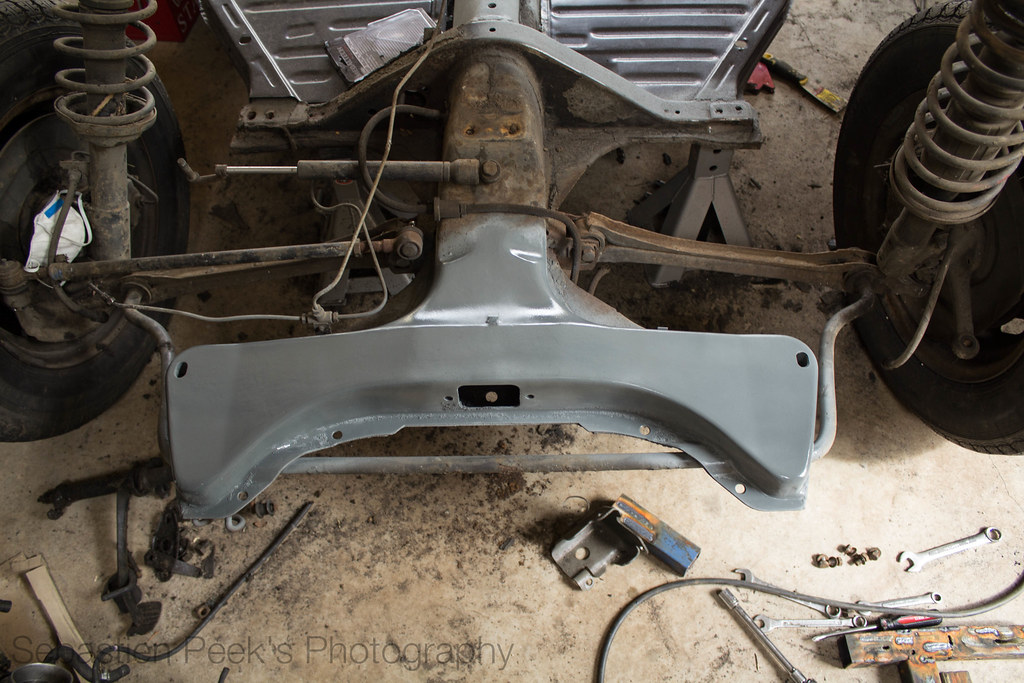
Then I figured I'd start cleaning up the front framehorn. Removed the bulkhead thingy, and got it all back to bare metal. The majority of it anyway.
Then coated in galv.
IMG_0675 by sebastienpeek, on Flickr

IMG_0678 by sebastienpeek, on Flickr
After I took those photos I was not happy with my progress for the day so spent some more time cleaning up the front framehorn. I didn't get any
photos, but the next step is to remove all the brake lines and the front suspension entirely. Then I can clean up the whole lot, including where the
control arms bolt on.
Might start ordering front suspension setup to get it rolling properly.
SebastienPeek - February 20th, 2014 at 10:42 PM
Went out into the garage tonight and got stuck into the pan a bit more.
I finally got all the front suspension disconnected. I removed it all in one piece, so at some point I'll need to disconnect the sway bar, then
separate the spindle from everything else as that is all that I'm going to be reusing.

IMG_0681 by sebastienpeek, on Flickr
Got camber?

IMG_0683 by sebastienpeek, on Flickr
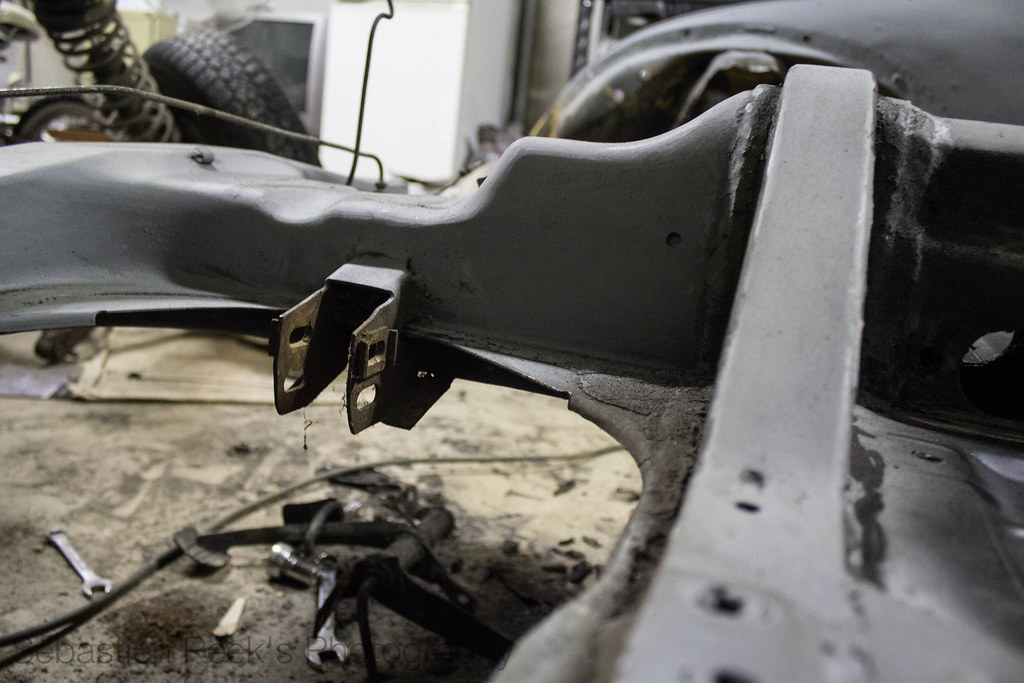
It seems Gretl was in a very big front left quarter hit. Where the LHS control arm connects to the chassis, it seems to have had a dodgy repair at
some point.
RHS, which is factory from what I can tell.

IMG_0684 by sebastienpeek, on Flickr
LHS, which has been welded in funky and bent up a bit.
IMG_0686 by sebastienpeek, on Flickr
Here is a shot from top down.

IMG_0689 by sebastienpeek, on Flickr
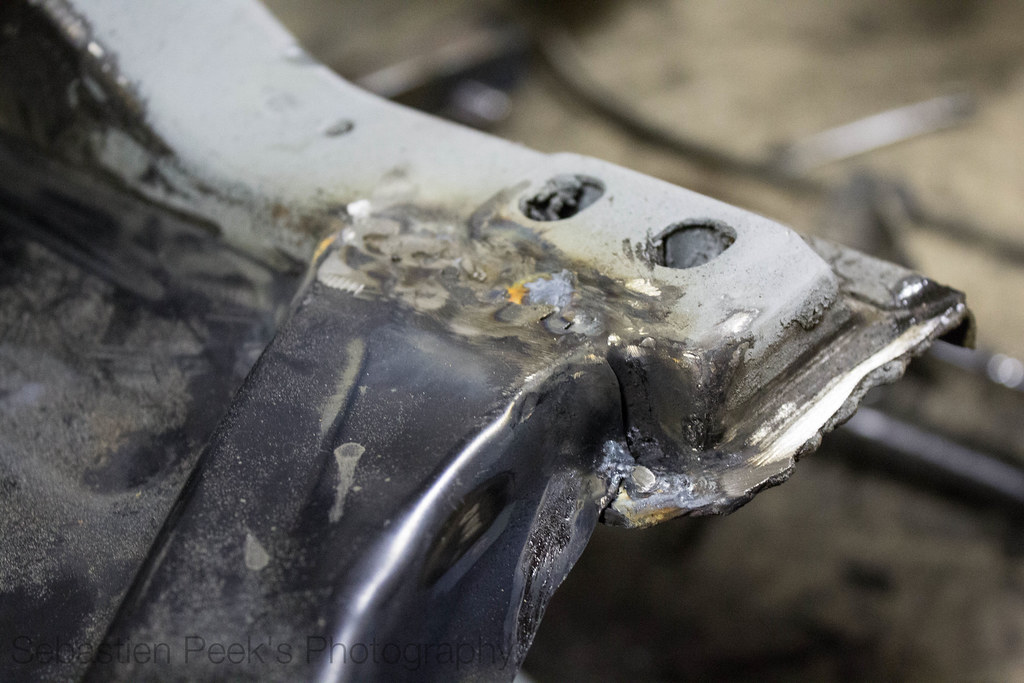
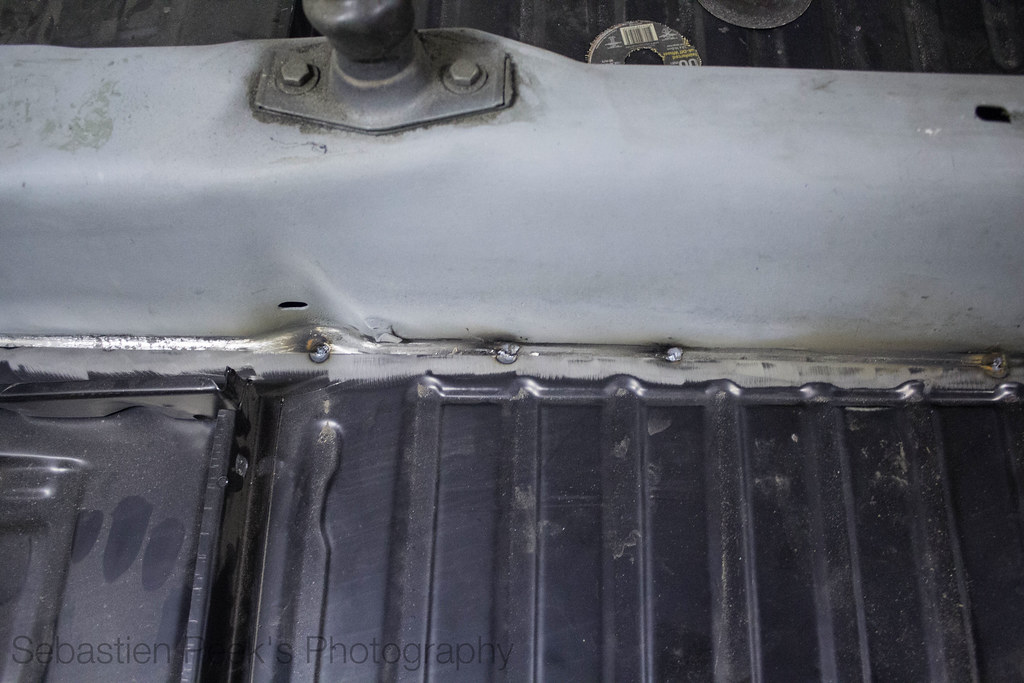
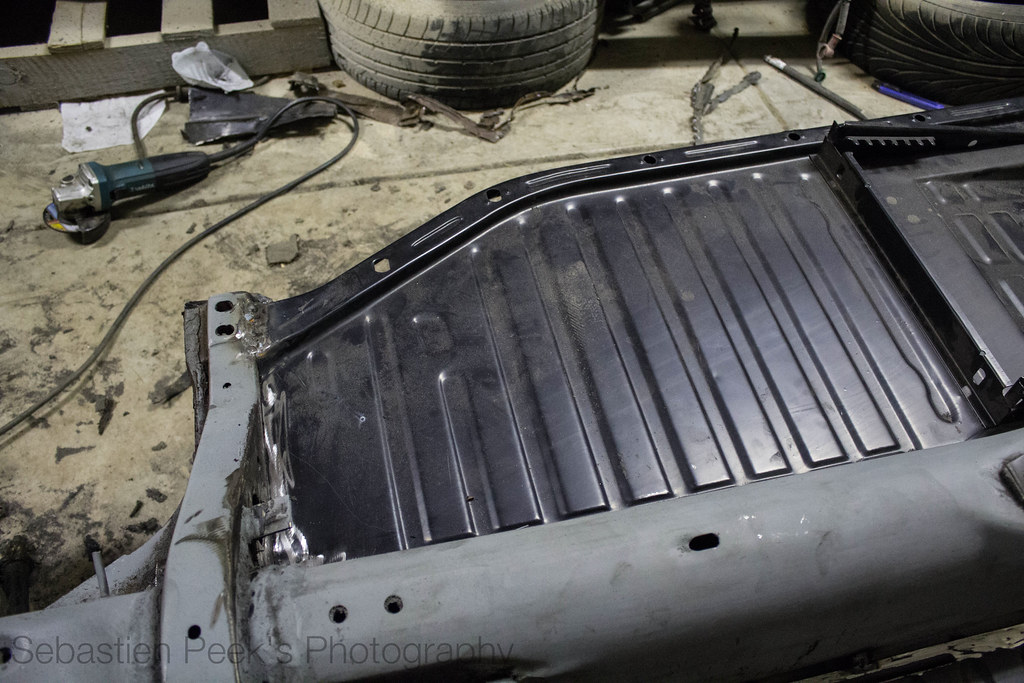
Anyway, what started as me just removing the front suspension soon turned into me cutting out the rest of the previous pan, and cleaning up the
tunnel, to then tacking in the new pan half.
IMG_0690 by sebastienpeek, on Flickr
IMG_0691 by sebastienpeek, on Flickr

IMG_0692 by sebastienpeek, on Flickr

IMG_0695 by sebastienpeek, on
Flickr
IMG_0687 by sebastienpeek, on Flickr
The welds along the front and rear aren't the best, but they're strong and I haven't blown any holes through the very thin metal that makes up the
replacement half.
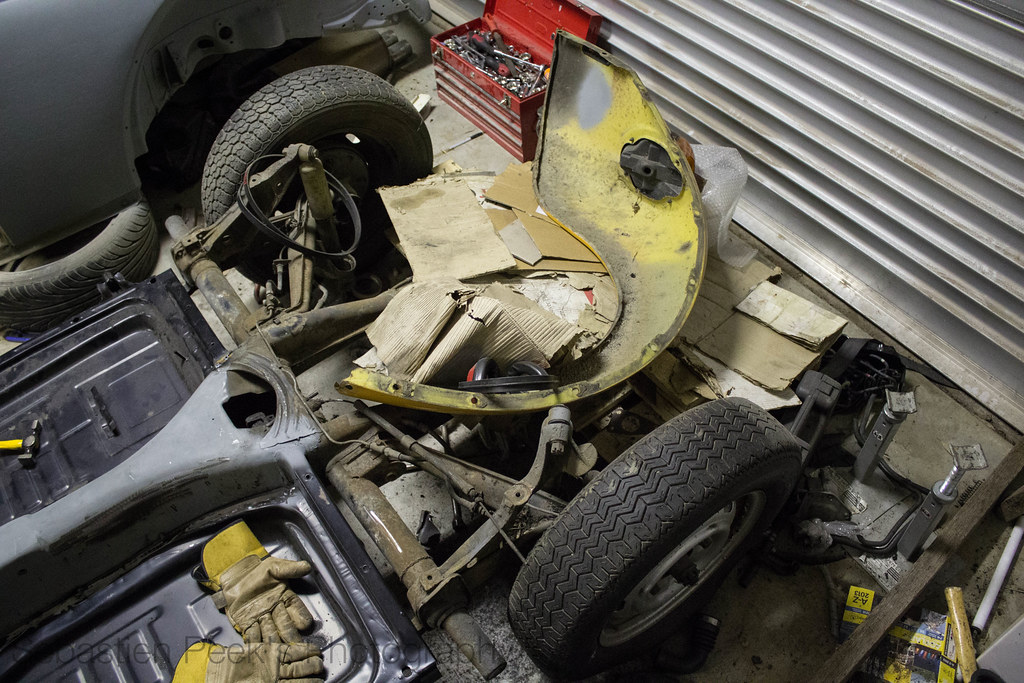
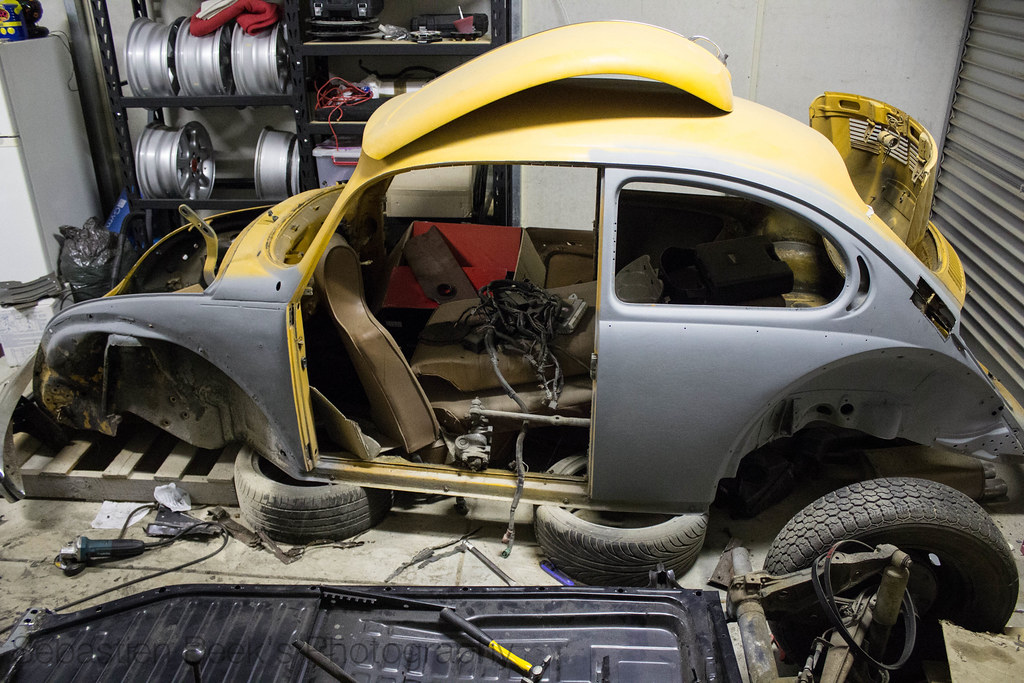
Next week I'll be cleaning up the garage a bit as it has become very messy. I'm tempted to also put the shell onto the pan half, clean up the other
side of the garage and build some more shelving while it's clear.

IMG_0697 by sebastienpeek, on Flickr
IMG_0696 by sebastienpeek, on Flickr
IMG_0698 by sebastienpeek, on Flickr
Until next time.
dragsters for life - February 21st, 2014 at 08:54 AM
nice thread boss, very detailed


