
My none super 71 super, engine tin ware, new pump and T4
punchbuggyracer - June 17th, 2007 at 09:32 PM
Went to the Kombi fest today. So much inspiration. Was told to post my bug so here goes.
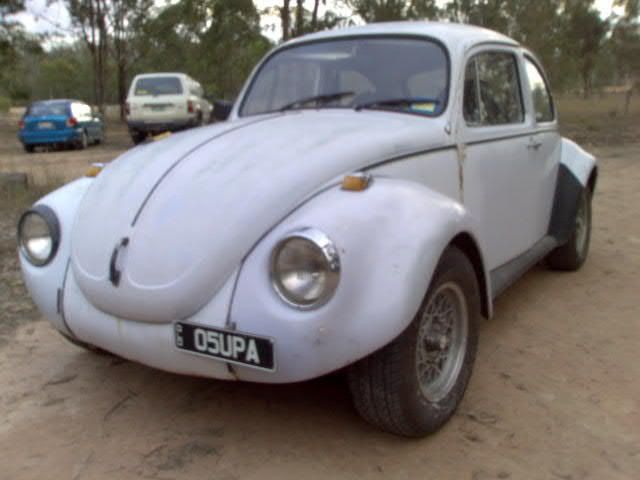
Its finally registered but off the road... again. I bought a set of new mahle 85.5 pistons and cyclinders at the fest so hopefully they will fix the
current problem. At the moment it has a 1500 single port struggling to do the job.
Converted the suspension to 1303 to make way for the turbo 944 brakes.
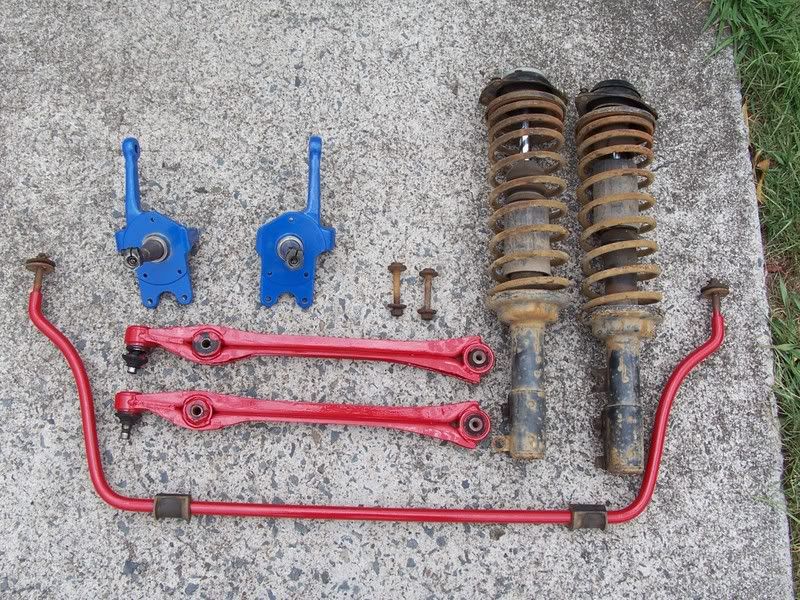
Installed with new urethane rubbers
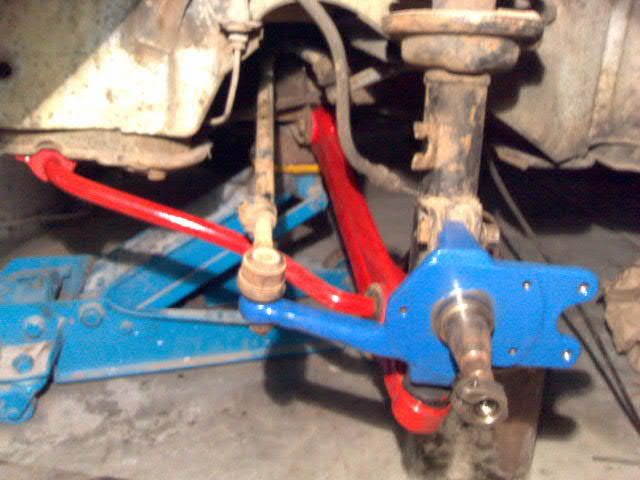
Boy these 1303 lower control arms twist alot.
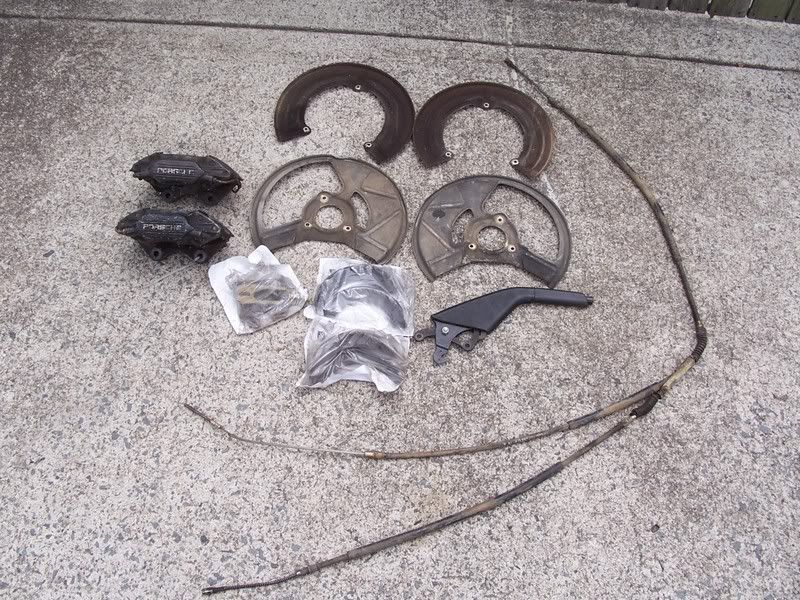
944t front calipers
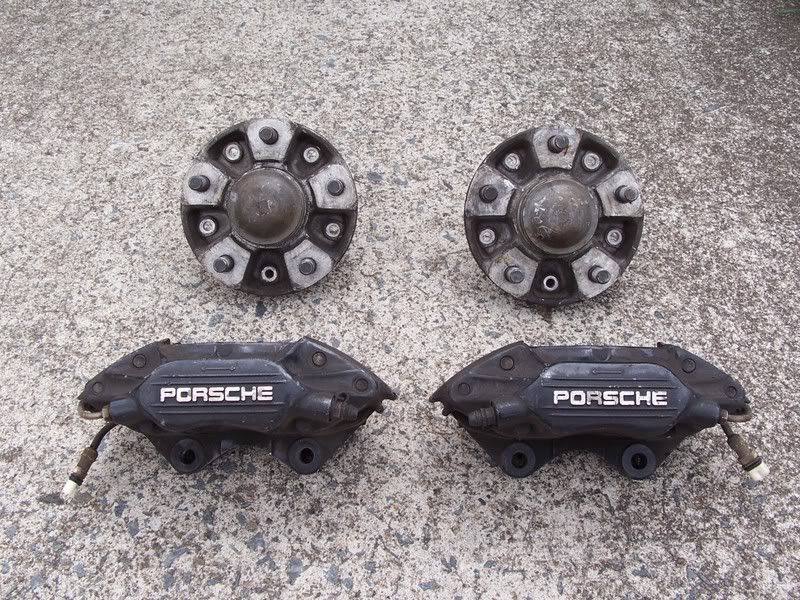
944t rears
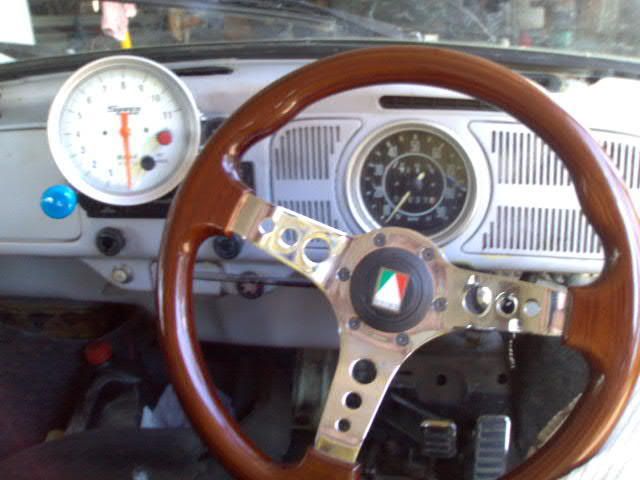
installed monster tacho
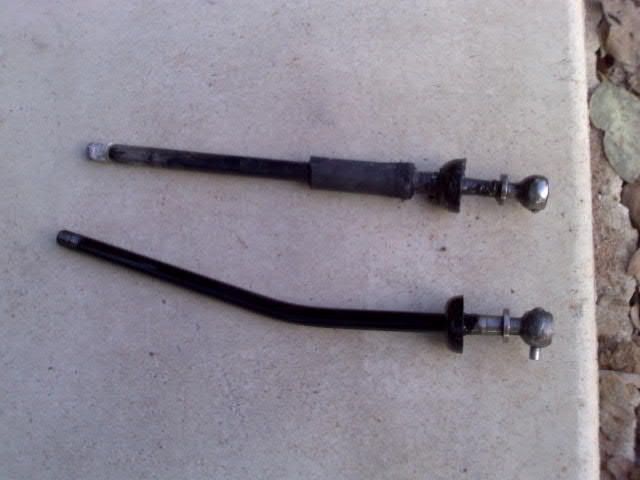
installed T3 shifter and quick shift
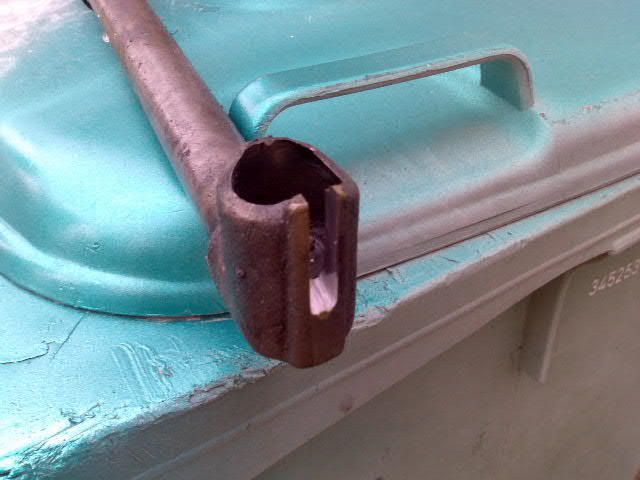
slotting of shift rod
Sorry about the dodgy photos i used my mobile phone on most of them. I need to take some other photos of some other bits and pieces i have yet to put
in, audio and lighting.... I used to have a honda civic.
It'll be two weeks till the car is going again cause my Dad is going away this week end and im not brave enough to install the new barrels myself.
[ Edited on 13-7-2007 by punchbuggyracer ]
[ Edited on 2-8-2007 by punchbuggyracer ]
[ Edited on 2-9-2007 by punchbuggyracer ]
punchbuggyracer - June 18th, 2007 at 09:43 PM
My old engine rests
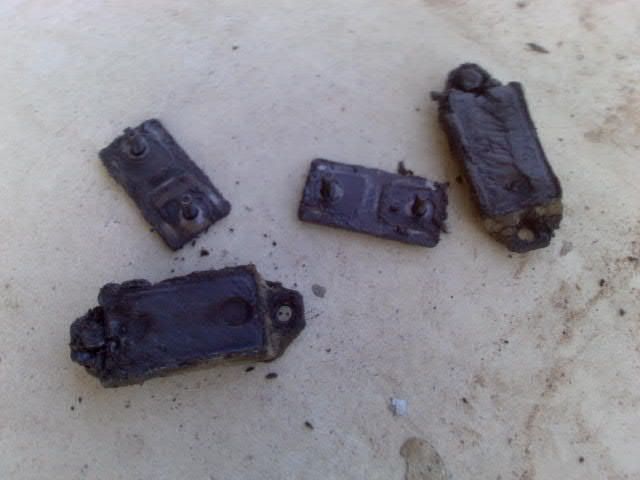
My new engine mounts
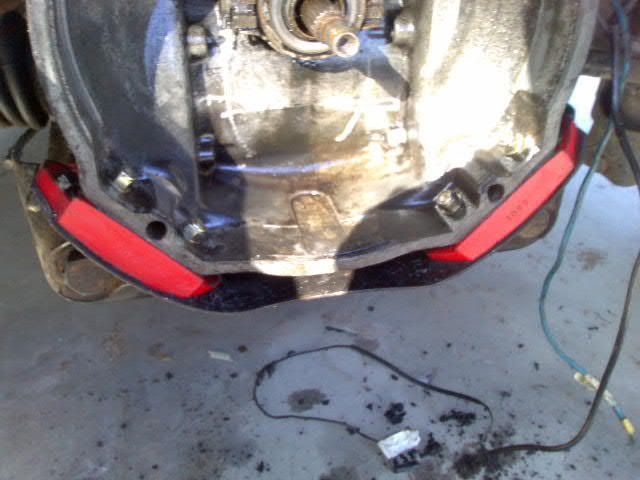
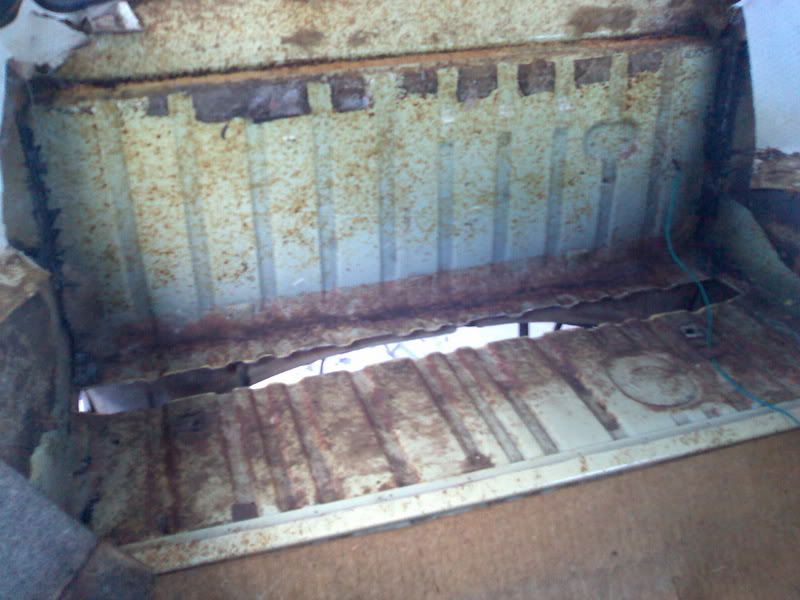
I pulled up the rubber floor cover to check the rust situation and wasnt happy with the small holes i found
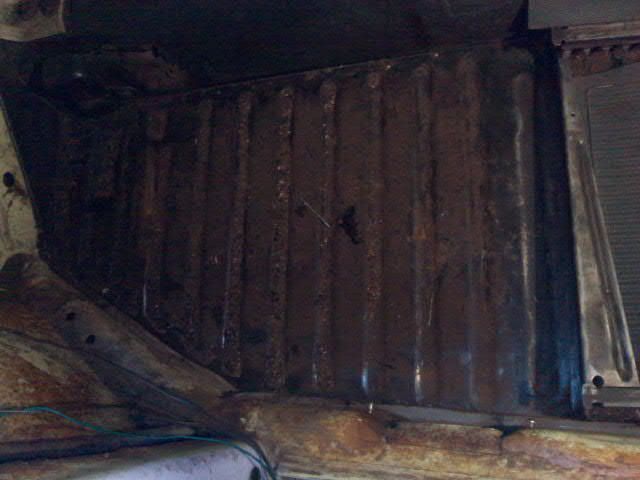
then i looked in the back......
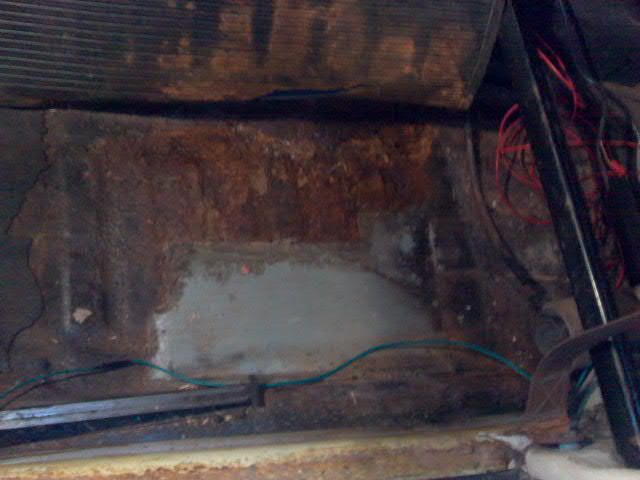
yes they are sheets of galvanised steel, pop rivots and silicon.
and i swear this is the exact same pic out of VWMA two issues ago...
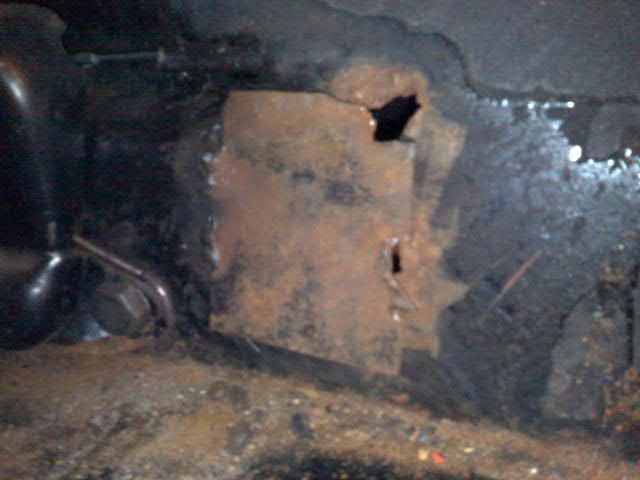
someone's obviously had ago at the fuel lines or something.
Every one loves ICE.
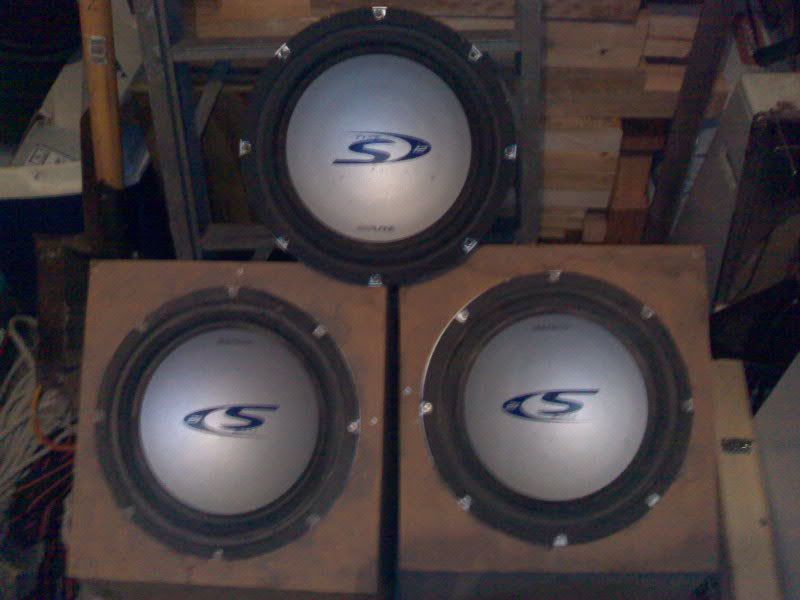
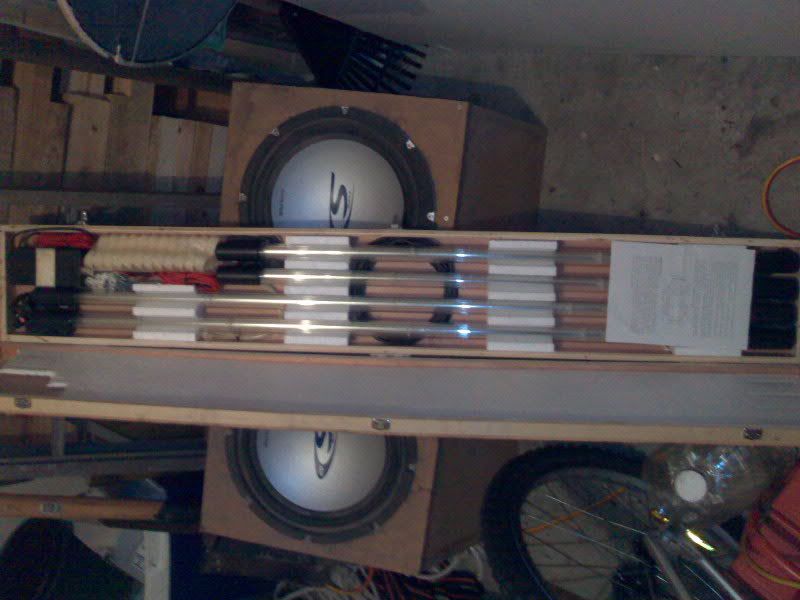
and like a moth I to am attracted to lights.
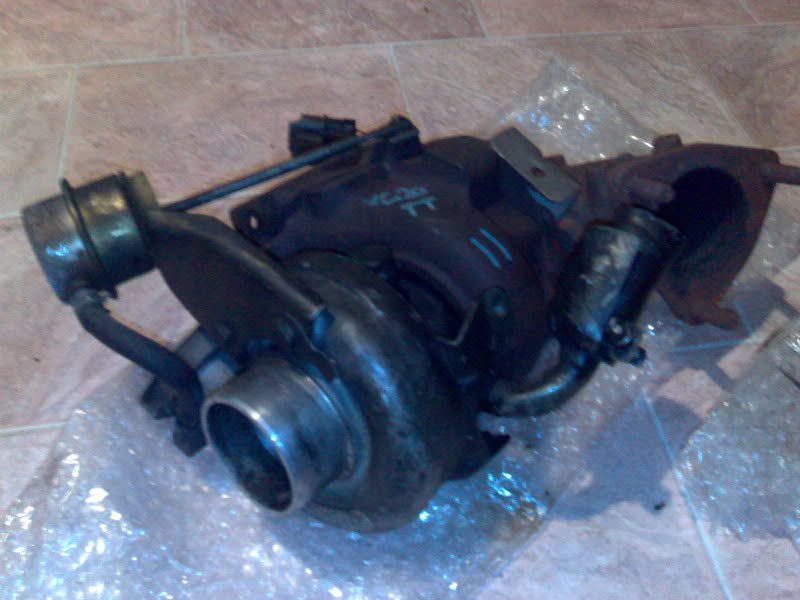
the turbo
the intercooler
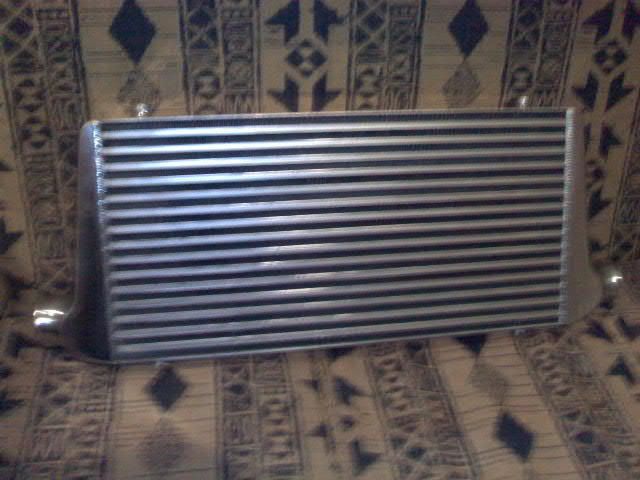
Okay the last two arent really in my plans at the moment but they are mine and they were ebay specials
turbo $100
intercooler $150
blowing off every rice burner i come across....
PRICELESS!
punchbuggyracer - June 28th, 2007 at 08:26 PM
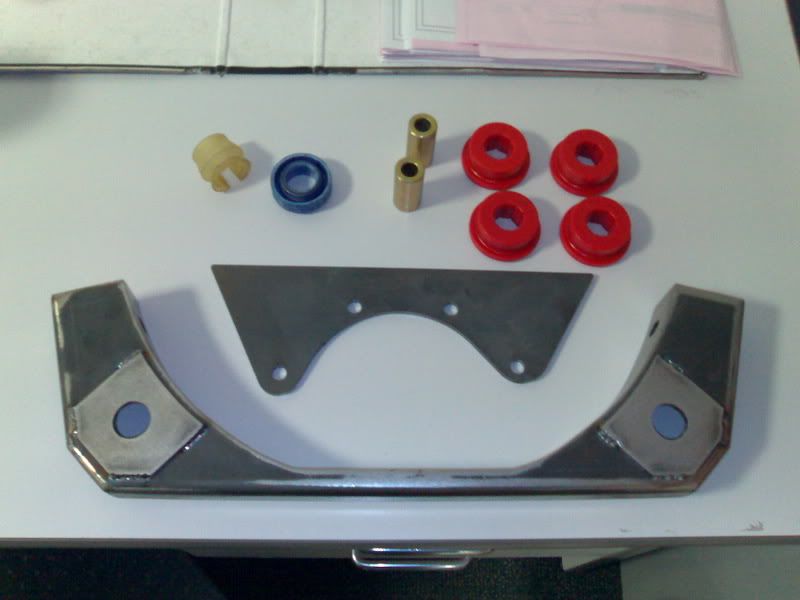
Another big weekend a head since some parts just arrived from V-FORCE. Reverse engine cradle, Berg style front mount, a standard gearbox seal (since
the gearbox was going to be out anyway) and a shifter rod bush (I dont have one at the moment-or a reverse 'lock out' because of it). I'll be
moving the engine forward for the better weight distrabution. And Ive had to take the exhaust off so many times to get the engine "back" out it
just made sense.
bond - July 2nd, 2007 at 04:01 PM
cool. another qlder!!!
nick
liltimmy1300 - July 2nd, 2007 at 05:58 PM
Mate, that looks absolutely tops! what sort of turbo is it?
punchbuggyracer - July 3rd, 2007 at 03:19 PM
Is that Nick Nick? from the kombi fest?
Its a Garret with a .48AR turbine I dont know how good it is though. It doesnt feel like it spins freely. I would like given the chance to use it to
make a draw through setup.
Small progress on the Berg style mount. Here is my mock up
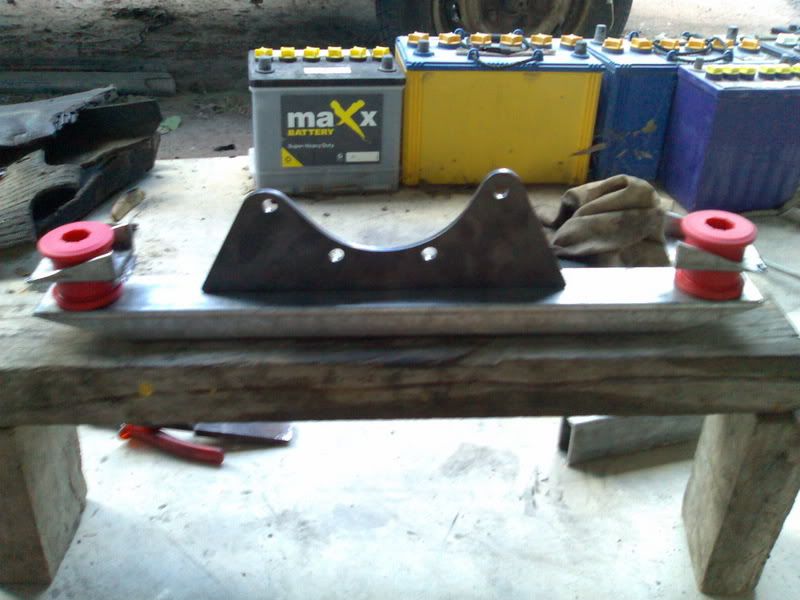
Ive moved the fire wall foward 75mm, to make room for the reverse cradle. Some people like Westi would be familier with speed holes and other hi tech
methods. I generly us a more unortherdox approach. Some others might be familiar. Generlly know as 'brute force' these savage are all i know. I
would love to have the skills of Westi but I don't, but I will still continue to mod my car myself.
Coal chiseled the spot welds off in the cabin.
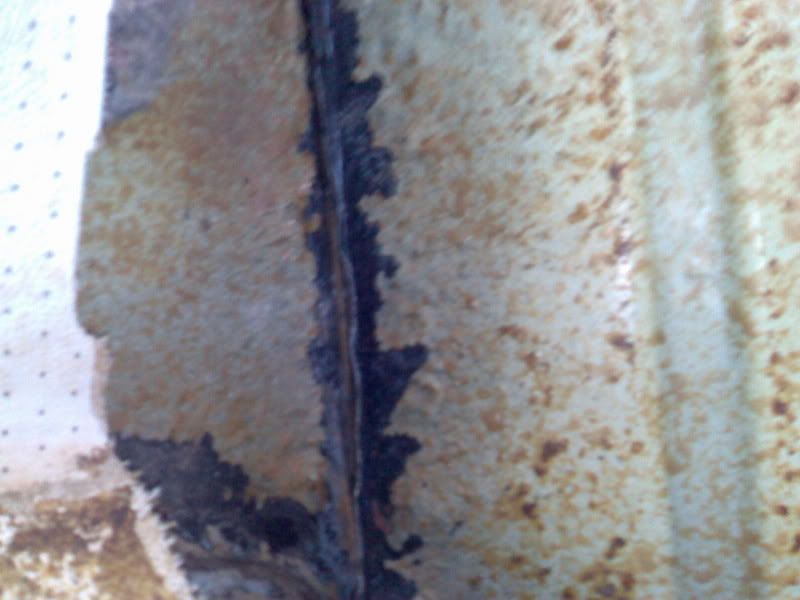
Angle grinded 65mm out to allow for 10mm over lap.
Cut both of these tabs off in the engine bay (one was already broken).
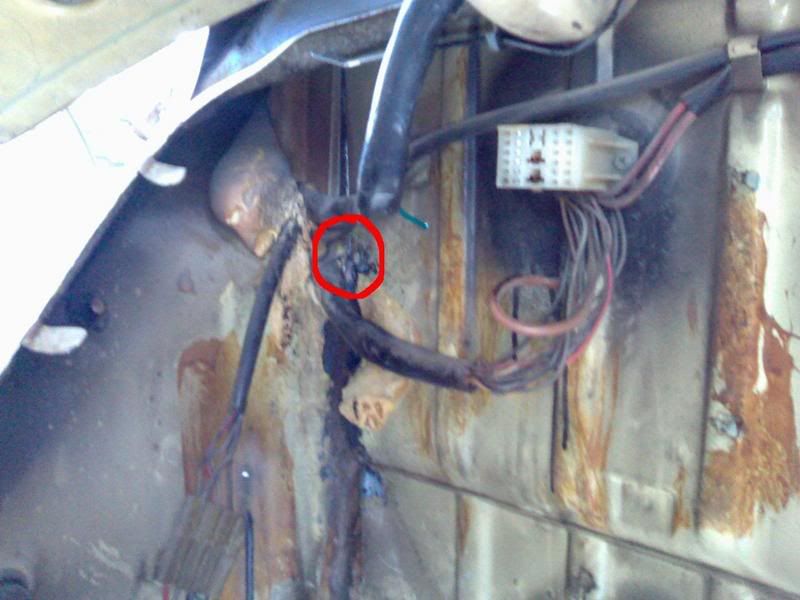
And cut these tabs off from behind the rear wheels
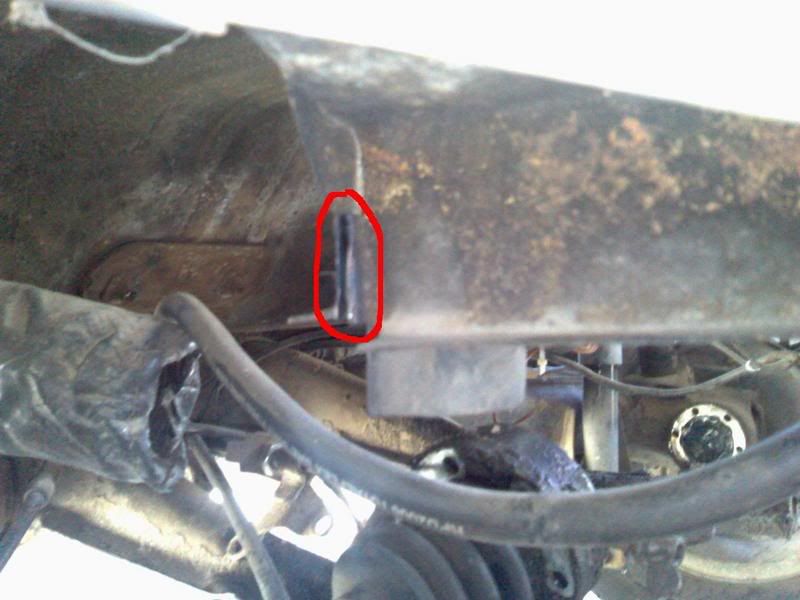
cut a section out in the engine bay to make removing spot welds easier on both sides (will add a section in this week end)
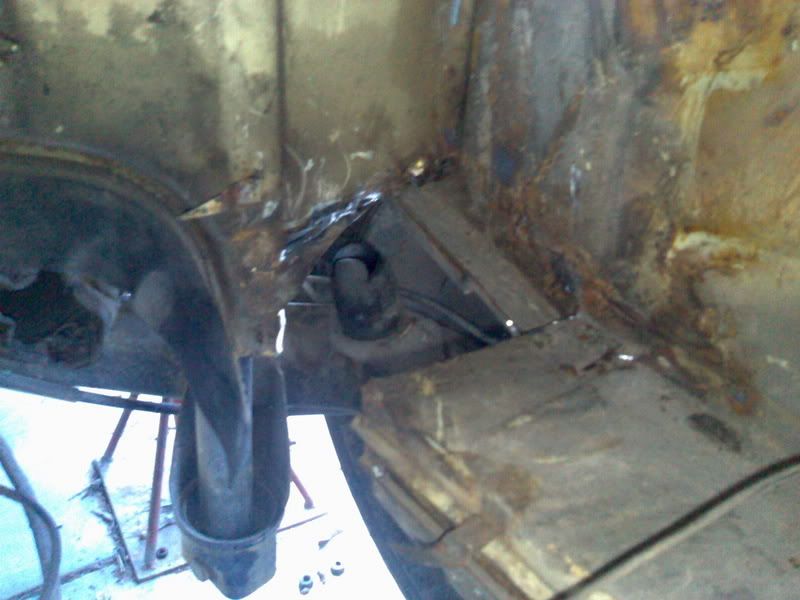
The fire wall was now free. I now had to do some clearancing to move the wall forward. This is the bit in the engine bay on the right side.
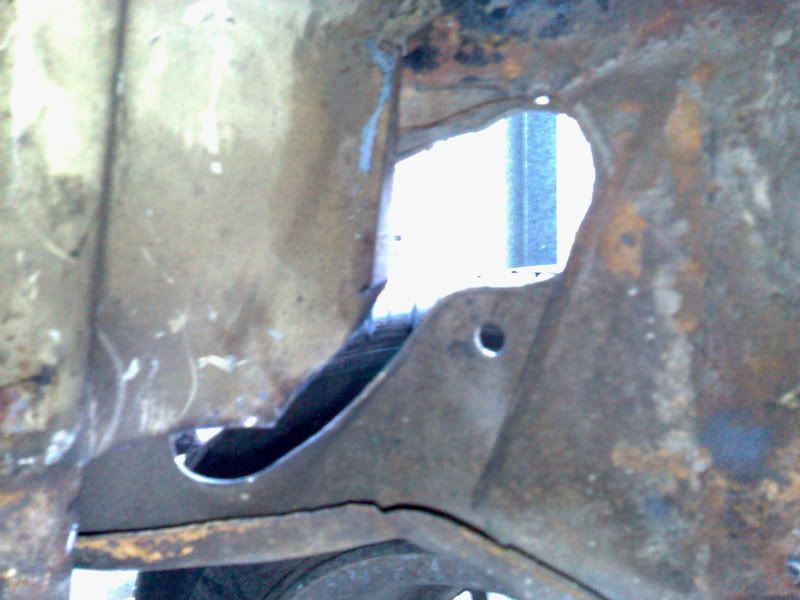
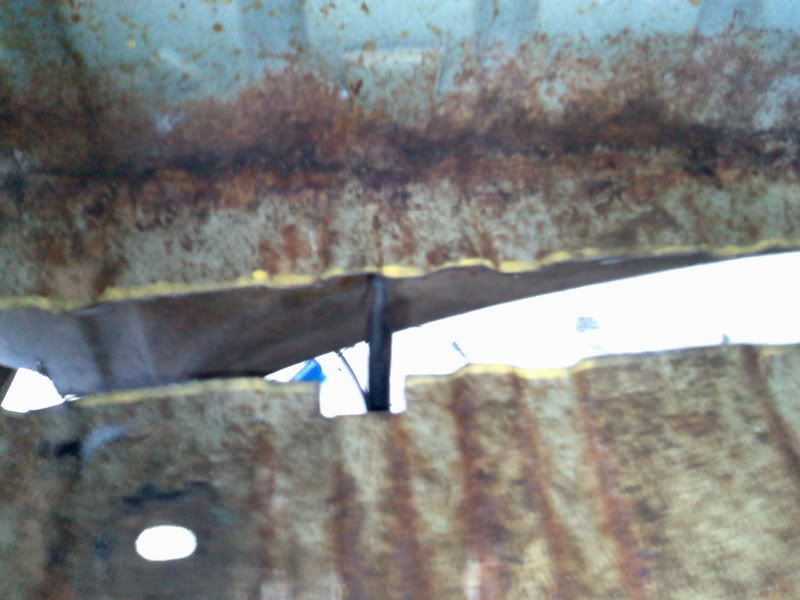
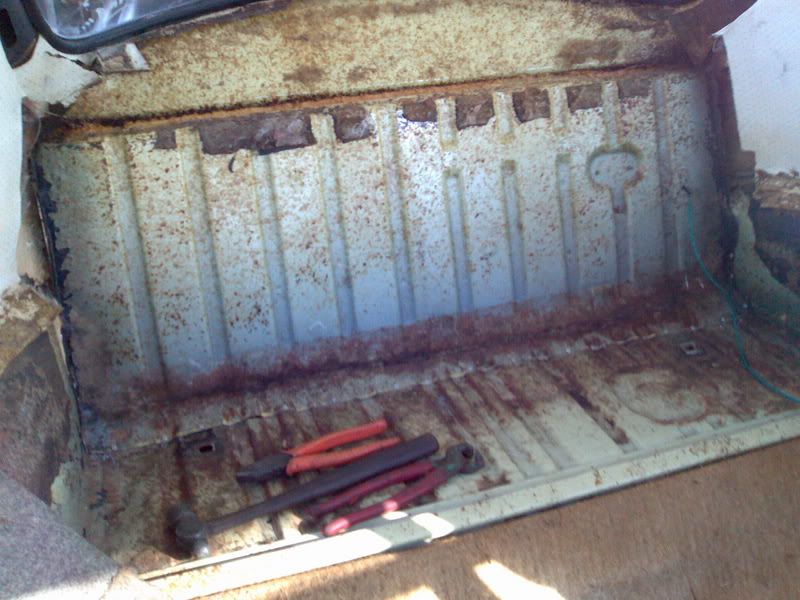
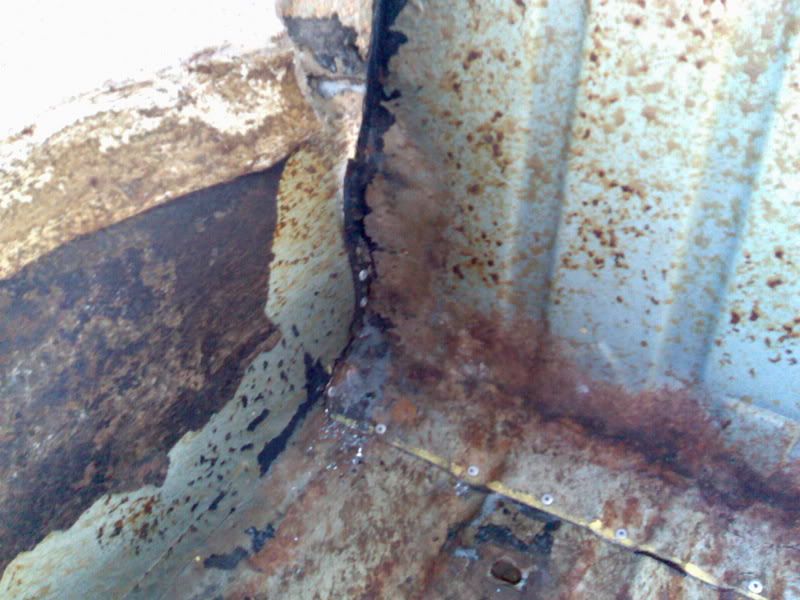
I didnt get any pics of the brutal part (I forgot) I got pliers and bent 10mm of the floor pan up about 30 degrees, and bashed the curved wall part
with a hammer until they over lapped and pop rivoted them together. Before I did that I had to remove a section of the floor so the wires didn't get
chaffed by the floor. Actually in this photo you can just see the bend in the floor i used for joining it to the wall again.
He is how i fixed my oil leak on the filler neck (silicon).
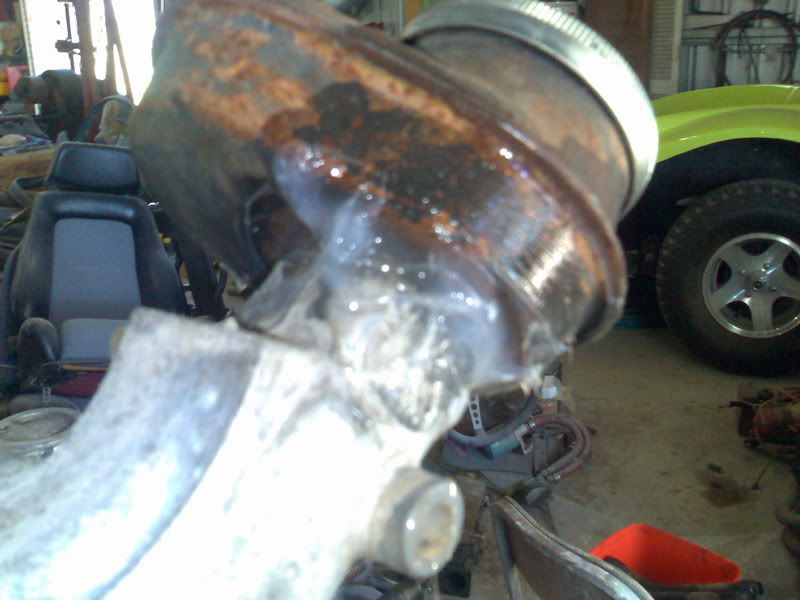
when i flipped my gear box over to undo the bolts for the berg mount oil leaked out of this hole is that normal?
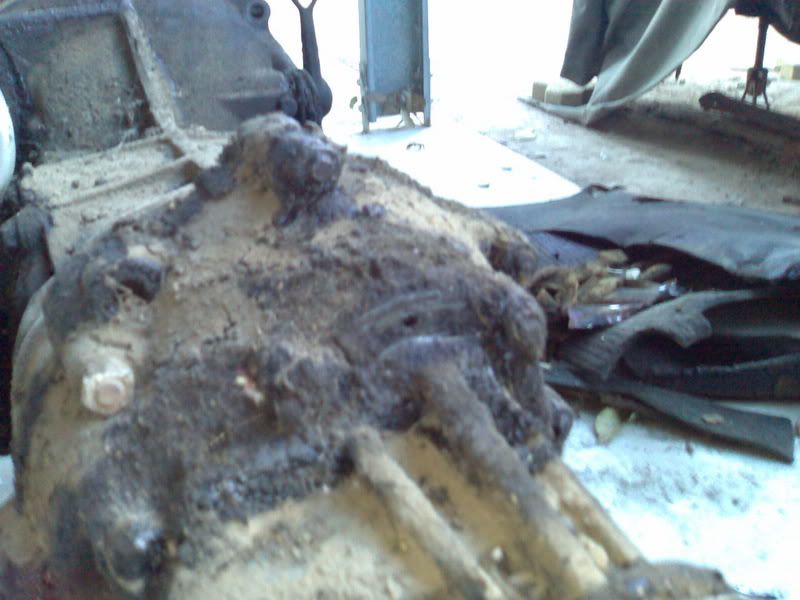
[ Edited on 4-7-2007 by punchbuggyracer ]
[ Edited on 2-8-2007 by punchbuggyracer ]
punchbuggyracer - July 13th, 2007 at 10:50 PM
Had some frustrations last week, seemed to be continually going backwards and not a single step forwards. Had to weld the nuts onto the studs to
remove them, in order to intsall longer ones for the berg mount.
Cut the front mount braket off. 100% commitment from here on chance to turn back.
Reverse switch was hittng once the reverse cradle was used and lots of other petty issues.
The new studs have been fitted and the lower half of the berg mount welded together.
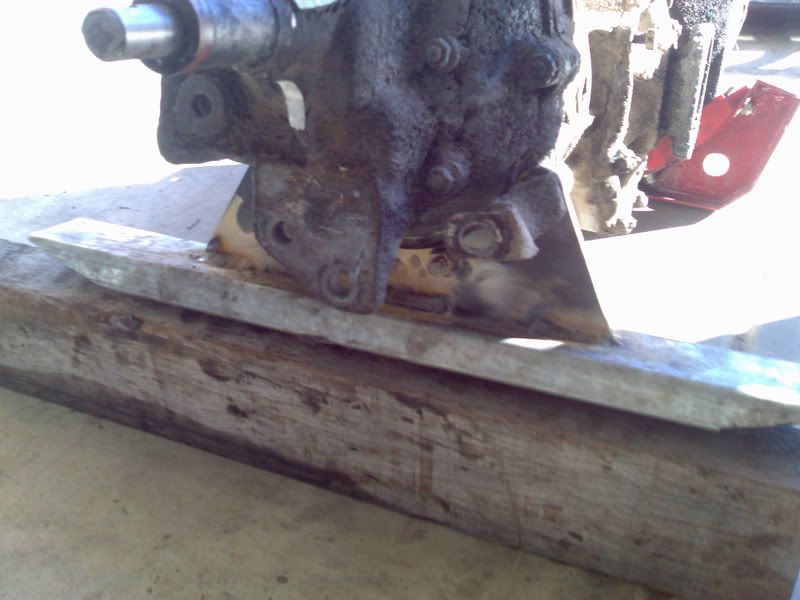
I had trouble moving the gear box back enough after fitting the reverse cradle. The Reverse light switch was hitting and i still had 1.5 inches to go
before the cradle would bolt up. Richard suggested I cut a hole for the switch or use a plug. I like things to be easy so i decided to use a plug
and it just happened the was one on an old gear box we've got lying around. Now i had it bolted up but the plug was touching. Grinder time.....
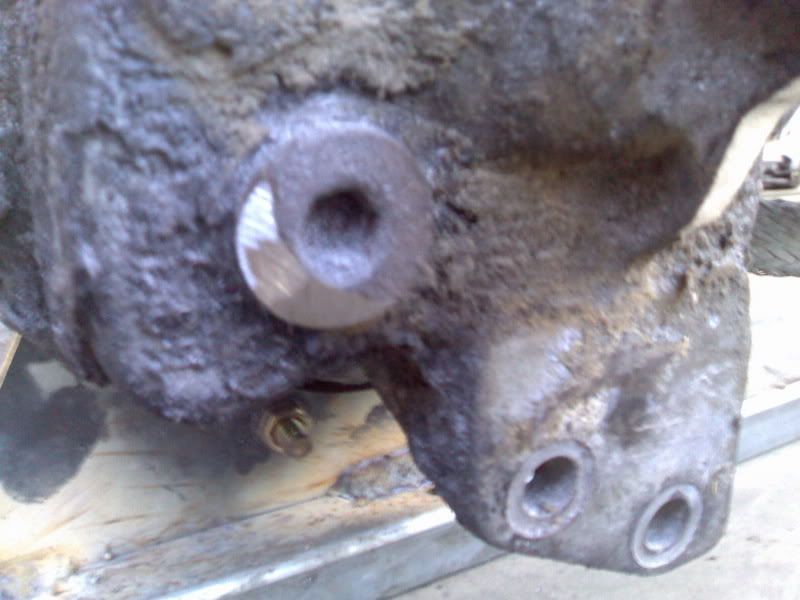
The angle of the grinding
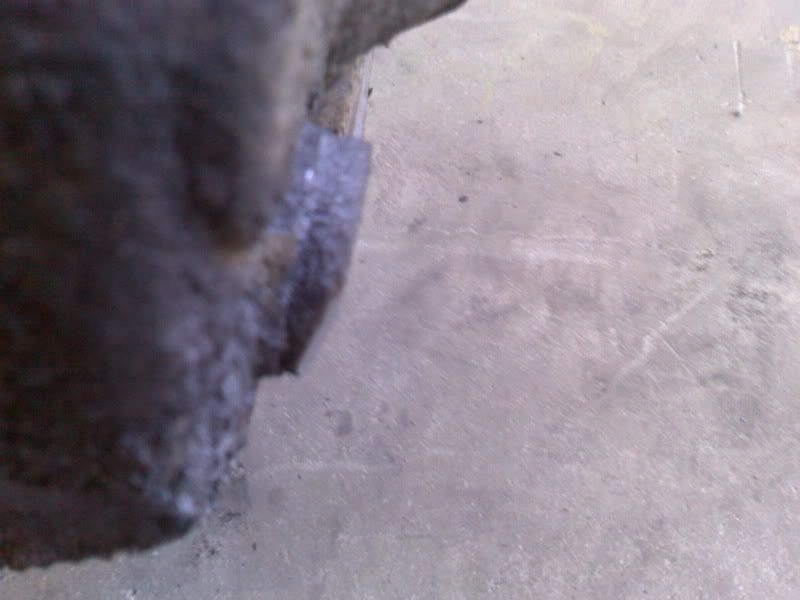
It was still touching, so time to grind the torsion bar tube and the rest of the bracket that was also touching the nose cone.
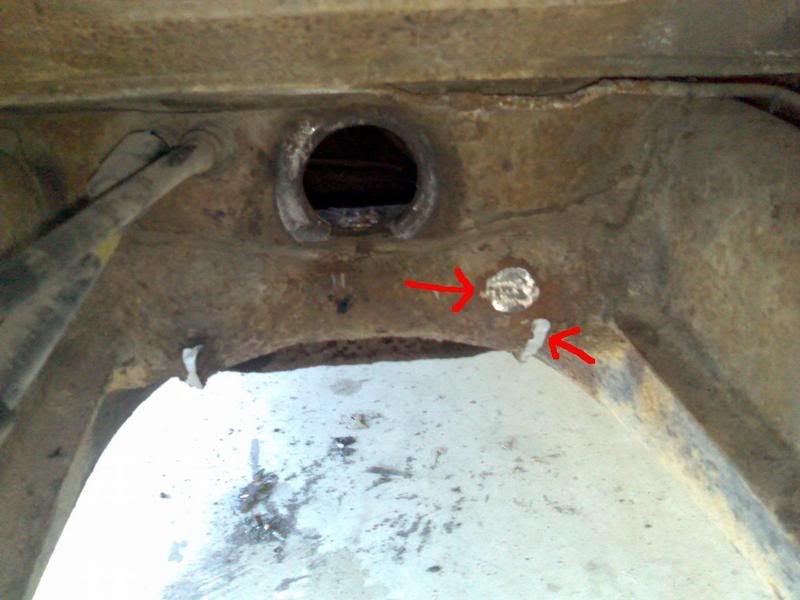
Removing lots of the webbing on the nose cone was neccessory in order for the nose cone to enter the hole above the torsion tube.
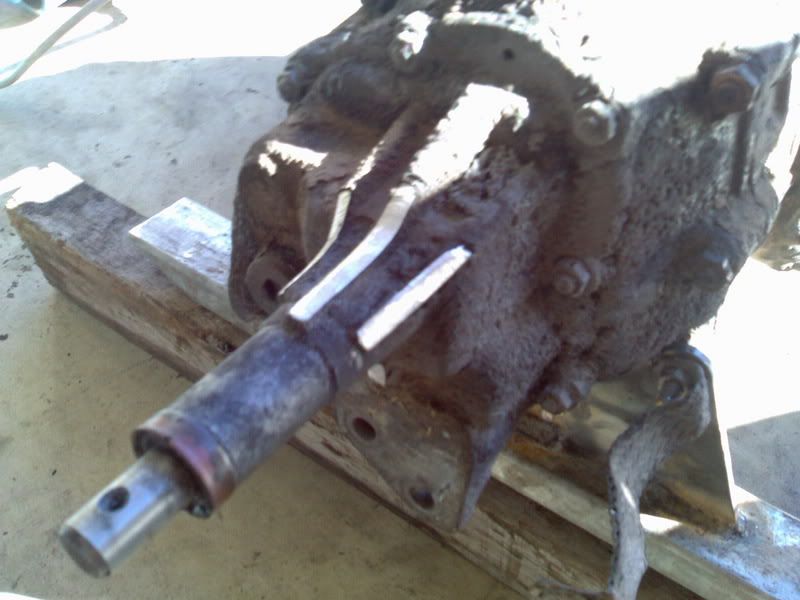
The lower web had to have massive clearancing in order to clear the torsion bar tube. With this much removed i have about 3-4mm gap.
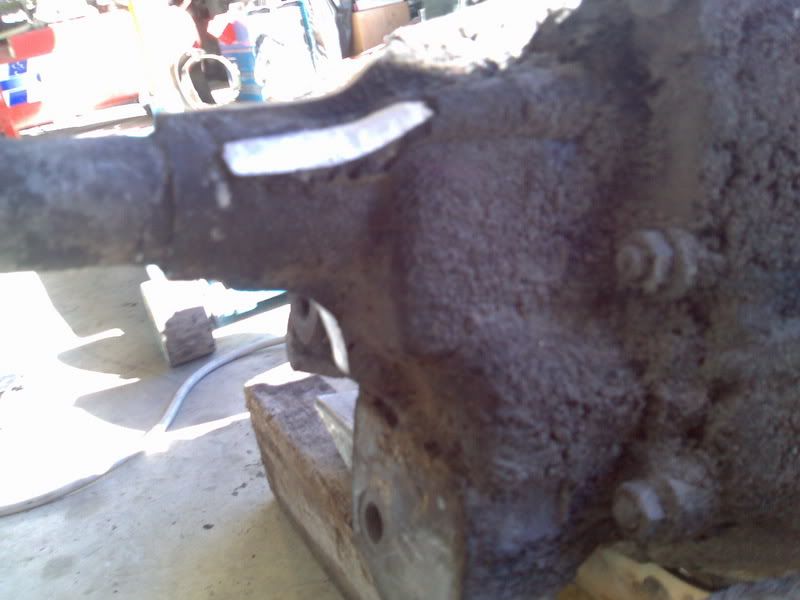
I've shortened the bowden tube by 40mm and tomorrow I will cut and weld the bowden tube bracket. because the gear box is now further forward the
stress on the bowden tube is to much even with the reduction in length. The angle is too much so I'm lowering the height of the bracket to be about
1 1/4 inches above the flat.
An attempt will also be made to make the clutch lever longer, in order not to have to shorten the clutch cable and also take the weight off of a
heavier clutch when fitted.
punchbuggyracer - July 15th, 2007 at 10:28 PM
Okay I got some more done to my car. I think by Friday night the gearbox will be finished and in its new postion. Which is looking like 40mm forward
from original.
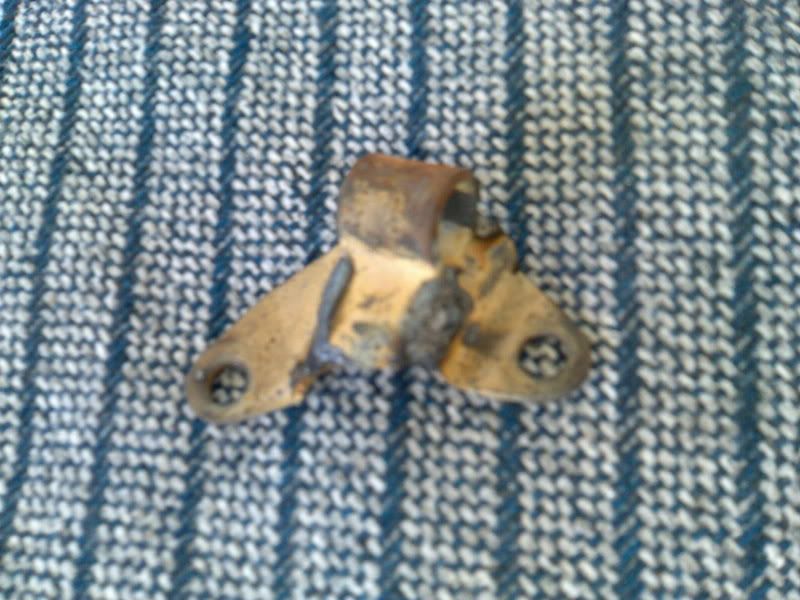
I started with the Bowden tube bracket. I have a wrecked gearbox I mentioned before so I cut up its bracket and my one to make one.
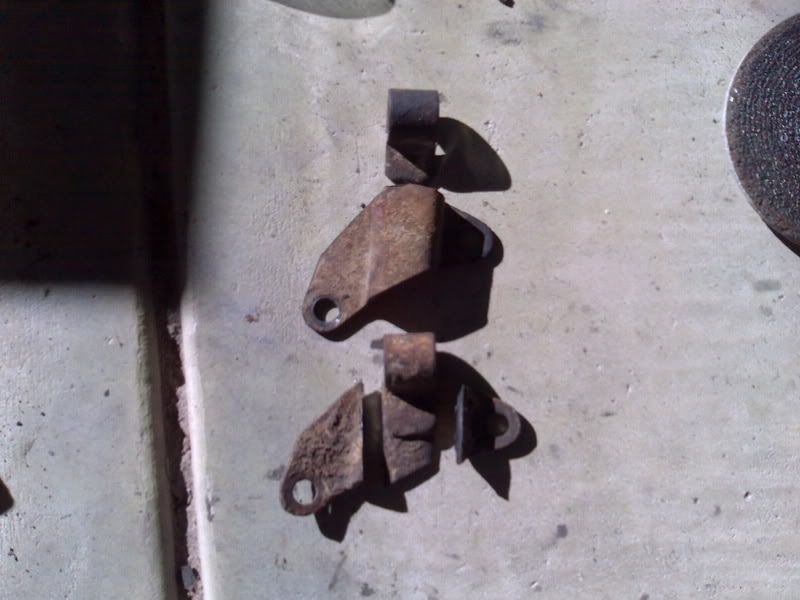
I also changed the angle at which the bowden tube sits at because of the new height of the clutch cable. Also by lowering it by about an inch, it in
turn shortened the cable by nearly as much.
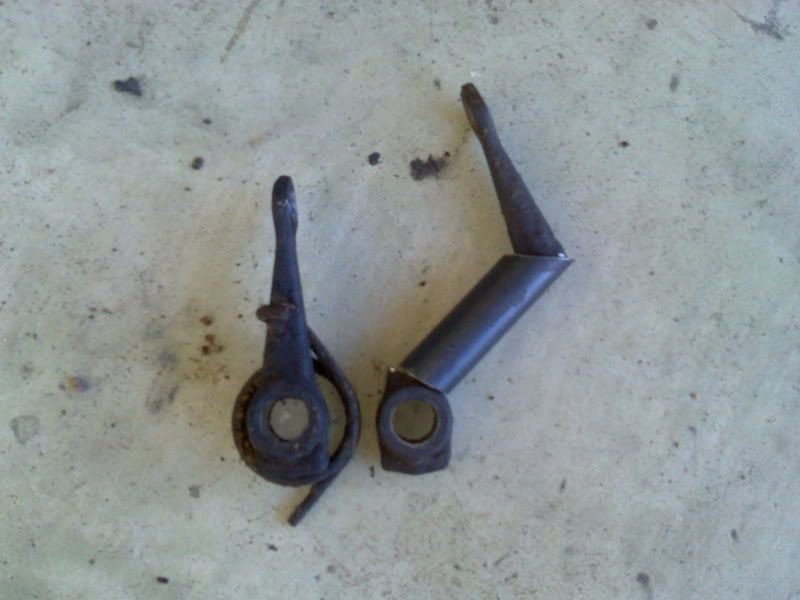
I cut up the spare clutch lever and mocked it up to check clearaces and such.
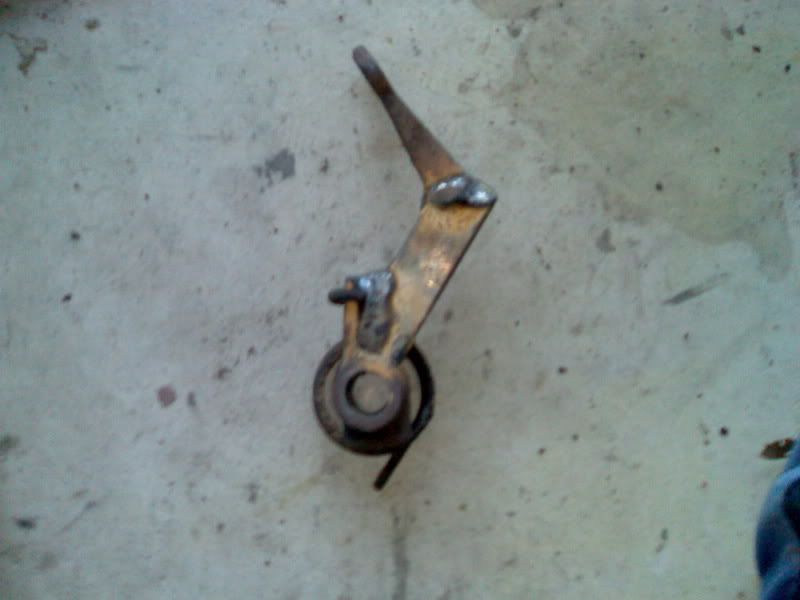
At this point I was lucky. I realised that I had made no provision for the clutch return spring. So I cut up my other lever and redesigned the
middle section. I also took the time to correct the angle of the eyelet for the wing nut. It is now 115mm long, I know you can get a 100mm one
standard so there should be no problems there (fingers crossed).
Time to make the upper mounts. I didnt rush here in order to get the best fit and this is what it know looks like
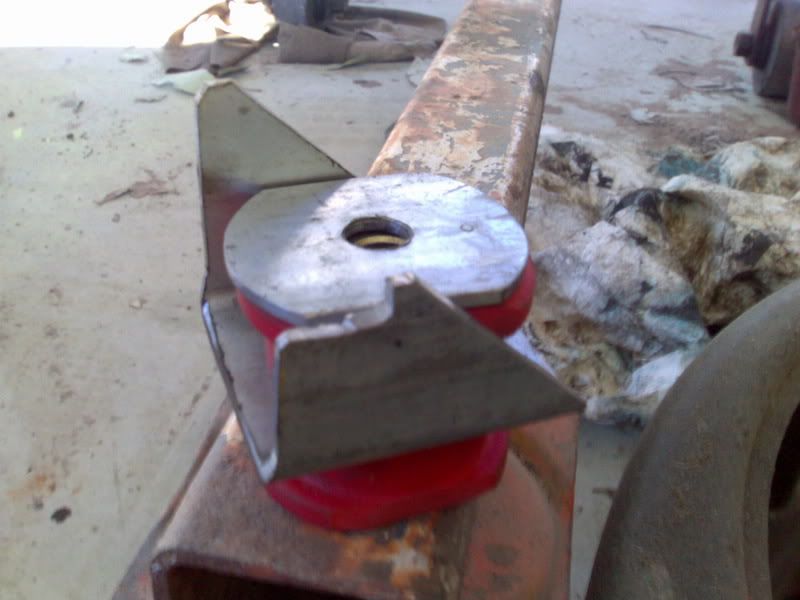
I (my Dad actually) then welded on some metal rings that I machined up. I made them to keep everything in place, so that there would be no "metal on
metal" in any of the mounting.
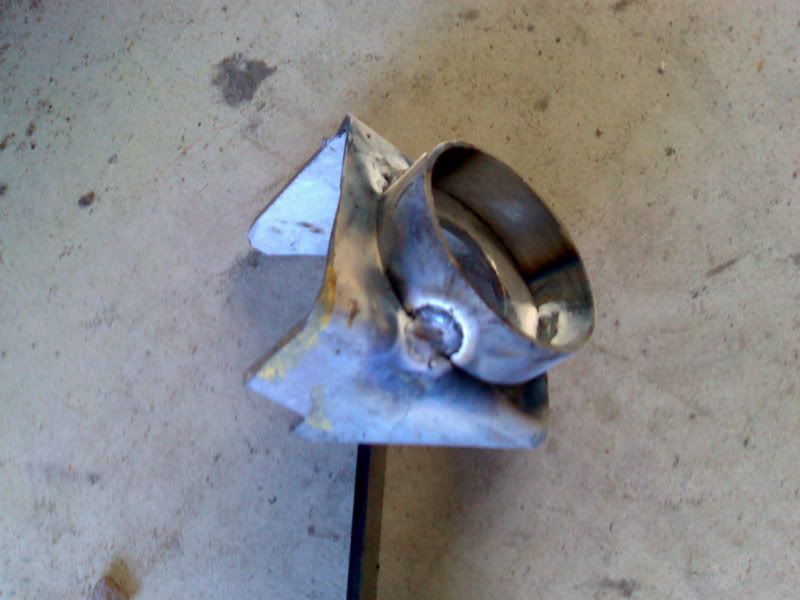
I'm content with how its all looking. Friday will be judgement day when I stick it all back together. Then I can work on the real problem! the
stuffed motor......
bond - July 29th, 2007 at 05:40 PM
your crazy man! haha
and yes this is nick from dynomania.
keep it up. talk soon.
nick
punchbuggyracer - August 2nd, 2007 at 08:24 PM
Ive done some more shopping and gathered some more bits and pieces/whole car aswell.
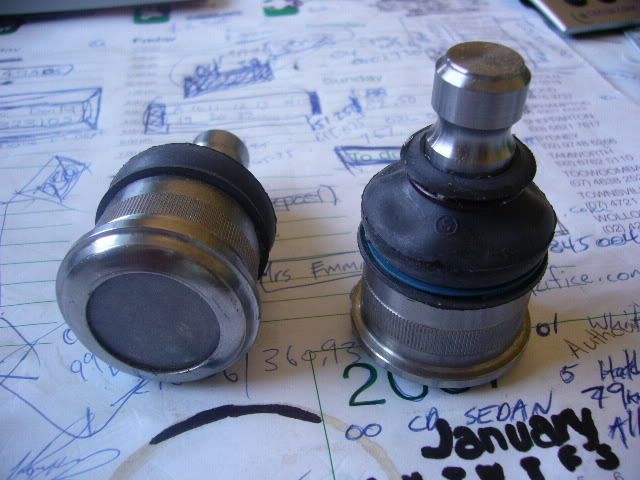
heres my 1303 - 944 Turbo stub axle ball joints I bought a while ago from Kerscher.
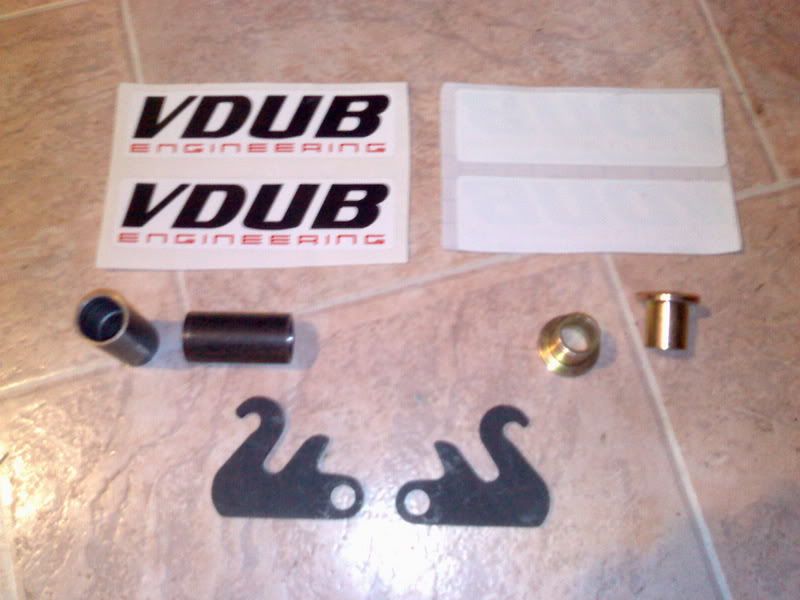
Heres my hand brake bits from Vdubengineering.com I got two sets of stickers one set can be stuck in from the inside of the window. There going
straight on the car.
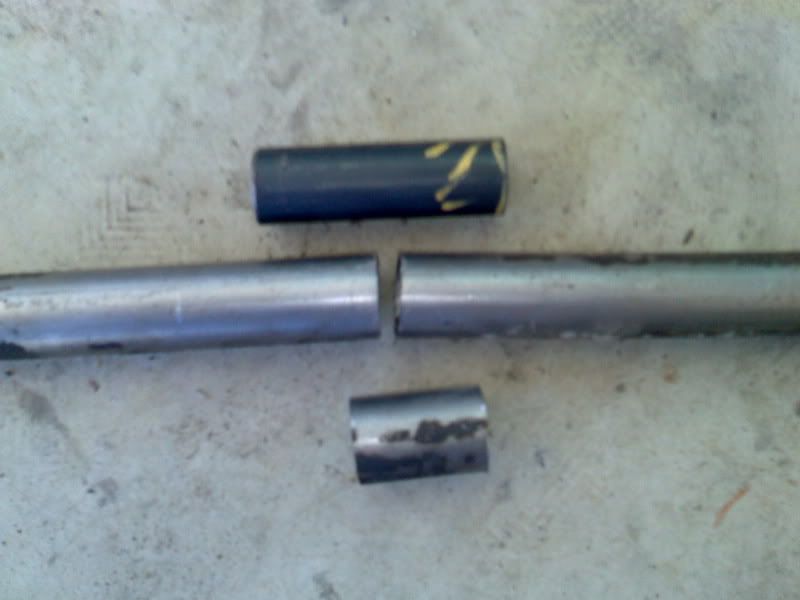
I cut 38mm out of the shifter rod so I could shorten it by 35mm and still weld it together. 20mm solid slides straight in as a perfect fit. I
machined out the centre of it so I could save some weight but still weld it with out melting it and to keep it all straight. In the second photo you
can see the line I scratched into the metal to make my measurements from and so I knew I hadnt twisted the rod
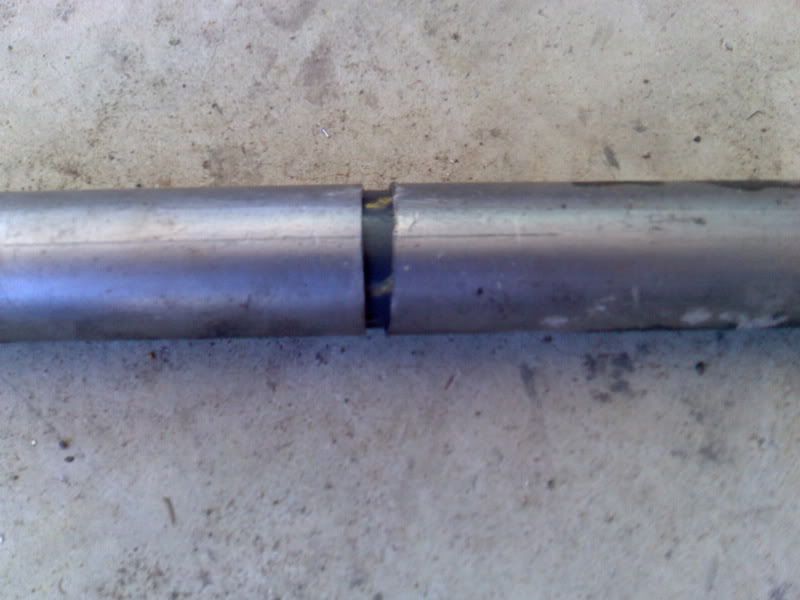
All welded up
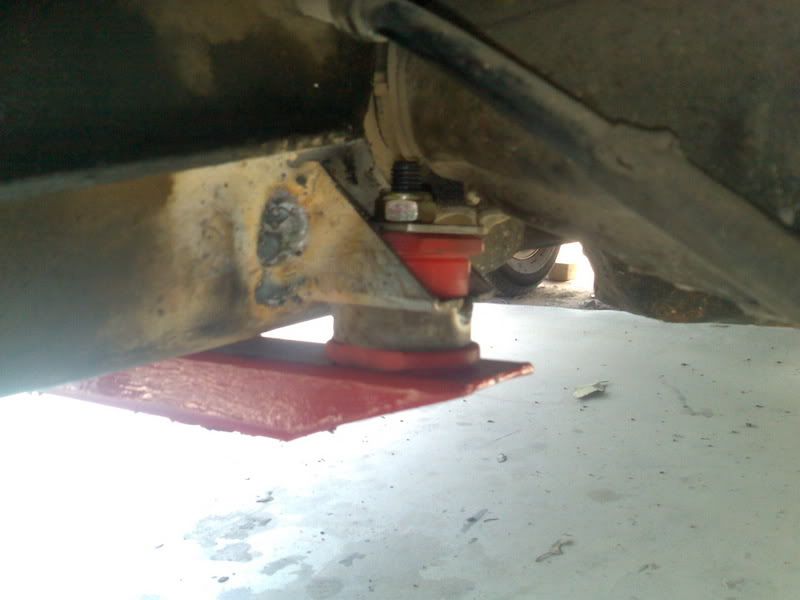
And fitted
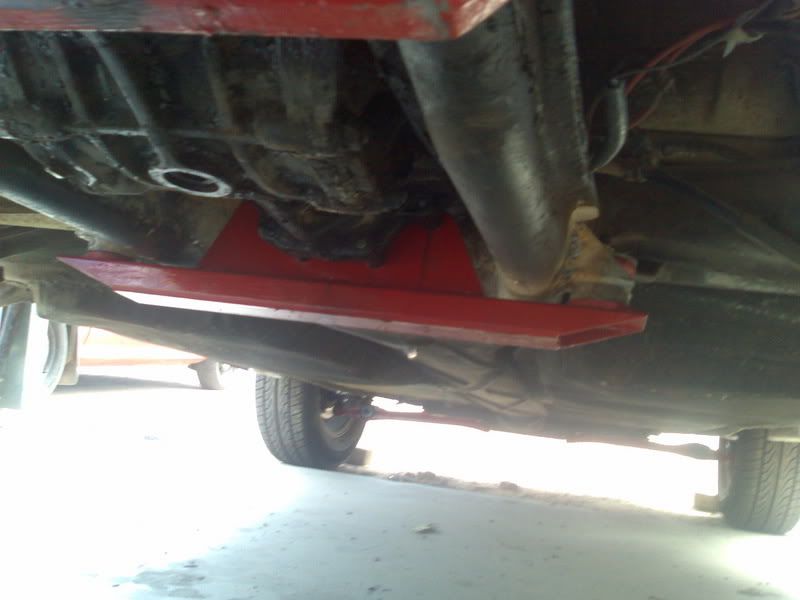
It ended up moving 35mm forward any further than this and I would of had to mess around with the torsion tubes. Its also now the lowest part of the
car.
Now its just back to fixing the real problem.... The broken engine.
[ Edited on 2-8-2007 by punchbuggyracer ]
VWCOOL - August 2nd, 2007 at 11:39 PM
You should shorten those metal rings - they will cause the bushes to work/wear funny
1303Steve - August 3rd, 2007 at 09:42 AM
Hi
Nice work. I hear that you can use a Type 1 gudgeon pin as the sleeve to fit inside shift rod.
Steve
punchbuggyracer - August 3rd, 2007 at 09:38 PM
I might cut the ring down next time the gearbox is out. Ive had it in and out like 100 times so Im not in a rush to do it again.
Ill let you know if the gudgeon pin will fit after the week end. The angle grinder is my friend also!
1303Steve - August 3rd, 2007 at 11:13 PM
Hi
You usually need to have a flat section on the gudgeon pin because the seam inside the tube gets in the way. I have 2 friends, a big angle grinder and
a small angel grinder.
Steve
punchbuggyracer - September 2nd, 2007 at 11:43 PM
I just have a 100mm Makita.
As some of you are probably aware Ive run into a few problems which have caused me to do a few more things. Something I should have known was to
"use" and also extend the rear engine shroud. Our family has only ever previously had bajas and beach buggies, so some small things are new to
us.
First thing thou I decided since the engine has taken a liking to coming in and out of the car it was time to make the rear beaver panel removable.
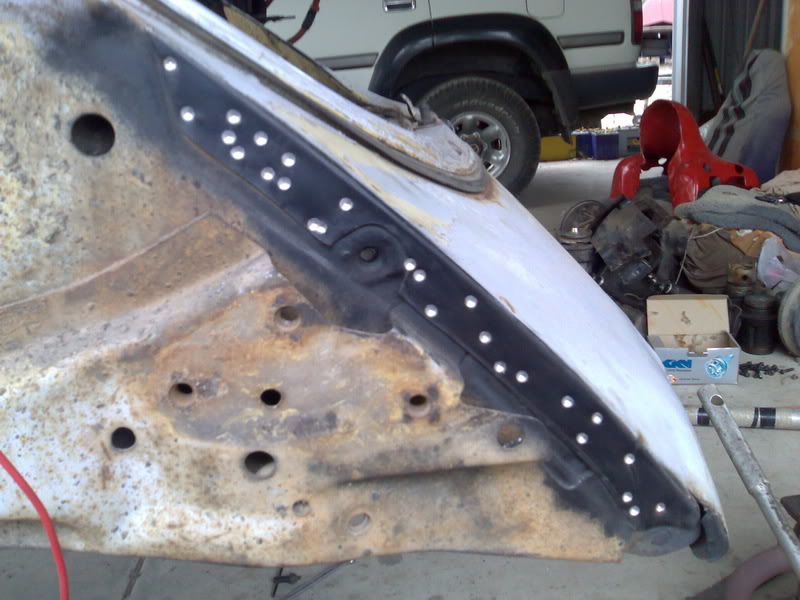
47 spot welds later
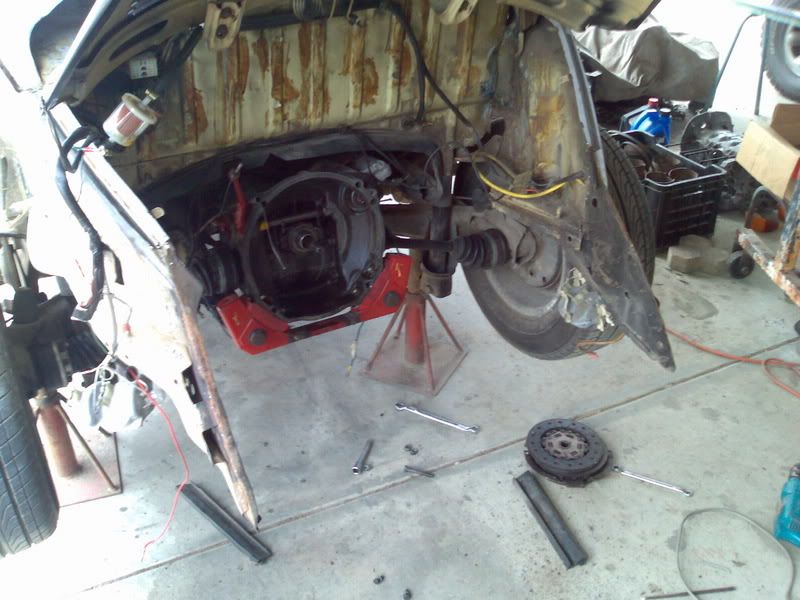
I recommend this modification before anything else. not having to remove the exhaust, raise the car and struggle to remove the engine are a
blessing.
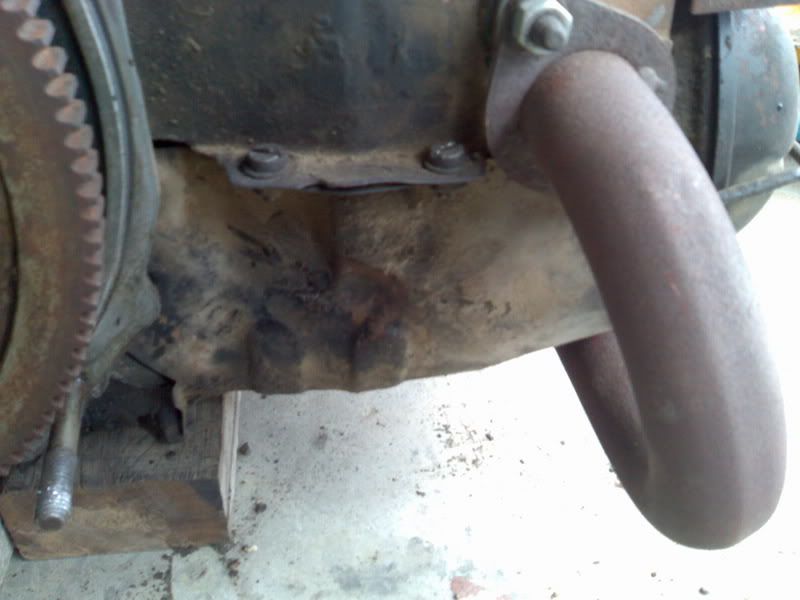
Another thing I did while the engine was out was put a small dent in the shroud were the lower front tin ware was touching on the new reversed cradle.
If you look closely you can see it right in the middle on the raised section.
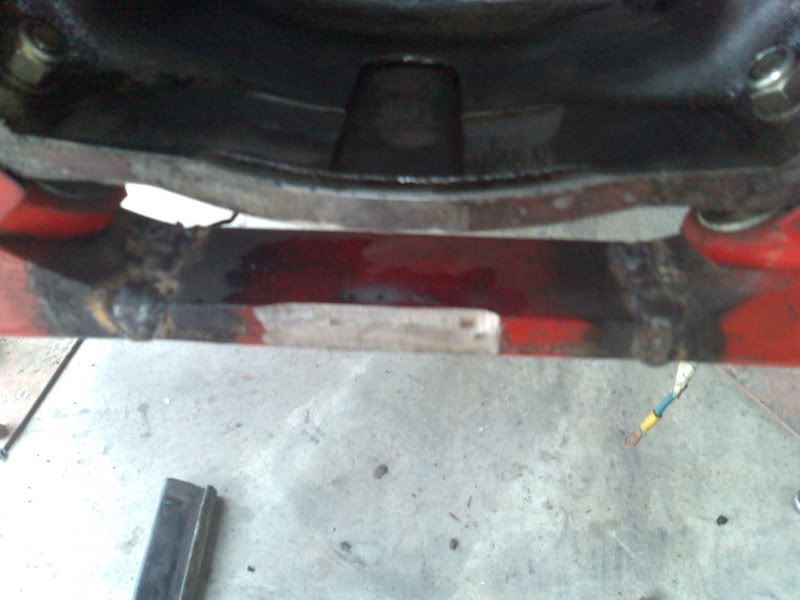
The bottom of the crankcase was also now touching on the cradle so I took the time to use my friend the angle grinder. Its now a perfect fit!
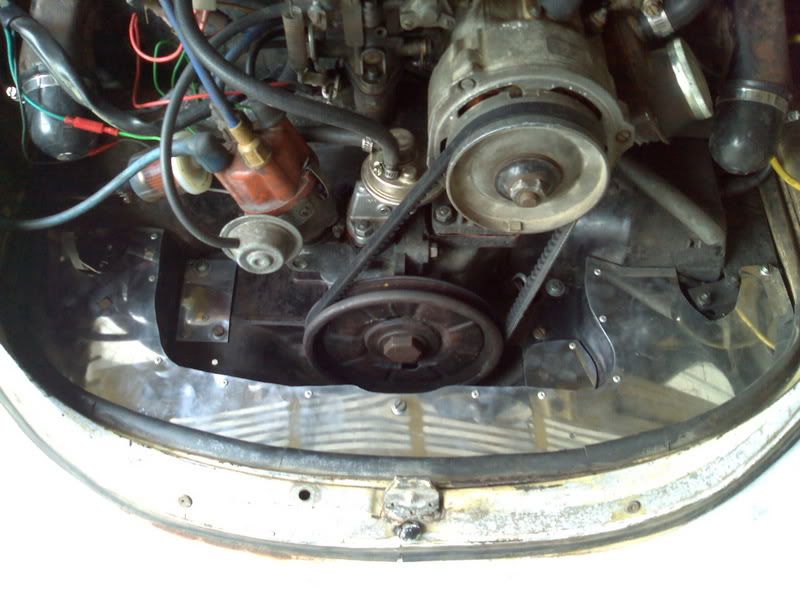
Ive now extended the rear shroud by rivoting aluminum to the old shroud. I polished it up and it looks kinda ok.
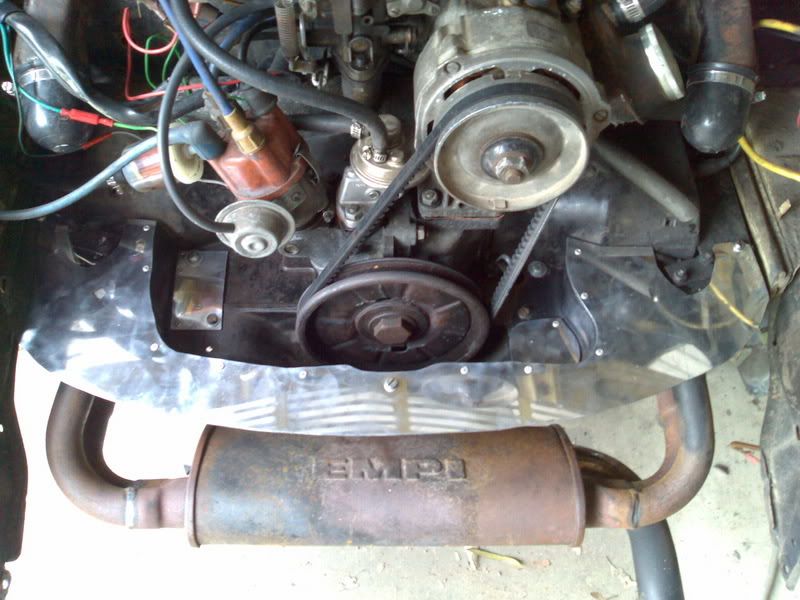
fitted with beverpanel
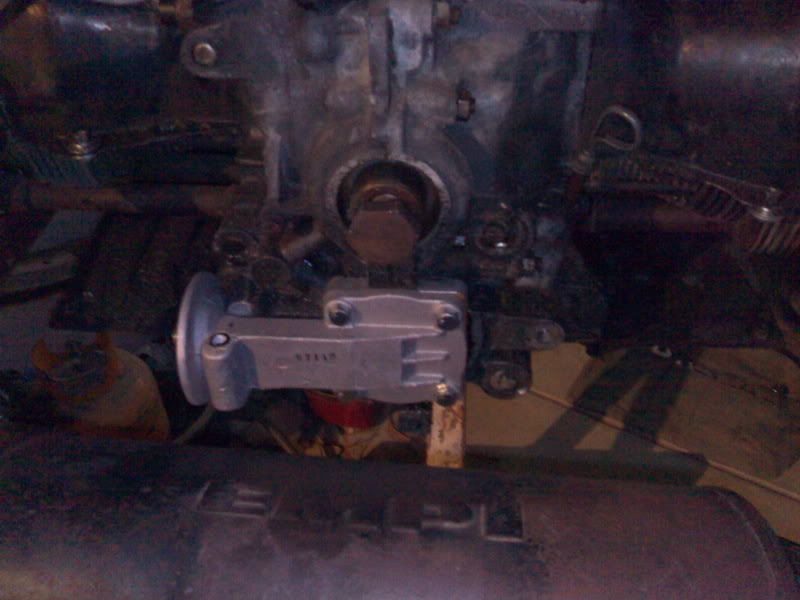
The new oil pump with filter fitting
And back to the fun things. Ive picked up a Type 4 engine case, porsche fan cooling kit, alternator and blade(not pictured). The case has been
machined for 105 cylinders and pistons. Which I also has aswell as a set of 103mm. Its been cleared for like a 84mm crank but I would like to get a
78mm to take it to 2.7L. I have a 1.8L I can steel some heads off and a 2L I can remove the internals out of if I decide to go a budget 2.5L.
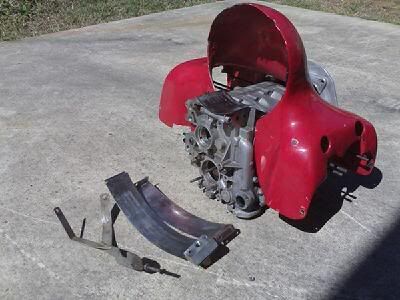
I believe the kit could be a LA performance one. Im probably wrong but it doesnt matter because either way I can now go massIVe!!!!!
Some off you might recognise it, maybe because of the sand blasting! (Some one elses best friend).


