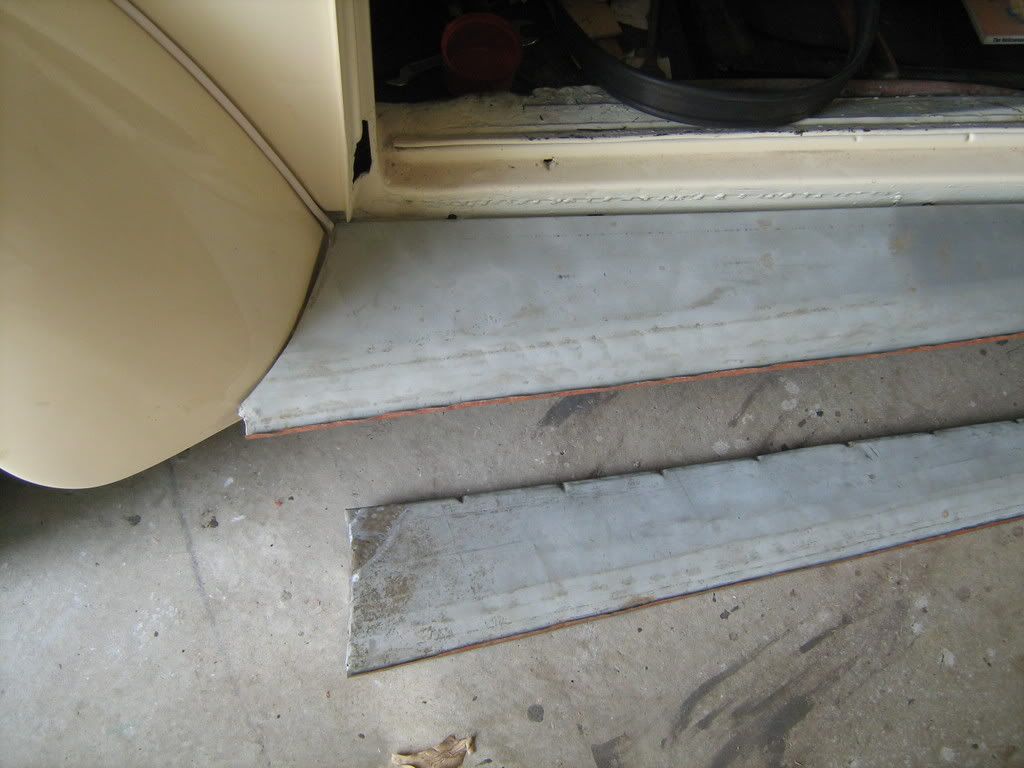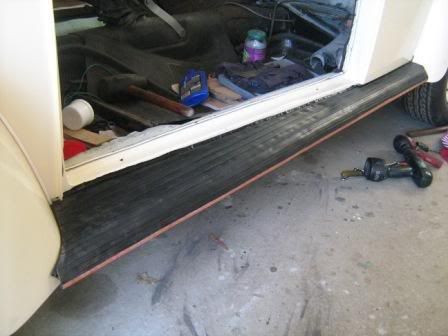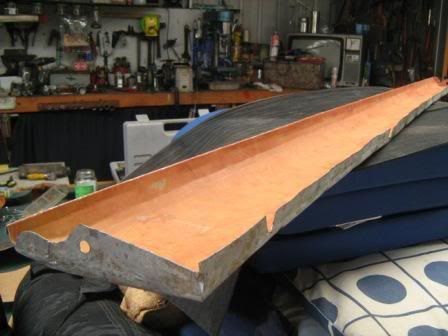

Hi, I am doing a low-budget reactivation on a L bug and have just made two running boards by flattening out one to get a pattern. Both sides use the
same pattern, just roll the radius to get left or right hand and I used 0.8 mm tin from a salvage yard.(old flashing) Re-fit the rubber and it's
good, anyone who might be thinking the same I have a card pattern they can have,regards, Neil.
P.S. the old rubber fits but I used new ribbed from Bunnings.
got any pictures?
I have got some pics still in my camera but gettin 'em on here is a challenge for me but I should learn I guess, is there an easy way? My hassle is
to reduce the pixels
I checked FAQ nothing on inserting pics has there been a thread on this or how can I search for one? I have compressed the images for web pages but where do I put 'em, I don't have a web page!
If you hit new reply down the bottom of the screen (on the right) then there will be an attachment section, click choose file, find it and upload
it.
Hopefully thats enough info to get you started (and i think you cant upload more then 2 images per post).
no luck so far, when I add file attachment it doesn't show in preview, must be missing something
[img]http://s632.photobucket.com/album[/img]
not sure if this is working, can't seem to preview it
when using photobucket you use the bottom [img] code line under your photograph then copy and paste here
[IMG]http//img.photobucket.com/albums/v225/mrvw061/IMG_0277.jpg[/IMG] like this
| Quote: |
http://s632.photobucket.com/albums/uu42/2bugs/?ahttp://s632.photobucket.com/a...
Here goes, if this doesn't work I jump off the roof!


Niiiice.. Now for stupid questions how do you rebend something that size? and Roll using a professional roller?
How strong are the new ones you made?
I clamped the tin between two pieces of straight hardwood and using a mallet I peened the edge 10mm at a time to create a 65 mm radius curve, not entirely smooth and finished it on a piece of 2" water pipe. I have a lot of time! When the rubber is on it hides most of the imperfections and certainly better than the old rusty ones!
They look pretty good from the pics. Great use of tools you had on hand too.