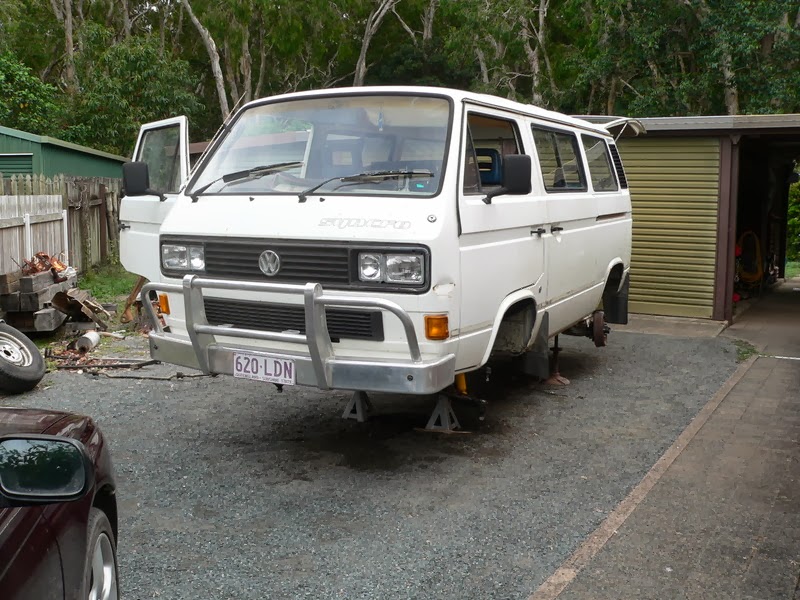
Started work on the Syncro (T4 Rear Discs)
mackaymanx - November 27th, 2013 at 03:35 PM
Well it's time to start work on the syncro. Was planning to keep this on the road as I went through it but it had other ideas. Mick drove this for
over 12 month and it didn't miss a beat, I drive it 400km from Townsville to Mackay and arrive with a loose cam gear.
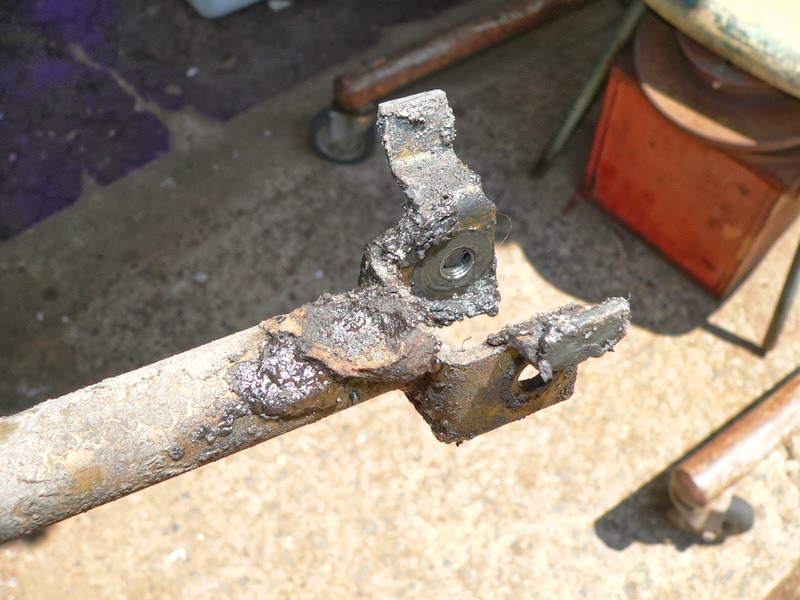
Rebuit the shift linkage, front complete with remains of a mud wasp nest.
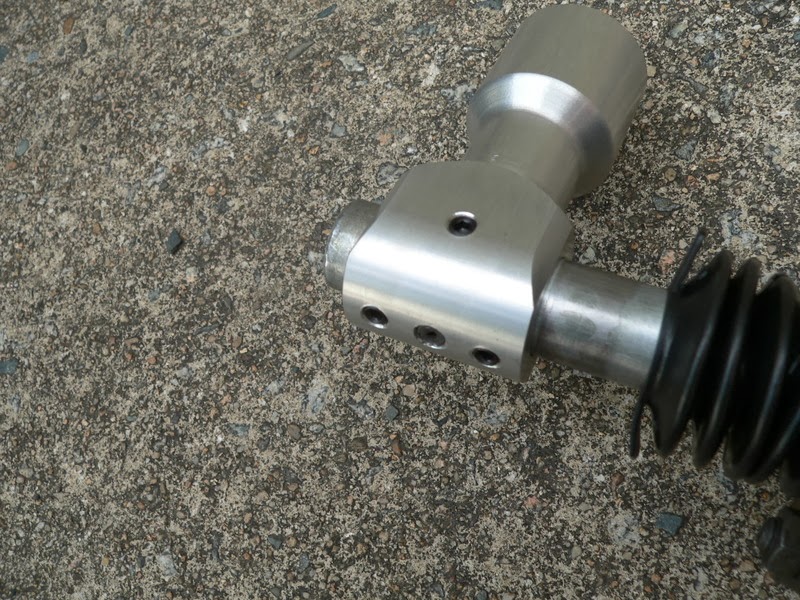
After with new tips.

This boot on the middle section was cactus, couldn't find a part number for this or a listing anywhere.

Used a boot from the gearbox selector shaft, not perfect but will keep the dirt out.

Replaced the selector lever but ther was some play after install, so tightened it up with some grub screws.
mackaymanx - November 27th, 2013 at 06:34 PM
Decide to go for some Tiguan 'San Diego' wheels, 16X6.5 ET 33. Shown here with 215/65 R16 tyres.
Front
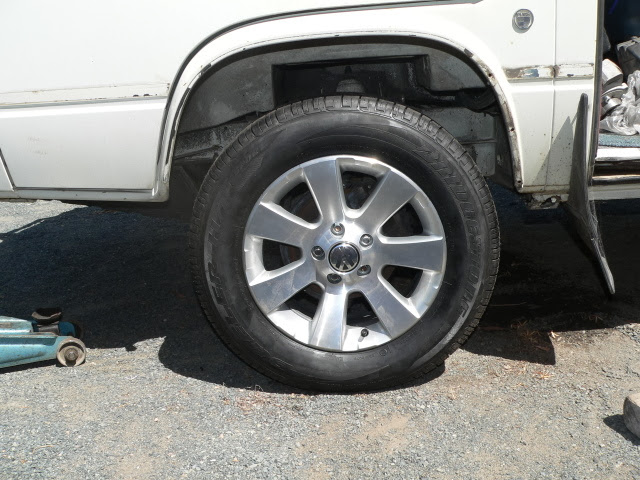
Rear

Rear Clearance

MickH - November 27th, 2013 at 07:59 PM
Mate yer turning it into a trailer queen...... it only broke because ya didn't flog it.....
mackaymanx - November 27th, 2013 at 08:44 PM
I didn't get a chance to flog it and you gotta have a little bling.
Ben386 - November 27th, 2013 at 09:17 PM
Keep the updates coming Brent
mackaymanx - November 28th, 2013 at 10:28 AM
Some of the surprises so for, well maybe not the coolant line.
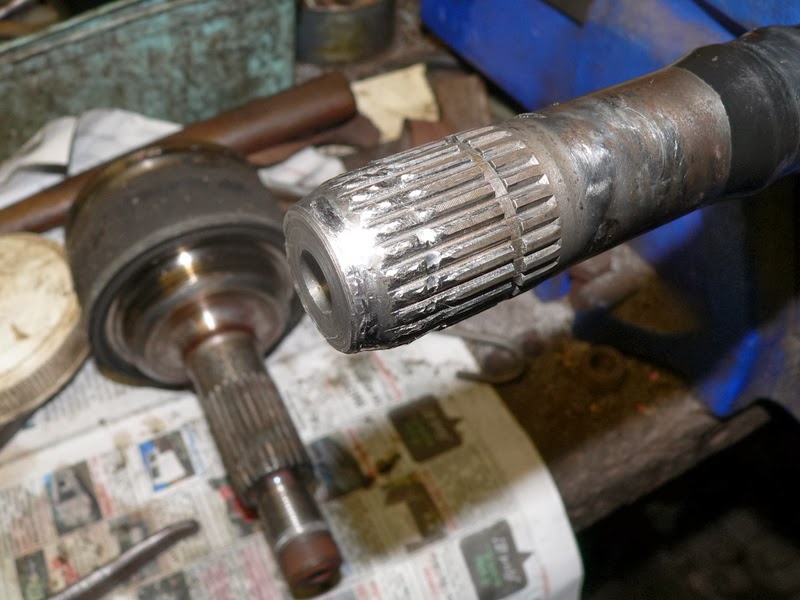
Front outer drive shaft spline. This must have been an old repair as the spline in the CV showed no damage and must have been replaced. Circlip
mustn't have been seated properly and the CV walked it's way off the shaft. This will be replaced with a spare shaft.
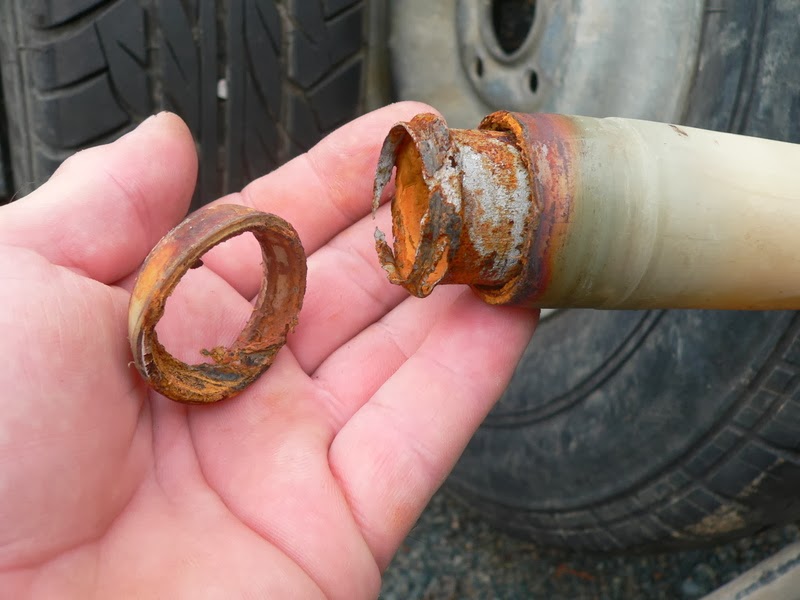
What's left of my accelerator cable tube.

Coolant line end, other end of this pipe is similar.
When Mick first got this Syncro the rear diff lock actuator was missing along with the bracket, after trying to fit a new actuator and bracket I found
out why. The gearbox had previously had work done and when the diff lock was assembled they installed the actuator shaft wrong. Photo is from
thesamba(Tristar Eric), I forgot to get a photo.
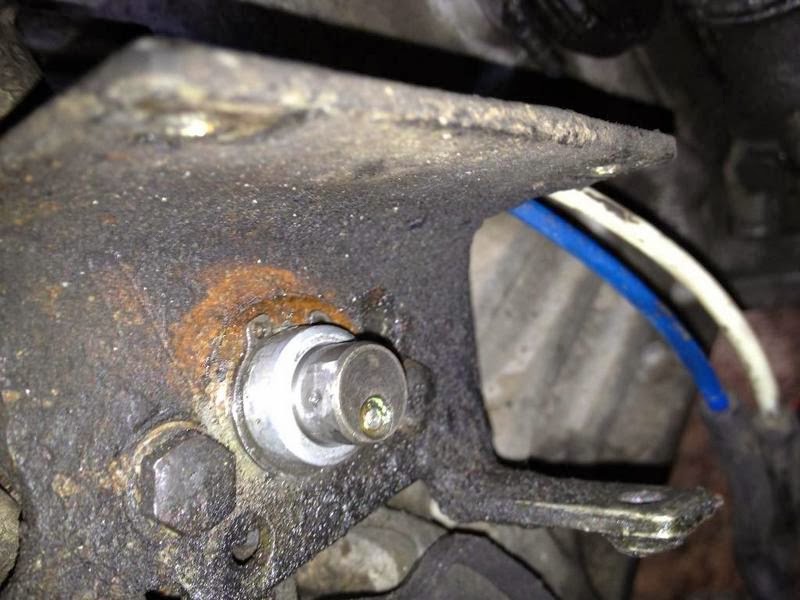
This is how it should look, a gearbox out, bellhousing off job to correct.

And what is does to the end of vacuum actuator shaft.

h - November 28th, 2013 at 11:39 AM
wow great build in progress!
I look forward to following your progress..
keep at it
enjoy 
mackaymanx - December 13th, 2013 at 09:08 PM
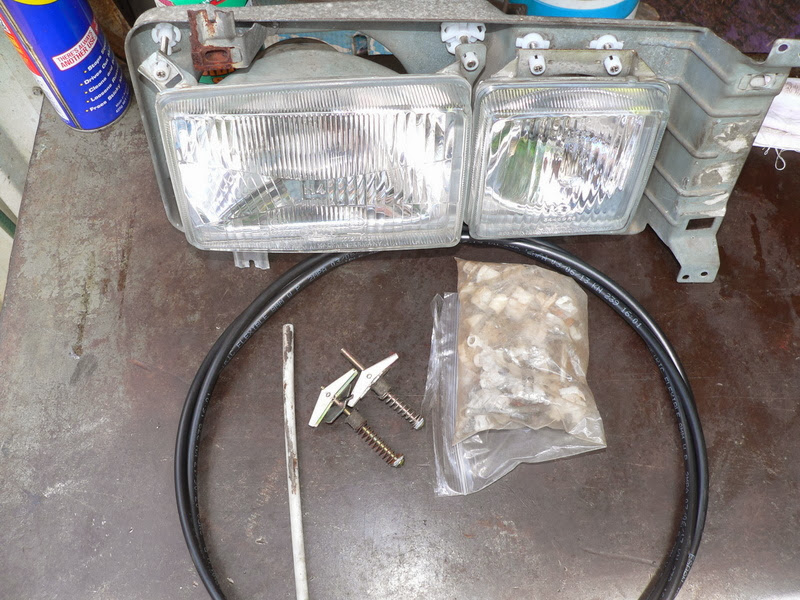
Got the headlights out of the way, new adjusters all around from Van Cafe so I was able to ditch the make shift one I had for the outside corners.
Adjusters were very stiff and needed some silicone grease. Profile in the adjuster screws phillips heads were not great. Also got some 8mm nylon
tubing to replace the throttle tube
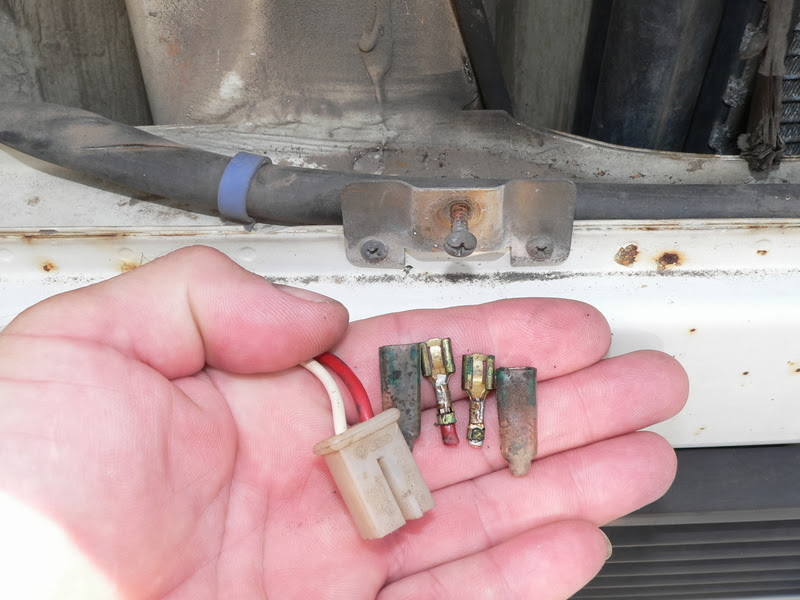
Previously had cleaned up the foggy high beam lenses and swapped them side to side. They had been installed wrong and gave a cross eyed look. Cut off
the old connectors and crimped on the right fitting.
AA003 - December 14th, 2013 at 05:05 AM
It looks like yours was a single headlight originally. Was the spare wheel in the back or underneath the front?
mackaymanx - December 14th, 2013 at 07:22 AM
Spare is in the back and yes it originally had round headlights.
AA003 - December 14th, 2013 at 10:19 AM
You must have one of the earliest Australian syncros.
Built in April 1988 if your VIN is 083488.
mackaymanx - December 14th, 2013 at 11:43 AM

MickH - December 14th, 2013 at 08:12 PM
Awww....you took the mod plate off!!!
MickH - December 14th, 2013 at 08:14 PM
Hey put up a pik of how good it is underneath.....you know you want to...
mackaymanx - December 17th, 2013 at 09:50 AM
So I have gone from the pressed steel/welded lower control arms....
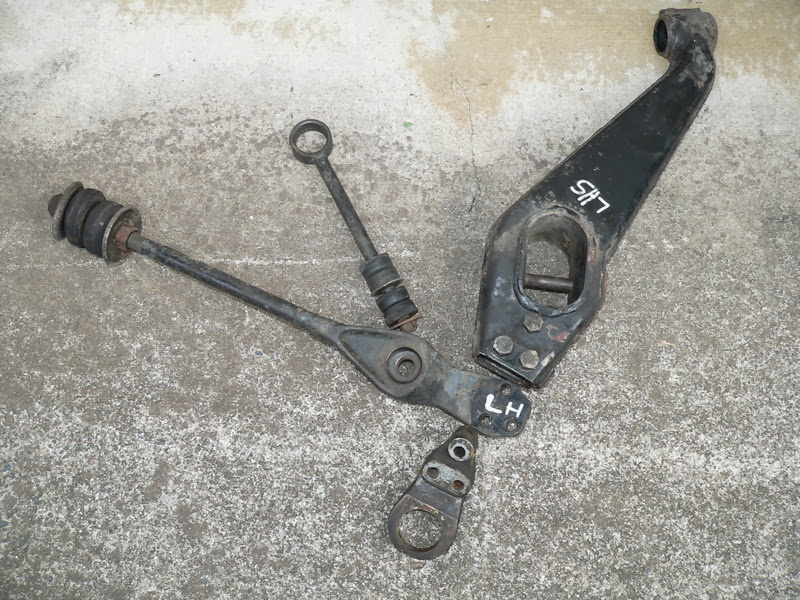
to the later cast steel arms. Replaced the bushes and ball joints, not impressed with the "Febi Quailty" upper control arm bushes and caster rod
bushes from JK turning out to be noname and "Rubberex".
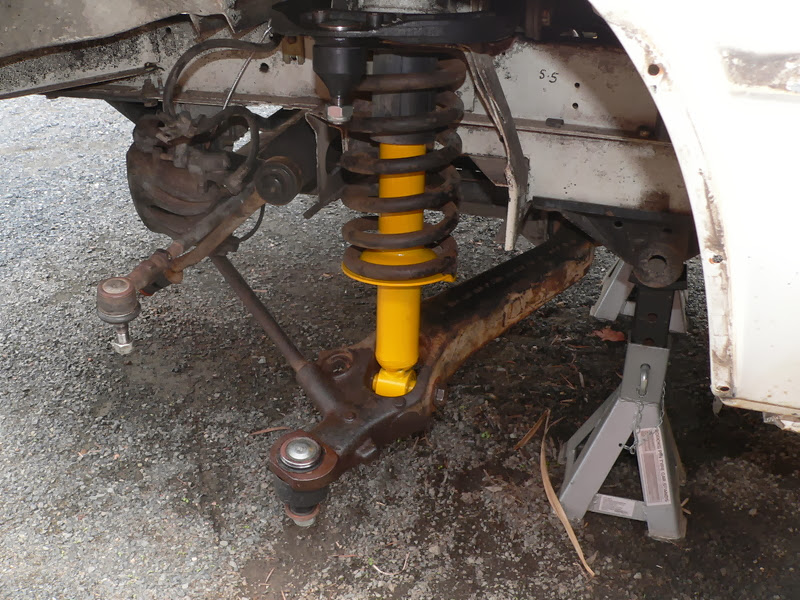
Went for Old Man Emu shocks from Van Cafe, when I combined them with a big order it was cheaper than buying them from ARB locally.
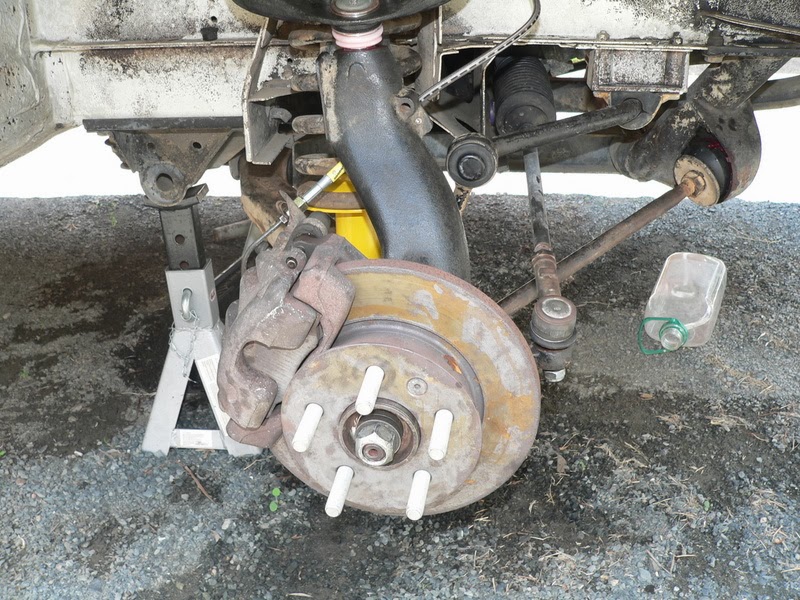
Here is the front back together. I have installed longer stud in the front in case I want to go to larger brakes later. Had to shop around for the
front seals, got the lip seals from VC and the V-Ring seals from Brickwerks.
mackaymanx - December 17th, 2013 at 10:15 AM
Went through the brakes, as the pedal would go to the floor occasionally when you least expected it. So fitted a new ATE master cylinder, had to split
the brake light switch connectors as they went from 2 prongs to 3 prongs on the switches.

Rebuilt the front calipers and clearanced the brake pipe brackets to clear the guide pin bushes.I had four different caliper and they all had problems
here.
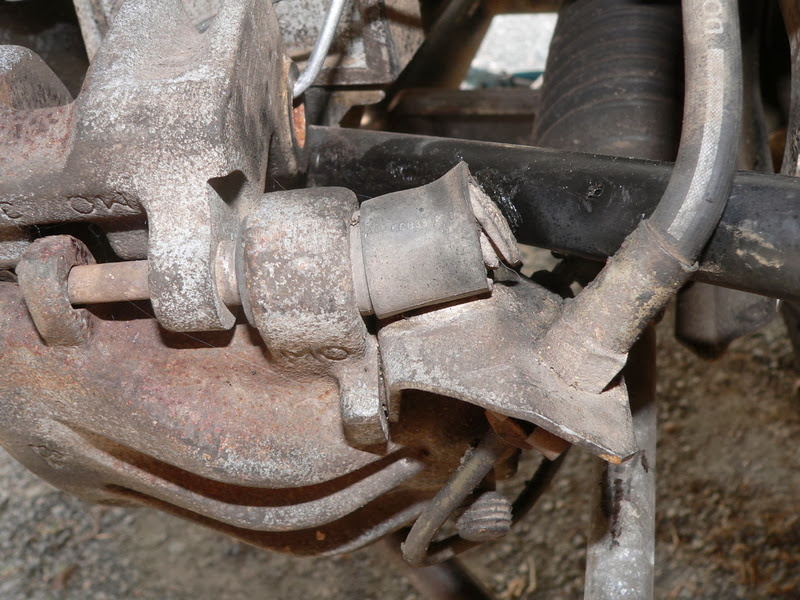
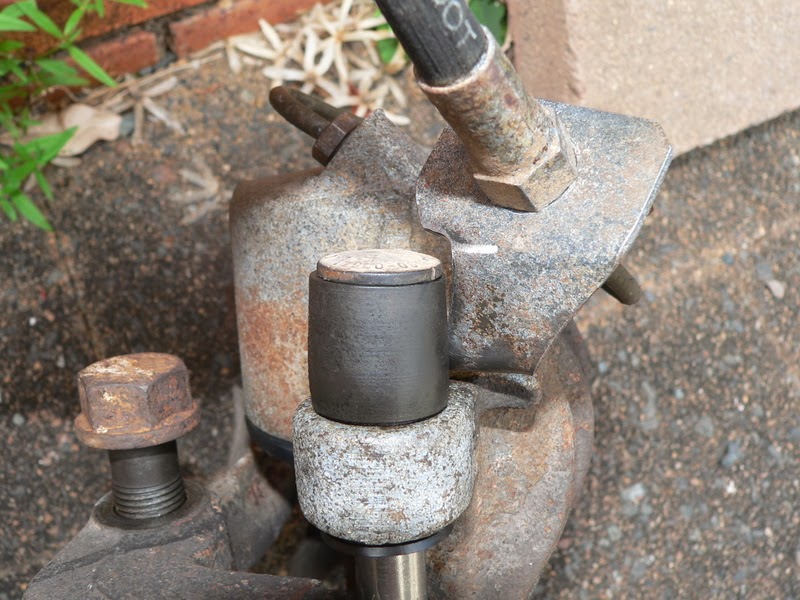
Rear brakes got new slave cylinders and changed the brake hose bracket on the front to better suit the new brake hose size.

mackaymanx - December 17th, 2013 at 10:33 AM
Boot on the front diff lock actuator was shredded, fortunately BrickWerks have them for about $5. This is a cheap repair for an $80 actuator, they
will leak vacuum if the boot is torn.


mackaymanx - December 17th, 2013 at 10:47 AM
Replaced the front pinion seal. Had the front diff out but the seal didn't turn up until after I had the diff back in. It wasn't that hard to
replace in situ, knocked up a tool to hold the input flange and torqued it up.
Brickwerks have this seal $8.50 compared to $54 from Van Cafe

Scottkombi - December 17th, 2013 at 03:35 PM
Great progress.
Keep em coming!
Very interesting for those with Syncro
MickH - December 17th, 2013 at 06:53 PM
Looking good!!!
mackaymanx - December 17th, 2013 at 08:54 PM
Bit extra about rebuilding the ATE front calipers.
They take the same kit as the Girling caliper (piston seal and dust boot)
Guide pin bush kit part number 11010160042 (11.0101-6004.2)
http://www.ebay.com.au/itm/ATE-11010160042-Guide-Sleeve-Kit-/111228134100?pt=...
mackaymanx - December 23rd, 2013 at 07:49 PM
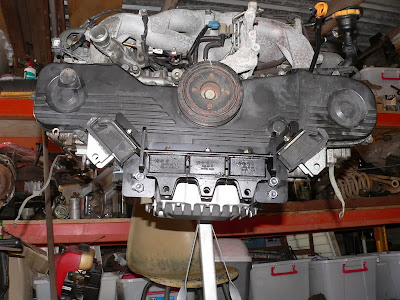
These are a few things planned for the future.

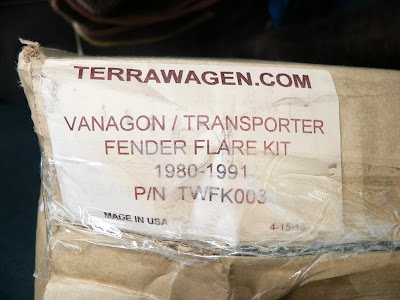

mackaymanx - December 23rd, 2013 at 08:42 PM
Got the axles back from the powdercoater and got them assembled. CVs were still good. Front inner CVs on the 4 axles I had all had rear CVs fitted, so
I've kept them on there for now but I pretty sure that is not correct. Might have to change them over to the correct syncro inners or get some
Porsche 944 CVs which you can also use.
Decided it was time to get the correct tools to make the job easier, banding tool and Oetiker Pliers.

mackaymanx - December 23rd, 2013 at 09:04 PM
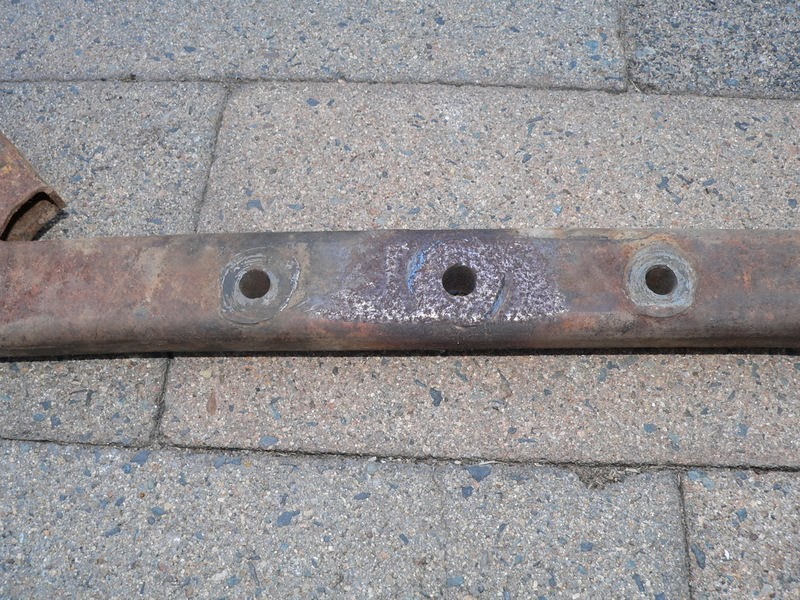
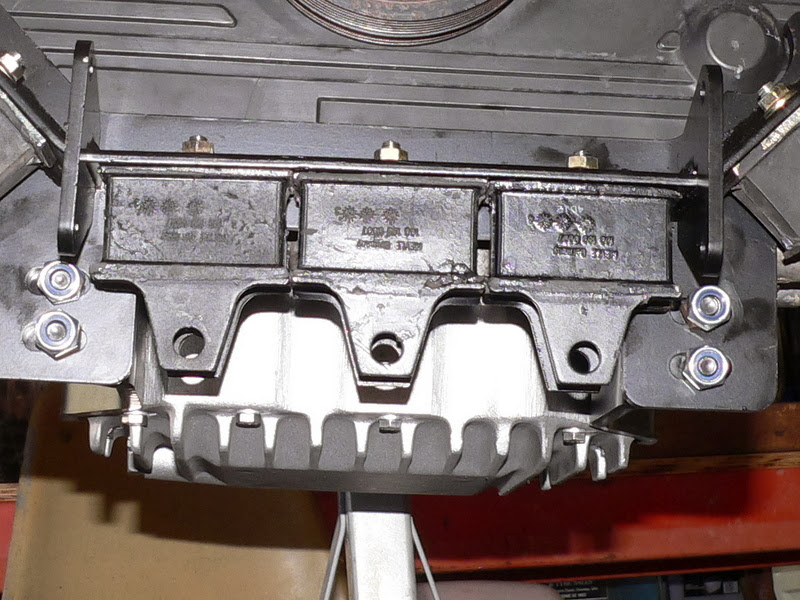
Installed an extra mounting bush in the engine carrier. The SmallCar mount allows for a third centre mount. Usually used for the H6 motors but I
thought it might be a good idea for a syncro installation.

Scottkombi - December 24th, 2013 at 08:11 PM
Nice work Brent.
Did you use small car bellhousing as well as the sump and mounts?
What other Smallcar stuff are you using?
Cheers,
Scott
mackaymanx - December 24th, 2013 at 08:58 PM
Yes I'm using the Smallcar bellhousing(see picture above), finish on the machining on the bellhousing was a lot better than previous and the fit of
the dowels(gearbox side) is improved. I will go into the bellhousing more later.
Also have the drive by wire pedal bracket and coolant line(usually used on the H6 and turbo H4) which lets you not reverse the coolant manifold.
Scottkombi - December 25th, 2013 at 08:22 PM
Thanks Brent.
I am planning on doing this conversion shortly.
What model scooby 2.5 donk are you using? Who is doing your harness re-wire and could you please list the smallcar or other bits required and
costs.
Thanks heaps in advance. Just want to make sure I get everything I need.
Cheers,
Scott
mackaymanx - December 28th, 2013 at 08:09 PM
Engine is a EJ252 from a 2005 Liberty.
Haven't decided on the harness yet, I have several choices there. If I can't get my head around it will go to AM Autos but using an EJ22E system or
LinkPlus G3 are also options.
Part Number------- Description----------------------------------- List Price----------ORD-----SHIP-----TOTAL
MSG 2005 LEGACY/LIBERTY 2.5L W/METAL DBW PEDAL
1988 SYNCRO KIT W/O HMK
025SYNCROCOMP SUBAGON PARTS KIT SYNCRO 1595.00 1 1 1595.00
VGF-PANEL GAUGE FACE WARNING PANEL BL 9.95 1 1 9.95
OPSV45 OIL PAN ALUMINUM SUBAGON 4- 19.00 2 2 638.00
CK02525STAGE2 CLUTCH KIT F/BELLHOUS STAGE 359.00 1 1 359.00
HPSQ14 HOSE POWER STRG SUBERVAN QU 95.00 1 1 95.00
CP3320 PIPE COOLANT 3.3 AND TURBO 99.95 1 1 99.95
Shipping on above was $665 for 5 shipments. US dollars.
mackaymanx - December 28th, 2013 at 09:56 PM
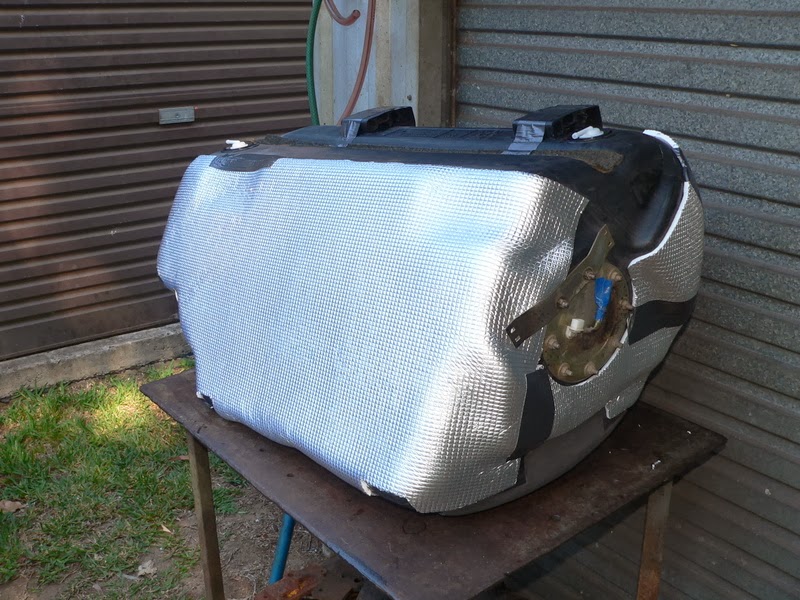
This is one job I was putting off but it actually came out with too much hassle. So new fuel pump, new filter and reseal kit from Van Cafe. Tank has
no insulation from factory, so it will be getting some.

mackaymanx - December 28th, 2013 at 10:53 PM
Gave the tank a good scrub, getting the wax over spray off the tank was the tedious bit. Started with some foam under where the straps sit.
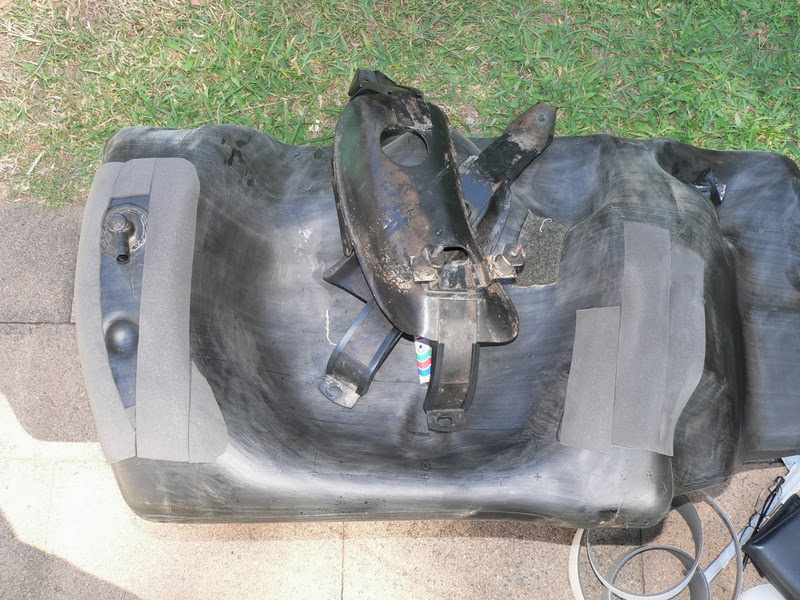
Got some tank strap from Clark Rubber.
Insulation off eBay, not as good as factory but better than the nothing that was on there. Used some sikaflex to glue the hose brackets on as the tabs
had broken off the tank.

