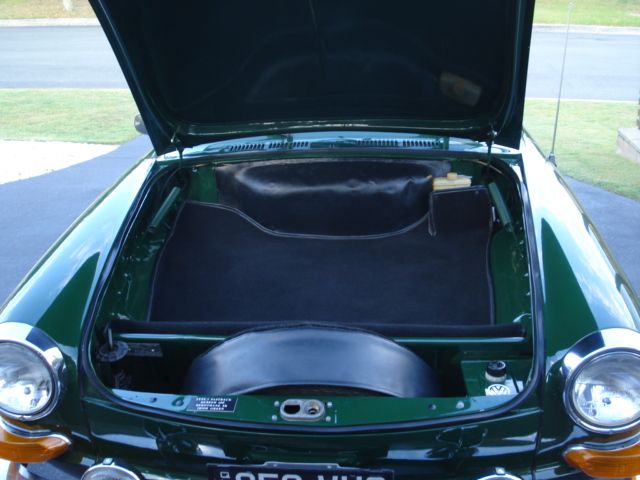


Recently picked up this 1972 Type 3 Fastback - well 3 weeks back in fact and have been cleaning it and sourcing some things to get things to my
liking.
Hope you enjoy the pictures:
SWEEEEEEET! Congratulations and enjoy the new ride.
Yogie

Really really nice car.
Looks like the front could with lowering a smidge to match up with the back?
| Quote: |
nice 73 fastback
Picked up a cancellation ring and fitted it to the Wood Rim Steering Wheel - more comfortable than the standard ..... indicators now cancel and horn
works also 

Stop rubbing Paddy in Bert!
I'm getting way too envious!
Loving the wood rim wheel.
Doubt Bec would let me do that to ours but I can only hope.

Sorry Wombie, it's nice to see people appreciate others rides and efforts to bring out the best in their pride and joy 
I think i'm in love
That's a killer Fastie!
Nice with the trip speedo and GT strip
would look great with a vintage speed Type 3 exhaust system
love it
| Quote: |
| Quote: |

G'day Fossil.
I was chatting to you at Action Day about a guy doing a Road Test for a Scottish TV show. He was driving a Fastie the same colour as yours. Anyway
I've found the show - it's filmed on winding country roads that would be a heap of fun to drive. Worth a look.
https://www.youtube.com/watch?v=zUQyaxDdO_8
The bloke who restored it has a thread on the UK Type 3&4 Club.
http://www.vwtype3and4club.org.uk/forum/viewtopic.php?f=4&t=1796
Thanks Notch - will check the links out
Sorry but forgot your name as there were plenty looking and asking questions - think it took me an hour to to move away then half an hour on the way
out when I got stopped.
Glad everyone is enjoying seeing a nice Type3 Fastback.
Cheers,
Bert
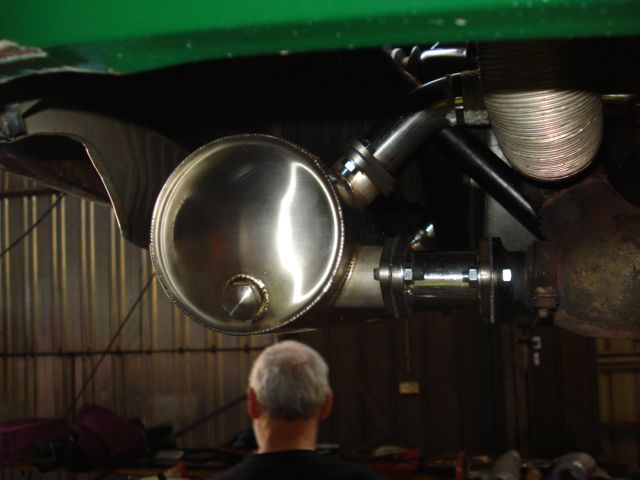
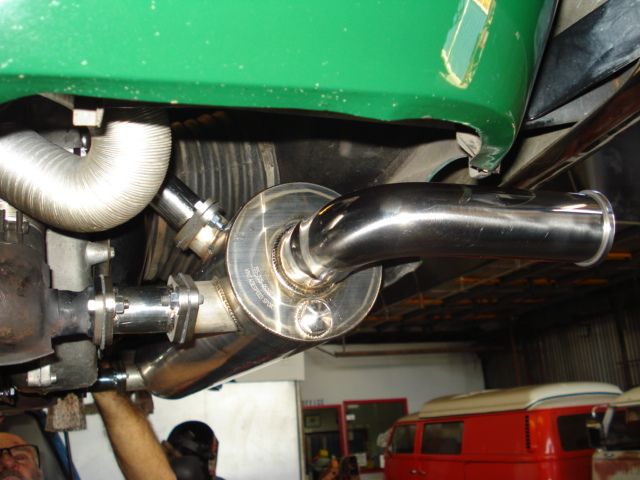
Early start today with a trip to see Pete and Clive @ Custom VeeDub in Stafford - Welded flange plates onto the heater box pipes ridding oneself of
the clamps and leaking exhaust fumes
Right Hand Side
Left Hand Side


That looks cool Bert
Awesome Fasty mate. Have the Vintage Speed as well on my Square, and love it.
Love the decal, did you do it or was it already on there?
| Quote: |
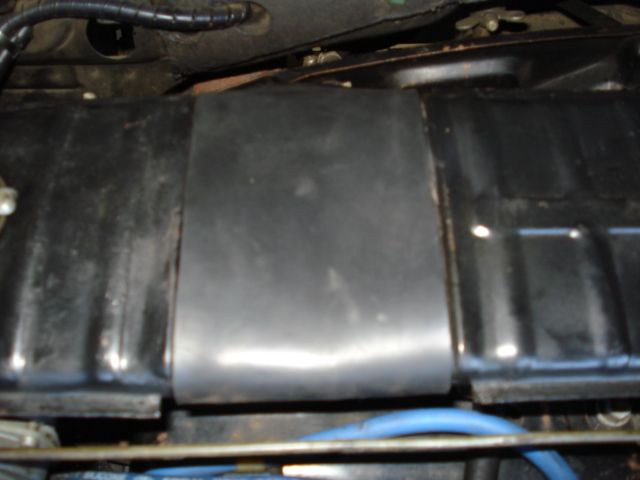
Didn't have a seal for the left side of the air filter so made one up & it did the job -
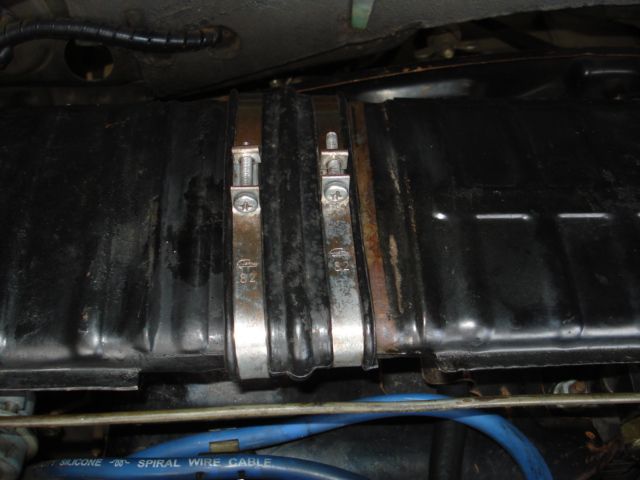
Then thought I'd try a retired mechanic to see if he had the clamps and by chance an original seal .... while tempting fate thought I'd ask for a
timing hole plug ......... results speak for themselves
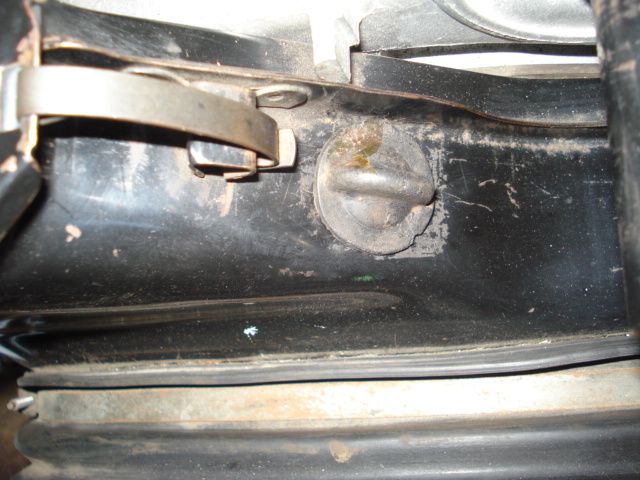
Happy Days 


Back in June'16 got the ride height sorted in the rear but prior to that job had to source some new front bump stops and replace all 4 shocks as they
were shot - some pics of the bump stop with lower stop cut/shortened and placed on the top and the top on the bottom and wondered why it handled like
it did (some people shouldn't be allowed to do work on old VW's)
Old compared to new (authentic VW with part numbers stamped on base) -

The rear shocks compared to new & old -

And front shocks new and old -

Got my order of new CNC'd 6061 Al seat cams & with the help of my friend John (retired Fitter/Turner/Boiler Maker) Friday was fit up day.
Getting seat out and apart was easy enough to reveal the condition of the original cams -
Right one well and truely knackered >
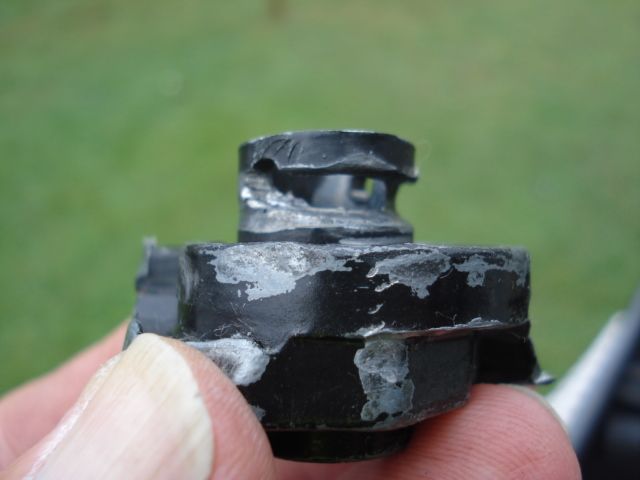
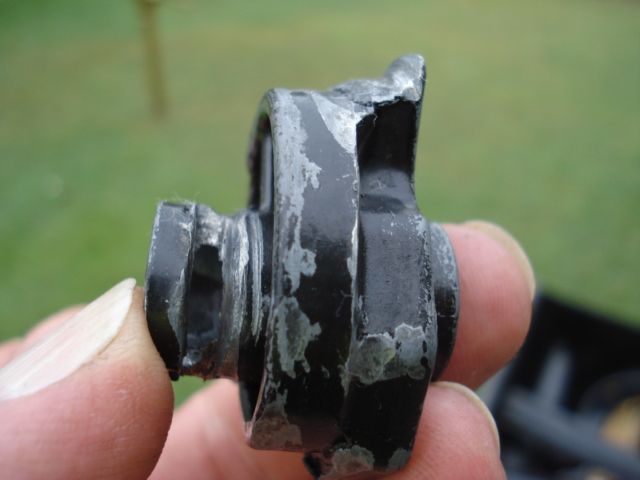
Left one not in great shape either >
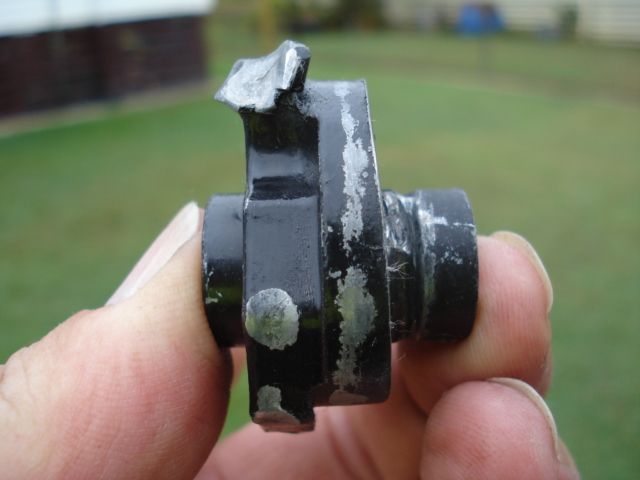
Showed how people didn't know how to adjust seat incline in the first place and 101 rule release pressure on the back rest DON'T try to assist with
your weight.
Now wonder if the leaver releasing the backrest will work better and the function will now be smoothly/as like new.
A better picture of the Cams >
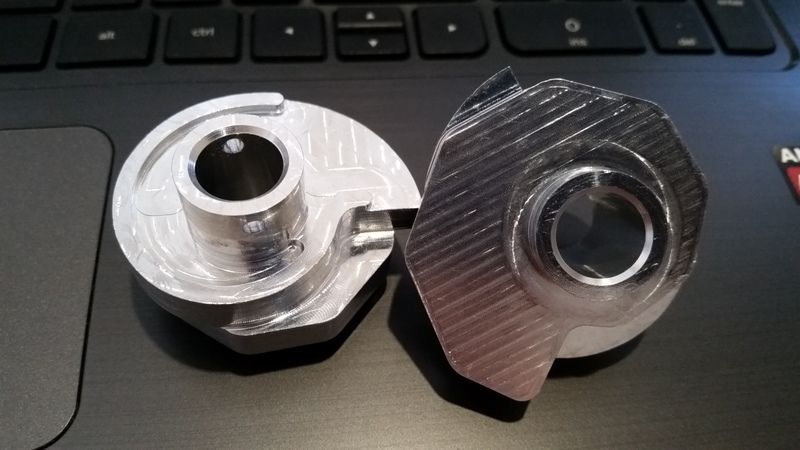
Without going into the fine detail, there was some damage on the left side of the seat where the cam is housed so this had to be repaired by a bit of
metal beating and filing. The damage and resultant change of profile made just enough difference across the width of the seat to mean the right cam
needed a little filing on the radii on the 2nd & 3rd steps/lugs - this took a few fits then remove of the shaft with cams until we were satisfied
a smoothly transition through the full range of adjustment was happening 
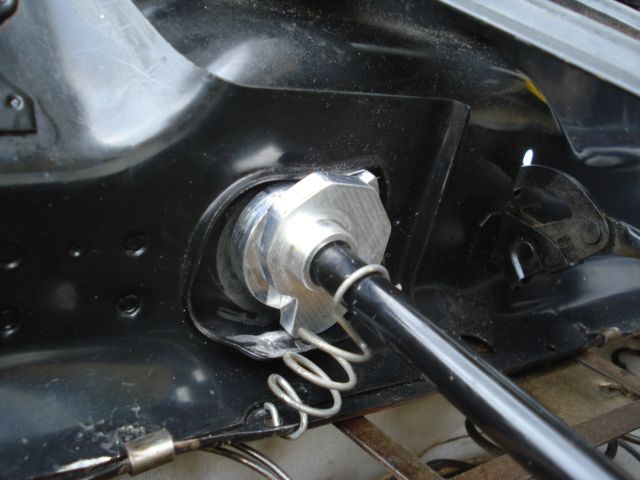
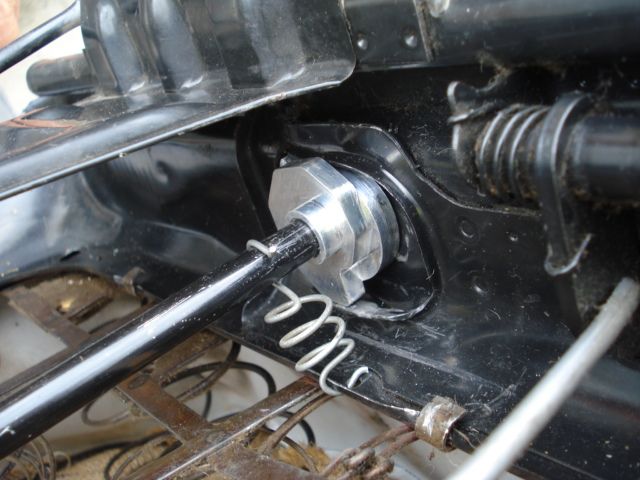
To the final fit and they look this -
Right Cam (before MolyGrease)
Left Cam (before MolyGrease)
Once the MolyGrease was applied and a few movements through the range we were happy as to how smooth it was and so put back in Paddy - test seating =
weird feeling the backrest at the shoulder blades when before it was only at the base of the spine 
As for the access to the back seat ......  ..... no
more fighting to get it to move :eek: ....... smooth as the day out of the factory
Taken some time to get to this but been worth it to have a NLA part made up and copies being sent to the USA for other Type3 owners as well as to some
in Australia.
BIG thanks to Nils for taking this on and delivering 
Mine hit my mailbox today Bert, Will whip the sat out tonight. Can't wait!

Good to hear Terry.
You'll need a 3mm pin punch to get the roll pins out - don't go larger than this with the tool you use otherwise you'll have issues with the knob,
cap & bar.
Let's hope you seats are undamaged and fitting is straight forward. Give Nils and I your feedback via pm or email.
Any questions PM me re fit BUT after 7.00pm may nit get to them until tomorrow morning.
Almost had to ask how too get the seat out, then I found the magic button. Dead easy.
The old cams look buggered, doubt they've been lubricated in years.
Can't even turn the knob. Will lubricate the shaft and gently fee it up. Might take a bit of doing.
Also found out why the seat backs wouldn't lock in. Tie wired!
Terry, they don't look that bad ..... once you remove them from the seat (4 roll pins to remove .... 2 each side) you'll then be able to see the real extent of stuffedness as I did as in the picture of the right knackered cam above.
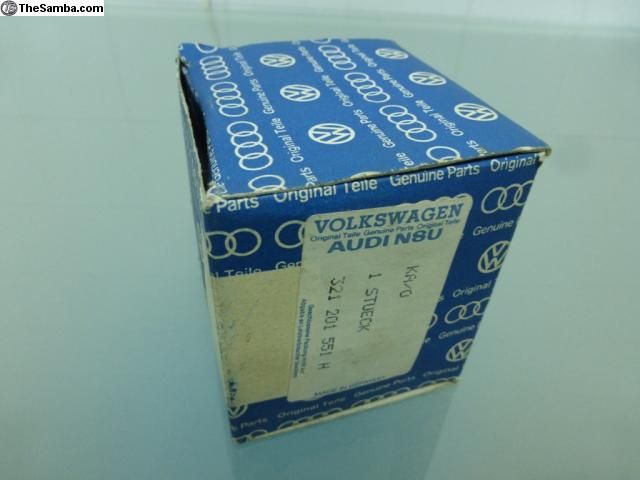
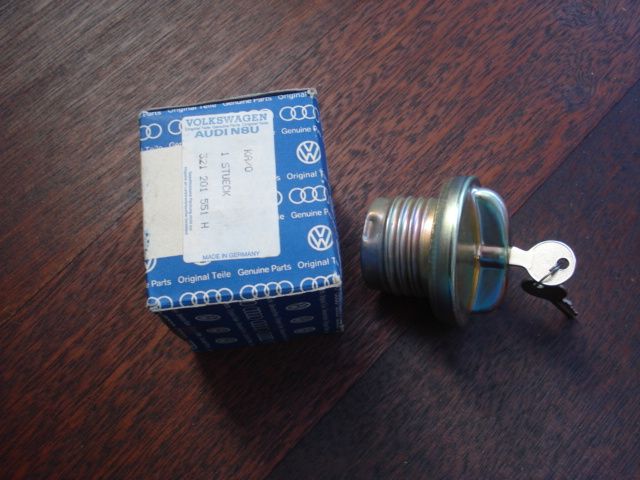
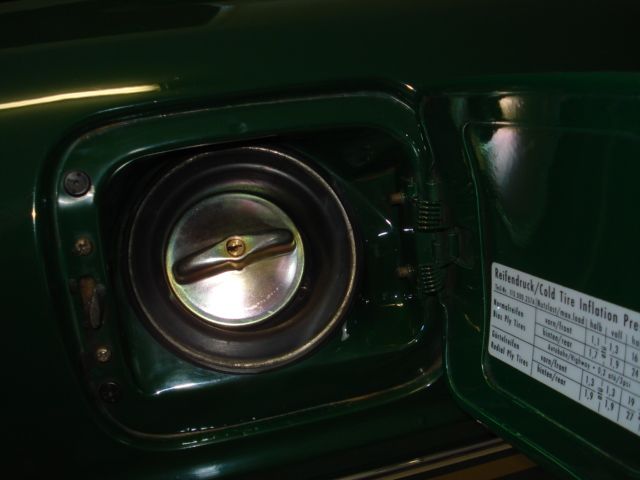
Been doing some shopping and found this ...... now fitted 
