| [ Total Views: 2197 | Total Replies: 40 | Thread Id: 96909 ] |
| Pages: 1 2 |
|
|
 Special Air Service Special Air Service
Custom Title Time!
Chief "Gunna"
    
Posts: 1769
Threads: 210
Registered: October 4th, 2004
Member Is Offline
Location: Old Bar , Mid North Coast , NSW
Theme: UltimaBB Pro Blue ( Default )
Mood: In desperate need of a decent sleep
|
| posted on May 17th, 2012 at 09:16 PM |
|
|
test fitting.
| Error |
| Sorry, you must be a registered user in order to download attachments. |
|
| Error |
| Sorry, you must be a registered user in order to download attachments. |
|
[size=5] Calling all NSW Mid North Coast Veedubbers
Click Below [/size]
[size=6]Mid North
Coast VW [/size] |
|
|
 Special Air Service Special Air Service
Custom Title Time!
Chief "Gunna"
    
Posts: 1769
Threads: 210
Registered: October 4th, 2004
Member Is Offline
Location: Old Bar , Mid North Coast , NSW
Theme: UltimaBB Pro Blue ( Default )
Mood: In desperate need of a decent sleep
|
| posted on May 17th, 2012 at 09:23 PM |
|
|
this shows measurements taken so I could reinstall seat raisl in the correct position once the pan was in.
| Error |
| Sorry, you must be a registered user in order to download attachments. |
|
| Error |
| Sorry, you must be a registered user in order to download attachments. |
|
[size=5] Calling all NSW Mid North Coast Veedubbers
Click Below [/size]
[size=6]Mid North
Coast VW [/size] |
|
|
 Special Air Service Special Air Service
Custom Title Time!
Chief "Gunna"
    
Posts: 1769
Threads: 210
Registered: October 4th, 2004
Member Is Offline
Location: Old Bar , Mid North Coast , NSW
Theme: UltimaBB Pro Blue ( Default )
Mood: In desperate need of a decent sleep
|
| posted on May 17th, 2012 at 09:35 PM |
|
|
killrusted both sides prior to fitting, masked of those areas that would be welded. these would be a painted after welding.
| Error |
| Sorry, you must be a registered user in order to download attachments. |
|
| Error |
| Sorry, you must be a registered user in order to download attachments. |
|
| Error |
| Sorry, you must be a registered user in order to download attachments. |
|
[size=5] Calling all NSW Mid North Coast Veedubbers
Click Below [/size]
[size=6]Mid North
Coast VW [/size] |
|
|
 Special Air Service Special Air Service
Custom Title Time!
Chief "Gunna"
    
Posts: 1769
Threads: 210
Registered: October 4th, 2004
Member Is Offline
Location: Old Bar , Mid North Coast , NSW
Theme: UltimaBB Pro Blue ( Default )
Mood: In desperate need of a decent sleep
|
| posted on May 17th, 2012 at 09:45 PM |
|
|
final fitting before welding.
after welding more killrust where needed & them sikaflex seam sealer both side of the join between pan half & pan frame. Aslo sikaflexed along
the join between the pan & the heater channel (both sides) to help prevent any more water entering.
weled in seat rail, reasembled & away we went for a while.
That'll do for tonights installment.
| Error |
| Sorry, you must be a registered user in order to download attachments. |
|
| Error |
| Sorry, you must be a registered user in order to download attachments. |
|
[size=5] Calling all NSW Mid North Coast Veedubbers
Click Below [/size]
[size=6]Mid North
Coast VW [/size] |
|
|
 69bug 69bug
Officially Full-On Dubber
  
Posts: 300
Threads: 24
Registered: January 21st, 2012
Member Is Offline
Theme: UltimaBB Pro Blue ( Default )
|
| posted on May 17th, 2012 at 09:59 PM |
|
|
Great looking bug! Eagerly await more pics!
1969 1500
|
|
|
 Special Air Service Special Air Service
Custom Title Time!
Chief "Gunna"
    
Posts: 1769
Threads: 210
Registered: October 4th, 2004
Member Is Offline
Location: Old Bar , Mid North Coast , NSW
Theme: UltimaBB Pro Blue ( Default )
Mood: In desperate need of a decent sleep
|
| posted on May 23rd, 2012 at 10:10 PM |
|
|
Thanks mate, it's lived outside about 500m from the beach since I've owned it, so as you can imagine it has deteriorated a bit over time.
had forgot to mention that I got a set of rear pop-out windows off ebay & put them in at some stage of the time line.
The ride height that the front end is sitting at in the photos shown so far is basically a result of me having it initially riding lower &
discovering that the ridiculously harsh ride was a result of me sitting on the bumpstops........... pulled the shocko's off & found that the
suspension would only travel about another 5mm until the balljoints bottomed out.
Couldnt find a shock absorber the correct length to let me get it low & give the ball joints some buffer zone, so had to raise the front up a
notch or two. 
next stop.......drop spindles 
[size=5] Calling all NSW Mid North Coast Veedubbers
Click Below [/size]
[size=6]Mid North
Coast VW [/size] |
|
|
 dubster dubster
A.k.a.: Zane Williams
Seriously Crusin Dubber
 
Posts: 196
Threads: 33
Registered: January 25th, 2012
Member Is Offline
Location: Gold Coast
Theme: UltimaBB Pro Blue ( Default )
|
| posted on May 23rd, 2012 at 10:27 PM |
|
|
Looking good mate how hard was it to replace the floor pan?
|
|
|
 Special Air Service Special Air Service
Custom Title Time!
Chief "Gunna"
    
Posts: 1769
Threads: 210
Registered: October 4th, 2004
Member Is Offline
Location: Old Bar , Mid North Coast , NSW
Theme: UltimaBB Pro Blue ( Default )
Mood: In desperate need of a decent sleep
|
| posted on May 24th, 2012 at 09:47 PM |
|
|
not too bad really, would be heaps easier with body off.
with body on there are a couple of sections that where welding is not 100% accesible.
only did it this way as the quickest for my desired outcome. body will come off one day & i'll rectify a few areas that didnt work out 100%.
Brendan
[size=5] Calling all NSW Mid North Coast Veedubbers
Click Below [/size]
[size=6]Mid North
Coast VW [/size] |
|
|
 dubster dubster
A.k.a.: Zane Williams
Seriously Crusin Dubber
 
Posts: 196
Threads: 33
Registered: January 25th, 2012
Member Is Offline
Location: Gold Coast
Theme: UltimaBB Pro Blue ( Default )
|
| posted on May 24th, 2012 at 09:56 PM |
|
|
Oh ok cool, I gotta say from what I see in the pics you have done an awesome job
Dubster
|
|
|
 Special Air Service Special Air Service
Custom Title Time!
Chief "Gunna"
    
Posts: 1769
Threads: 210
Registered: October 4th, 2004
Member Is Offline
Location: Old Bar , Mid North Coast , NSW
Theme: UltimaBB Pro Blue ( Default )
Mood: In desperate need of a decent sleep
|
| posted on May 30th, 2012 at 08:58 PM |
|
|
To overcome the shock / balljoint travel problems I experienced earlier, I found myself a set of secondhand CB Performance 2.5" drop spindles
courtesy of the AVD buy & sell forum.
And as we all know nothing is straight forward with modifying the humble VW..........
Hardest part of the entire job was seperating the camber eccentrics from the ball joint tapers, I had to seperate them as I also had a set of
eccentrics that have the extra offset on them to enable me to dial a bit of extra negative camber in later on. (Upper arms had already been "bent"
by Richard at V-Force at an earlier stage).
Spindles went on & everything seemed fine until I went to bolt up the wheels.....
The bottom ball joint/trailing arm came into contact with the inside of the rim.
This was a major piss off moment as I had heard the rumours of this happening & made contact with 2 Australian VW shops & a US company to ask
if this would be a problem with the wheels I was running (cookie cutters). No was the resounding response.
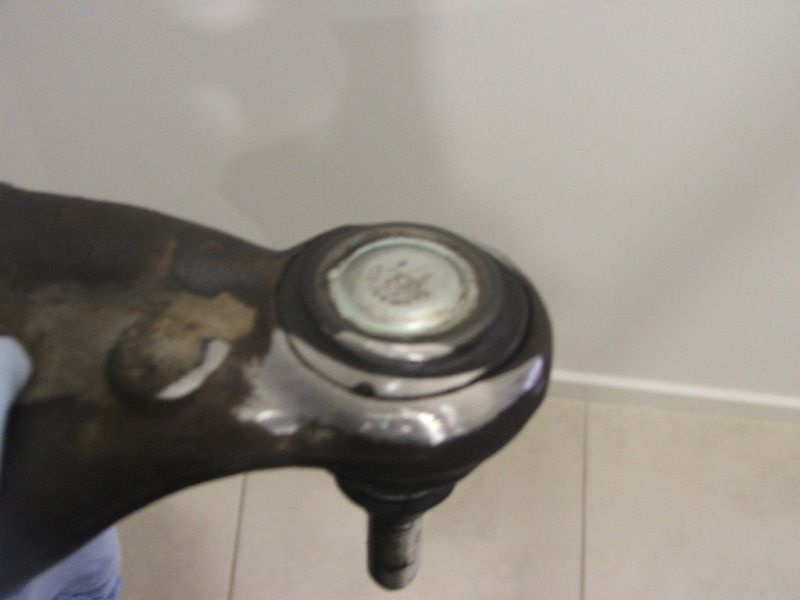
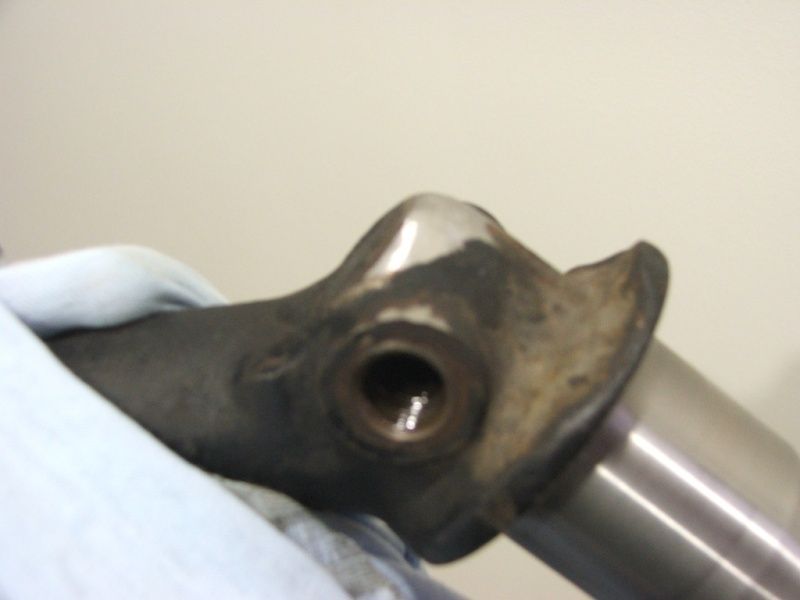
So out came the trailing arms & I linished some additional clearance on the trailing arm/balljoint, just enough to gain my self a tiny bit of
clearance. (also radiused the front of the trailing arm to give myself just a little more steering lock).
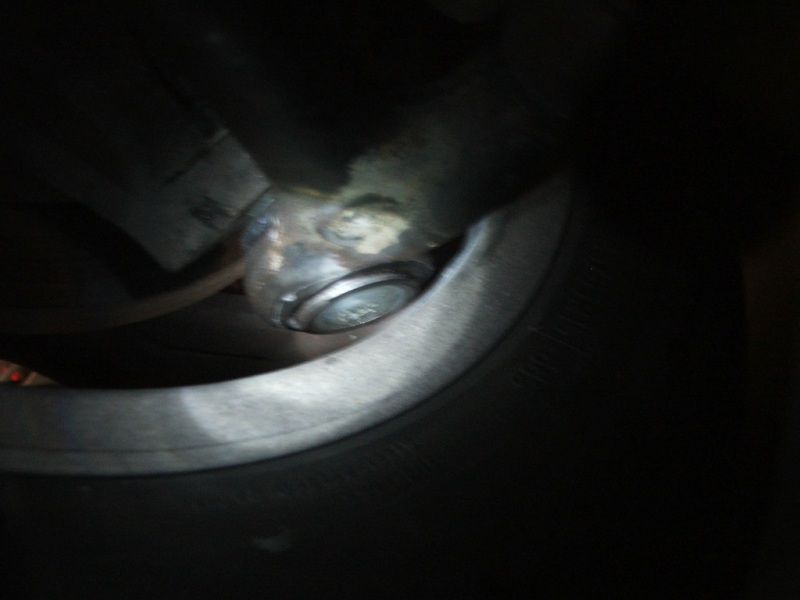
pics are a bit blurry but you'll get the general idea
SFA clearance between trailing arm & rim
traing arm where i clearanced the balljoint area
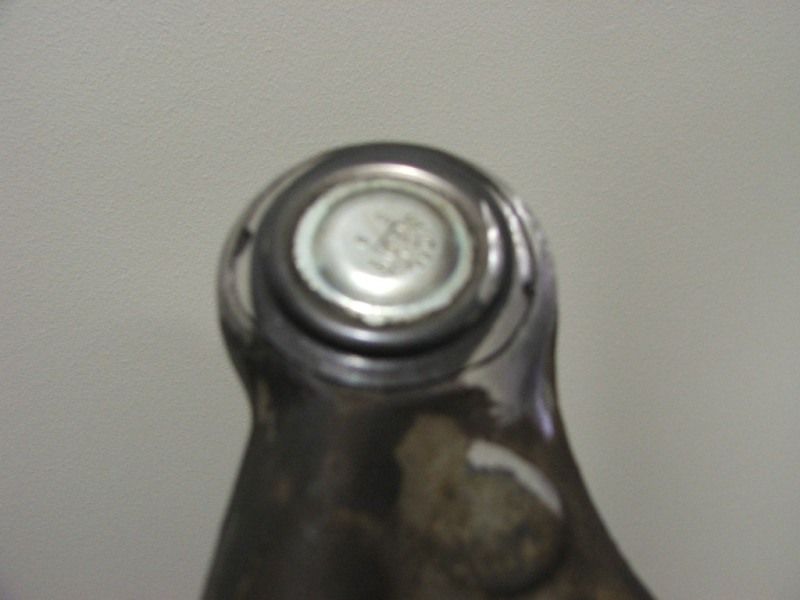
front of the trailing arm
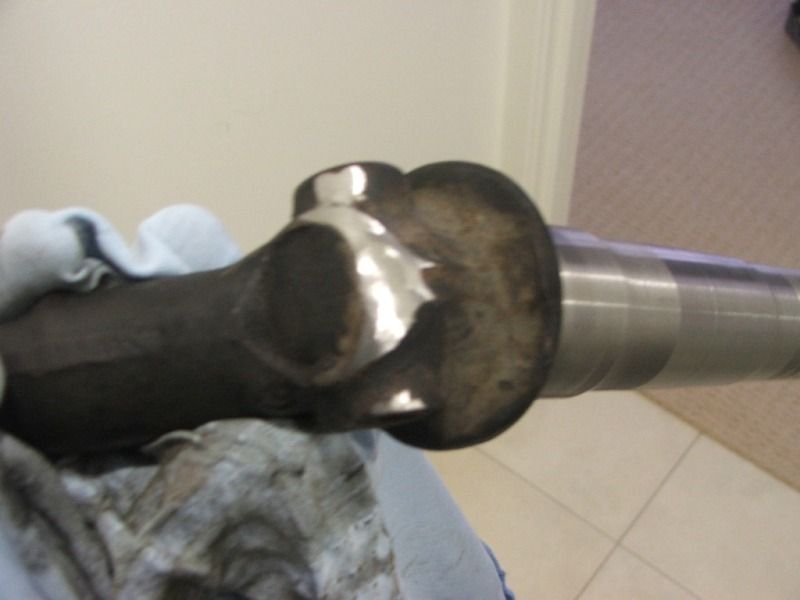
Thought I was good to go after this but......  
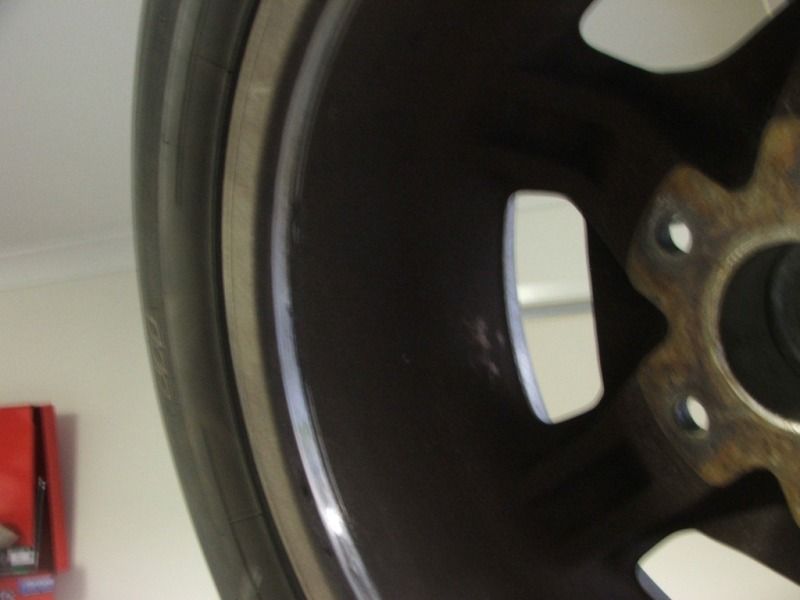
wheel still came into contact with trailing arm when the suspension went into compression. So back to the drawing board.
here's the inside of the rim after a drive up the road.
[size=5] Calling all NSW Mid North Coast Veedubbers
Click Below [/size]
[size=6]Mid North
Coast VW [/size] |
|
|
 Special Air Service Special Air Service
Custom Title Time!
Chief "Gunna"
    
Posts: 1769
Threads: 210
Registered: October 4th, 2004
Member Is Offline
Location: Old Bar , Mid North Coast , NSW
Theme: UltimaBB Pro Blue ( Default )
Mood: In desperate need of a decent sleep
|
| posted on May 30th, 2012 at 09:12 PM |
|
|
Turns out that your lower ball joint needs to be in pretty good shape to be able to run these drop spindles. Should be in good shape anyway I know,
but these really highlighted the issue.
When the weight of the car is on its wheels the lower trailing arm is actually trying to pull away from the ball joint, therefore as the balljoint
wears, the trailing arm moves away from the balljoint & closer to the wheel rim. Turns out mine had about 2mm of play in them.
New ball joints installed, everything back together & it was all sweet.......... kind of......
Apparently I didnt really know how to correctly check balljonts & tie rods for wear until this happened. I do now though.
[size=5] Calling all NSW Mid North Coast Veedubbers
Click Below [/size]
[size=6]Mid North
Coast VW [/size] |
|
|
| Pages: 1 2 |