| [ Total Views: 11407 | Total Replies: 73 | Thread Id: 87810 ] |
| Pages: 1 2 3 |
|
|
 captainvw captainvw
Officially Full-On Dubber
  
Posts: 230
Threads: 24
Registered: February 28th, 2007
Member Is Offline
Theme: UltimaBB Pro Blue ( Default )
|
| posted on March 31st, 2011 at 08:55 PM |
|
|
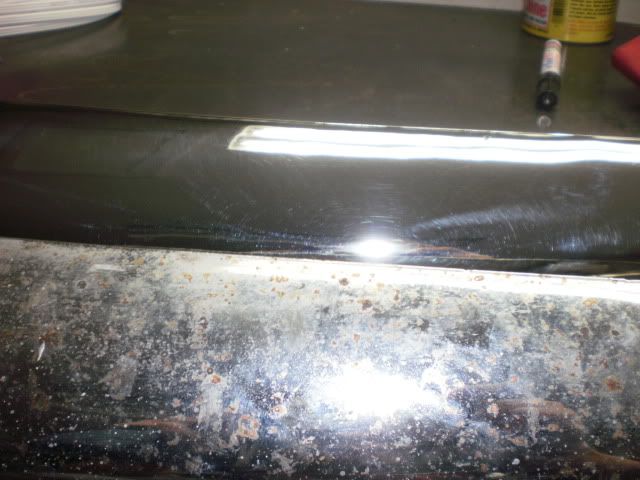
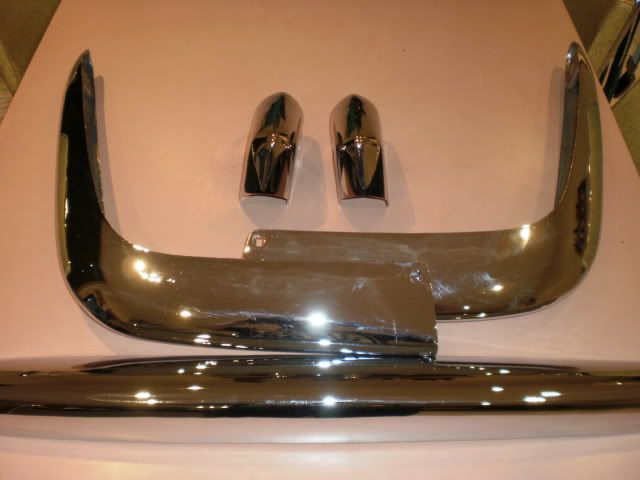
bumpers polished out nice
rears
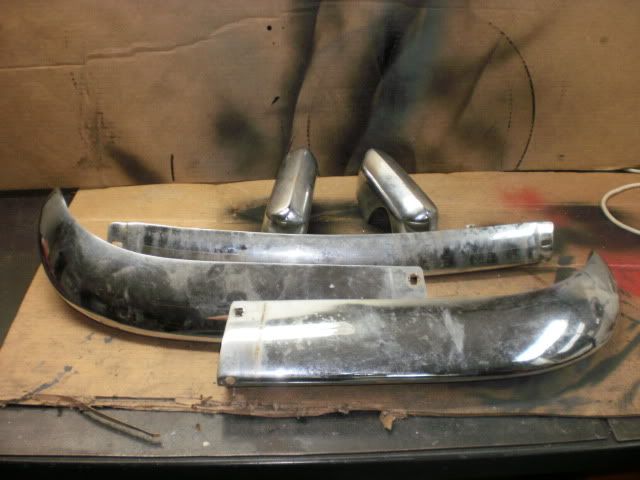
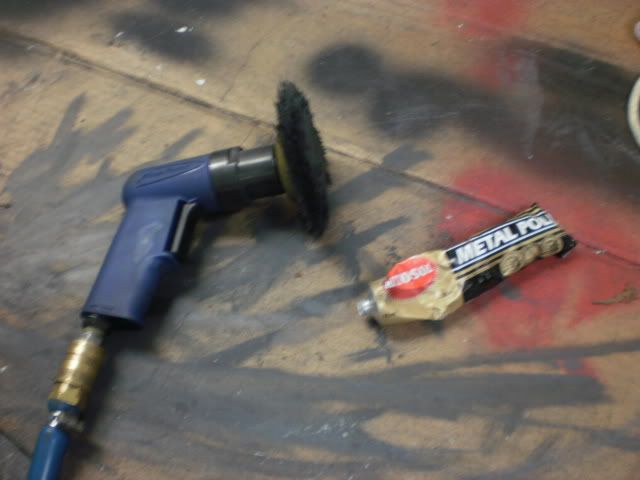
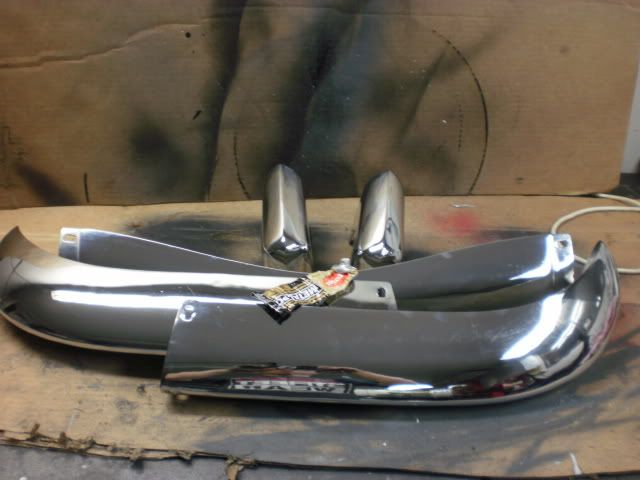
fronts
|
|
|
 Wannavee Wannavee
Insano Dub Head
   
Posts: 729
Threads: 53
Registered: September 7th, 2008
Member Is Offline
Theme: UltimaBB Psyche Blue
|
| posted on March 31st, 2011 at 09:02 PM |
|
|
Damn dude,they came up great!
Reminds me,I gotta pick up the ones I bought 3 months ago for the Ghia!
|
|
|
 norbert norbert
Officially Full-On Dubber
Comedian in training
  
Posts: 317
Threads: 54
Registered: January 8th, 2009
Member Is Offline
Location: Canberra - help outsource our pollies
Theme: UltimaBB Pro Blue
Mood: intellectually challenged and chilling
|
| posted on April 5th, 2011 at 11:43 AM |
|
|
Hi Captain,
Looks great. Did you sell the mangels or are they available?
Norbert
Jetzt mache ich meinen Karmann und Käfer zusammen.
|
|
|
 SlownLow SlownLow
Seriously Crusin Dubber
 
Posts: 133
Threads: 24
Registered: October 25th, 2010
Member Is Offline
Location: Adelaide Hills
Theme: UltimaBB Pro Blue ( Default )
|
| posted on April 5th, 2011 at 11:45 AM |
|
|
love it thanks for the pics
|
|
|
 captainvw captainvw
Officially Full-On Dubber
  
Posts: 230
Threads: 24
Registered: February 28th, 2007
Member Is Offline
Theme: UltimaBB Pro Blue ( Default )
|
| posted on April 6th, 2011 at 07:59 AM |
|
|
| Quote: | Originally
posted by norbert
Hi Captain,
Looks great. Did you sell the mangels or are they available?
Norbert
|
yes sold pending me taking them off the car 1966 type 3 has first dibs if he doesn't want them anymore i'll pm you
|
|
|
 captainvw captainvw
Officially Full-On Dubber
  
Posts: 230
Threads: 24
Registered: February 28th, 2007
Member Is Offline
Theme: UltimaBB Pro Blue ( Default )
|
| posted on April 6th, 2011 at 07:32 PM |
|
|
Got the wheels back from the polisher night before last $70 bucks a wheel absolute bargain fronts almost match the rears for glow now 8)
Taped last night
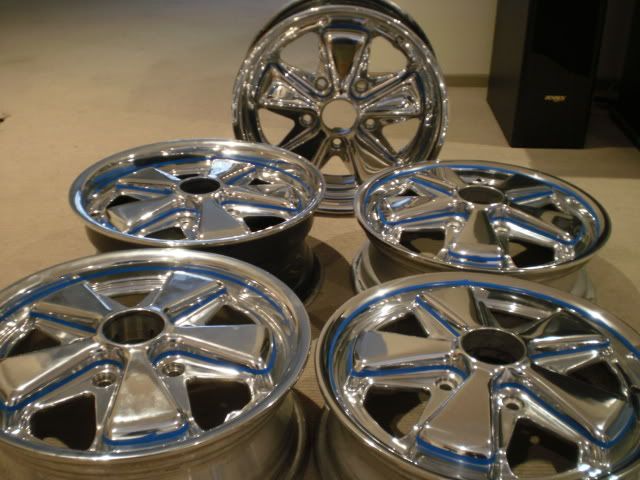
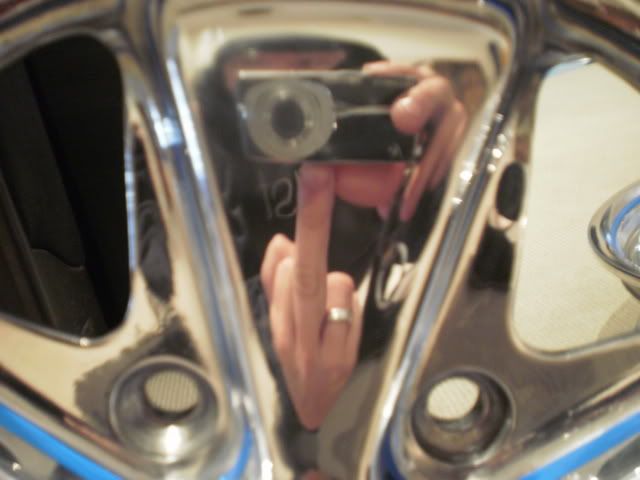
Checking for swirls (this ones for fonz  ) )
Masked this morning
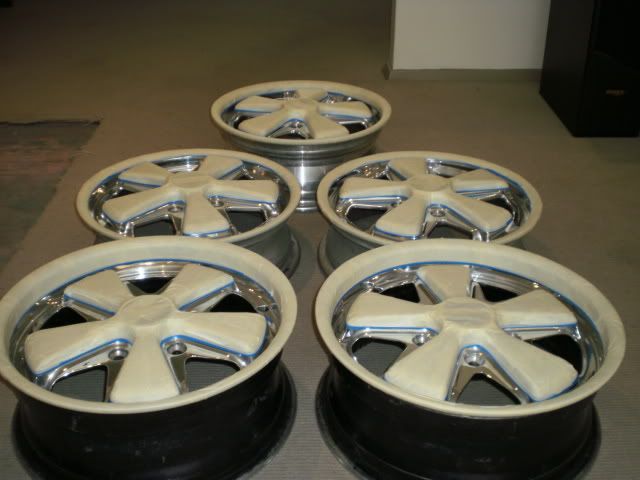
Got the blower out on the garage then wet everything down with a spray bottle to keep dust down (worked well thanks hertz :wink
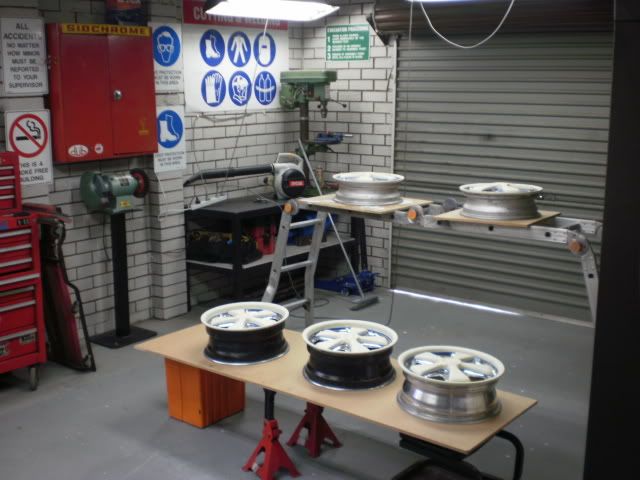
Doing my best to keep any shit out of the paint
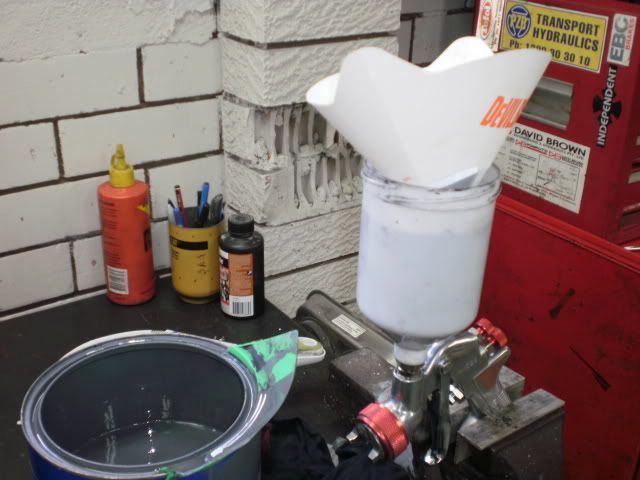
Etch primed one light coat the second a bit heavier using a 1.8mm tip
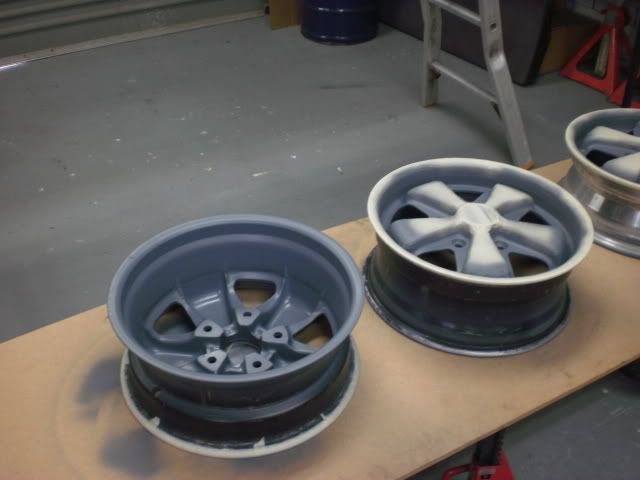
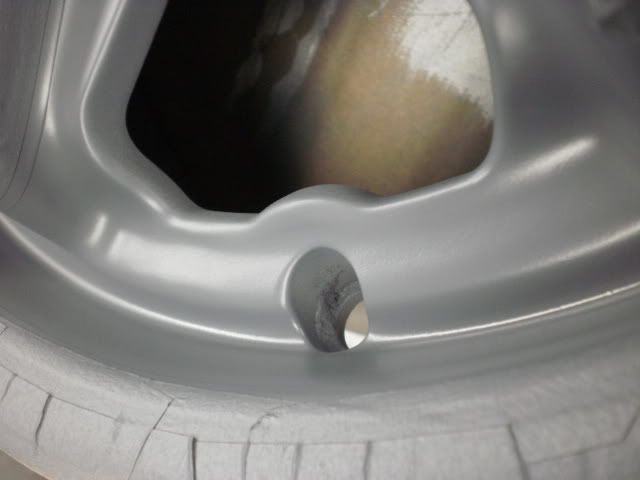
Then one light coat of 2pac black with a 1.4mm tip dusted on 15 minutes 2nd i ended up doing a 3rd 20 min after that stoked with the results 8)
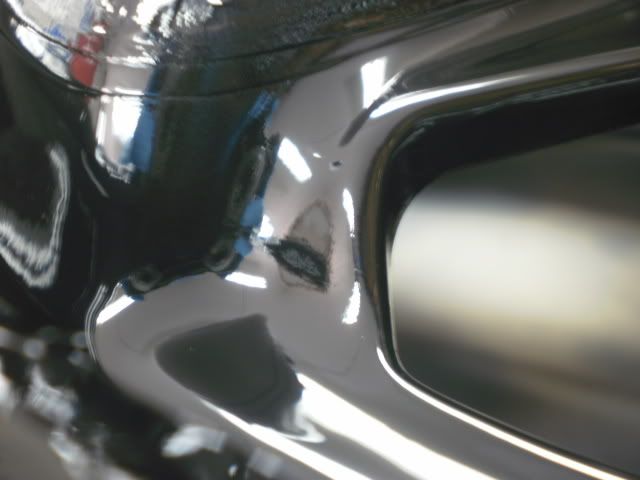
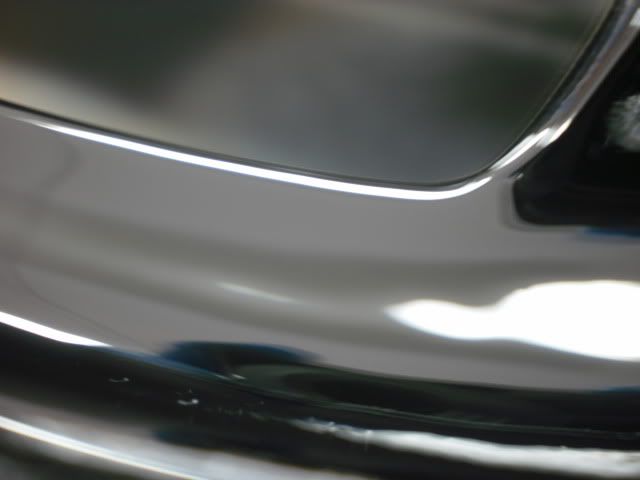
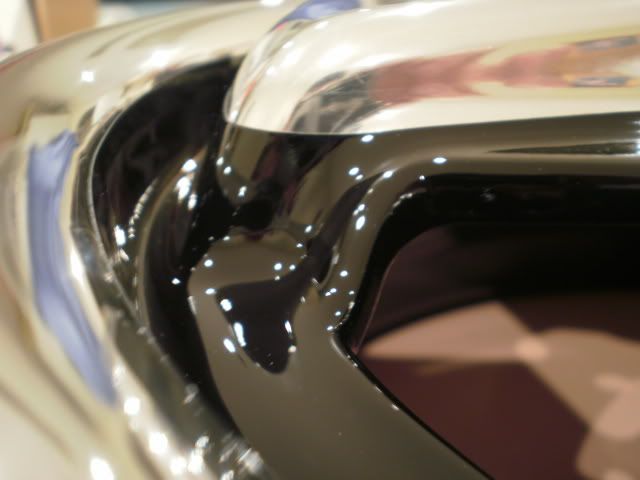
6'' on the left and 4.5'' on the right
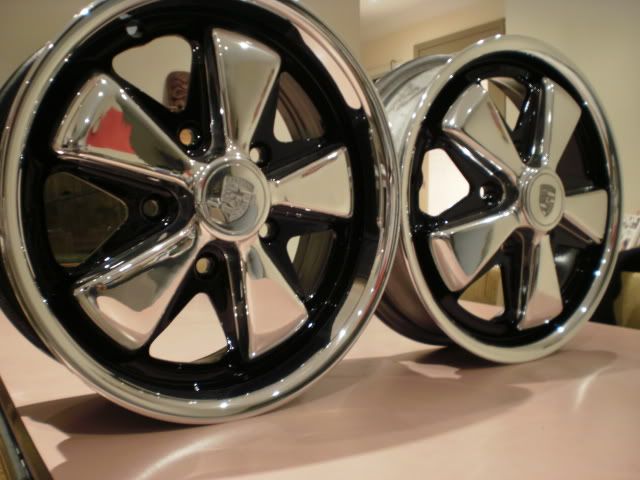
invested in a $100 dollar plus spray mask but still feeling a little dusty :roll:
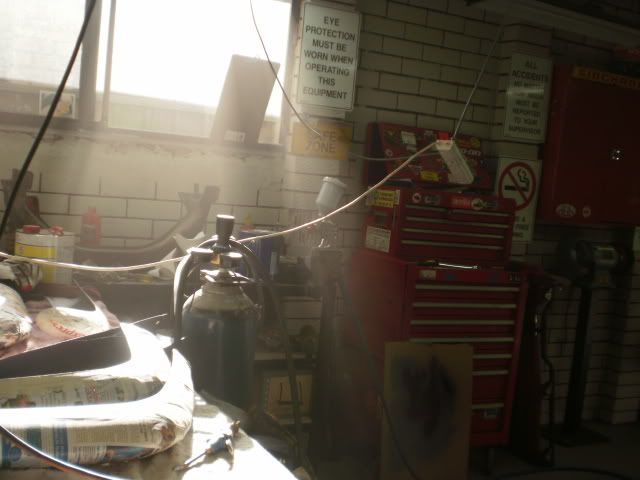
Getting pumped for the ghia's return in paint this week will prolly go down with jase mid next week to pick it up 
|
|
|
 norbert norbert
Officially Full-On Dubber
Comedian in training
  
Posts: 317
Threads: 54
Registered: January 8th, 2009
Member Is Offline
Location: Canberra - help outsource our pollies
Theme: UltimaBB Pro Blue
Mood: intellectually challenged and chilling
|
| posted on April 7th, 2011 at 10:07 AM |
|
|
nice job. Thanks for the reply.
Jetzt mache ich meinen Karmann und Käfer zusammen.
|
|
|
 1966 type 3 1966 type 3
Seriously Crusin Dubber
 
Posts: 199
Threads: 52
Registered: November 29th, 2008
Member Is Offline
Location: newcastle
Theme: UltimaBB Pro Blue ( Default )
|
| posted on April 11th, 2011 at 09:08 PM |
|
|
Thanks captain let me know when to view
|
|
|
 lou0060 lou0060
Wolfsburg Wizard
  
Posts: 568
Threads: 30
Registered: December 12th, 2010
Member Is Offline
Location: Brisbane
Theme: UltimaBB Pro Blue ( Default )
|
| posted on April 12th, 2011 at 11:00 PM |
|
|
man, that is one CLEAN garage!! based on the finish of those wheels the Ghia is going to be very special.
keep up the good work and get a picture of the painted body asap....
1971 karmann ghia Cabrio - Cruising 
1963 beetle Sunroof - gathering dust 
1968 race beetle - twin turbo Subaru - stress relief 
1960 beetle - old school low & slow  |
|
|
 captainvw captainvw
Officially Full-On Dubber
  
Posts: 230
Threads: 24
Registered: February 28th, 2007
Member Is Offline
Theme: UltimaBB Pro Blue ( Default )
|
| posted on July 23rd, 2011 at 10:50 PM |
|
|
Started dismantling all the bits i want powder coated black started off with the Handbrake lever then i found the pin was seized in the lever and
someone had already had a go at it so i started chopin and bangin :roll:
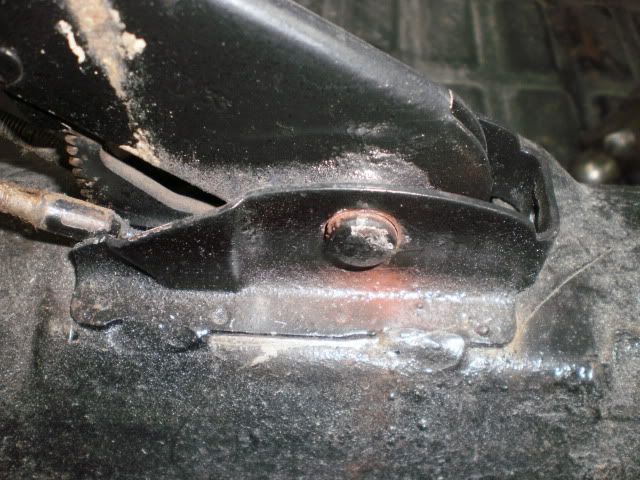
pow!
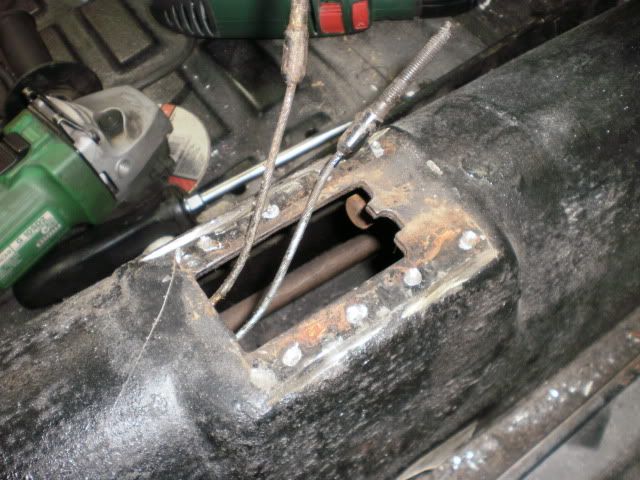
then i found what i originally thought was an old seat belt bolt was actually half a U bolt with a sweet ass hole in my pan holding my clutch tube in
place so some more chopin and banging was in order
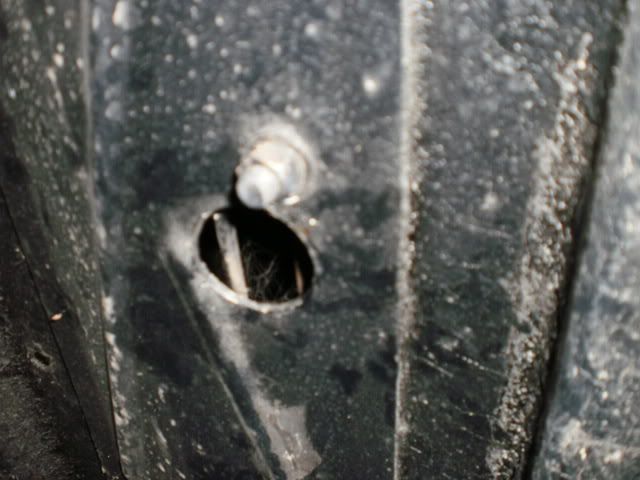
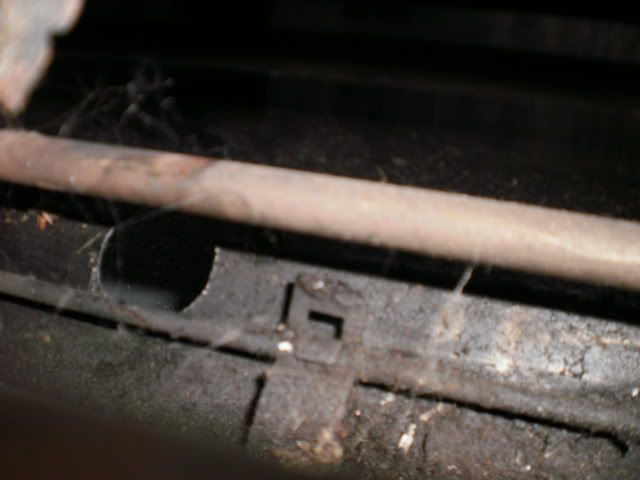
removing the handbrake gave me a good look at where it was supposed to be mounted but there was nothing left of it on the tube at all
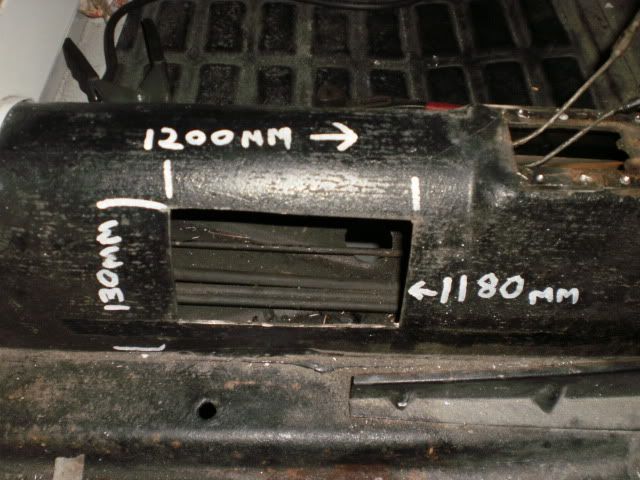
measurements are from where the body meets the pan at the front of the car on the inside might come in handy for someone else just remember this is a
Left hook though
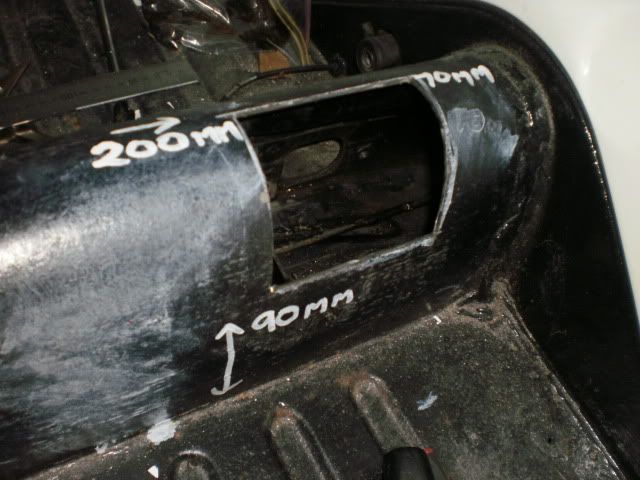
i then decided to check the tube mount at the front by removing the pedal cluster and found it was broken as well :roll:
this is where its meant to be welded to the bracket
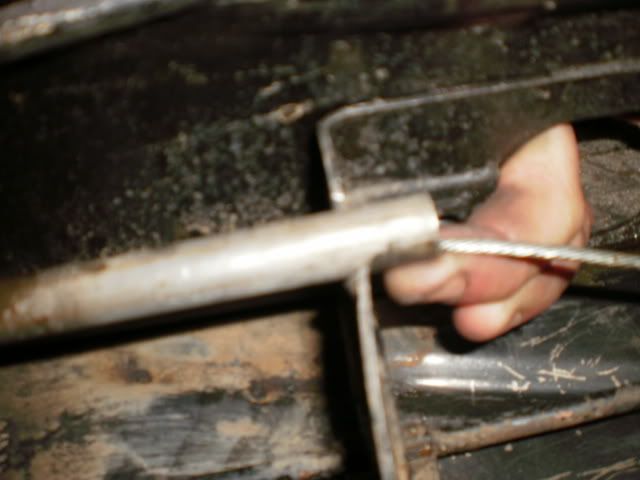
Wanted to be careful when welding the tube back in place as i've heard of repairs leading to constant clutch cable breakages only to find the weld
has gone through the conduit decided on this washer trick
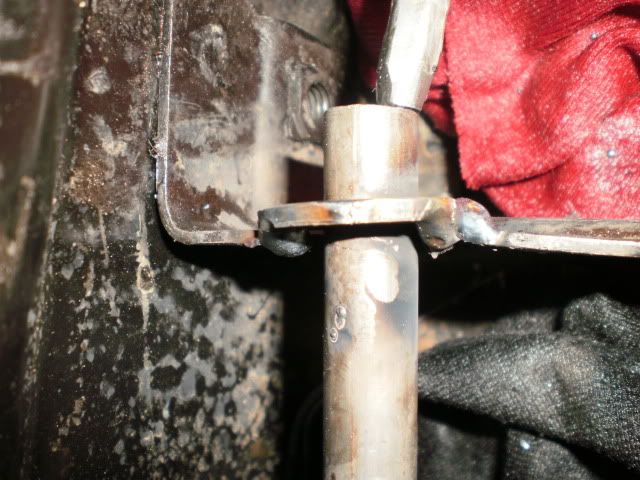
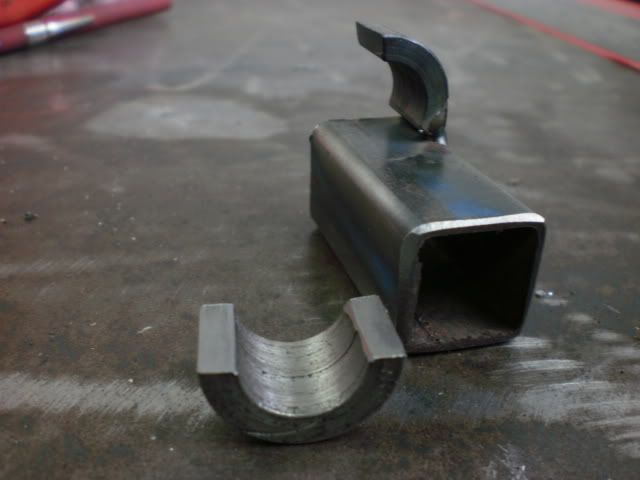
i then made the rear bracket up of scrap junkyard style again not welding directly to the tube
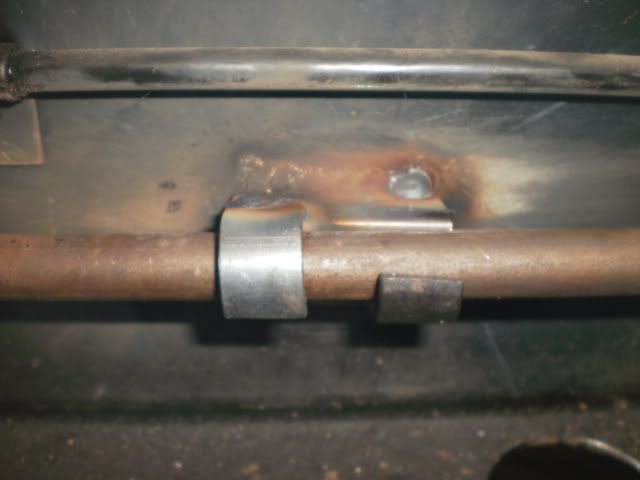
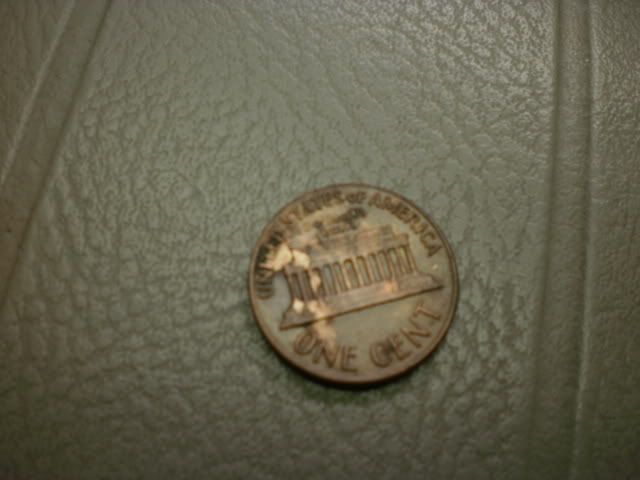
Found this in the tunnel along with some used condoms
Ive stripped the pedal cluster down along with the handbrake tomorrow i'll take out the spring plates to notch and get a some more bits and pieces
ready for sandblasting and powder coating 8)
|
|
|
 captainvw captainvw
Officially Full-On Dubber
  
Posts: 230
Threads: 24
Registered: February 28th, 2007
Member Is Offline
Theme: UltimaBB Pro Blue ( Default )
|
| posted on August 5th, 2011 at 10:52 PM |
|
|
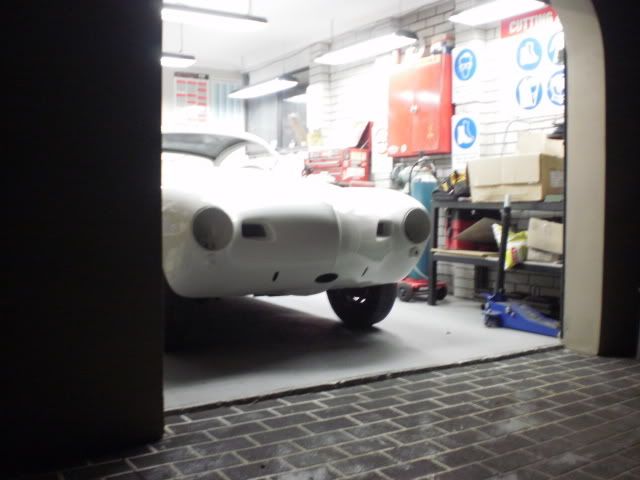
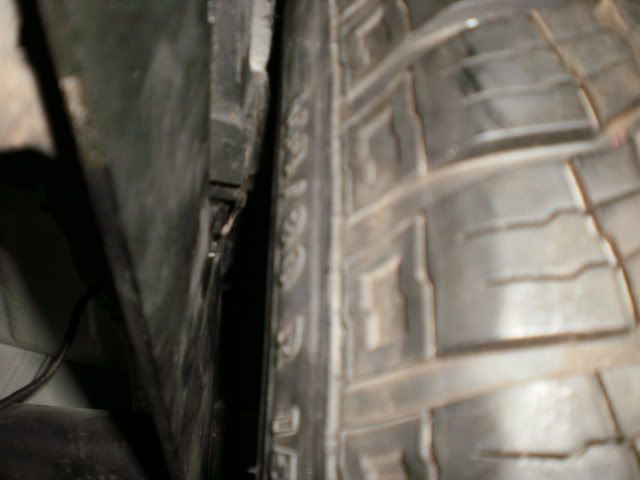
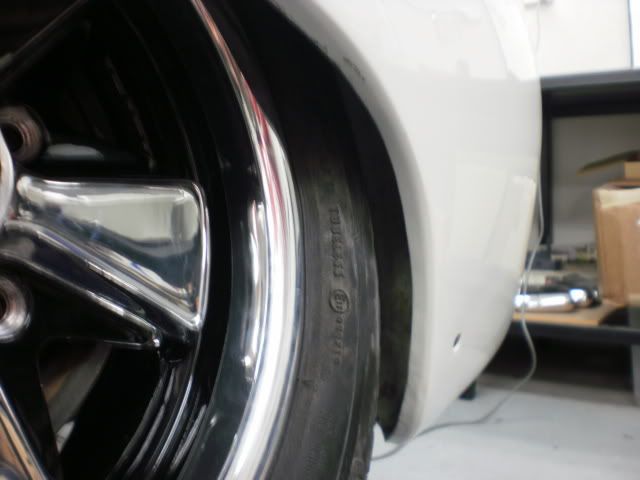
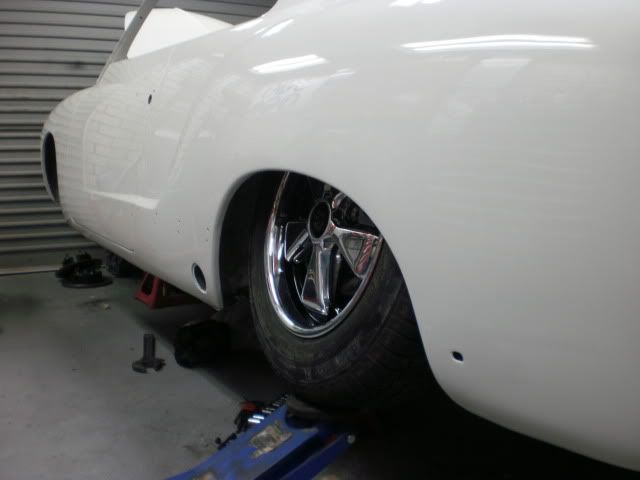
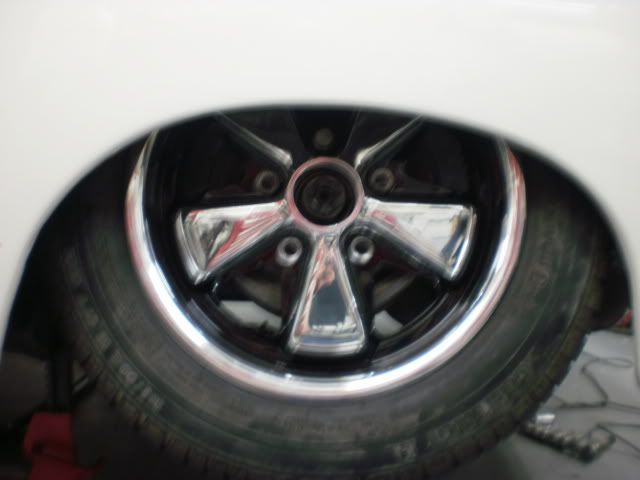
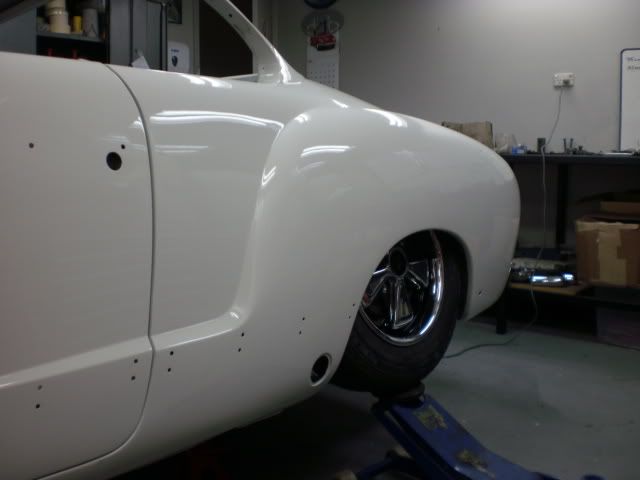
Short axles ,Type 3 drums ,6'' hearts wrapped in 165/80' conti's and no body mods 
|
|
|
 lohoon lohoon
Wolfsburg Wizard
  
Posts: 466
Threads: 67
Registered: September 5th, 2002
Member Is Offline
Location: muswellbrook
Theme: UltimaBB Pro Yellow
|
| posted on August 5th, 2011 at 11:07 PM |
|
|
lookin good bro!
|
|
|
 empi empi
A.k.a.: Empstar
Compulsive Aussie Vee Dubber
      
Posts: 4131
Threads: 178
Registered: August 27th, 2002
Member Is Offline
Location: melbourne
Theme: UltimaBB Pro Blue ( Default )
Mood: thunderous
|
| posted on October 1st, 2011 at 10:53 PM |
|
|
Look s great Lj, more pice, more pics!!
"If at first you don't succeed, skydiving is not for you." - Anonymous  |
|
|
 my 76 bay my 76 bay
Casual Dubber

Posts: 30
Threads: 11
Registered: October 10th, 2010
Member Is Offline
Location: Natimuk VIC 3409
Theme: UltimaBB Pro Blue
|
| posted on October 4th, 2011 at 08:39 PM |
|
|
Really nice lowlight ghia you have there.
1976 bay window camper |o' * 'o|
1962 beetle (o l /o)
|
|
|
 captainvw captainvw
Officially Full-On Dubber
  
Posts: 230
Threads: 24
Registered: February 28th, 2007
Member Is Offline
Theme: UltimaBB Pro Blue ( Default )
|
| posted on October 14th, 2011 at 07:29 PM |
|
|
Off to the sandblasters .....

Been waiting a month for the local machine shop (but im in no rush and the rate they charge is right :wink: )
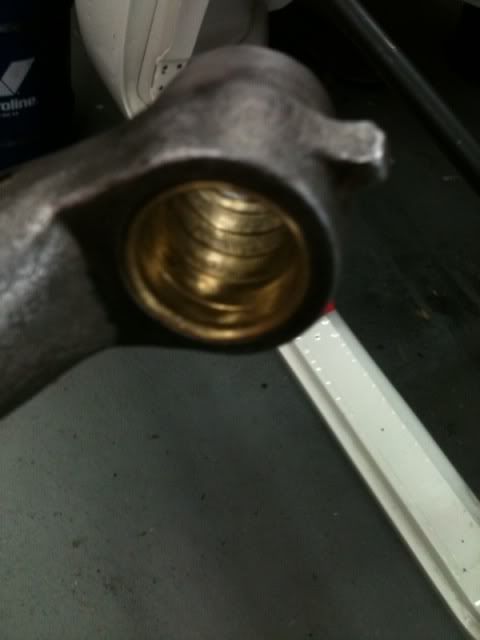
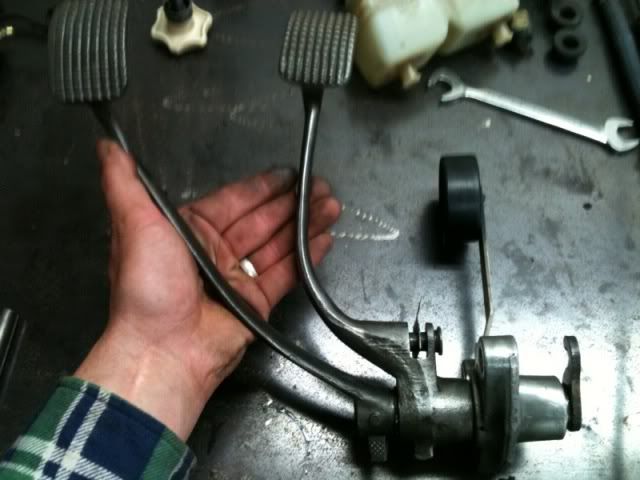
Got rid of the slop in the brake pedal had the shaft machined slightly and an oversized bush with a nice spiral for the grease to slip through
8) best 30 bucks i ever spent !

|
|
|
 captainvw captainvw
Officially Full-On Dubber
  
Posts: 230
Threads: 24
Registered: February 28th, 2007
Member Is Offline
Theme: UltimaBB Pro Blue ( Default )
|
| posted on October 26th, 2011 at 07:57 PM |
|
|
Got everything back from the blasters pan was covered in sound deadner to cover pin holes in got the correct pressed 1/4 section coming from HOG will
probably section the rears for ground clearance seeing as now i'll be choppin and welding
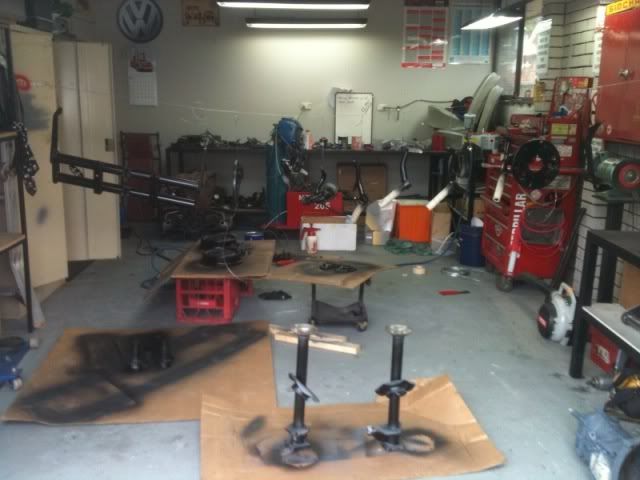
Finally made my body frame its tall and wide enough for the pan and 165's to roll under it (the joys of a single garage!) wheeled her out and had a
tidy up
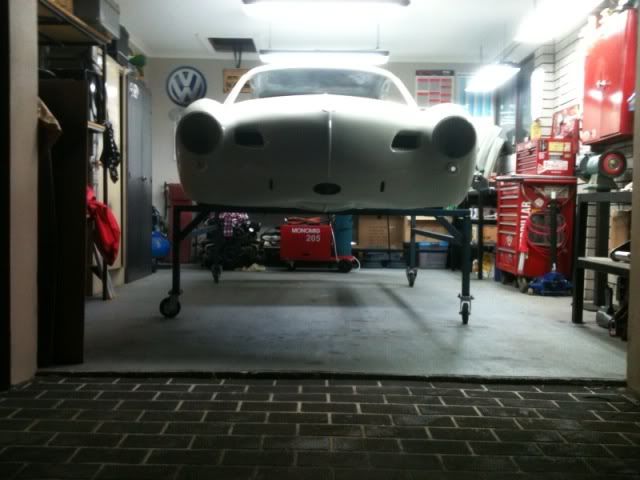
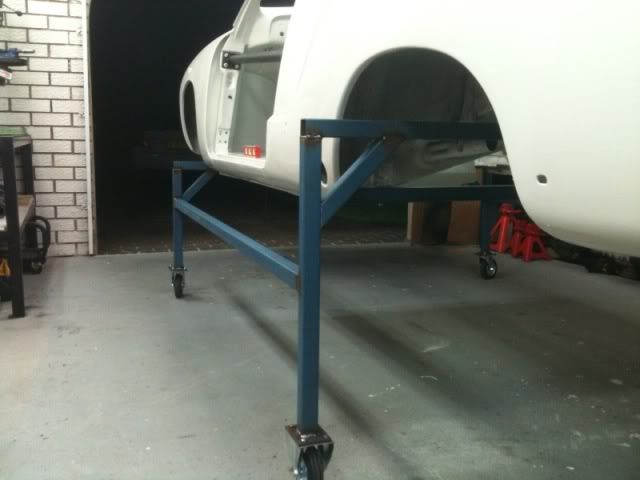 Alright got some more done today Alright got some more done today
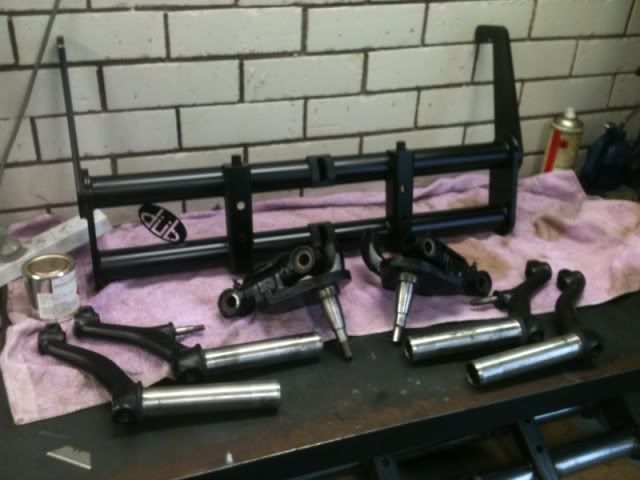
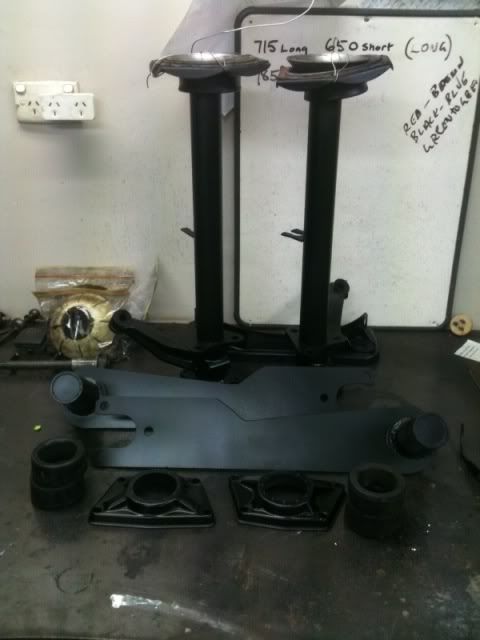
Beam sorted springs re dimpled and cut perfect 7mm offset each side 8)
Almost welded the Dub symbol on the wrong side .
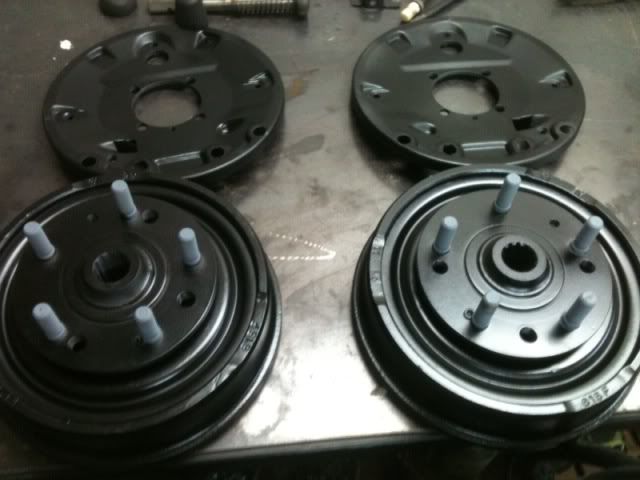
2 pac black with flattening agent cheaper than Powder coating and can be touched up
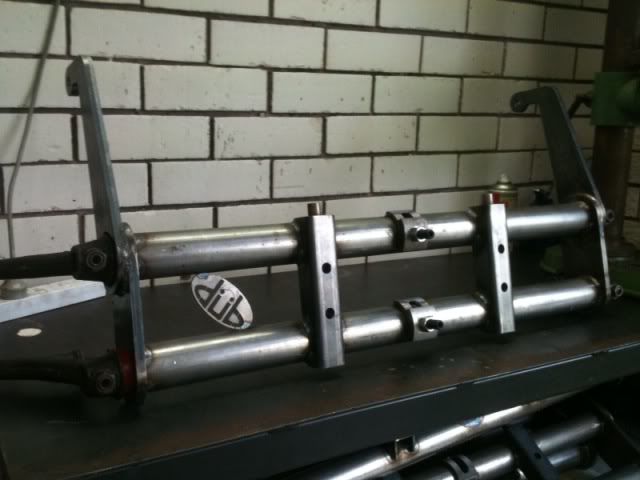
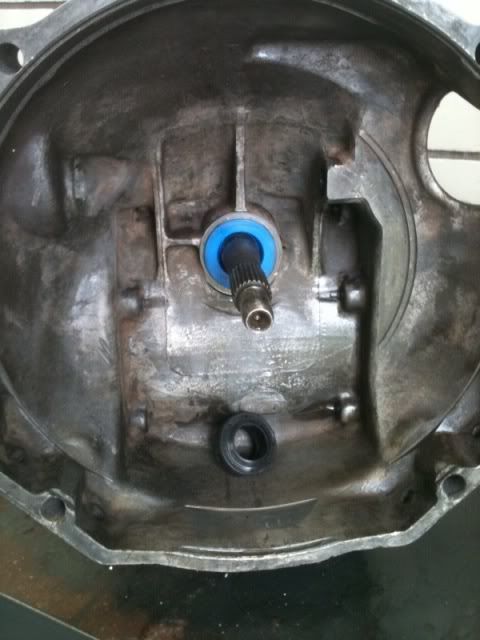
Gave the box another wire wheel and sand & changed the input shaft seal
while i was at it
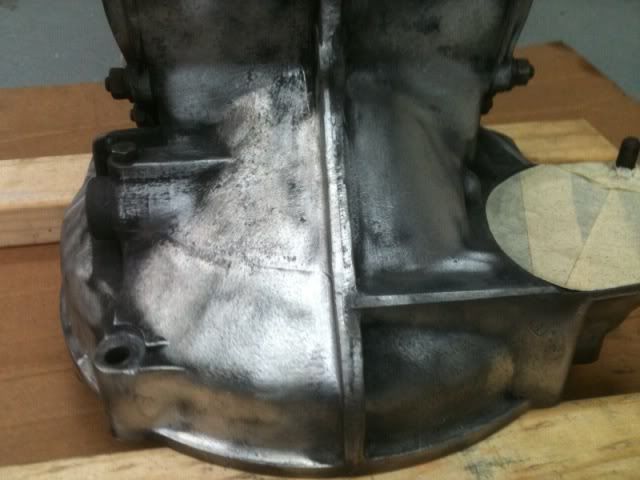
|
|
|
 captainvw captainvw
Officially Full-On Dubber
  
Posts: 230
Threads: 24
Registered: February 28th, 2007
Member Is Offline
Theme: UltimaBB Pro Blue ( Default )
|
| posted on November 25th, 2011 at 08:35 AM |
|
|
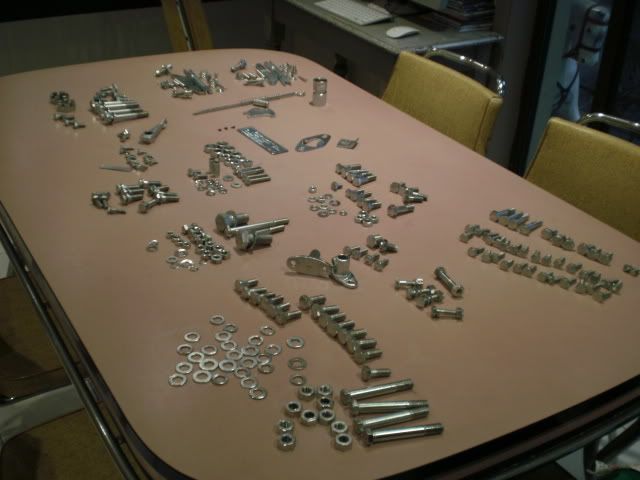
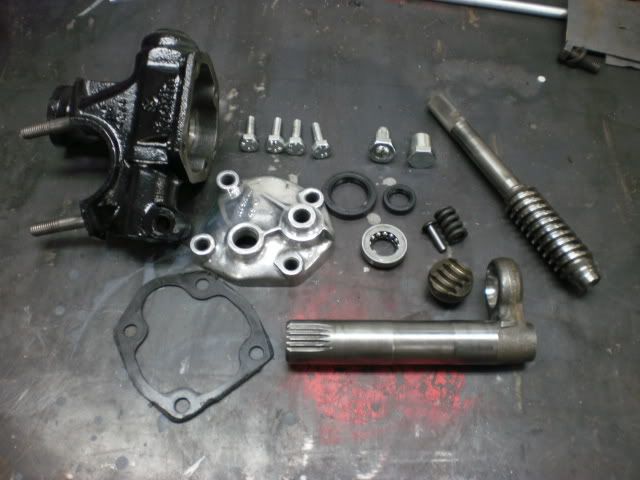
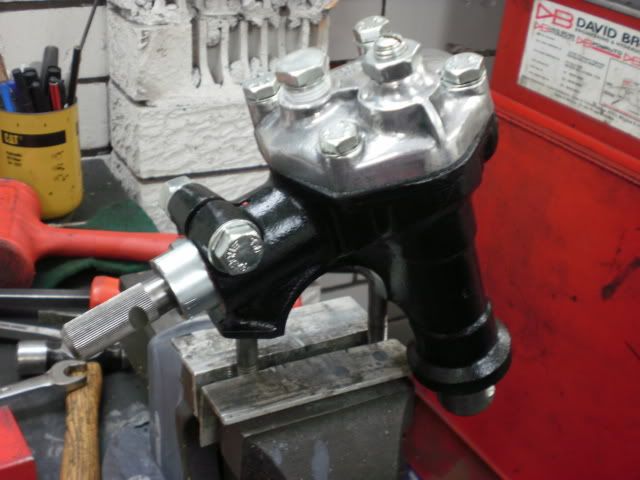
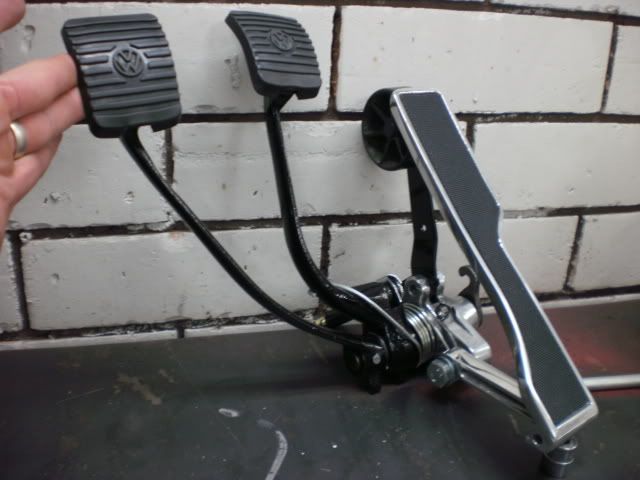
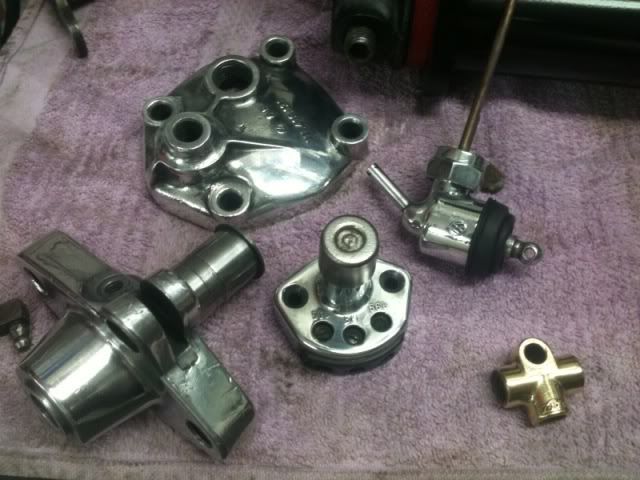
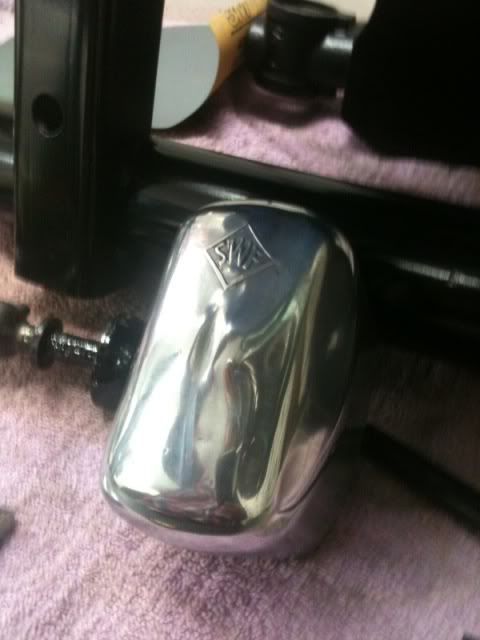
Got my spring pins and pin retainer back from the platers nice to see some finished products sittin on the bench 8)

|
|
|
 grogy grogy
Custom Title Time!
    
Posts: 1000
Threads: 344
Registered: August 16th, 2007
Member Is Offline
Location: Gold Coast
Theme: UltimaBB Pro Blue ( Default )
|
| posted on November 25th, 2011 at 06:06 PM |
|
|
ummm some pretty parts there id like on my ghia............................/.? r the spring plates standard
|
|
|
 vlad01 vlad01
Compulsive Aussie Vee Dubber
      
Posts: 4270
Threads: 109
Registered: June 3rd, 2010
Member Is Offline
Location: Kyneton, VIC
Theme: UltimaBB Pro Blue ( Default )
Mood: Side ways
|
| posted on November 25th, 2011 at 06:49 PM |
|
|
do you need a nos accelerator pedal? I have a nos LHD one I bought by mistake cos I didn't realize it was LHD only 
71 notchback,
Past owner of, 70 NB, 73 SB and 72 FB TLE |
|
|
 kg1962 kg1962
Slammed & Awesome Dubber
 
Posts: 88
Threads: 13
Registered: April 19th, 2009
Member Is Offline
Location: Newcastle, NSW
Theme: UltimaBB Pro Blue ( Default )
|
| posted on November 26th, 2011 at 02:38 PM |
|
|
Look forward to seeing it come together
Keep us updated with pics please
|
|
|
 captainvw captainvw
Officially Full-On Dubber
  
Posts: 230
Threads: 24
Registered: February 28th, 2007
Member Is Offline
Theme: UltimaBB Pro Blue ( Default )
|
| posted on November 27th, 2011 at 08:00 PM |
|
|
| Quote: | Originally
posted by grogy
ummm some pretty parts there id like on my ghia............................/.? r the spring plates standard
|
Plates are notched for extra clearance for a 2 outer spline drop .
|
|
|
 captainvw captainvw
Officially Full-On Dubber
  
Posts: 230
Threads: 24
Registered: February 28th, 2007
Member Is Offline
Theme: UltimaBB Pro Blue ( Default )
|
| posted on February 7th, 2012 at 08:31 AM |
|
|
Moved things back into the dirty shop (also my Clean shop)....
Pans arrived from HOG not replacing full halves as they weren't really needed and you can't get the correct pressing for early Ghia's anyways so
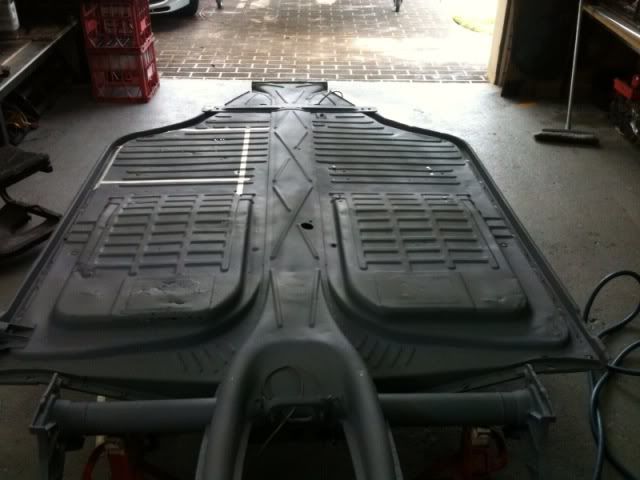
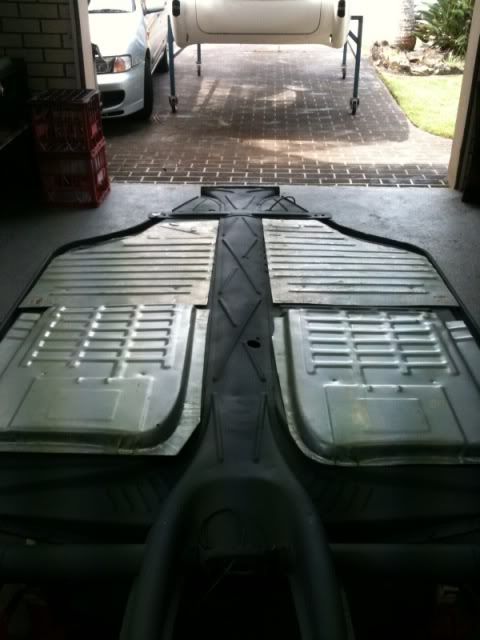
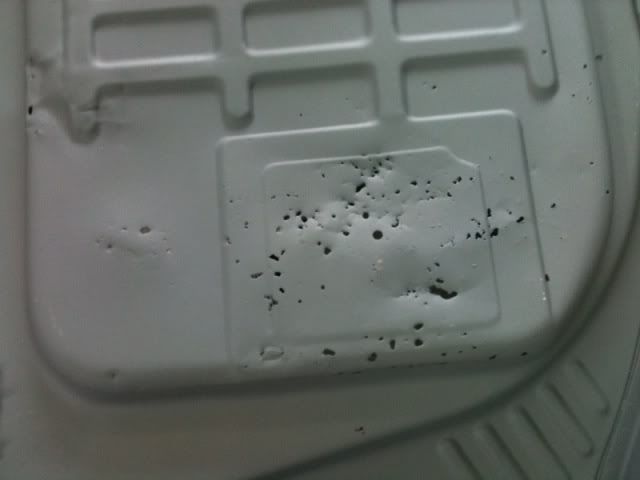
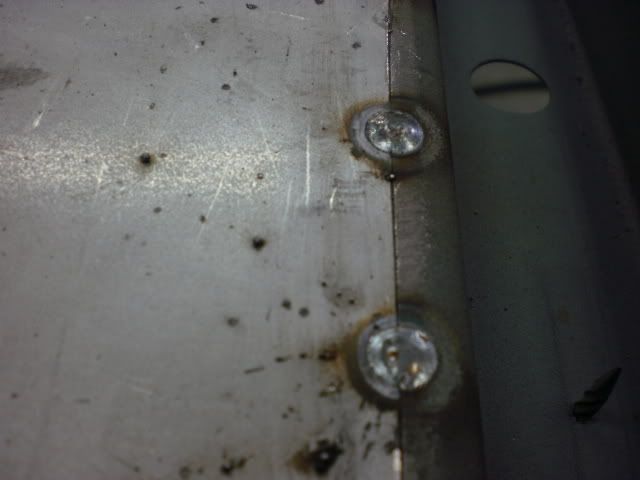
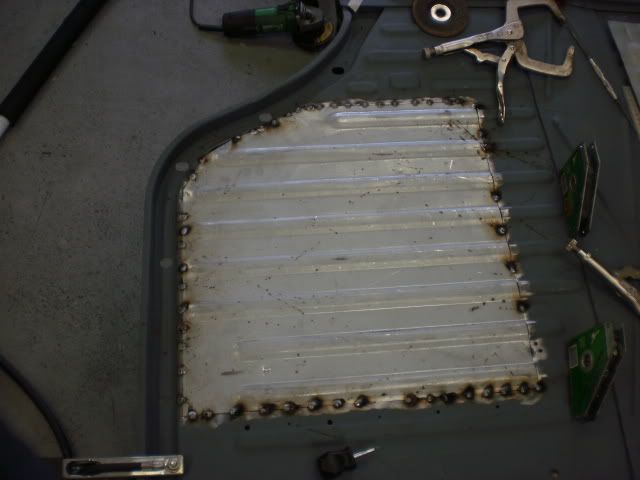
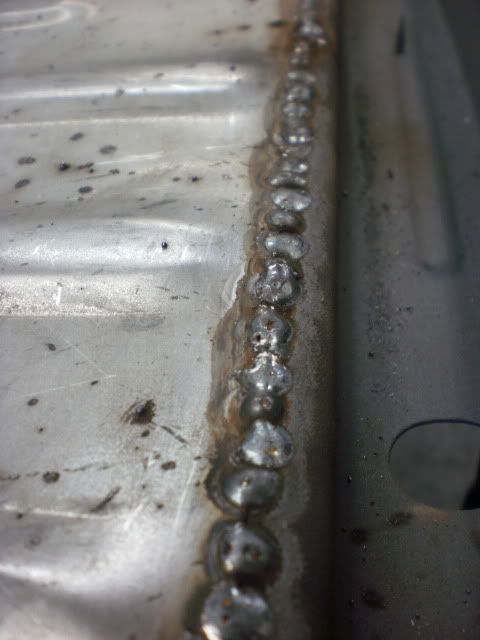
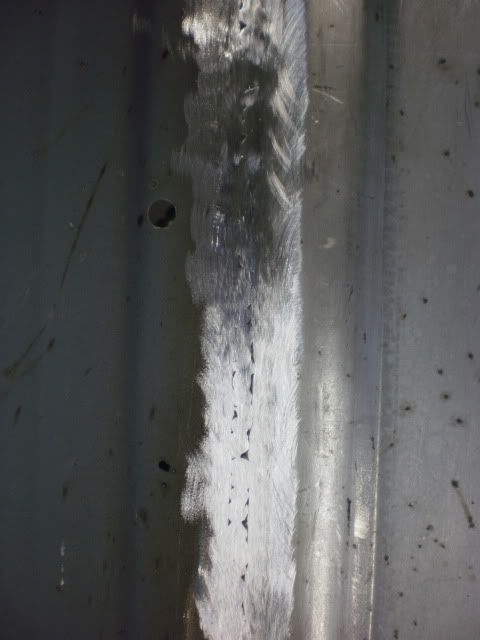
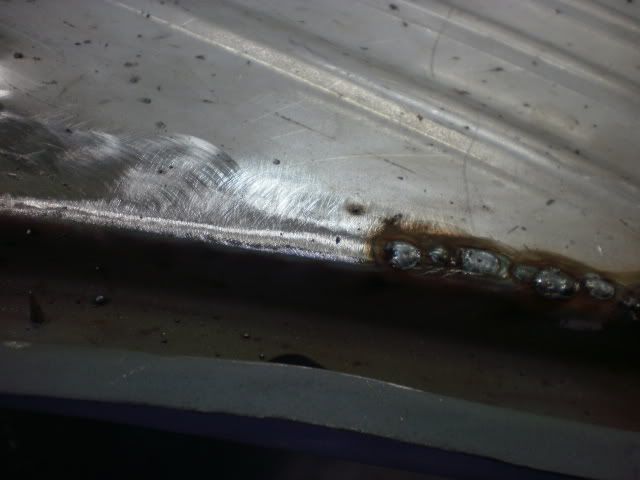
looking forward to making this a roller!
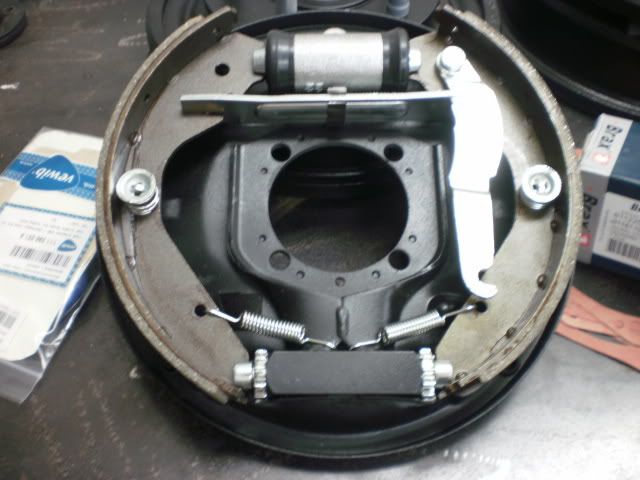
Before and after of the type 3 brakes
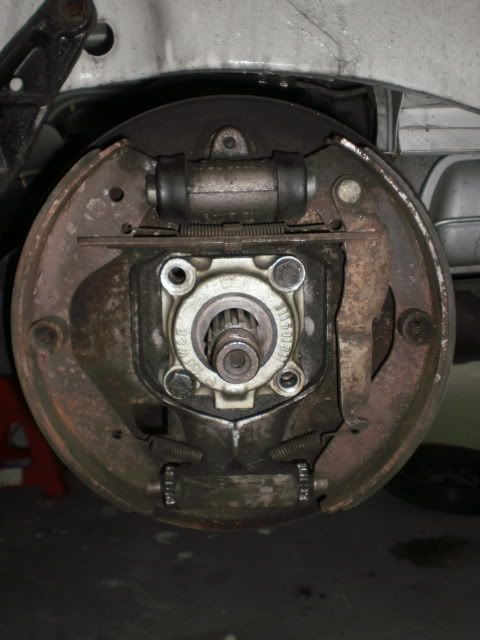
even painted the wheel Cyl  springs and handbrake lever got coated springs and handbrake lever got coated
|
|
|
 captainvw captainvw
Officially Full-On Dubber
  
Posts: 230
Threads: 24
Registered: February 28th, 2007
Member Is Offline
Theme: UltimaBB Pro Blue ( Default )
|
| posted on February 7th, 2012 at 08:32 AM |
|
|
Rear Pan in nipped up and ground

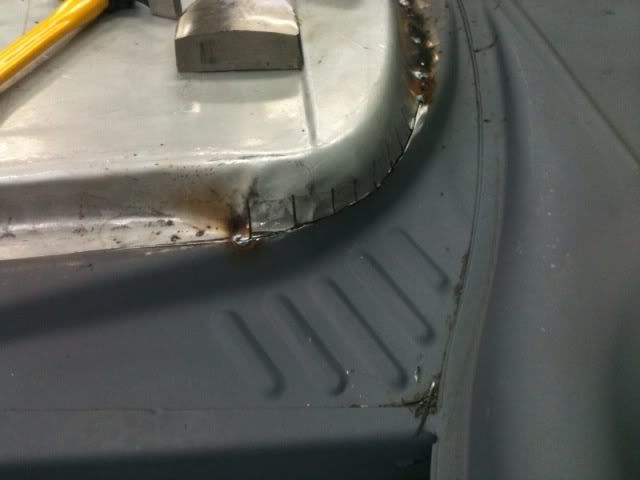
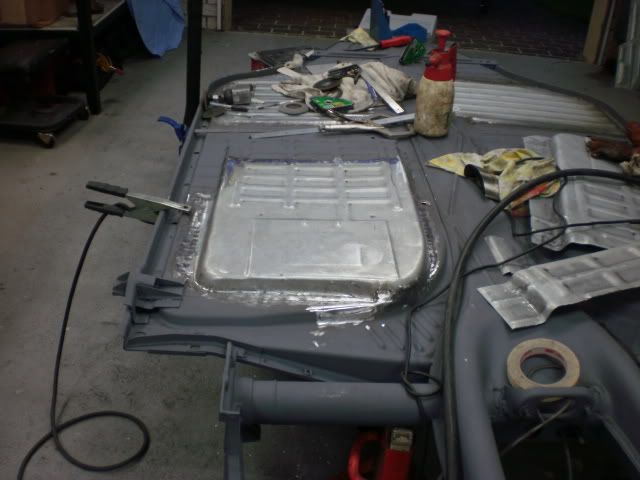
front drivers side in went all the way back to the tunnel on this side and have ordered another passenger front and i'll be doing it the same way
:roll: (note to self 6 beers is to many for a manchild before cutting and welding)
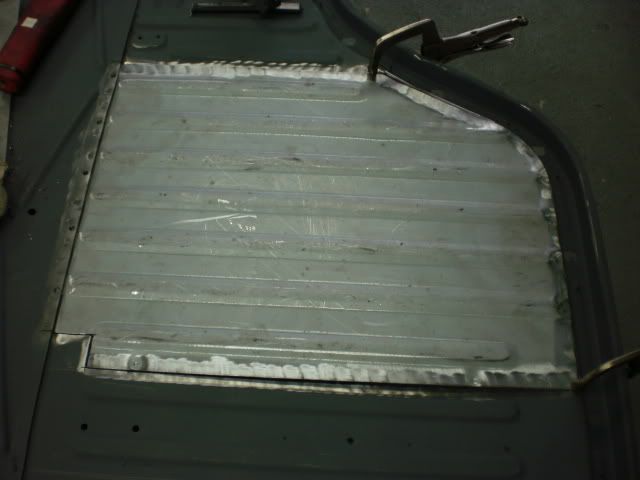
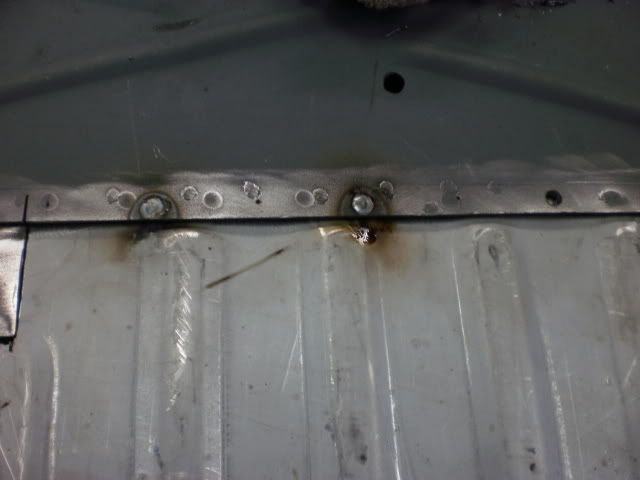
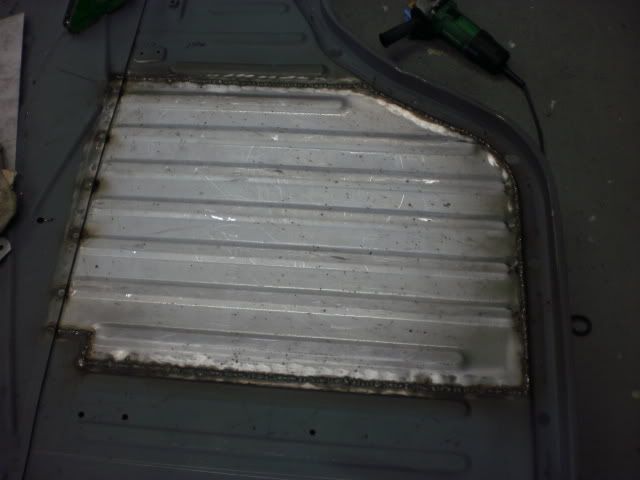
Got a mate that owns a sheet metal shop was able to fold up some new seat rail front supports 8)
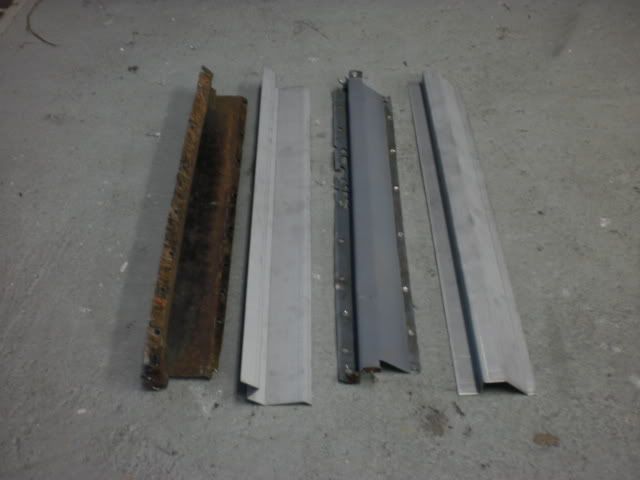
looking forward to 3 days off starting this fri hoping atleast 2 days in the shed
|
|
|
 captainvw captainvw
Officially Full-On Dubber
  
Posts: 230
Threads: 24
Registered: February 28th, 2007
Member Is Offline
Theme: UltimaBB Pro Blue ( Default )
|
| posted on February 7th, 2012 at 08:33 AM |
|
|
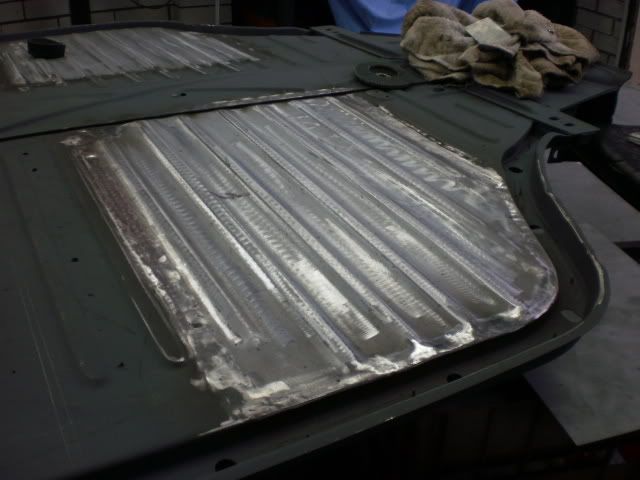
Rear pan was a bitch worked solid on it from 10 am till 5 pm on sat got it in the end :roll:
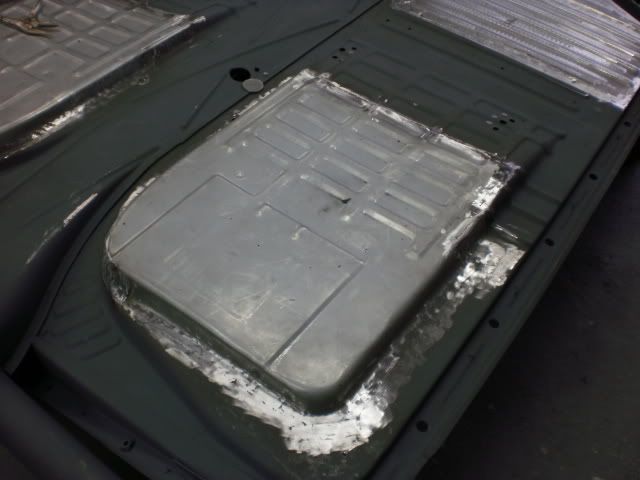
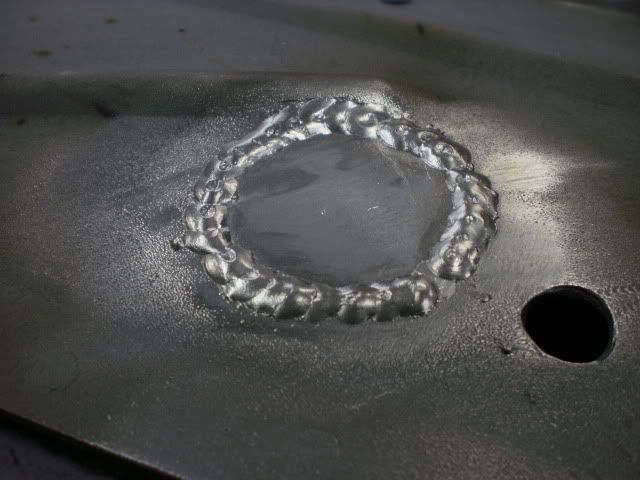
Went and got some 1.8 for the Hole saw cut in the centre of the tunnel and then went round and filled up the rest of the holes on the pan with 1.2
must have had some rad buckets in it back in the 80's
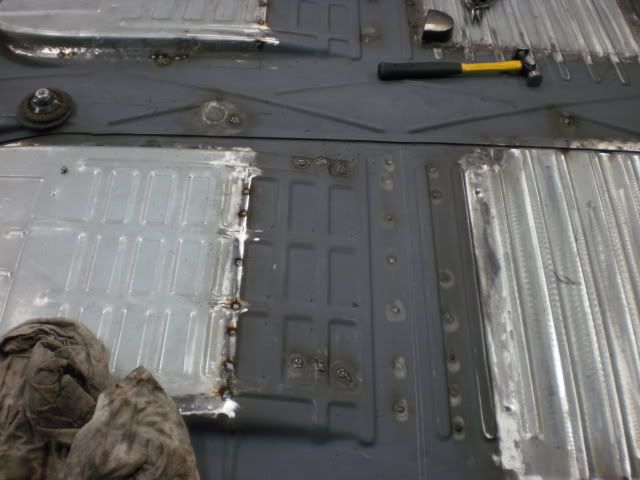
|
|
|
 captainvw captainvw
Officially Full-On Dubber
  
Posts: 230
Threads: 24
Registered: February 28th, 2007
Member Is Offline
Theme: UltimaBB Pro Blue ( Default )
|
| posted on February 7th, 2012 at 08:37 AM |
|
|
Got the seat stripped down to the base and the rail support in on the drivers side , got the drivers seat moving freely on the rails ...then got
called into work :roll:
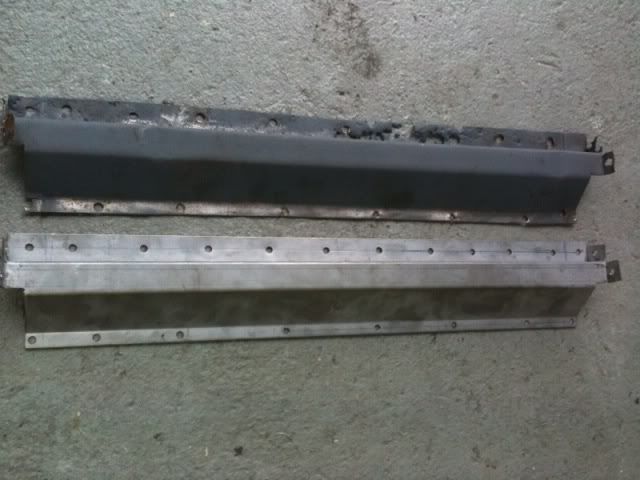
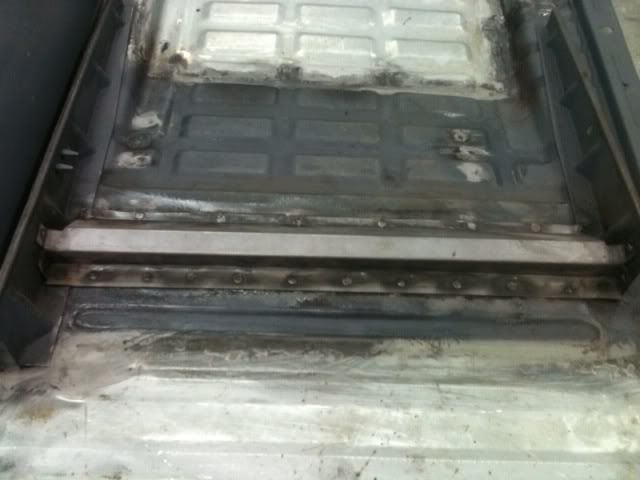
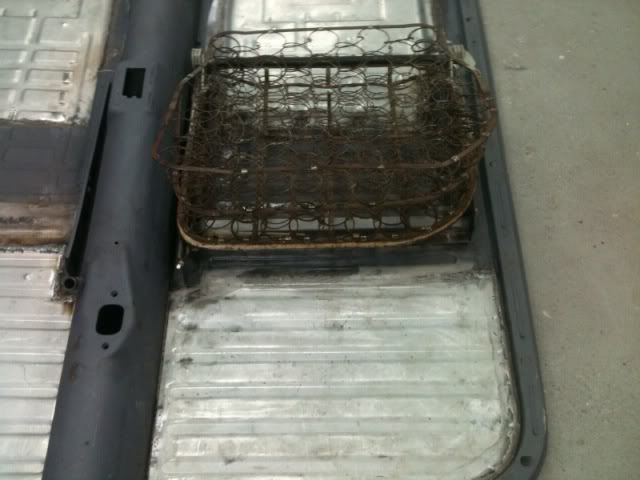
Replaced the L/H front pan (again)this time back to the tunnel looks much better now
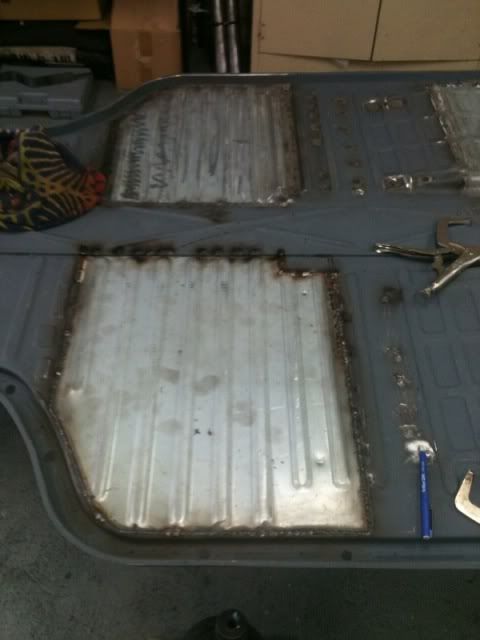
Plan for tomorrow is to get the other seat rail support in and have the pan welded up tight and ground up test fit gearbox and replace shifter bushing
then i can blow out the tunnel and get it welded up and in undercoat !
|
|
|
 captainvw captainvw
Officially Full-On Dubber
  
Posts: 230
Threads: 24
Registered: February 28th, 2007
Member Is Offline
Theme: UltimaBB Pro Blue ( Default )
|
| posted on February 7th, 2012 at 08:39 AM |
|
|
Went round and pulled out all the old nails that held the O.G seal in and welded those up ,got the passenger seat stripped and moving freely on the
rails before welding in the support .
Once that was done i went over the welds with a LED light checking for pin holes nipped em ground sanded and now in primer !
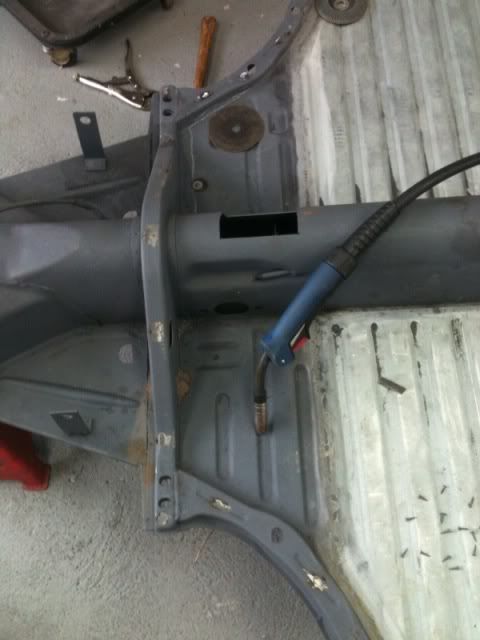
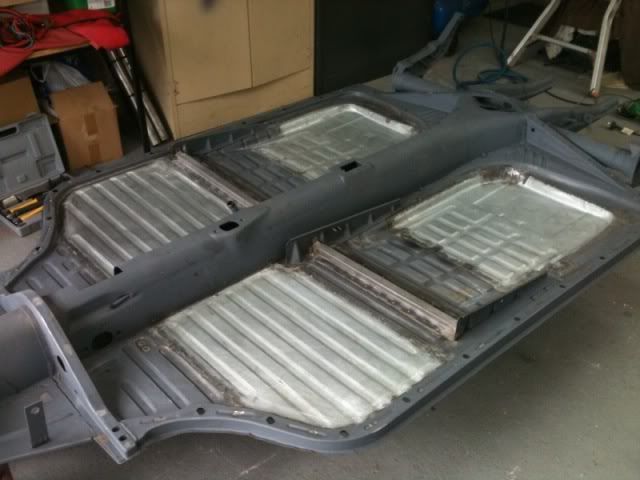
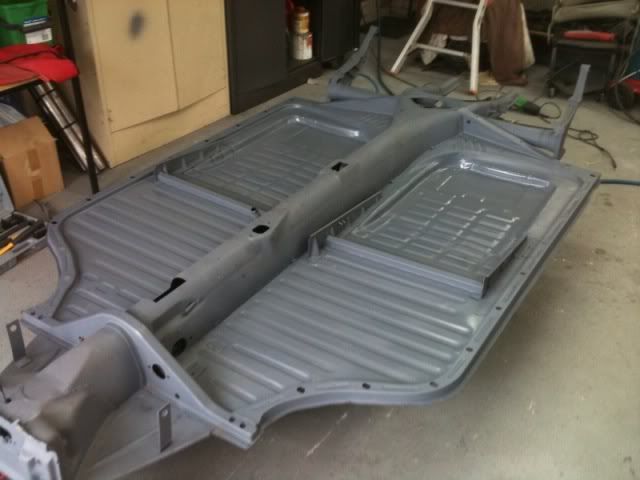
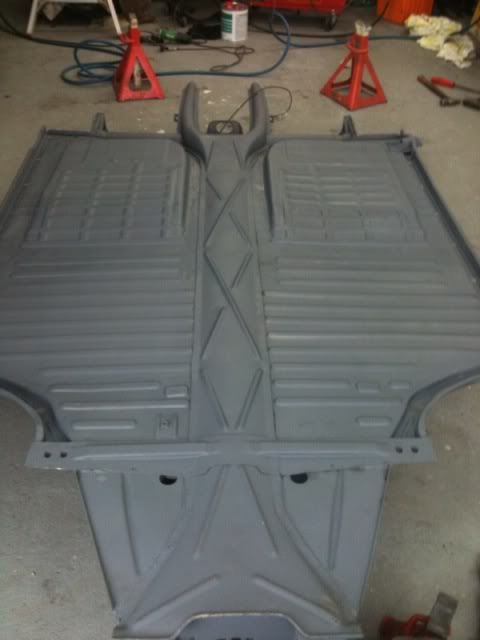
Plan is to high pressure wash the tunnel out tomorrow and get the box mounted and check the mount has been welded in square replace shift rod bushing
and weld up the tunnel,hand brake mnt and new jacking point ..
|
|
|
 captainvw captainvw
Officially Full-On Dubber
  
Posts: 230
Threads: 24
Registered: February 28th, 2007
Member Is Offline
Theme: UltimaBB Pro Blue ( Default )
|
| posted on February 7th, 2012 at 08:40 AM |
|
|
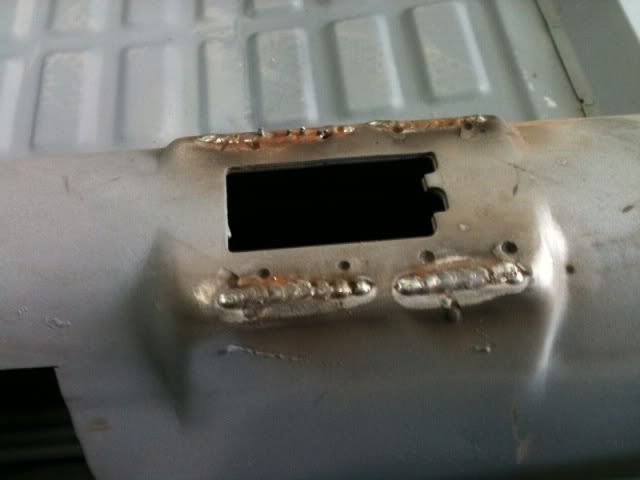
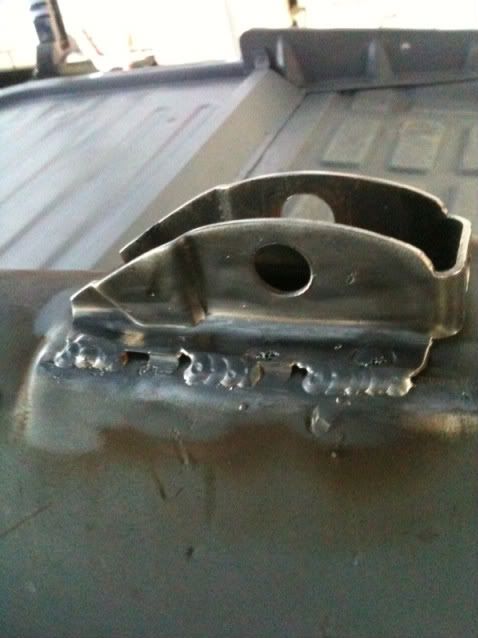
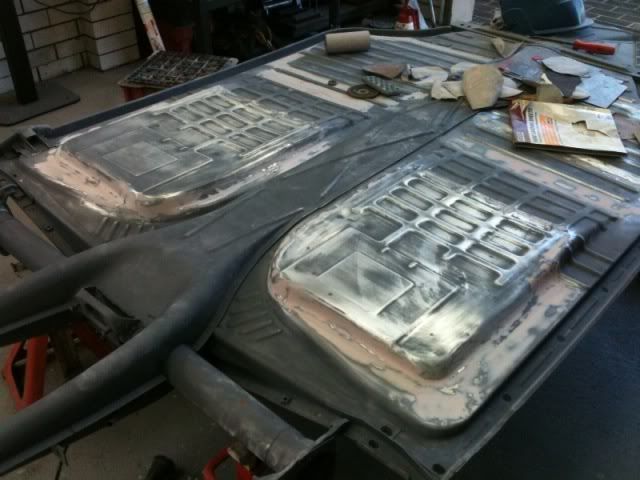
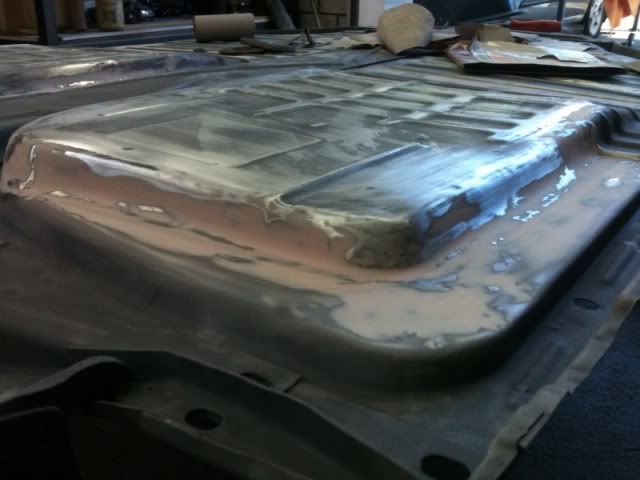
Cleaned up the tunnel where i'd removed the handbrake mount and re mounted it then started some bog work on the underside of the pans ....
|
|
|
 captainvw captainvw
Officially Full-On Dubber
  
Posts: 230
Threads: 24
Registered: February 28th, 2007
Member Is Offline
Theme: UltimaBB Pro Blue ( Default )
|
| posted on July 1st, 2012 at 05:37 PM |
|
|
first time in the shed in a long time ..........after building 6 beams i remembered that i had a ghia that i'd like to drive before i die :roll:
sorted the front gearbox mount and got it shifting properly just like anew one

next was the passenger seat adjuster on the rail
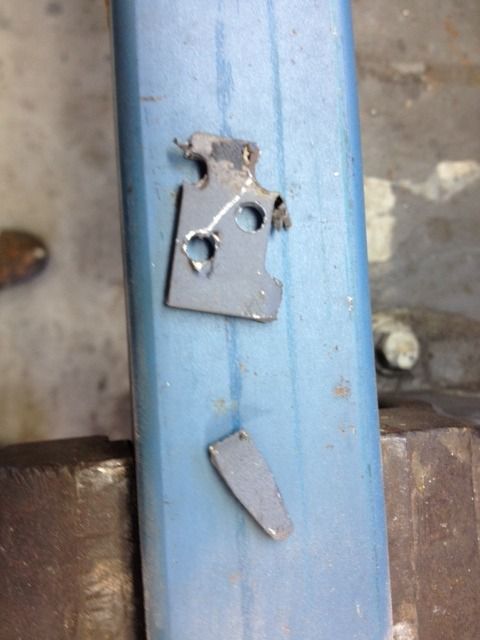
new one in
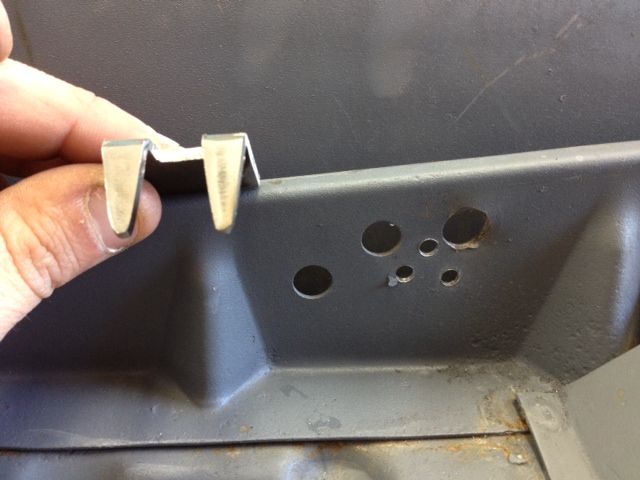
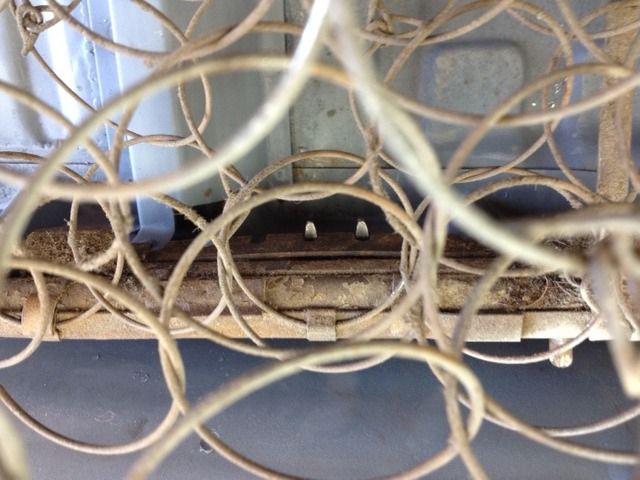
Thanks to Mike and the team at HOG i now have two Jacking points
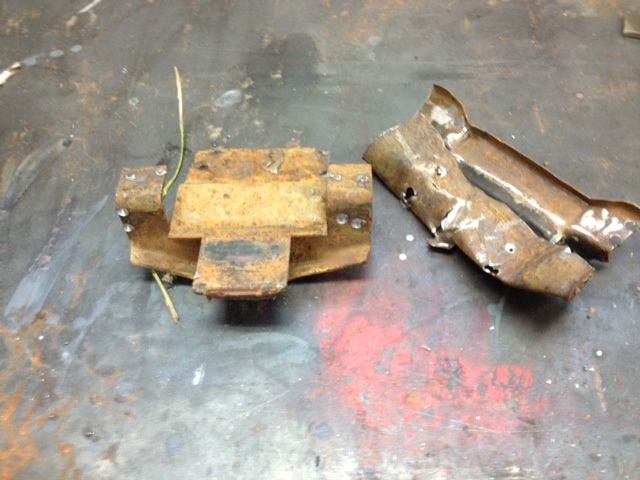
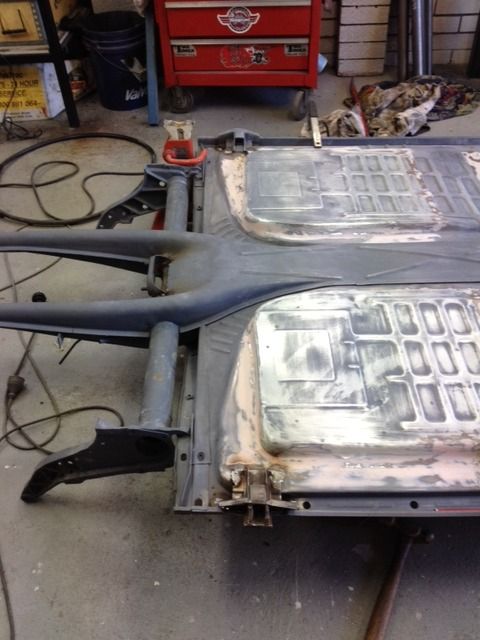
hopefully get the choke tube in this week and then paint this thing!
removed my Choke tube as the old cable is seized inside will get that sorted this week need to keep some type of momentum ..
|
|
|
 captainvw captainvw
Officially Full-On Dubber
  
Posts: 230
Threads: 24
Registered: February 28th, 2007
Member Is Offline
Theme: UltimaBB Pro Blue ( Default )
|
| posted on July 1st, 2012 at 05:38 PM |
|
|
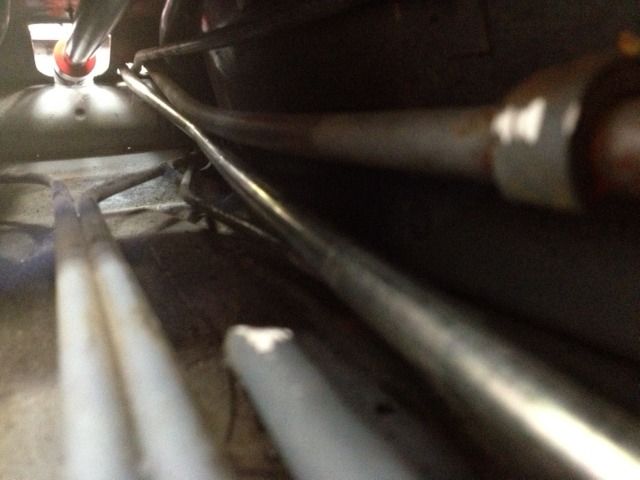
old choke cable on the left new one on the right
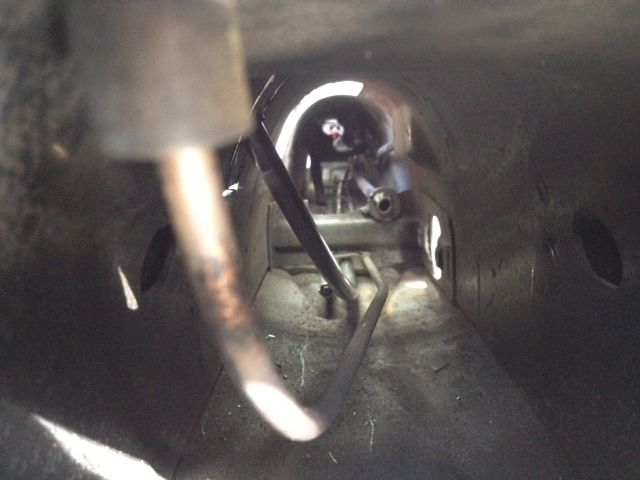
Bent the tube the same as the old one
..
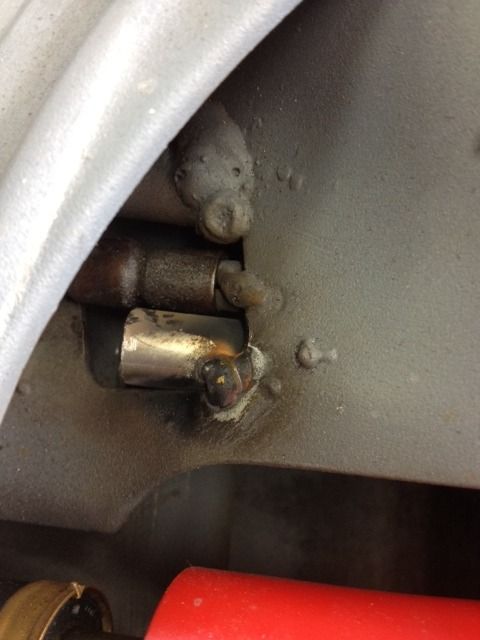
Welded the tunnel
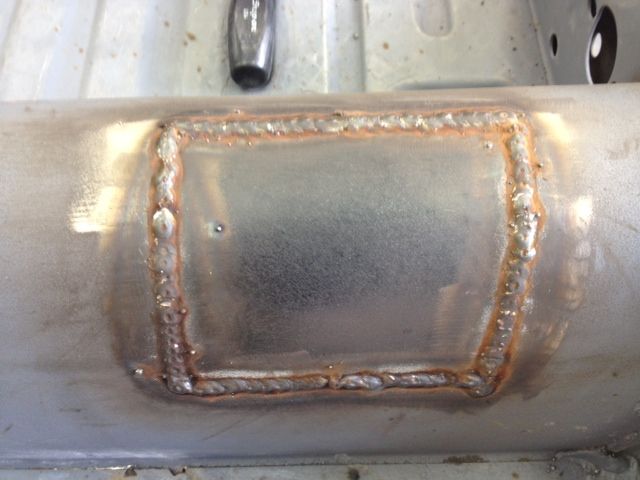
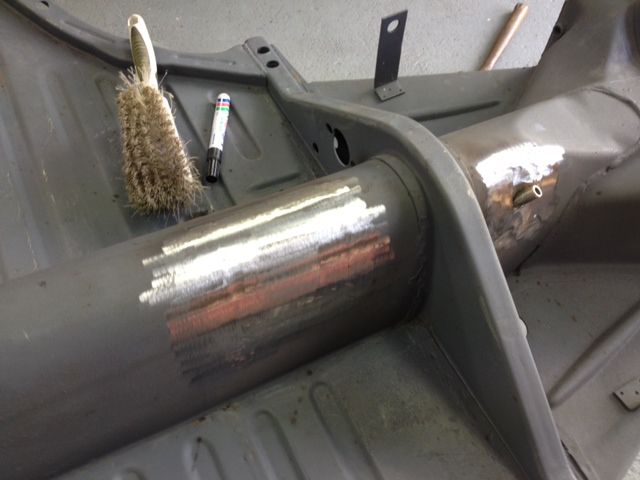
And a little skim off bog
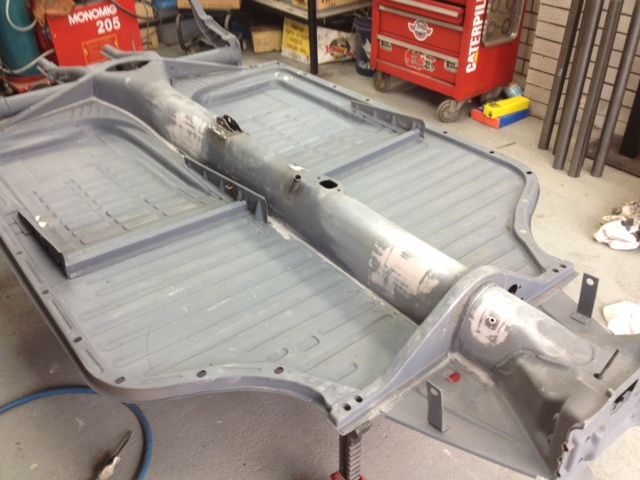
Pretty stoked with the end result hate to think how many hours i have in this pan alone ,atleast i know its right
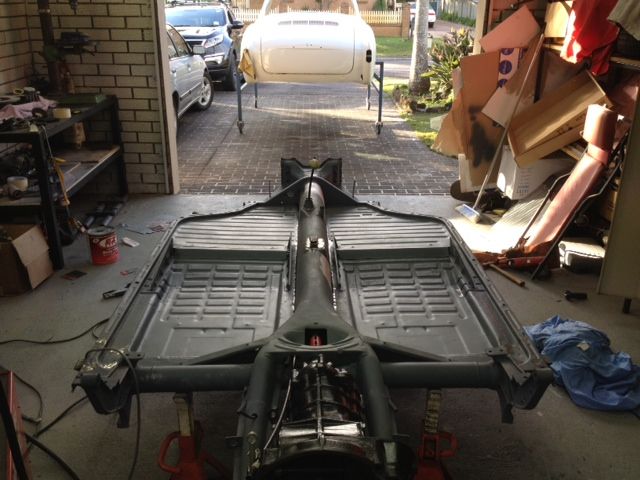
Once ive recieved my mats from John i'll be welding the thimbles in the right spot and then its time for paint and assembly
Until then i'll be moving onto the Eng
|
|
|
 LUFTMEISTER LUFTMEISTER
Veteran Volks Folk
    
Posts: 2041
Threads: 119
Registered: July 13th, 2005
Member Is Offline
Theme: UltimaBB Pro Blue ( Default )
Mood: BRISVEGAS in a state of flux
|
| posted on July 1st, 2012 at 06:47 PM |
|
|
Nice job. Done right the first time. 
Customer service is not dead in Australia.
Always after HAZET & MATRA & VW factory tools
|
|
|
| Pages: 1 2 3 |