| [ Total Views: 97326 | Total Replies: 299 | Thread Id: 64212 ] |
| Pages: 1 2 3 4 5 .. 10 |
|
|
 StenGuns StenGuns
Veteran Volks Folk
    
Posts: 2147
Threads: 236
Registered: March 1st, 2004
Member Is Offline
Location: Sydney, Australia
Theme: UltimaBB Pro Blue ( Default )
|
| posted on March 9th, 2008 at 02:33 PM |
|
|
Another little mod is the frenched radio/cd head slot.. Nicely cut in to give a smoothed off appearance and a "tray" in side the bulkhead to stop
the unit bounce..
|
|
|
 StenGuns StenGuns
Veteran Volks Folk
    
Posts: 2147
Threads: 236
Registered: March 1st, 2004
Member Is Offline
Location: Sydney, Australia
Theme: UltimaBB Pro Blue ( Default )
|
| posted on March 9th, 2008 at 02:35 PM |
|
|
Body gets bolted onto the pan through the week (I wont be there unfortunately) and then its off to get the finally paint and assembly!
|
|
|
 bond bond
Veteran Volks Folk
    
Posts: 2456
Threads: 166
Registered: July 11th, 2003
Member Is Offline
Location: brisbane
Theme: UltimaBB Pro Blue ( Default )
|
| posted on March 9th, 2008 at 08:07 PM |
|
|
sensational. very jealous of your progress! well done.
nick
|
|
|
 StenGuns StenGuns
Veteran Volks Folk
    
Posts: 2147
Threads: 236
Registered: March 1st, 2004
Member Is Offline
Location: Sydney, Australia
Theme: UltimaBB Pro Blue ( Default )
|
| posted on March 10th, 2008 at 08:14 PM |
|
|
Thanks Nick..
Sometimes progress feels bloody slow! Just do it in small bits as time and budget allows..
Haven't forgotten giving you the nod on all the remaining goodies.. Absolutely positive they will be no good to me as this is my last beetle..
Rob
|
|
|
 StenGuns StenGuns
Veteran Volks Folk
    
Posts: 2147
Threads: 236
Registered: March 1st, 2004
Member Is Offline
Location: Sydney, Australia
Theme: UltimaBB Pro Blue ( Default )
|
| posted on March 21st, 2008 at 04:53 PM |
|
|
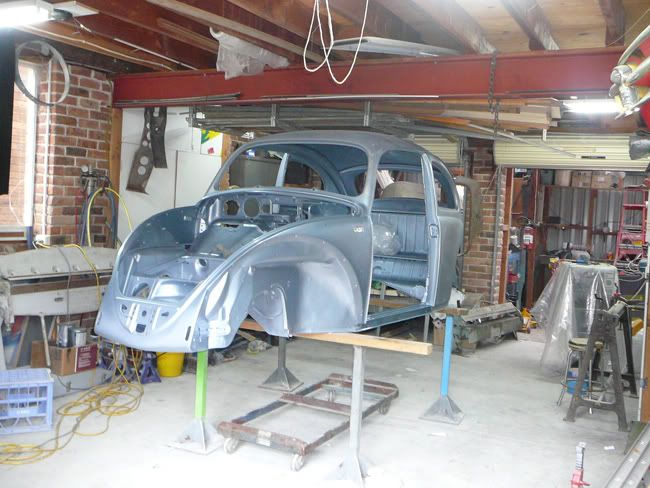
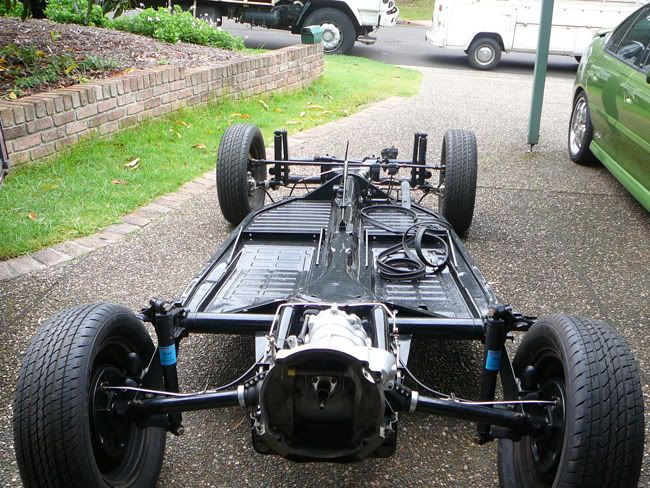
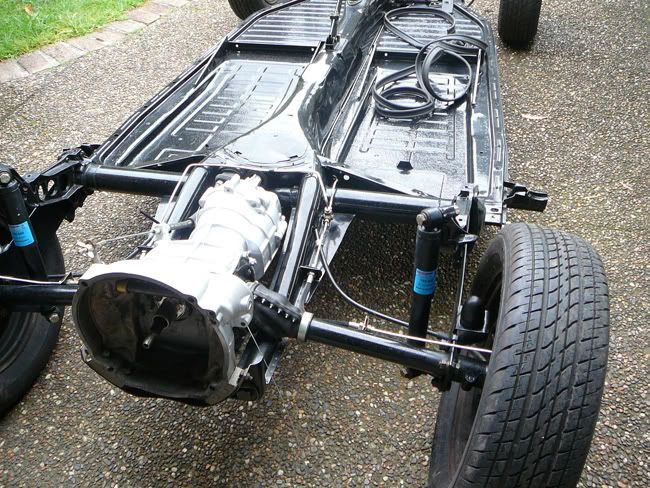
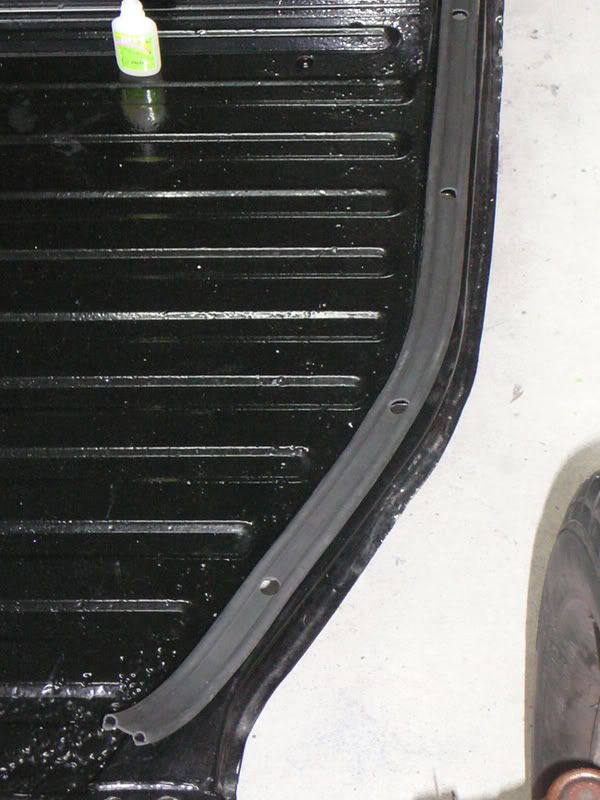
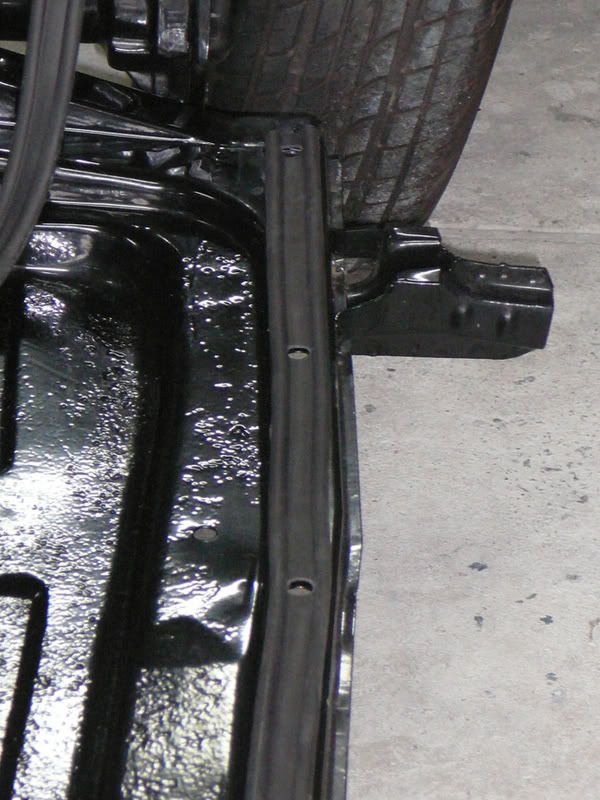
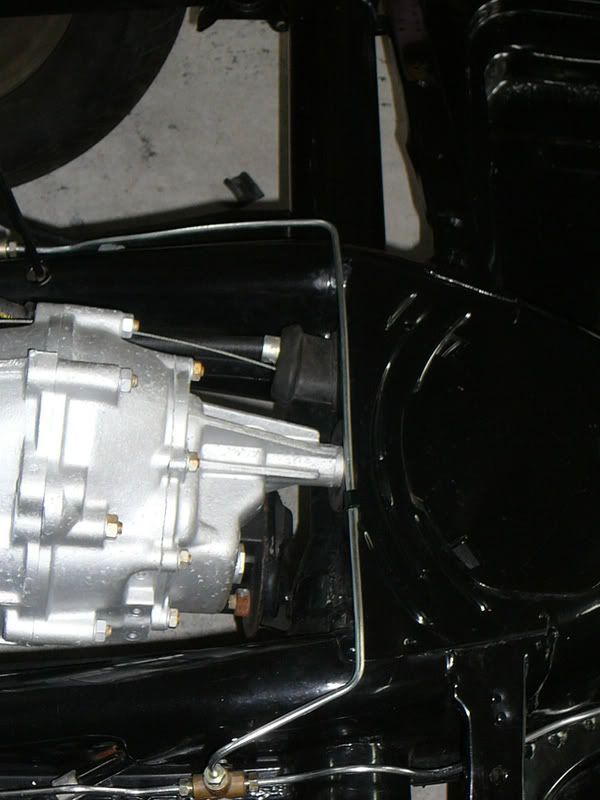
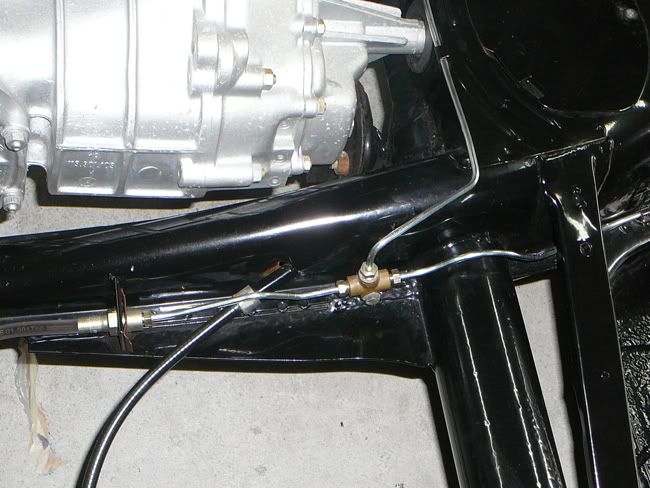
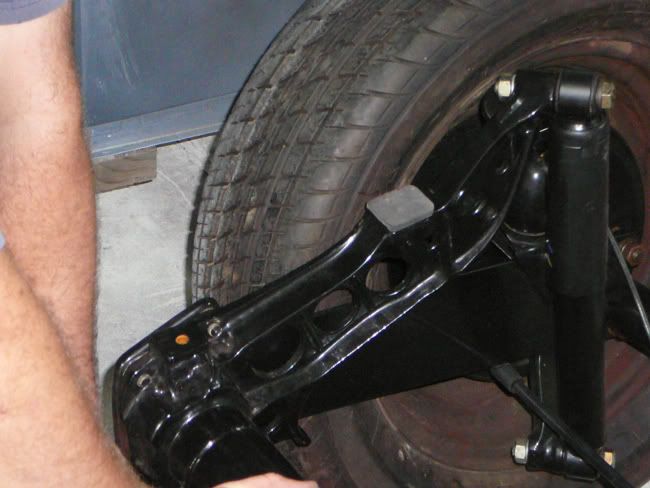
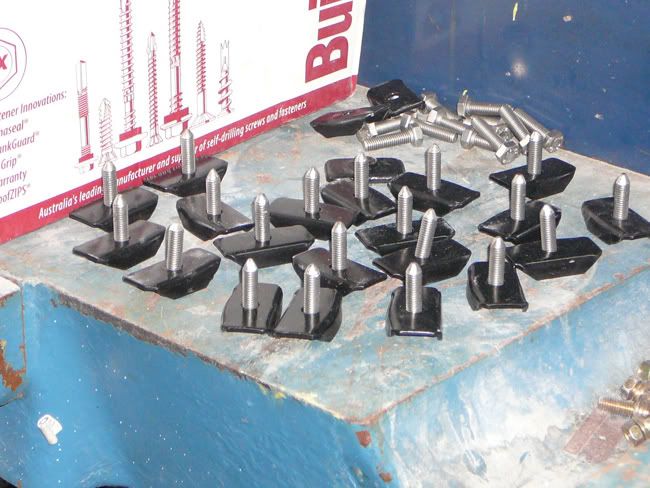
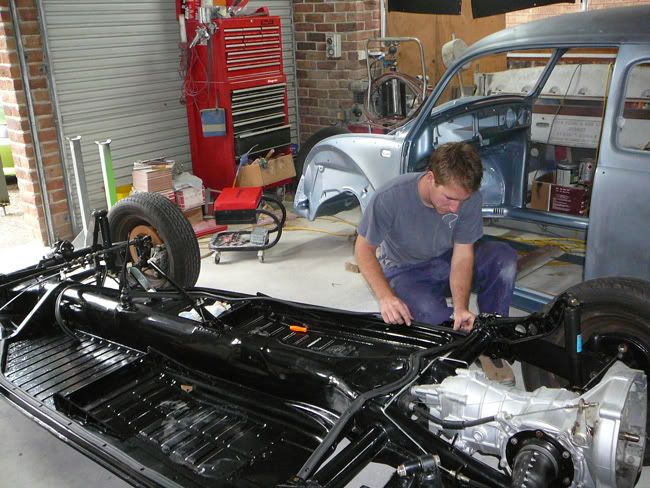
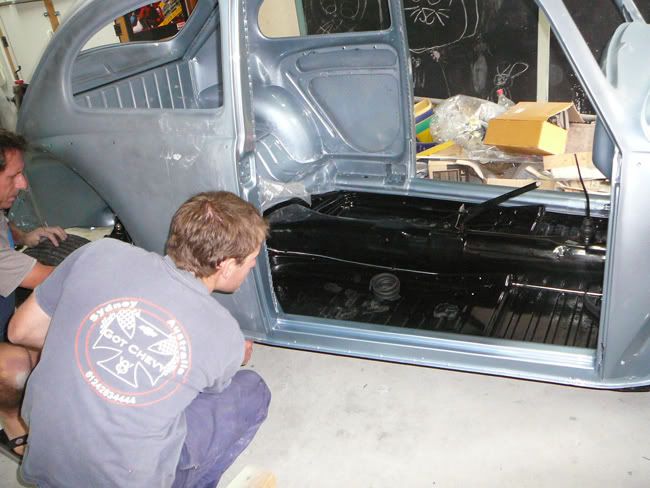
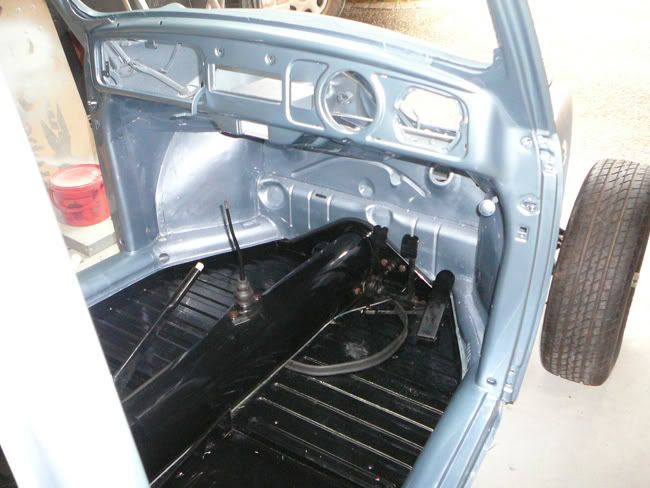
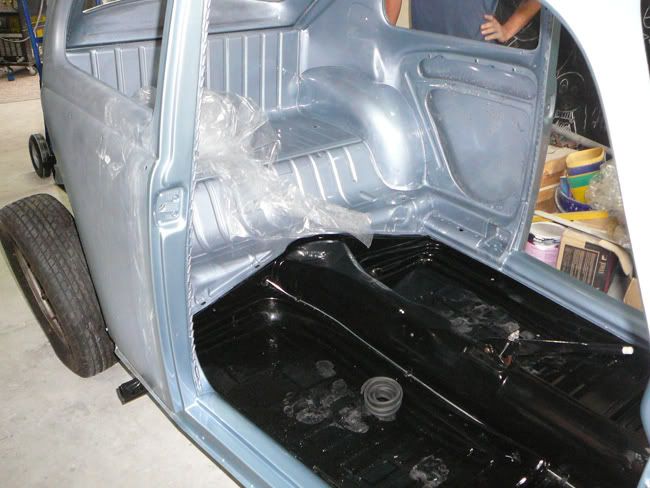
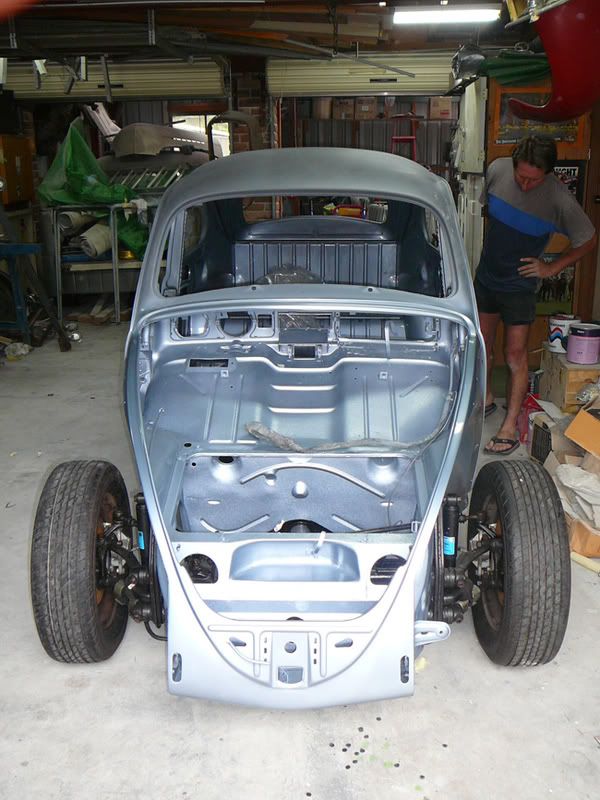
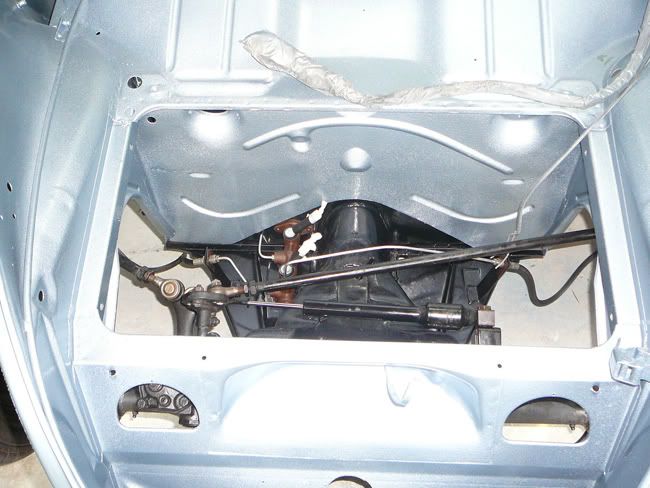
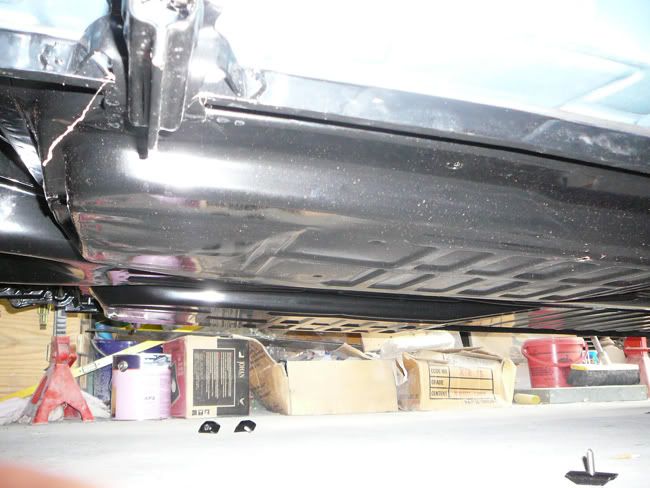
Quick trip down today to help with the body onto the pan.. Lots more to do but at least we are now seeing the progress..
Once the body has been all tightened up, its off to get the final paint coat and then we can start hanging the doors and bolting the guards and stuff
on..
All new stainless hardware.. It's like working on a new car!
Anycase, i hope you enjoy these photo's.. No time to add comments at this stage as I'm cooking a risotto before I sit down to watch the crusaders
belt the waratahs..
Here's some pix from today..
Rob
|
|
|
 bugboymatt bugboymatt
A.k.a.: Matt
Custom Title Time!
    
Posts: 1405
Threads: 75
Registered: August 25th, 2002
Member Is Offline
Location: North Lakes / Goldie
Theme: UltimaBB Pro Blue ( Default )
|
| posted on March 21st, 2008 at 05:43 PM |
|
|
Mate looking great.
Da Time For The Aircooled Revolution Is Upon US.
Brothers & Sisters Lets Hit The Streets, Roll As One. And Feel The Power Of The Aircooled Storm.
|
|
|
 Camo Camo
A.k.a.: Kev
Custom Title Time!
    
Posts: 1936
Threads: 209
Registered: October 29th, 2007
Member Is Offline
Location: Sydney - Liverpool area
Theme: UltimaBB Pro Blue
|
| posted on March 21st, 2008 at 06:19 PM |
|
|
Hi Rob,
Looks great and gives me inspiration to get mine to that point, as still waiting fro the body to come back from the sand blasters. I guess at this
point would be an exciting time, as you finally start to bolt everything together again.
I notice you sprayed the final coat on the inside only. Is this the best way of doing this as I was just going to get mine sprayed completely inside
and out and then hang all the painted items (guards etc).
I must point out this is my first vw and my first resto, so am new to this and would appreciate if you could tell my the benefits of spraying inside
only and spraying the outside when body is mounted.
Keep up the good work and look forward to seeing your progress.
Cheers, Kevin
|
|
|
 StenGuns StenGuns
Veteran Volks Folk
    
Posts: 2147
Threads: 236
Registered: March 1st, 2004
Member Is Offline
Location: Sydney, Australia
Theme: UltimaBB Pro Blue ( Default )
|
| posted on March 22nd, 2008 at 07:40 AM |
|
|
Kevin.. Thanks for your comments and good luck with your resto.. I'm not the expert but I'm sure if you were to ask one, they would say to prep the
whole car for paint, (eg; final primer coat on everything inside, outside, doors, guards lids etc) then put your final paint and clear coats on all
"under" and "inner" surfaces. This means when you bolt the car up, all those parts you can't see are as good as the rest of the car when
finished.. Remember also that the body MUST be re-located back on the pan before you swing the doors etc.. My builder will now fit everything to the
car BEFORE the final paint, check everything and make sure that all the bits fit and work as they should.. THEN, leaving the doors on the body, he'll
take evrything else off to paint separately and paint the body of the car with the doors in place.. Then everything is re-fitted to the body and
beaded.. Also all the "under" sides, guards, running boards etc.. were given a gravetex treatment before final coat.. Hope this long winded
explanation helps..
|
|
|
 StenGuns StenGuns
Veteran Volks Folk
    
Posts: 2147
Threads: 236
Registered: March 1st, 2004
Member Is Offline
Location: Sydney, Australia
Theme: UltimaBB Pro Blue ( Default )
|
| posted on March 22nd, 2008 at 07:41 AM |
|
|
Cheers
| Quote: | Originally
posted by bugboymatt
Mate looking great.
|
|
|
|
 StenGuns StenGuns
Veteran Volks Folk
    
Posts: 2147
Threads: 236
Registered: March 1st, 2004
Member Is Offline
Location: Sydney, Australia
Theme: UltimaBB Pro Blue ( Default )
|
| posted on March 22nd, 2008 at 07:45 AM |
|
|
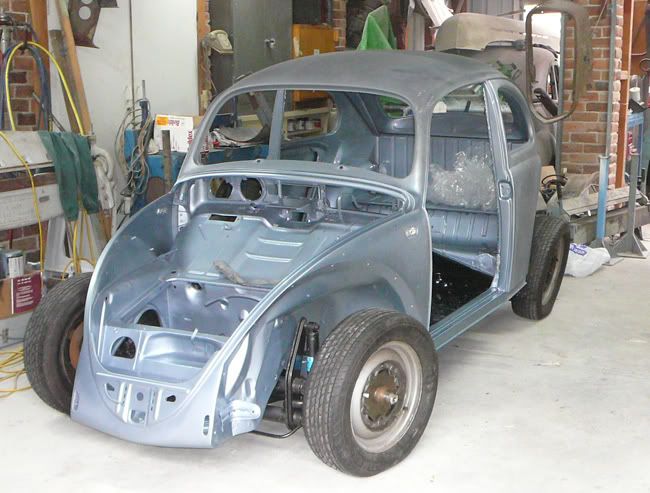
Here's a couple of more shots..
|
|
|
 StenGuns StenGuns
Veteran Volks Folk
    
Posts: 2147
Threads: 236
Registered: March 1st, 2004
Member Is Offline
Location: Sydney, Australia
Theme: UltimaBB Pro Blue ( Default )
|
| posted on March 22nd, 2008 at 07:53 AM |
|
|
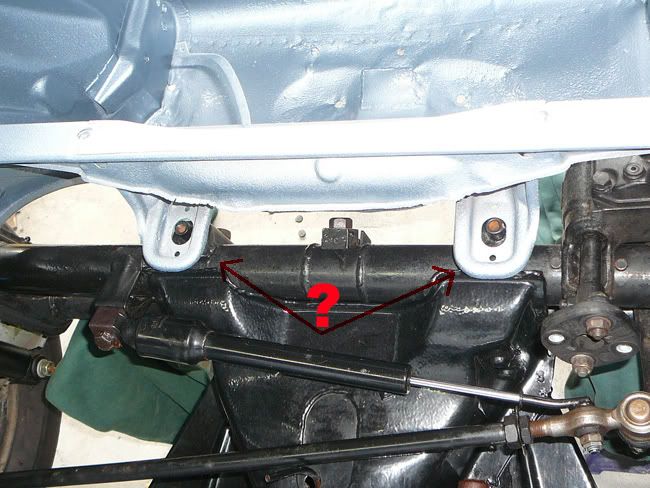
We were stumped what goes on these two points.. Can't recall whether it is some fitting to go with the tank or rubber spacers and a "cup" style
fastener.. has anyone shots of what happens here or advise what we need?.. Thanks
|
|
|
 BrisDubba BrisDubba
Fahrvergnugen
   
Posts: 877
Threads: 190
Registered: October 9th, 2005
Member Is Offline
Location: Camphill, Brisbane
Theme: UltimaBB Pro Blue ( Default )
|
| posted on March 22nd, 2008 at 08:27 AM |
|
|
Bolts
Rob,
There should be a leather/rubber spacer under those bolts originally which was around 5mm and square- they bolt the body to the beam.
Sorry dont have a picture handy.
Peter
VW Toys
64 Beetle - club car - Herbie
RSK 718 Porsche Spyder
76 Southern Cross Offroad racing buggy. "Manx Buggies"
77 Cobra Offroad racing buggy "RipOff"
68 Country Buggy KO200
64 Manx swb
70 Dual Cab kombi
74 Dual Cab kombi
74 Micro bus
|
|
|
 StenGuns StenGuns
Veteran Volks Folk
    
Posts: 2147
Threads: 236
Registered: March 1st, 2004
Member Is Offline
Location: Sydney, Australia
Theme: UltimaBB Pro Blue ( Default )
|
| posted on March 22nd, 2008 at 08:35 AM |
|
|
Thanks Peter..
So there must also be some type of metal spacer that bolts down with the bolt as well?.. Where's my westcoast metric book?
|
|
|
 StenGuns StenGuns
Veteran Volks Folk
    
Posts: 2147
Threads: 236
Registered: March 1st, 2004
Member Is Offline
Location: Sydney, Australia
Theme: UltimaBB Pro Blue ( Default )
|
| posted on March 22nd, 2008 at 08:47 AM |
|
|
Found them on wetscoast metric
111-123A - Shockpad - Body to Beam
|
|
|
 StenGuns StenGuns
Veteran Volks Folk
    
Posts: 2147
Threads: 236
Registered: March 1st, 2004
Member Is Offline
Location: Sydney, Australia
Theme: UltimaBB Pro Blue ( Default )
|
| posted on March 24th, 2008 at 05:52 PM |
|
|
Nostalgia
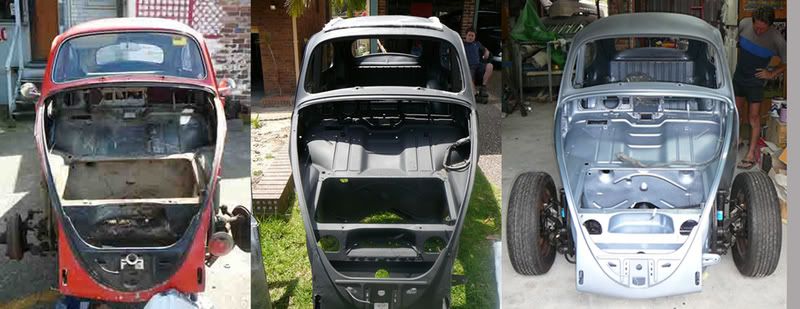
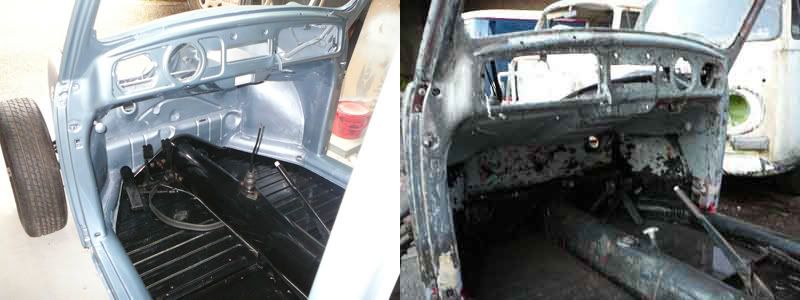
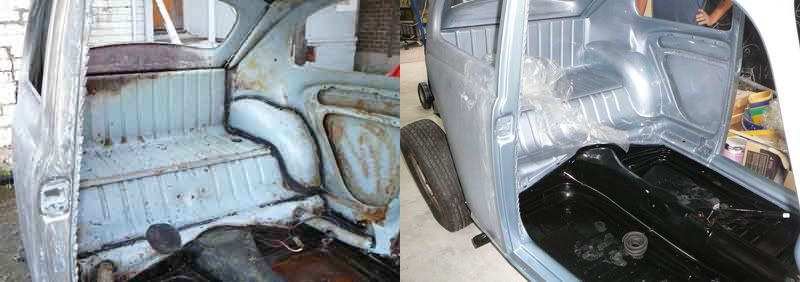
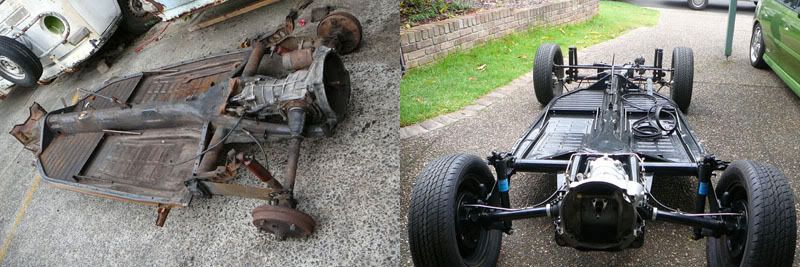
Not sure whether I'm posting this for inspiration to others or for my own nostalgia trip.. However I've put together a few progress shots of the
body re-build since September 2006.. Its a huge trip, this type of resto. I can understand the original motivation and gung-ho effort through the
mid-resto depression of more and more money and less and less time. Is it worth it? I'll tell you when I'm finished.. Still a ways to go.. Anycase,
enjoyed putting this together for what its worth..


|
|
|
 StenGuns StenGuns
Veteran Volks Folk
    
Posts: 2147
Threads: 236
Registered: March 1st, 2004
Member Is Offline
Location: Sydney, Australia
Theme: UltimaBB Pro Blue ( Default )
|
| posted on March 24th, 2008 at 05:59 PM |
|
|
PS: The inner floor pan shots show the pedals on the left hand and right hand sides.. I just flipped the image in photoshop.. thats all.. Not
exporting it.. hahaha
|
|
|
 Dasdubber Dasdubber
A.k.a.: Alan Agyik
23 Windows of Awesome
DAS Resto Haus
       
Posts: 5746
Threads: 289
Registered: August 26th, 2002
Member Is Offline
Location: Gold Coast
Theme: UltimaBB Pro Blue
Mood: feeling fine...
|
| posted on March 24th, 2008 at 06:49 PM |
|
|
Nice one mate, I know firsthand the challenges, highs and lows of a big resto like yours!
I think it has been asked before but what colour paint is that? I understand if you'd prefer not to divulge it though.
Cheers
Al
|
|
|
 StenGuns StenGuns
Veteran Volks Folk
    
Posts: 2147
Threads: 236
Registered: March 1st, 2004
Member Is Offline
Location: Sydney, Australia
Theme: UltimaBB Pro Blue ( Default )
|
| posted on March 24th, 2008 at 07:13 PM |
|
|
Alan.. You need not say much mate as we all take inspiration from your work.. Actually you made me start this one so its your fault!!
The colour is "liquid blue" its a current Audi colour used on the A4.. Looks bright in these shots but your seeing it off the gun.. It matches well
with a light tan interior, some understated chrome and a light bronze wondow tint.. 17" Escra's.. There, I've just given the whole game away..
Hoping for the Nats in May.. Might just make it..
Rob
|
|
|
 bond bond
Veteran Volks Folk
    
Posts: 2456
Threads: 166
Registered: July 11th, 2003
Member Is Offline
Location: brisbane
Theme: UltimaBB Pro Blue ( Default )
|
| posted on March 24th, 2008 at 07:53 PM |
|
|
escras. good choice.
nick
|
|
|
 Dasdubber Dasdubber
A.k.a.: Alan Agyik
23 Windows of Awesome
DAS Resto Haus
       
Posts: 5746
Threads: 289
Registered: August 26th, 2002
Member Is Offline
Location: Gold Coast
Theme: UltimaBB Pro Blue
Mood: feeling fine...
|
| posted on March 24th, 2008 at 08:18 PM |
|
|
Rob, at least when your wife (assuming you're hitched) gets the $hits with you for spending so much time and money on your project, you have someone
to blame other than yourself! Just don't give her my phone number 
Looking great, colour is nice (I was thinking of something similar for my oval, thats why I just wanted to make sure I didnt' choose the same
colour). Thanks for sharing the plans.
Al
|
|
|
 StenGuns StenGuns
Veteran Volks Folk
    
Posts: 2147
Threads: 236
Registered: March 1st, 2004
Member Is Offline
Location: Sydney, Australia
Theme: UltimaBB Pro Blue ( Default )
|
| posted on May 9th, 2008 at 07:39 AM |
|
|
Sanded and ready for final coat.. I hope to have it in my warehouse (for wiring up) by the end of May.. So thats Sep06 to May 08.. Not bad for a 3
month quick resto!
|
|
|
 squizy squizy
A.k.a.: Paul
Compulsive Aussie Vee Dubber
Thinking about another dub...maybe
      
Posts: 4082
Threads: 243
Registered: December 17th, 2002
Member Is Offline
Location: Thornleigh
Theme: UltimaBB Pro Blue
|
| posted on May 9th, 2008 at 09:01 AM |
|
|
Ready for the Nats Rob?
|
|
|
 StenGuns StenGuns
Veteran Volks Folk
    
Posts: 2147
Threads: 236
Registered: March 1st, 2004
Member Is Offline
Location: Sydney, Australia
Theme: UltimaBB Pro Blue ( Default )
|
| posted on May 9th, 2008 at 05:06 PM |
|
|
Probably only if I trailer it.. Wiring and mechanics might be complete..
|
|
|
 StenGuns StenGuns
Veteran Volks Folk
    
Posts: 2147
Threads: 236
Registered: March 1st, 2004
Member Is Offline
Location: Sydney, Australia
Theme: UltimaBB Pro Blue ( Default )
|
| posted on June 6th, 2008 at 06:16 PM |
|
|
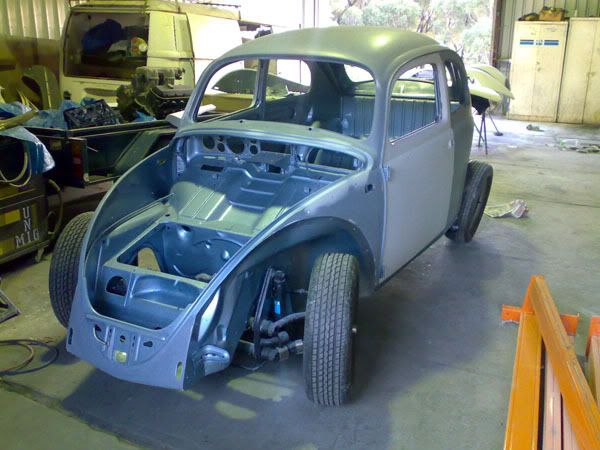
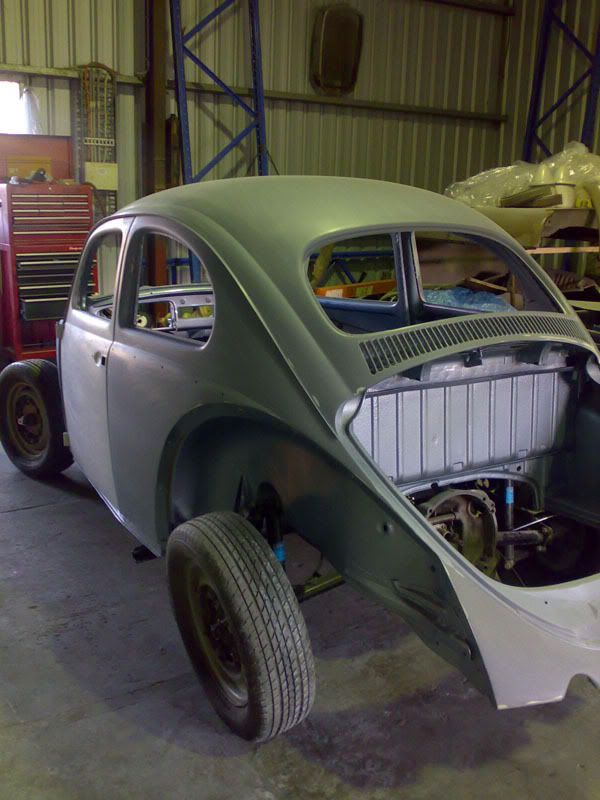
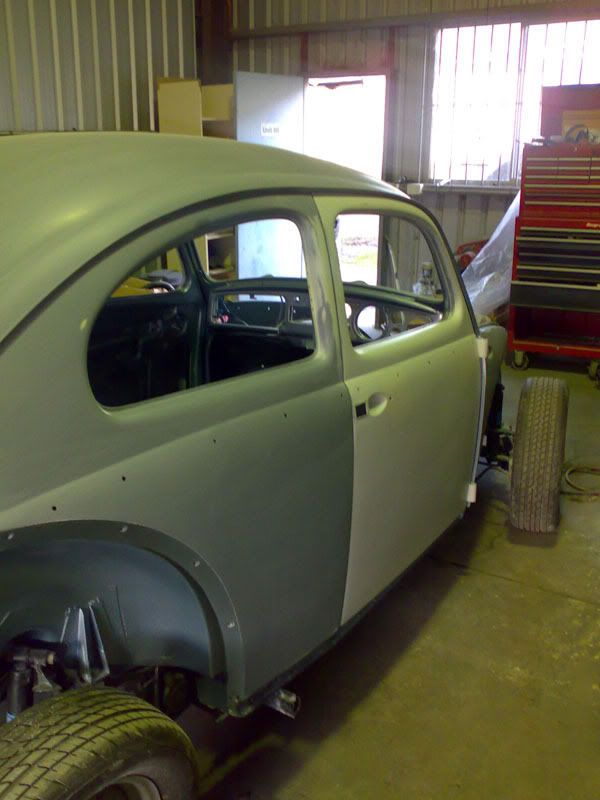
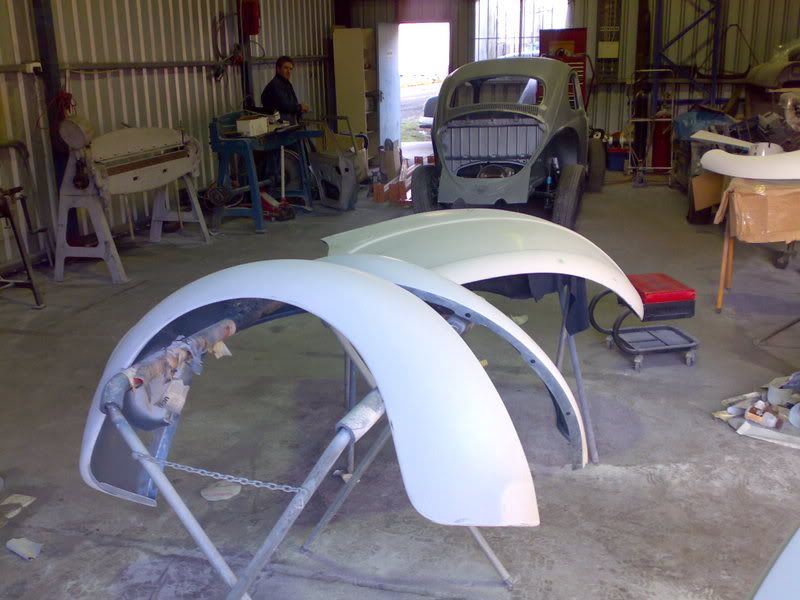
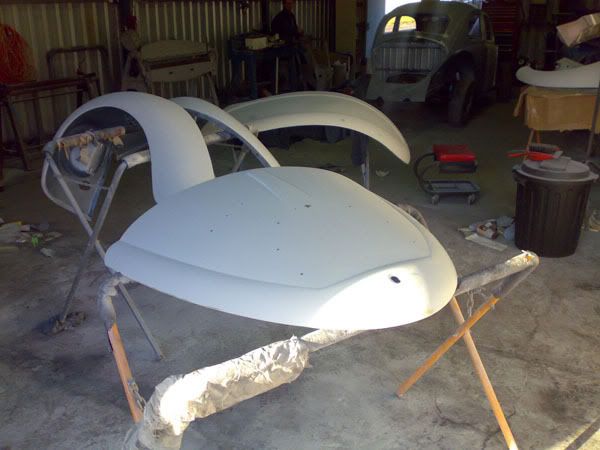
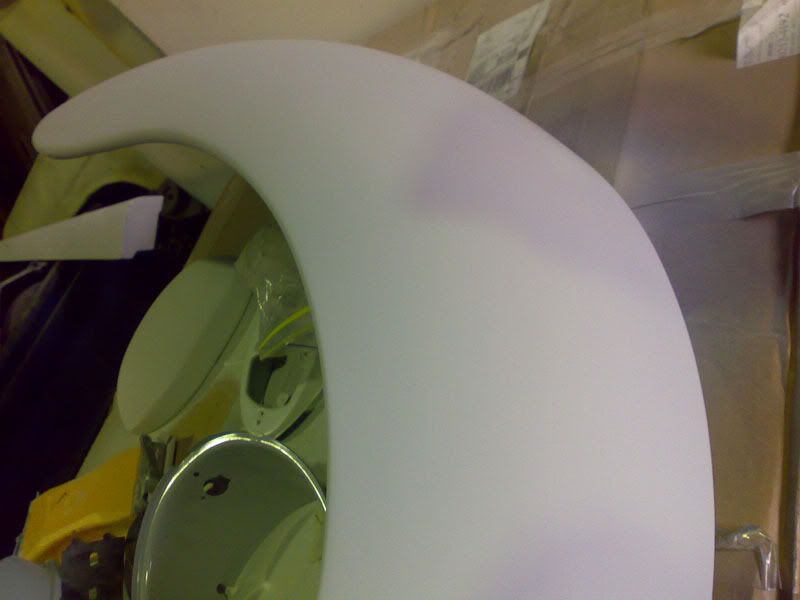
Finally the body has had it block sand and final rub down.. The booth is booked all day tomorrow.. i'll go down again on Sunday to take a look..
Not much to see in these shots but the body and guards etc.. The close up of a front guard is to illustrate how straight all the metal is.. Absolute
craftsmanship! You need to run your hand over it to feel the sex of it.. I'm confident the paint will do justice to the work
|
|
|
 StenGuns StenGuns
Veteran Volks Folk
    
Posts: 2147
Threads: 236
Registered: March 1st, 2004
Member Is Offline
Location: Sydney, Australia
Theme: UltimaBB Pro Blue ( Default )
|
| posted on June 6th, 2008 at 06:18 PM |
|
|
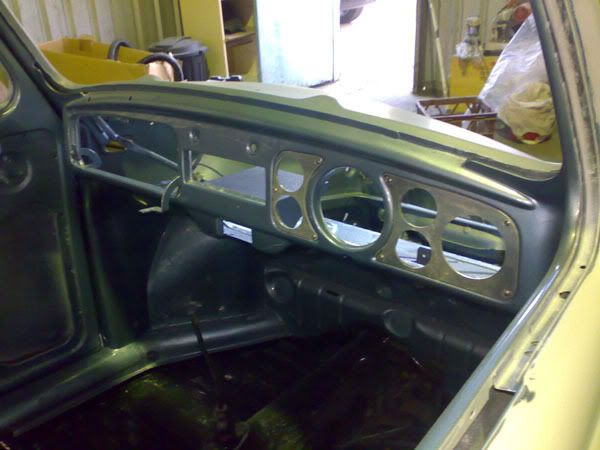
Here is the dash showing the alloy instrument panels.. I was going to polish these and clear them but decided to paint and use stainless screws to set
it off..
|
|
|
 bond bond
Veteran Volks Folk
    
Posts: 2456
Threads: 166
Registered: July 11th, 2003
Member Is Offline
Location: brisbane
Theme: UltimaBB Pro Blue ( Default )
|
| posted on June 6th, 2008 at 08:08 PM |
|
|
nice mate. coming along! very jealous!
nick
|
|
|
 StenGuns StenGuns
Veteran Volks Folk
    
Posts: 2147
Threads: 236
Registered: March 1st, 2004
Member Is Offline
Location: Sydney, Australia
Theme: UltimaBB Pro Blue ( Default )
|
| posted on June 6th, 2008 at 08:43 PM |
|
|
You will be when you see the pix on Sunday!!!
|
|
|
 decked dubby decked dubby
Custom Title Time!
    
Posts: 1046
Threads: 91
Registered: August 30th, 2002
Member Is Offline
Theme: UltimaBB Pro Blue ( Default )
|
| posted on June 6th, 2008 at 09:40 PM |
|
|
Really nice work.
.
|
|
|
 vw54 vw54
Super Administrator
Always Waiting 4 Friday
        
Posts: 16723
Threads: 378
Registered: August 26th, 2002
Member Is Offline
Location: Sunny Sydney
Theme: UltimaBB Pro Blue ( Default )
Mood: Oval resto ongoing
|
| posted on June 7th, 2008 at 05:59 AM |
|
|
great pics Rob
|
|
|
 StenGuns StenGuns
Veteran Volks Folk
    
Posts: 2147
Threads: 236
Registered: March 1st, 2004
Member Is Offline
Location: Sydney, Australia
Theme: UltimaBB Pro Blue ( Default )
|
| posted on June 7th, 2008 at 06:02 PM |
|
|
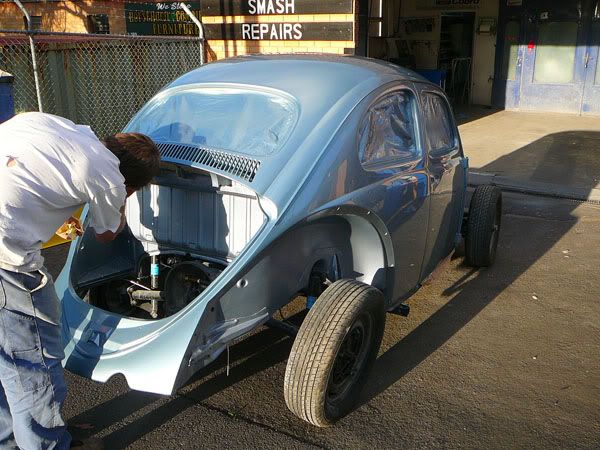
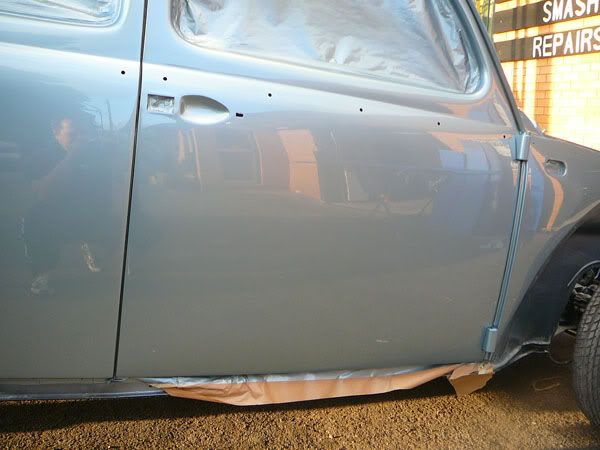
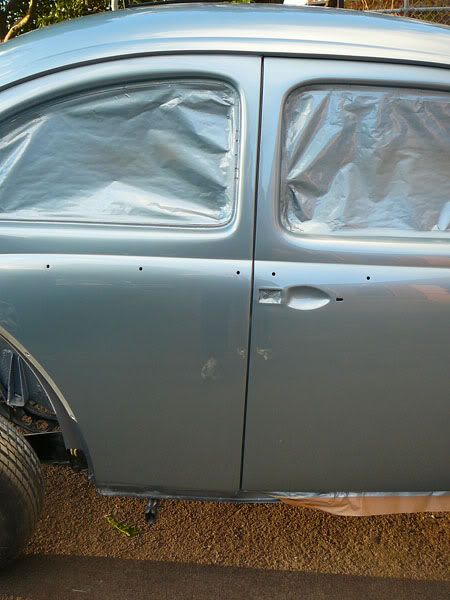
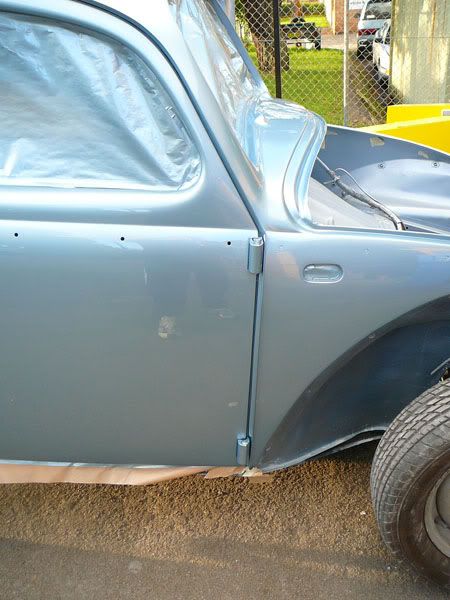
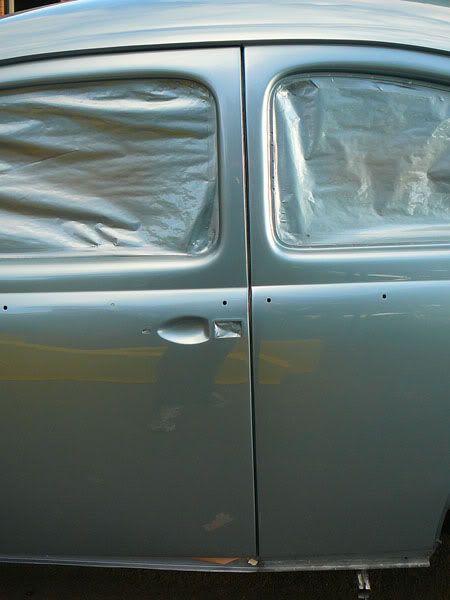
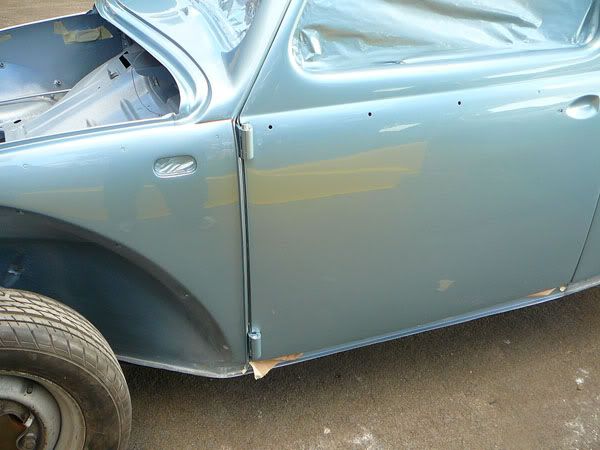
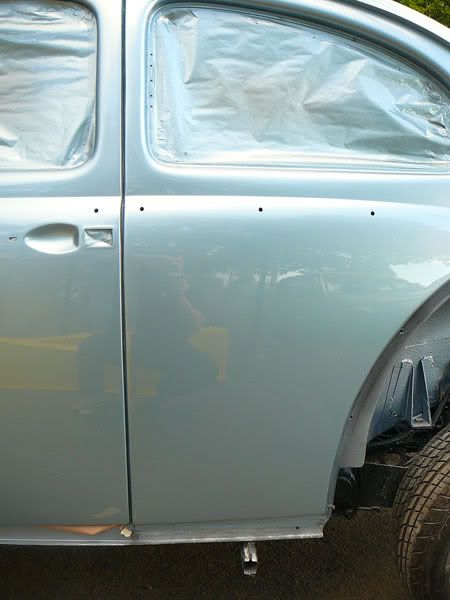
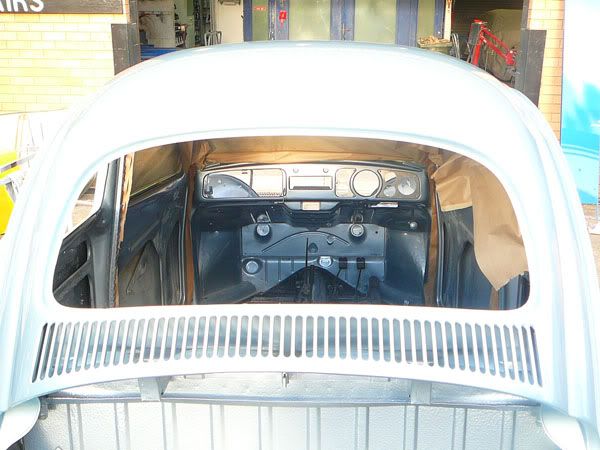
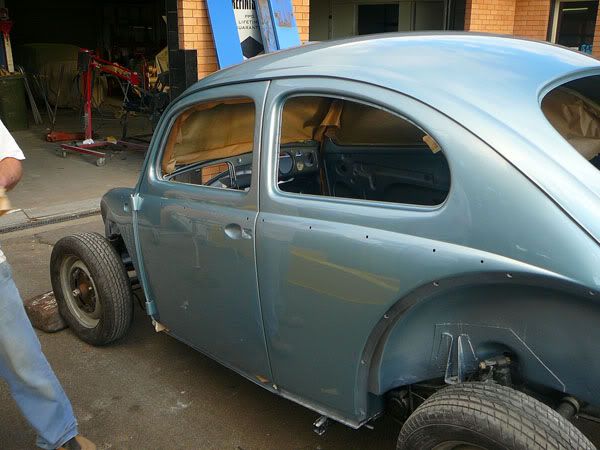
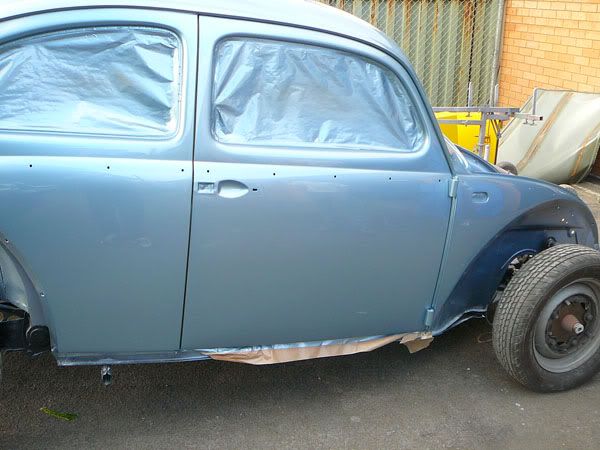
I can't think of too much to say about the paintwork.. I guess it's all about 18 months work in preparation..
Any case, enjoy while I think up some superlatives...
|
|
|
| Pages: 1 2 3 4 5 .. 10 |