| [ Total Views: 10751 | Total Replies: 106 | Thread Id: 69890 ] |
| Pages: 1 2 3 4 |
|
|
 Golde60 Golde60
Fahrvergnugen
   
Posts: 858
Threads: 73
Registered: August 25th, 2002
Member Is Offline
Location: Back in Dubai
Theme: UltimaBB Pro Blue ( Default )
Mood: Searching for the next project
|
| posted on May 8th, 2011 at 03:58 PM |
|
|
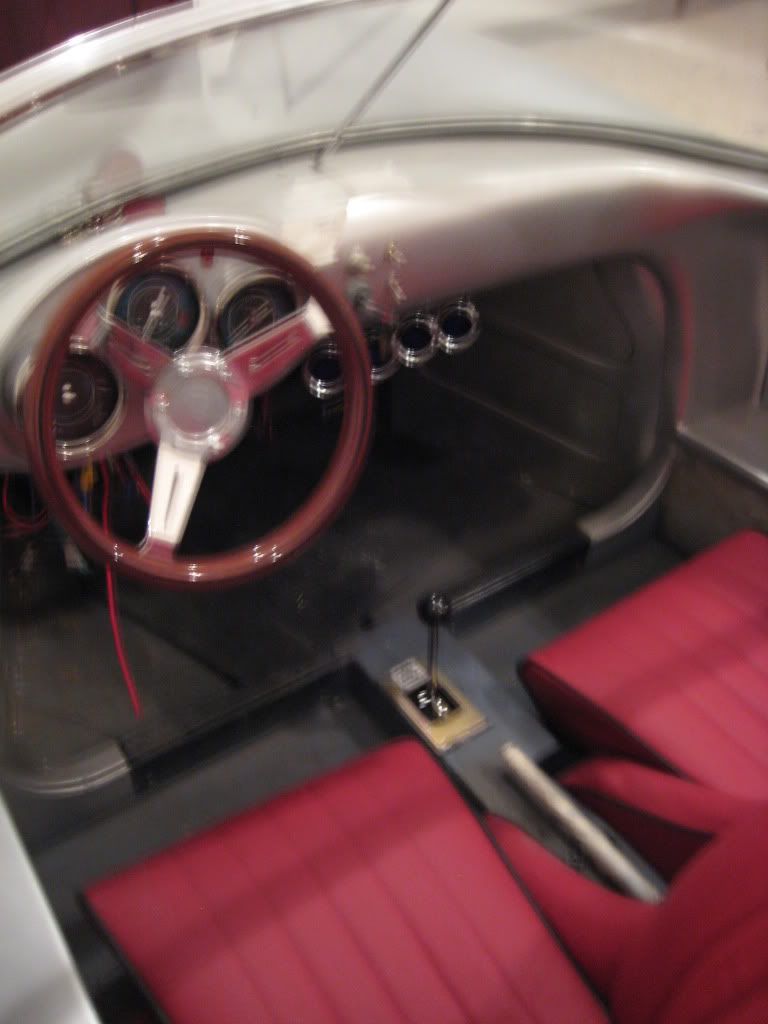
some dakota digital guages under the dash
CHT EGT OILT OILP
...................( O \ l / O ).....................
|
|
|
 Golde60 Golde60
Fahrvergnugen
   
Posts: 858
Threads: 73
Registered: August 25th, 2002
Member Is Offline
Location: Back in Dubai
Theme: UltimaBB Pro Blue ( Default )
Mood: Searching for the next project
|
| posted on May 8th, 2011 at 03:59 PM |
|
|
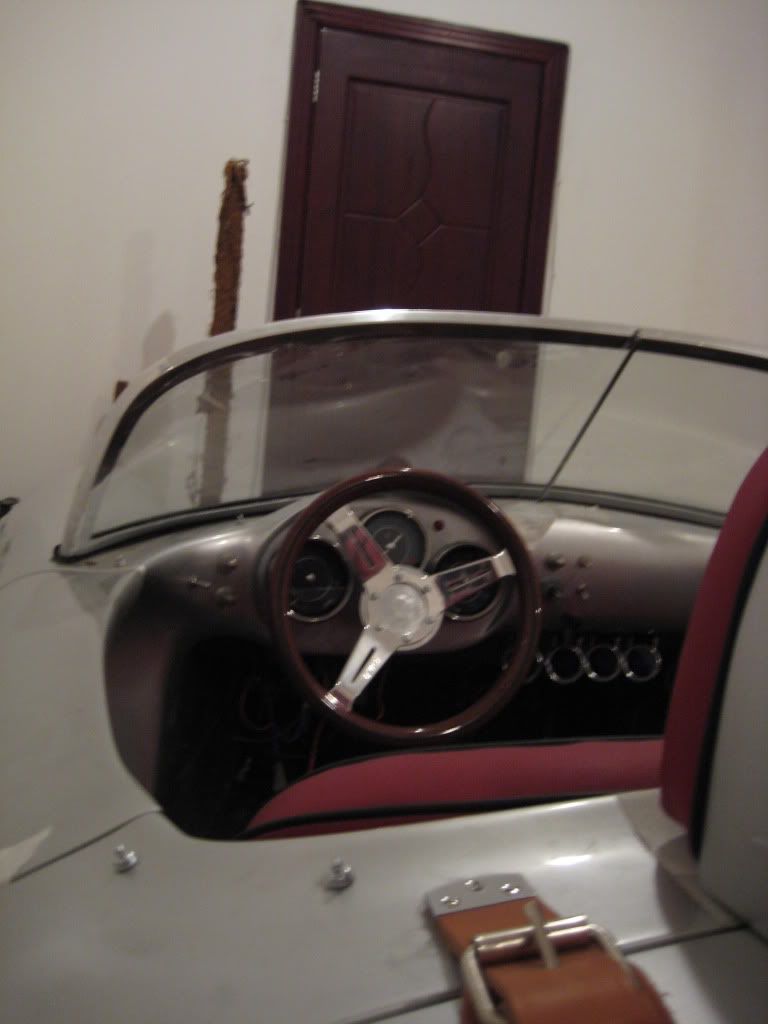
and of course the small diameter wood rimmed nardi with black stripe
...................( O \ l / O ).....................
|
|
|
 Golde60 Golde60
Fahrvergnugen
   
Posts: 858
Threads: 73
Registered: August 25th, 2002
Member Is Offline
Location: Back in Dubai
Theme: UltimaBB Pro Blue ( Default )
Mood: Searching for the next project
|
| posted on May 8th, 2011 at 04:01 PM |
|
|
should have also mentioned the cable shift set up that is in between the seats
seat tunnel needed some work. was not central, required a cut and shut to get the passenger seat in properly which was a bit of a surprise. apparently
it is normal to have the tunnel slightly offset
...................( O \ l / O ).....................
|
|
|
 Golde60 Golde60
Fahrvergnugen
   
Posts: 858
Threads: 73
Registered: August 25th, 2002
Member Is Offline
Location: Back in Dubai
Theme: UltimaBB Pro Blue ( Default )
Mood: Searching for the next project
|
| posted on May 8th, 2011 at 07:49 PM |
|
|
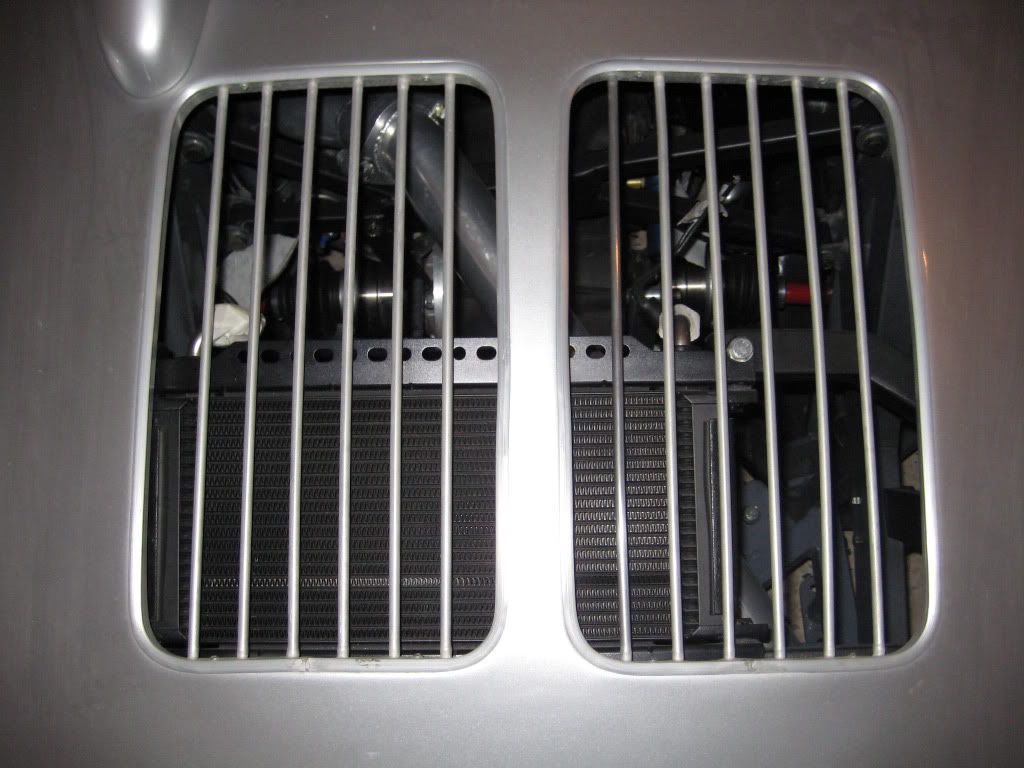
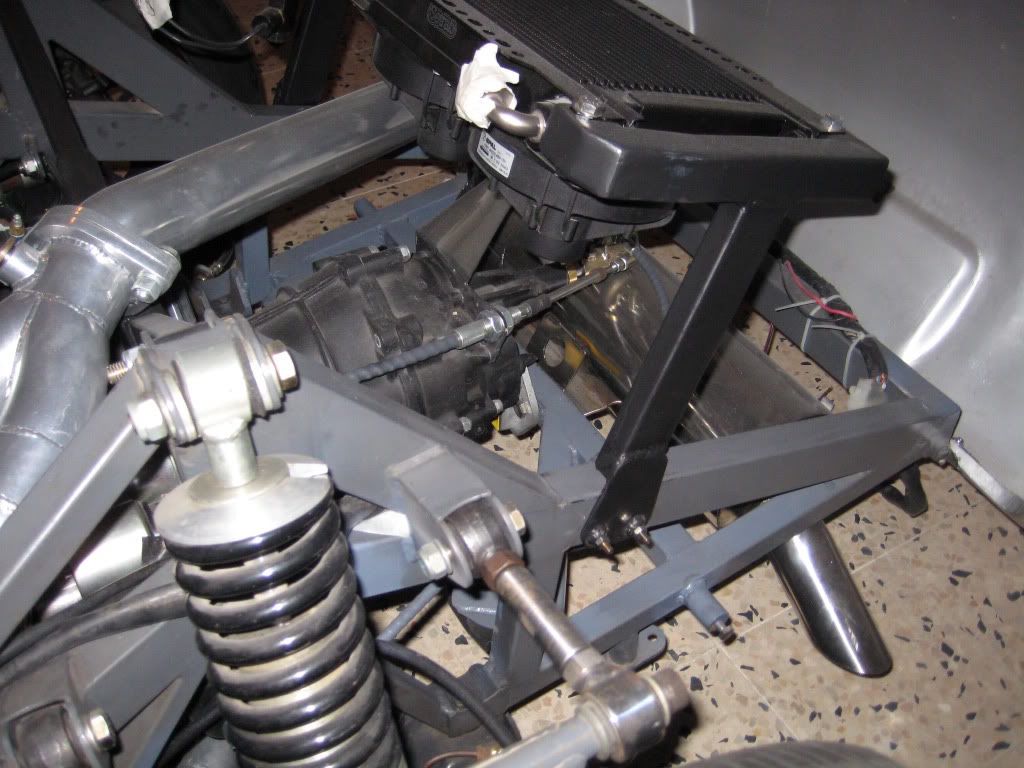
and working the way back a bit further, here is the view into the business end.
dual setrab mounted on a modified version of what used to be the spare tyre rack.
originally this was mounted central to the two vents/grilles but that had to changed again once the exhaust arrived
from the top:
and you can see it better from the side here too
...................( O \ l / O ).....................
|
|
|
 Golde60 Golde60
Fahrvergnugen
   
Posts: 858
Threads: 73
Registered: August 25th, 2002
Member Is Offline
Location: Back in Dubai
Theme: UltimaBB Pro Blue ( Default )
Mood: Searching for the next project
|
| posted on May 8th, 2011 at 07:55 PM |
|
|
sorry, not sure how to rotate on photobucket, so please tilt your head to the right for that top pic! EDIT. take that back looks like it works now
quite happy with how the muffler worked out, attached to the opposite side of the rear gearbox mount (front in a bug)
love my side exit pipe, just like I had on the bug
also note the nuts on either end of the upper suspension arms. loosen these (reverse thread) and with a few twists you have a adjusted rear camber.
...................( O \ l / O ).....................
|
|
|
 Golde60 Golde60
Fahrvergnugen
   
Posts: 858
Threads: 73
Registered: August 25th, 2002
Member Is Offline
Location: Back in Dubai
Theme: UltimaBB Pro Blue ( Default )
Mood: Searching for the next project
|
| posted on May 8th, 2011 at 09:37 PM |
|
|
here is a similar shot from a different angle
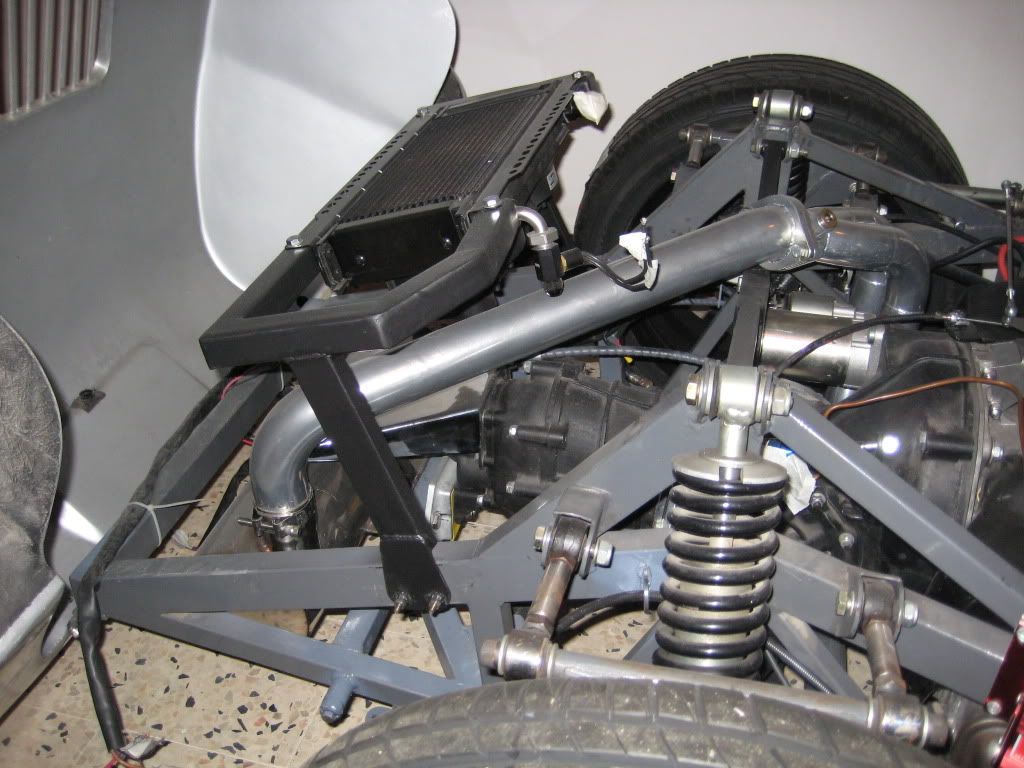
you can see the path of the exhaust over the shock tower X brace, which had to be modified also to fit the muffler set up
it is all pretty tight in there, especially around the starter motor. not much spare room.
to be honest I was amazed that the muffler/collector etc was able to be built by remote control and sent over. I thought that there would be more
modificiation required to make it fit
...................( O \ l / O ).....................
|
|
|
 Golde60 Golde60
Fahrvergnugen
   
Posts: 858
Threads: 73
Registered: August 25th, 2002
Member Is Offline
Location: Back in Dubai
Theme: UltimaBB Pro Blue ( Default )
Mood: Searching for the next project
|
| posted on May 8th, 2011 at 09:40 PM |
|
|
this one from above really shows how tight it all is.
exhaust system is a tangerine 4-2-2-1 which is a good match for the engine kit.
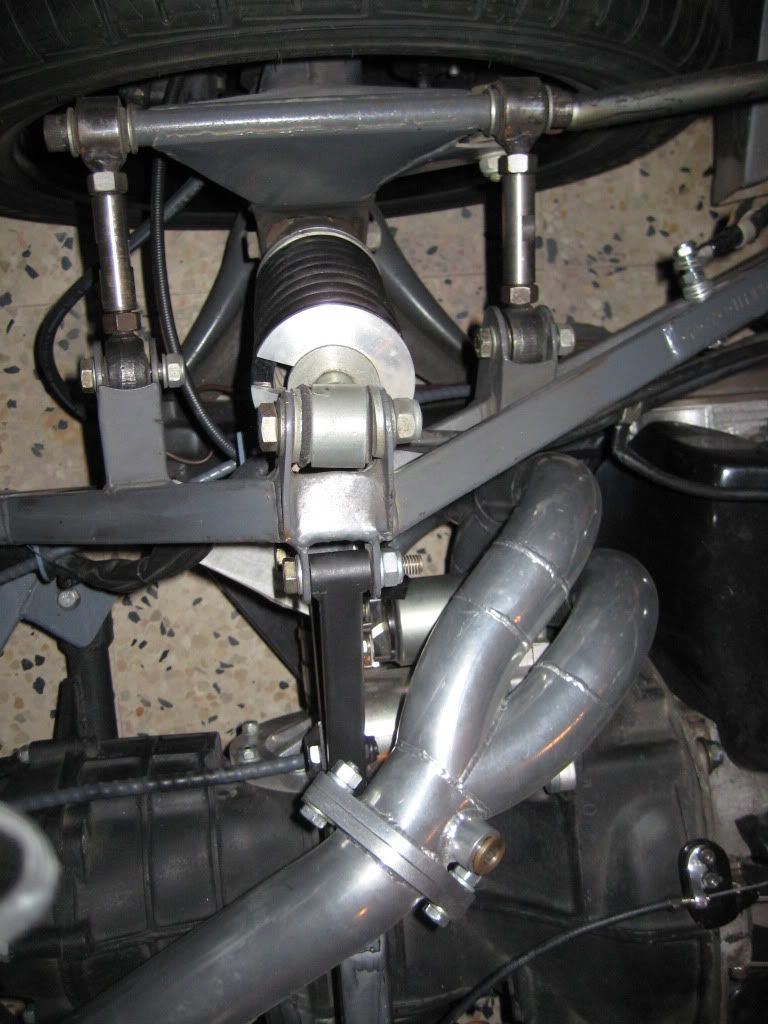
look carefully and you can also see the berg mid mount
I had originally intended to use one of the cb type trans mounts/strap set ups but was recommended against it with this exhuast system
...................( O \ l / O ).....................
|
|
|
 Golde60 Golde60
Fahrvergnugen
   
Posts: 858
Threads: 73
Registered: August 25th, 2002
Member Is Offline
Location: Back in Dubai
Theme: UltimaBB Pro Blue ( Default )
Mood: Searching for the next project
|
| posted on May 8th, 2011 at 09:44 PM |
|
|
here is the final pic of the mounting set up to the chassis
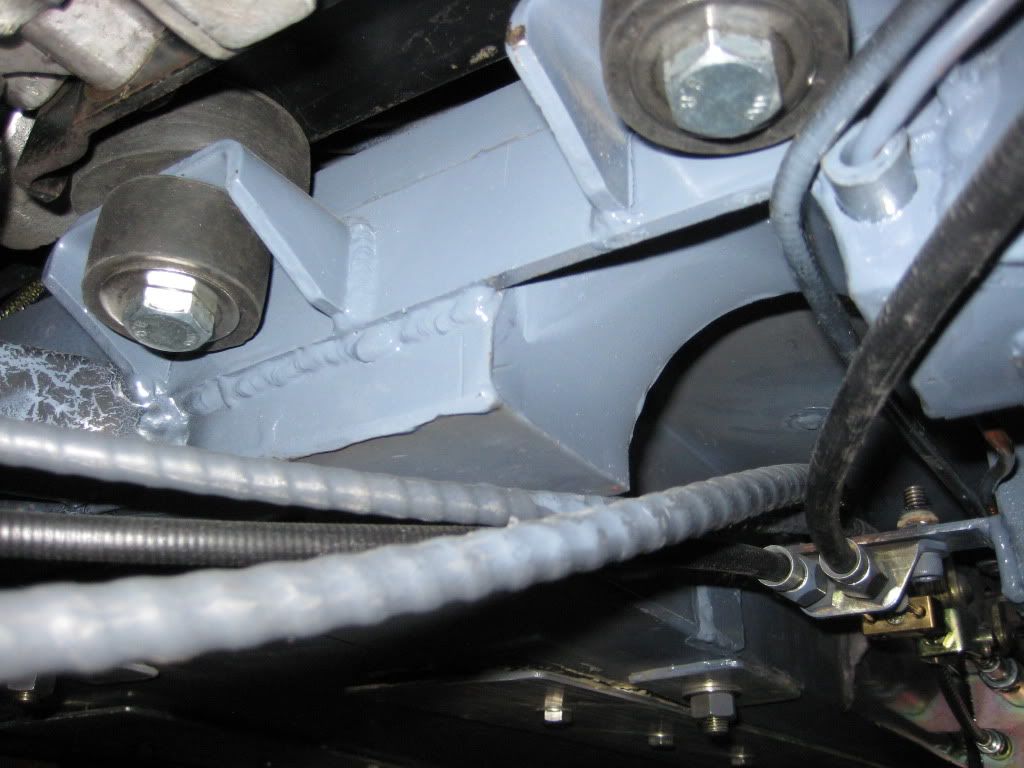
pic is not very illustrative. sorry
is a 914 engine mount, which is somewhat of a U shape, sits under the pulley
utilized this with a mount welded to the chassis, with rubber mounts to control movement upwards and downward.
gives me three mounting points - gearbox end, berg mid and 914 engine.
should be enough but will see. could add a strap and mount somehow above the box in the mid position but not sure that this would really be necessary
...................( O \ l / O ).....................
|
|
|
 Golde60 Golde60
Fahrvergnugen
   
Posts: 858
Threads: 73
Registered: August 25th, 2002
Member Is Offline
Location: Back in Dubai
Theme: UltimaBB Pro Blue ( Default )
Mood: Searching for the next project
|
| posted on May 8th, 2011 at 09:45 PM |
|
|
can also see handbrake cables and shifter cables in the above pics.
will defineately need some heat sheilds in this as there is a lot of stuff running close to hot bits in the engine
...................( O \ l / O ).....................
|
|
|
 Aussie Aussie
Officially Full-On Dubber
  
Posts: 296
Threads: 43
Registered: September 15th, 2006
Member Is Offline
Location: Gold Coast
Theme: UltimaBB Pro Blue ( Default )
|
| posted on May 9th, 2011 at 08:02 PM |
|
|
Some very nice engineering in there 
|
|
|
 Golde60 Golde60
Fahrvergnugen
   
Posts: 858
Threads: 73
Registered: August 25th, 2002
Member Is Offline
Location: Back in Dubai
Theme: UltimaBB Pro Blue ( Default )
Mood: Searching for the next project
|
| posted on May 15th, 2011 at 09:25 PM |
|
|
Thanks Aussie
some more pics coming soon
...................( O \ l / O ).....................
|
|
|
 Golde60 Golde60
Fahrvergnugen
   
Posts: 858
Threads: 73
Registered: August 25th, 2002
Member Is Offline
Location: Back in Dubai
Theme: UltimaBB Pro Blue ( Default )
Mood: Searching for the next project
|
| posted on May 15th, 2011 at 09:33 PM |
|
|
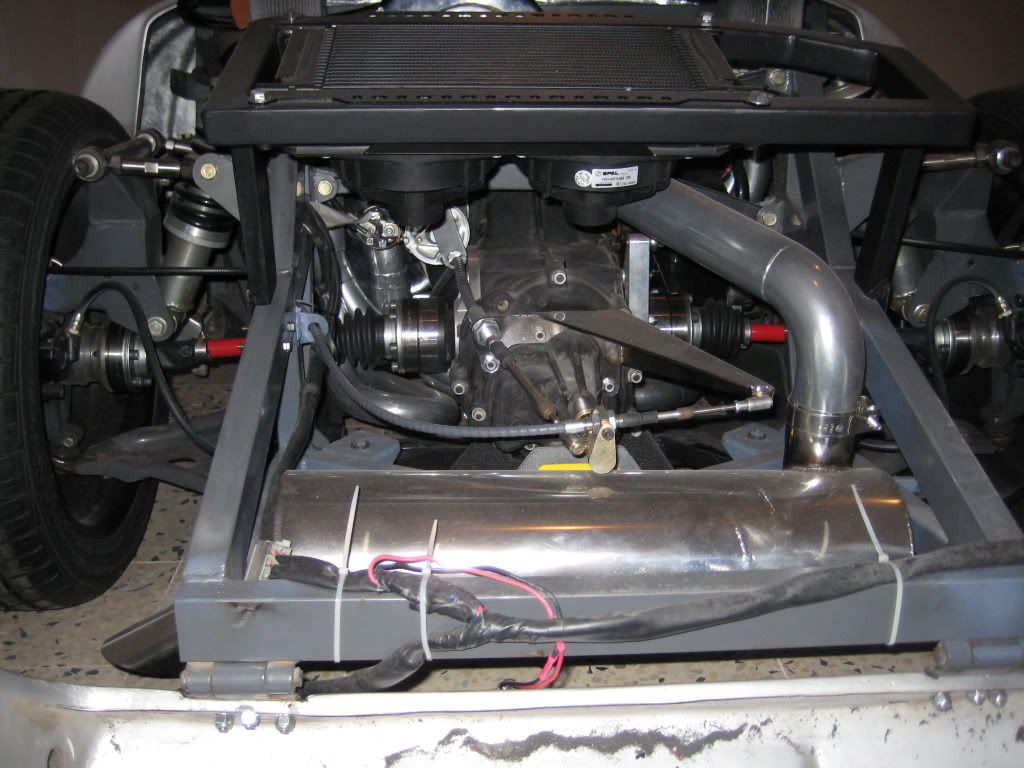
From here you can see the 'front' of the engine that you are used to seeing when you lift the lid on a bug.
Shows the 914 engine mount (black, under the pulley) as well as gives you an indication of just how close you will be sitting to the screaming 45mm
dellortos.
Things are all pretty tight in there.
At the end of the chassis mock up stage we were lifting the engine and box in and out in one go on an engine crane. With the rear, mid and engine
mounts it was a tight fit. Add to that the spagetti exhaust, cross brace spanning between the shock towers and the oil cooler mounts and you get the
picture.
Wish there was an easier way to get the exhaust in and out but dont see it.
anyway here is another pic showing the view between the seats with a panel removed.
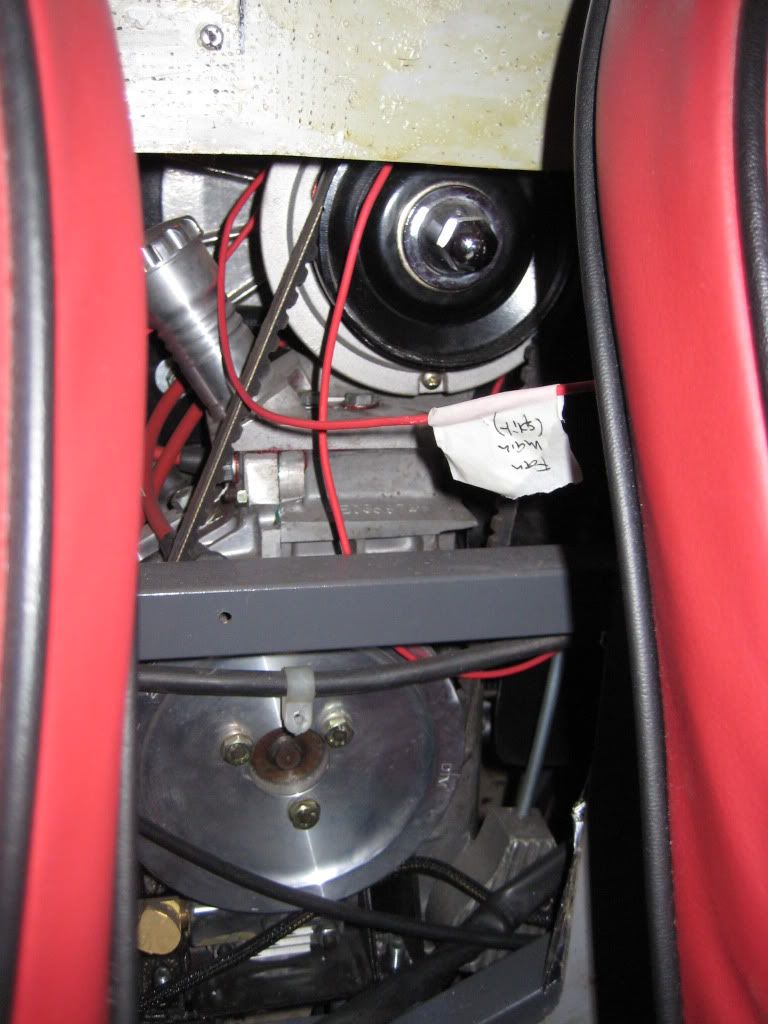
up side is that with this setup (clamshell) the access is brilliant once the lid is lifted
...................( O \ l / O ).....................
|
|
|
 Golde60 Golde60
Fahrvergnugen
   
Posts: 858
Threads: 73
Registered: August 25th, 2002
Member Is Offline
Location: Back in Dubai
Theme: UltimaBB Pro Blue ( Default )
Mood: Searching for the next project
|
| posted on May 15th, 2011 at 09:35 PM |
|
|
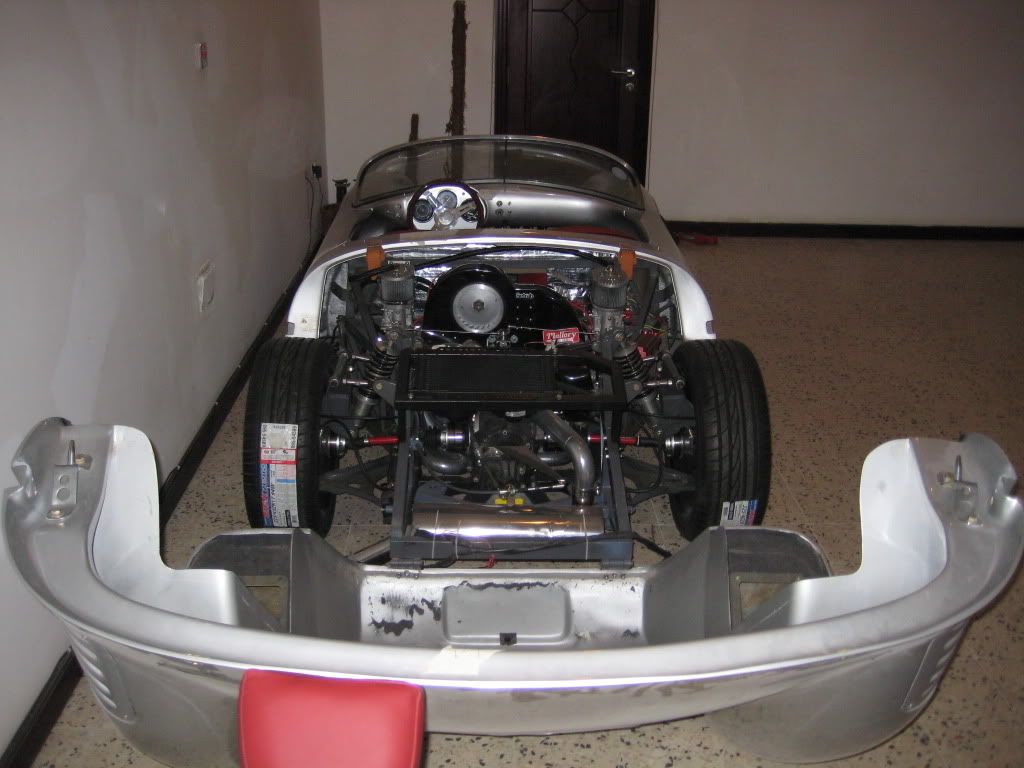
From here you can see the 'front' of the engine that you are used to seeing when you lift the lid on a bug.
Shows the 914 engine mount (black, under the pulley) as well as gives you an indication of just how close you will be sitting to the screaming 45mm
dellortos.
Things are all pretty tight in there.
At the end of the chassis mock up stage we were lifting the engine and box in and out in one go on an engine crane. With the rear, mid and engine
mounts it was a tight fit. Add to that the spagetti exhaust, cross brace spanning between the shock towers and the oil cooler mounts and you get the
picture.
Wish there was an easier way to get the exhaust in and out but dont see it.
anyway here is another pic showing the view between the seats with a panel removed.

up side is that with this setup (clamshell) the access is brilliant once the lid is lifted

...................( O \ l / O ).....................
|
|
|
 Golde60 Golde60
Fahrvergnugen
   
Posts: 858
Threads: 73
Registered: August 25th, 2002
Member Is Offline
Location: Back in Dubai
Theme: UltimaBB Pro Blue ( Default )
Mood: Searching for the next project
|
| posted on December 13th, 2011 at 08:38 PM |
|
|
bump more updates coming soon.
started and cam breakin done.
need some time to replace battery and play with cable shifter before she moves.
whooo fucken hoooo it started and nothing blew up!
...................( O \ l / O ).....................
|
|
|
 matberry matberry
Super Moderator
Go hard or go home
      
Posts: 8114
Threads: 134
Registered: March 7th, 2006
Member Is Offline
Location: Cooroy Qld
Theme: UltimaBB Pro Blue
Mood: enjoying waving at all my Kombi buddies from my T3
|
| posted on December 13th, 2011 at 10:29 PM |
|
|
| Quote: | Originally
posted by Golde60
whooo fucken hoooo it started and nothing blew up!
|
Gotta be happy with that.  
Good job. 
Matt Berry Motorsports...air cooled advice, repairs and mods Ph 0408 704 662
OFF-ROAD,CIRCUIT,DRAG,STREET,ENDURANCE
 |
|
|
 Flintstones Flintstones
Custom Title Time!
    
Posts: 1077
Threads: 69
Registered: August 27th, 2002
Member Is Offline
Location: Sydney
Theme: UltimaBB Psyche Blue
|
| posted on December 13th, 2011 at 10:57 PM |
|
|
Great news 
not long now
Cheers
D
|
|
|
 66deluxe 66deluxe
Custom Title Time!
    
Posts: 1593
Threads: 139
Registered: August 16th, 2005
Member Is Offline
Location: Murrumba Downs, Brisbane.
Theme: XMBX Pro Green
|
| posted on December 15th, 2011 at 08:33 AM |
|
|
Awesome mate my 2270 type 4 should fire up this month too.
This is my Volkswagen, there are many like it, but this one is mine. Without me my Volkswagen is useless, without my Volkswagen, I am useless.
61 Karmann Ghia 2110cc type1 w Los Panchito's
66 Deluxe Beetle 2270 type 4
10 Subaru WRX Impreza
|
|
|
| Pages: 1 2 3 4 |