| [ Total Views: 26677 | Total Replies: 197 | Thread Id: 101415 ] |
| Pages: 1 .. 5 6 7 |
|
|
 roverv8bay roverv8bay
Officially Full-On Dubber
  
Posts: 250
Threads: 32
Registered: January 30th, 2013
Member Is Offline
Theme: UltimaBB Pro Blue ( Default )
|
| posted on February 19th, 2016 at 10:22 PM |
|
|
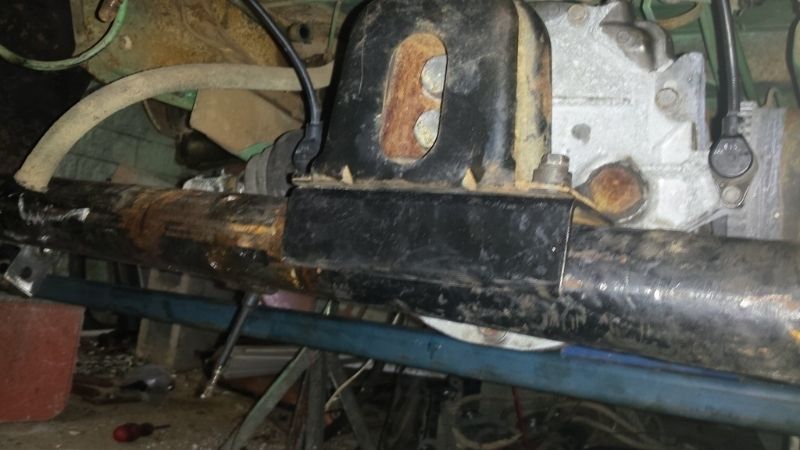
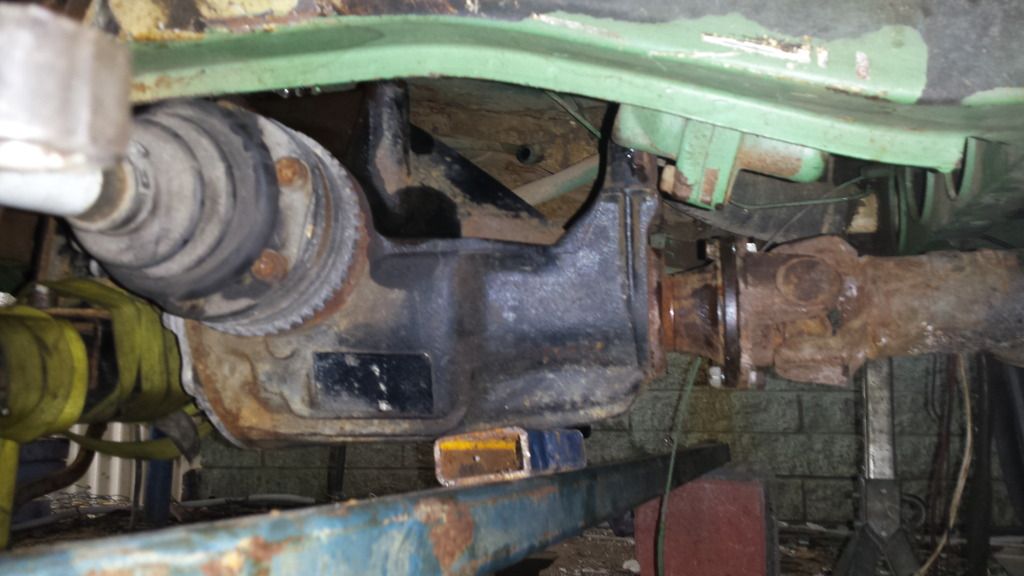
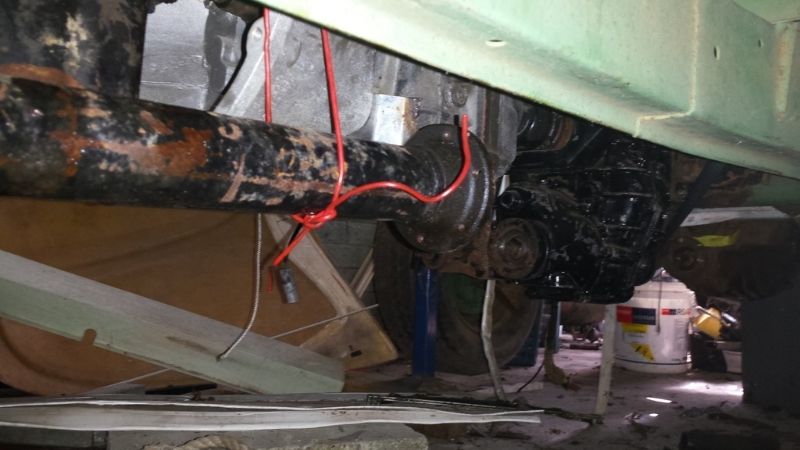
good evening all. fitting up the front diff. the front mount is a simple piece of 5 cm x7 cm tube with 1 7cm side cut out to let it sit down over the
tube. the rear cross member for it will be simple job to build. The tailshaft will be a 2piece unit out of the commodore. There is plenty of ground
clearance on the diff centre. Note the under hang below the beam tube the rear diff is the same clearance
|
|
|
 roverv8bay roverv8bay
Officially Full-On Dubber
  
Posts: 250
Threads: 32
Registered: January 30th, 2013
Member Is Offline
Theme: UltimaBB Pro Blue ( Default )
|
| posted on February 21st, 2016 at 07:29 PM |
|
|
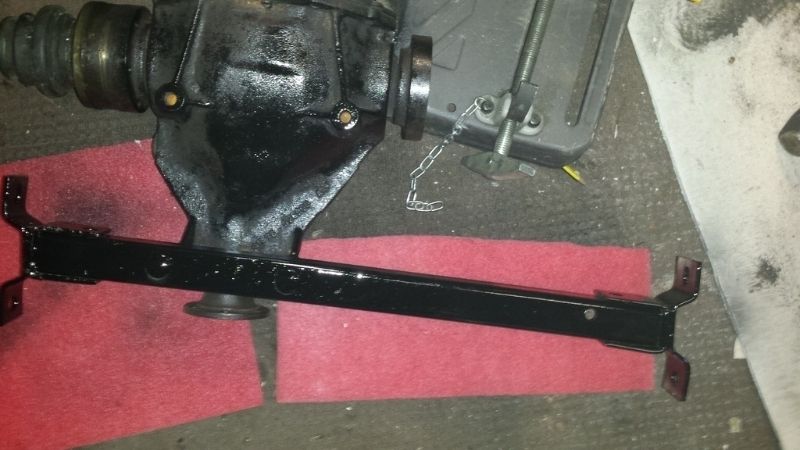
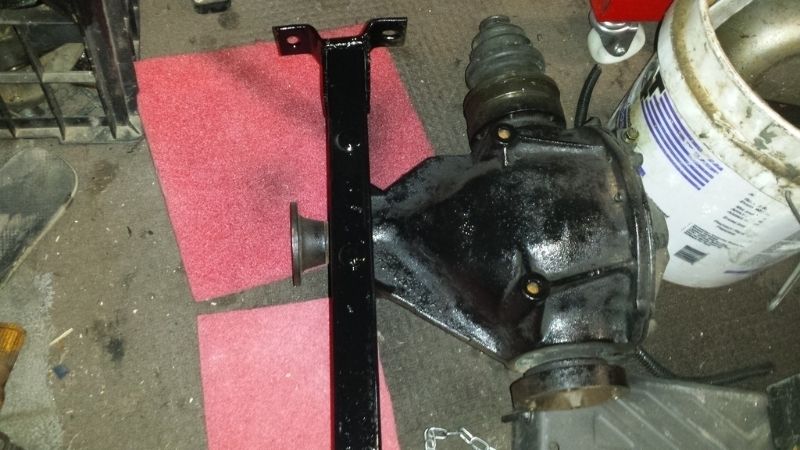
Good evening all. I spent an hour today building the front diff rear mount. So simple a piece of 5cm x 5m tube with round tube with suspension bushes
in them. The brackets for chassis mounts are of a canvas rollout awning. More than strong enough.
|
|
|
 roverv8bay roverv8bay
Officially Full-On Dubber
  
Posts: 250
Threads: 32
Registered: January 30th, 2013
Member Is Offline
Theme: UltimaBB Pro Blue ( Default )
|
| posted on April 18th, 2016 at 06:31 AM |
|
|
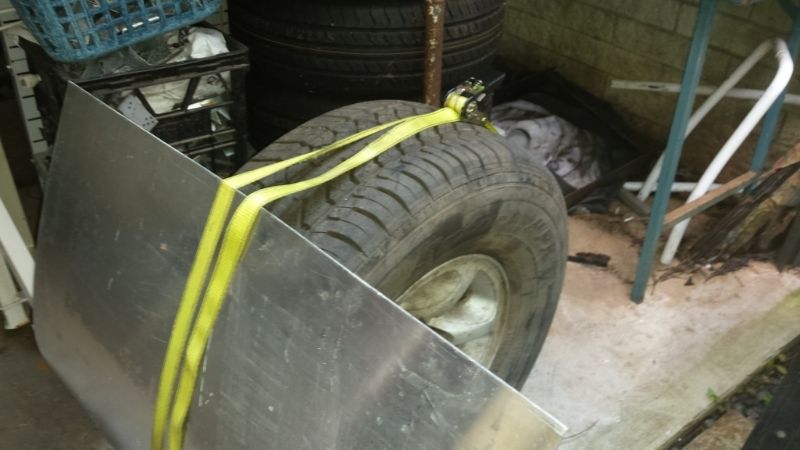
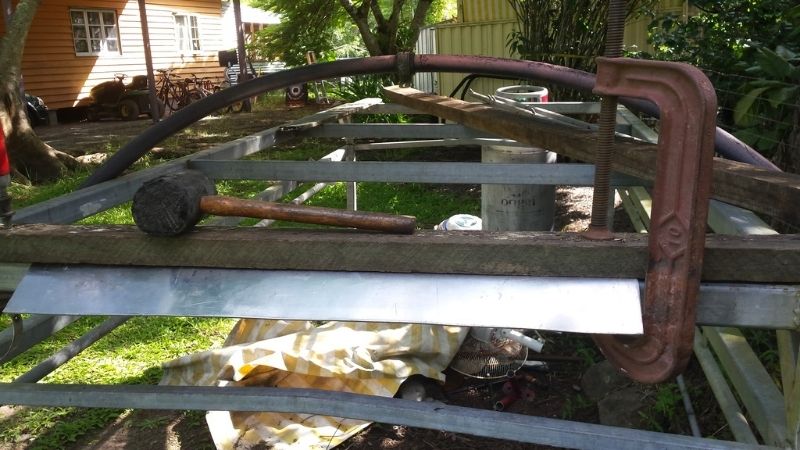
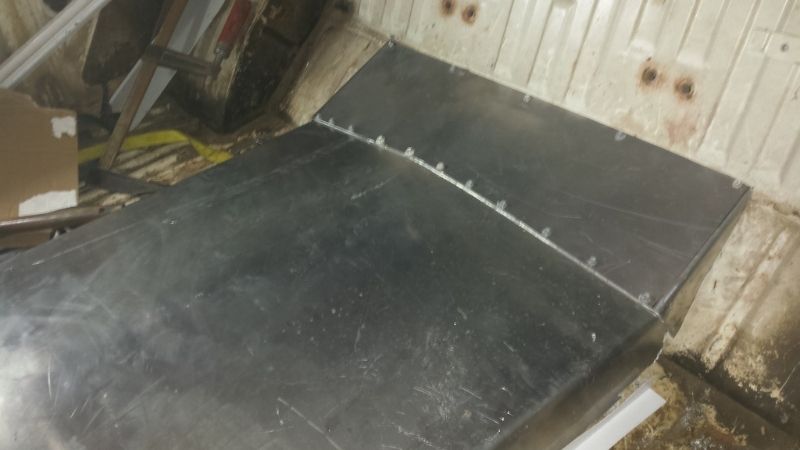
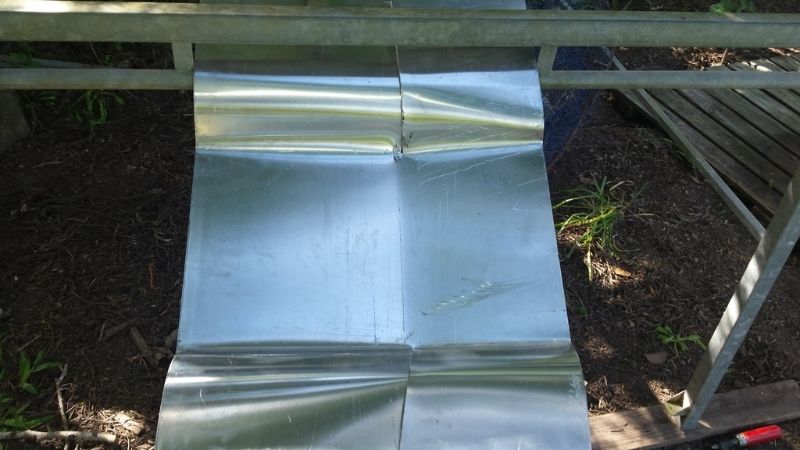
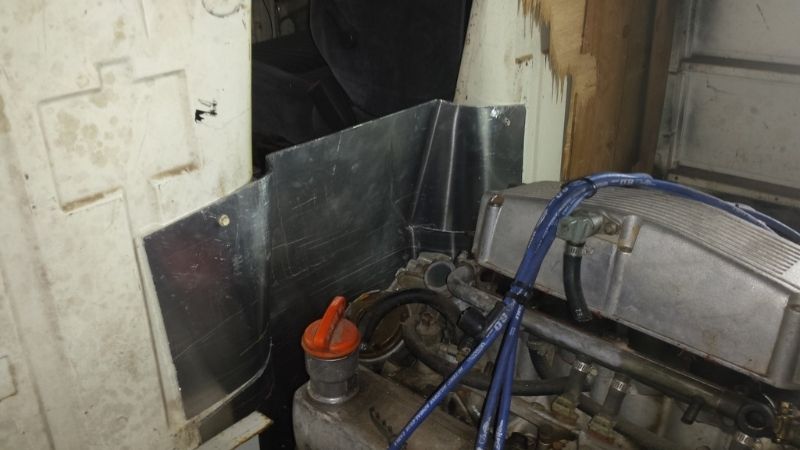
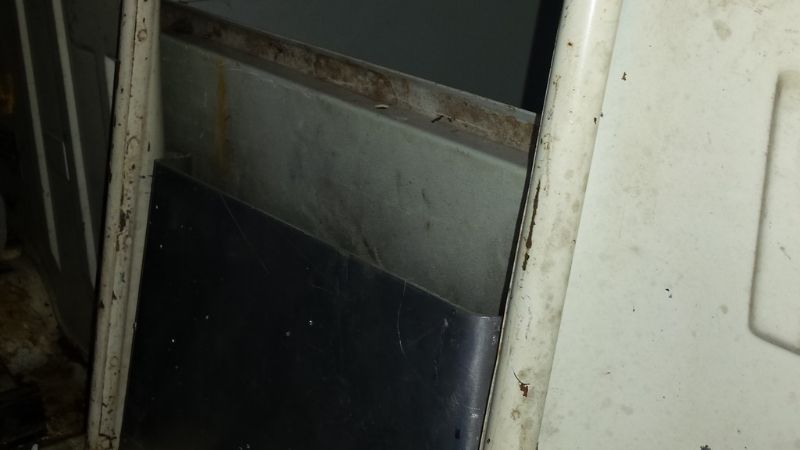
G'day all. I have been doing a bit on ECLECTIC, I tried to find a shop to curve & fold some ally for the tunnel. No joy so had ago using a strap
rubber mallet trailer frame circular saw & a big tyre. also a cover for the front of the engine box to fill the spot between the front walk
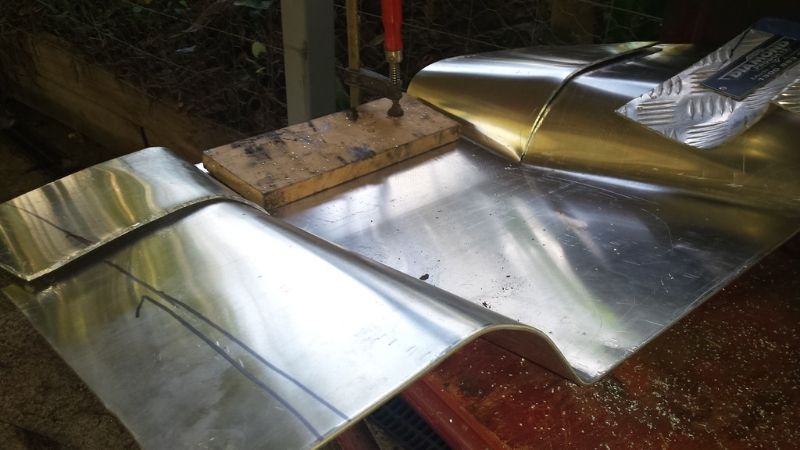
through seat walls. this was the hardest to do with it tapering into the top & had to be made to clear the seat belt stalks.
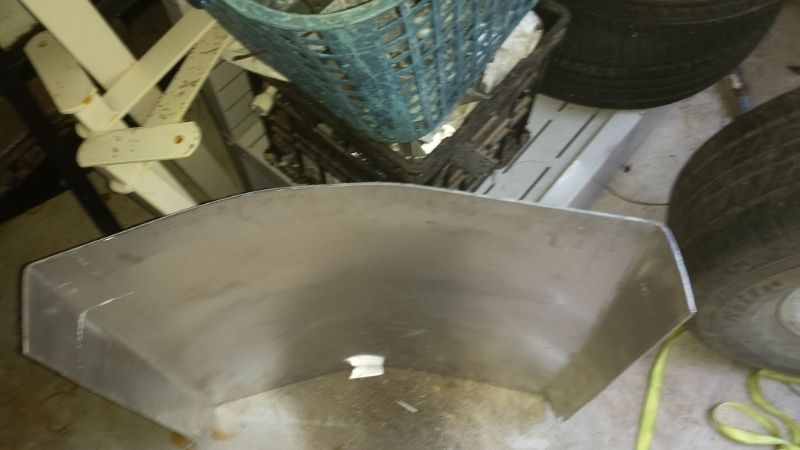
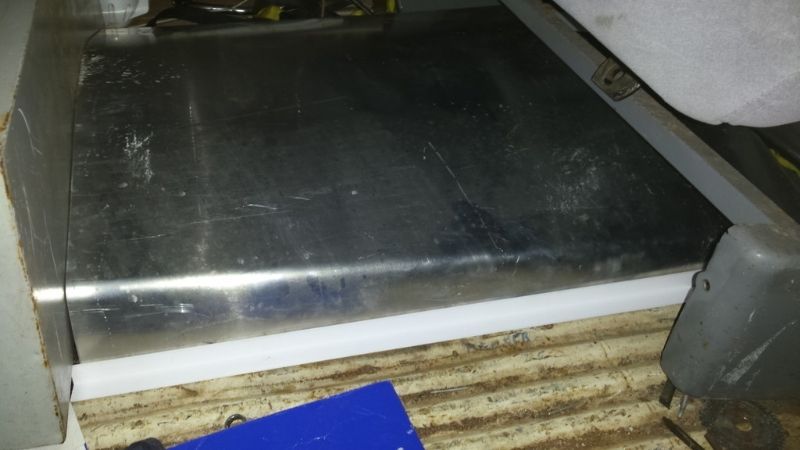
The small piece had to on the back edge be curved on the front & straight on the back edge. it will be welded were the 2 join then the screw holes
welded up. It will be sprayed with ute liner paint to help with vibration the top will be done with insulation & boat carpet
This is the start of bending & rolling the front cover between the seat
getting the curve to fit around the seat backs was the task
this section will be sealed to the walls with rubber striping & to the engine box with rivnuts
|
|
|
 roverv8bay roverv8bay
Officially Full-On Dubber
  
Posts: 250
Threads: 32
Registered: January 30th, 2013
Member Is Offline
Theme: UltimaBB Pro Blue ( Default )
|
| posted on April 18th, 2016 at 07:13 AM |
|
|
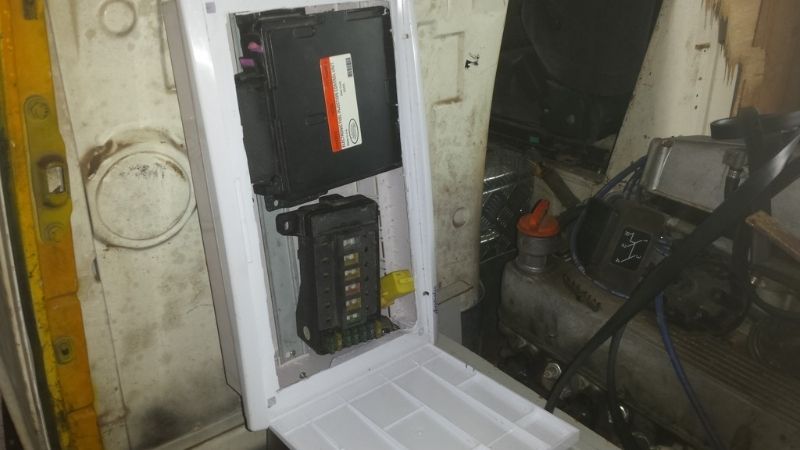
This is the new home for the ECU relays & engine fuse box. it was a 240v fuse box. It's ventilated around the sides.
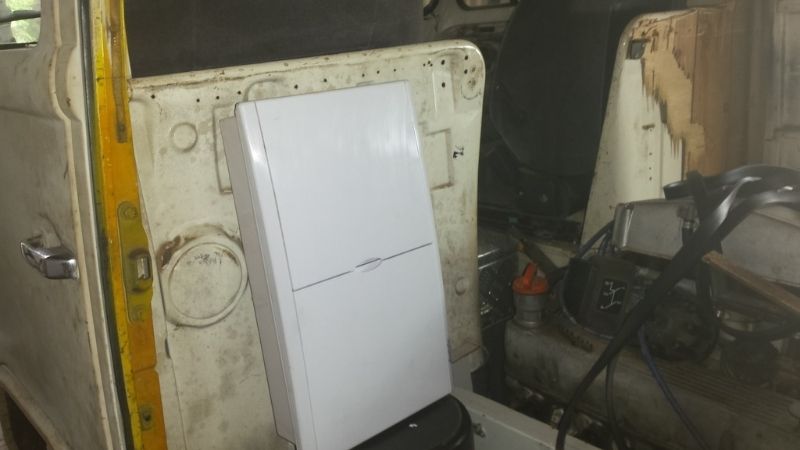
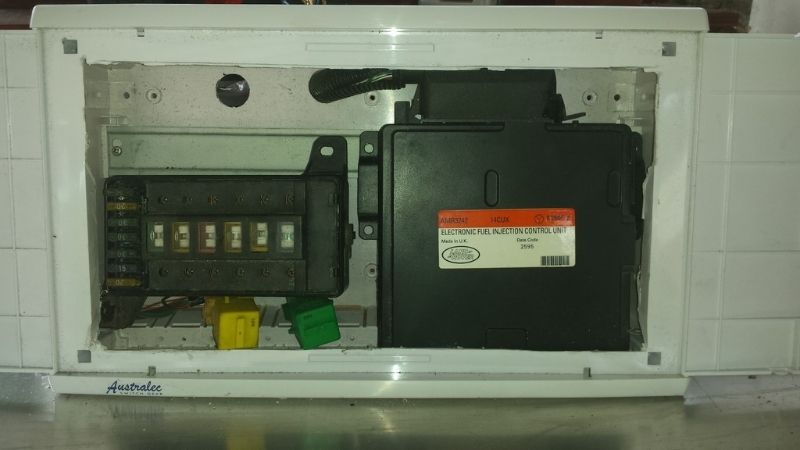
sitting in approx location. Now to shorten the harness to suit
|
|
|
 roverv8bay roverv8bay
Officially Full-On Dubber
  
Posts: 250
Threads: 32
Registered: January 30th, 2013
Member Is Offline
Theme: UltimaBB Pro Blue ( Default )
|
| posted on April 24th, 2016 at 08:52 PM |
|
|
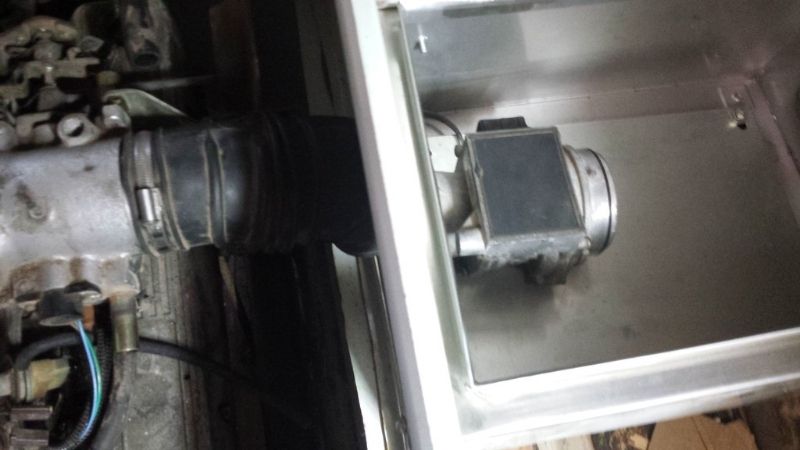
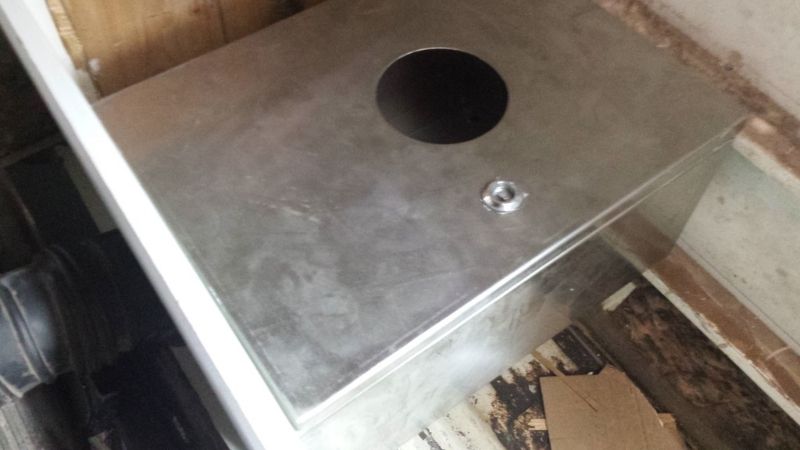
Good evening all. A little bit more done to the engine area. set up the ECU engine fuse box in their box & the air filter box on the side of the
engine box.
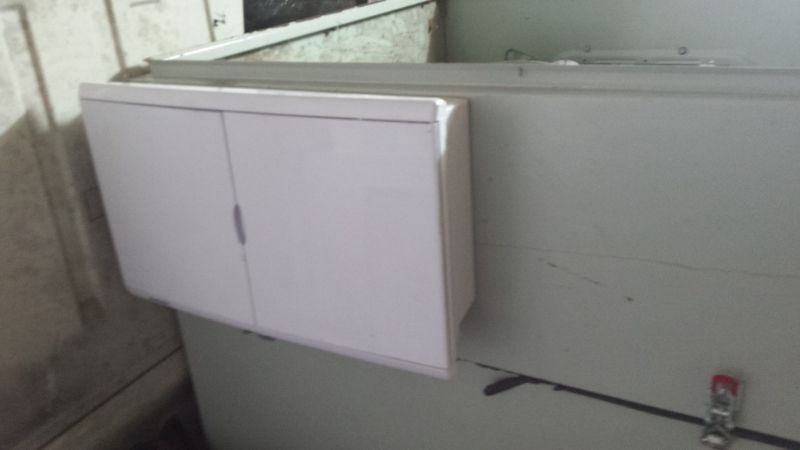
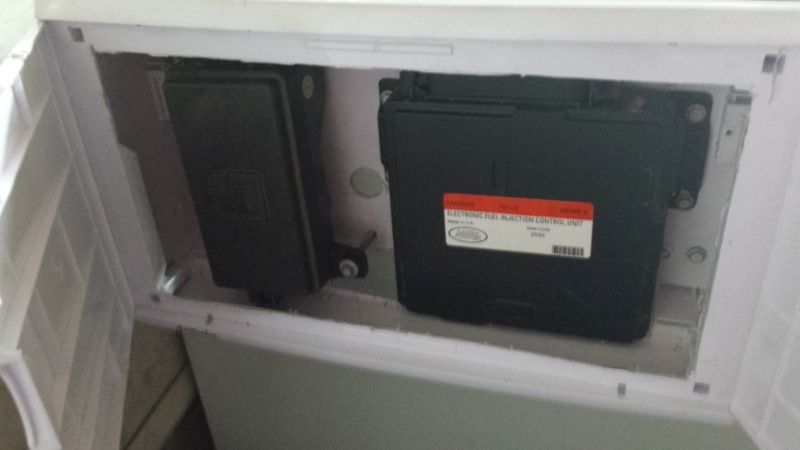
the fresh air box will house the AFM & pod filter
|
|
|
 roverv8bay roverv8bay
Officially Full-On Dubber
  
Posts: 250
Threads: 32
Registered: January 30th, 2013
Member Is Offline
Theme: UltimaBB Pro Blue ( Default )
|
| posted on April 27th, 2016 at 08:32 PM |
|
|
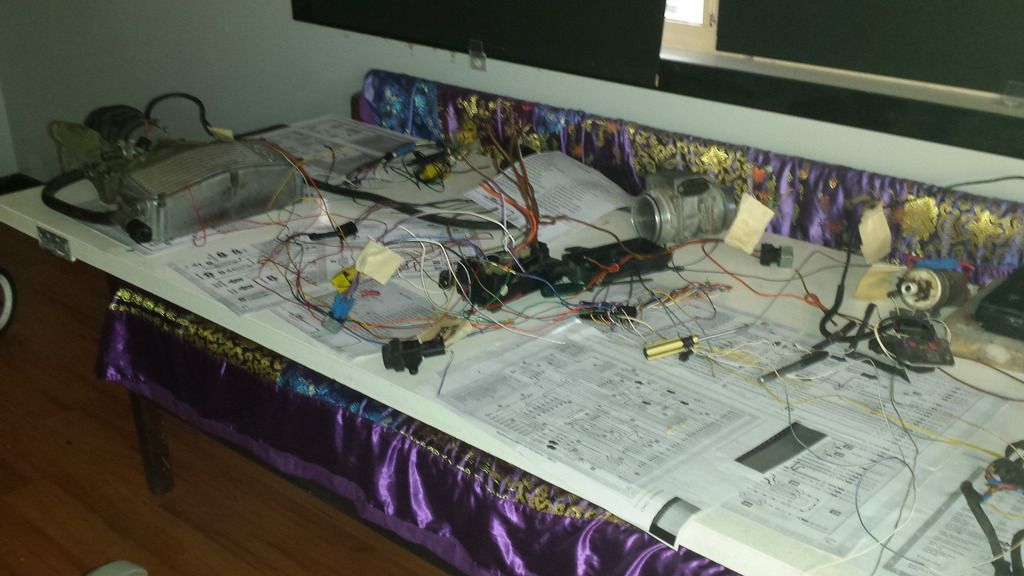
Good evening all. started on the harness pretty simple compared to Subi.
|
|
|
 roverv8bay roverv8bay
Officially Full-On Dubber
  
Posts: 250
Threads: 32
Registered: January 30th, 2013
Member Is Offline
Theme: UltimaBB Pro Blue ( Default )
|
| posted on July 4th, 2016 at 09:26 PM |
|
|
good evening all. bit of an update. I had another Engineer check out ECLECTIC to see if there was anything I needed to change anything for the rego
tag process. The only thing he would like me to change is the transfercase mount to incorporate the original Nissan brackets off the chassis. I took
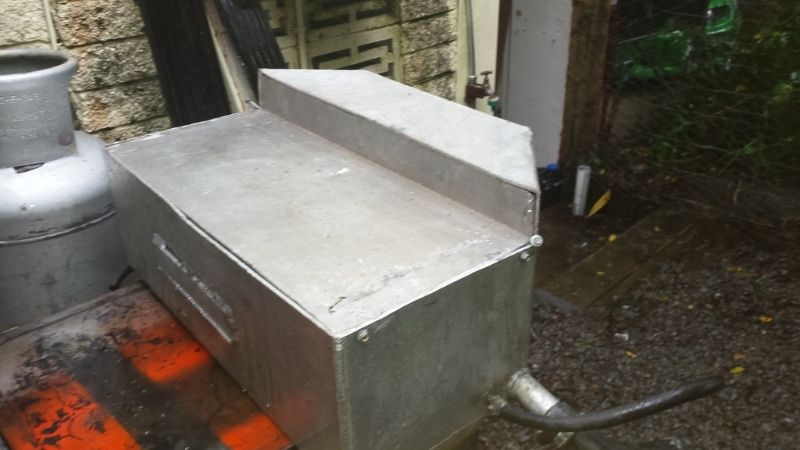
the fuel tank in today to have it welded up after fitting a new inlet outlet for the fuel pickup & return lines along with a swirl pot.
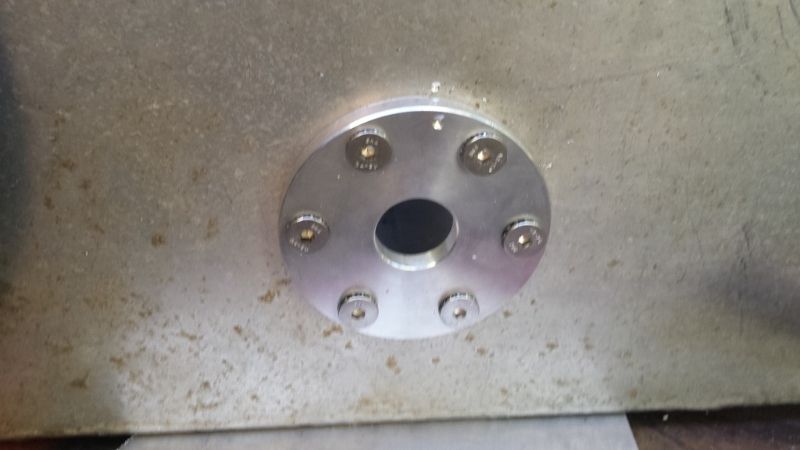
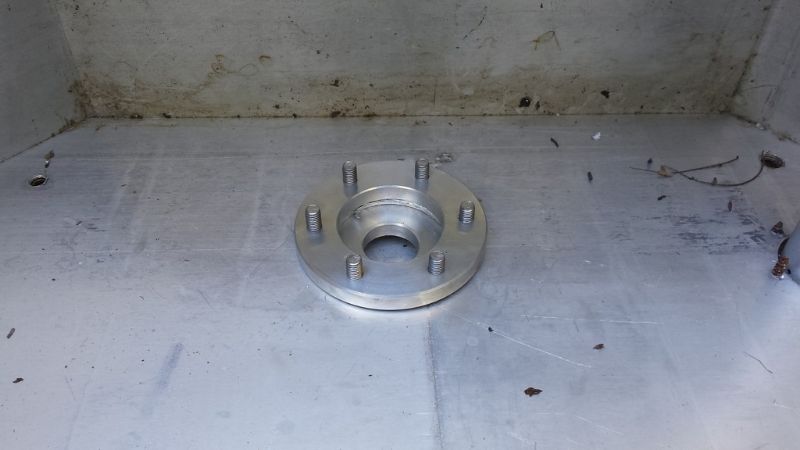
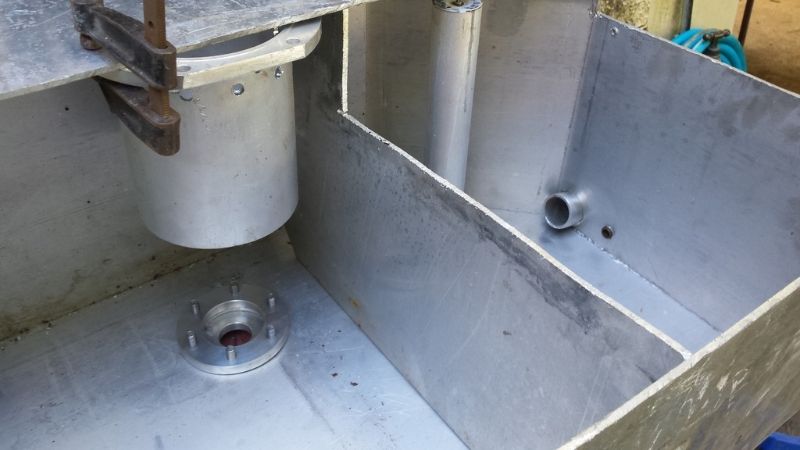
This is the shape of the tank with section reversed to allow it to slide into the original tank shelf. This will give me more room in the former
engine bay for the radiator & batteries
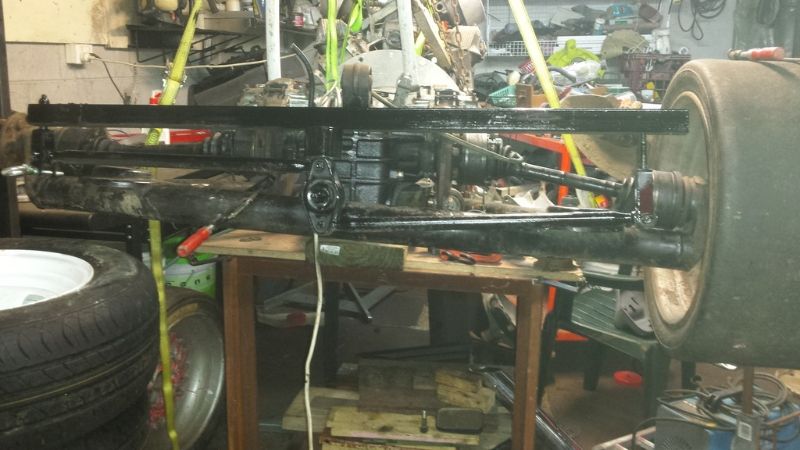
A bit off topic I started sorting out the Watts linkage for the trike to get heights for the frame & mounting brackets. Now to make some templates
to get the shapes.
|
|
|
 roverv8bay roverv8bay
Officially Full-On Dubber
  
Posts: 250
Threads: 32
Registered: January 30th, 2013
Member Is Offline
Theme: UltimaBB Pro Blue ( Default )
|
| posted on July 28th, 2016 at 08:17 AM |
|
|
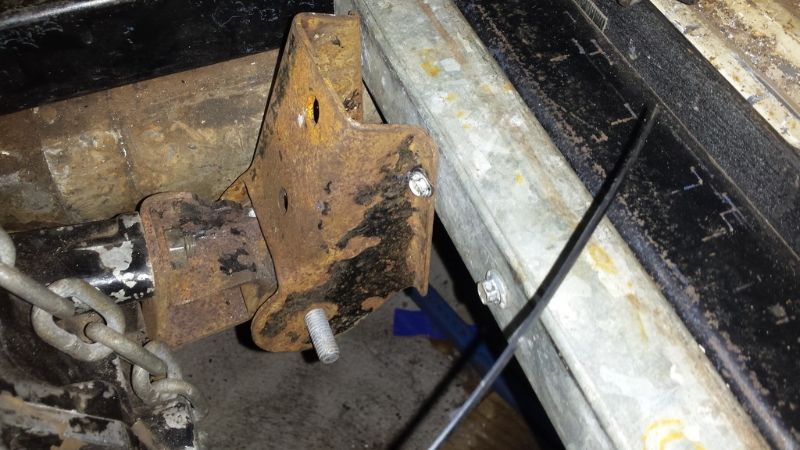
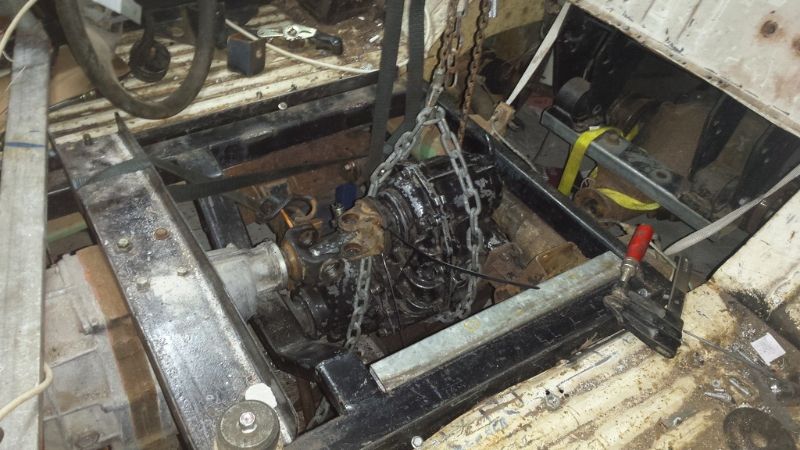
G'day all. I spent some time setting up the original Nissan chassis to transfercase brackets. simple task now to tack weld them & the engine
mounting brackets to cradle. The cradle will then be welded by the tailshaft bloke. the Intermediate shaft will be short at 14cms. I have to chase up
a OZ Toyota corona tailshaft yoke to bring the shafts size down to Nissan size. This is a Hi Ace yoke
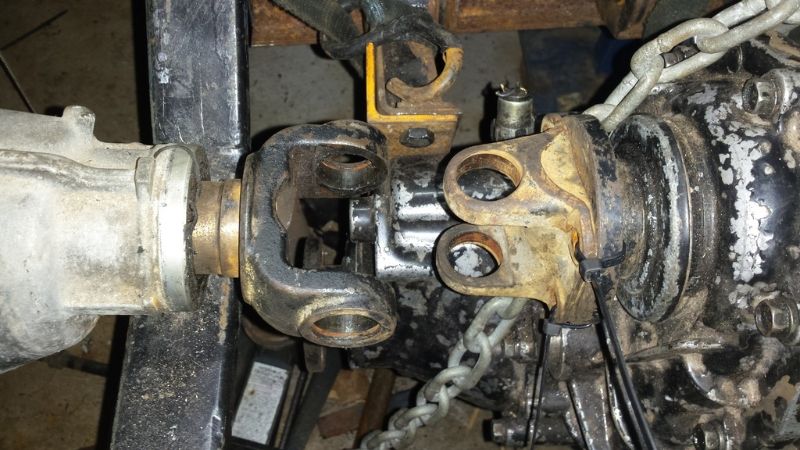
teck screws to hold insitu
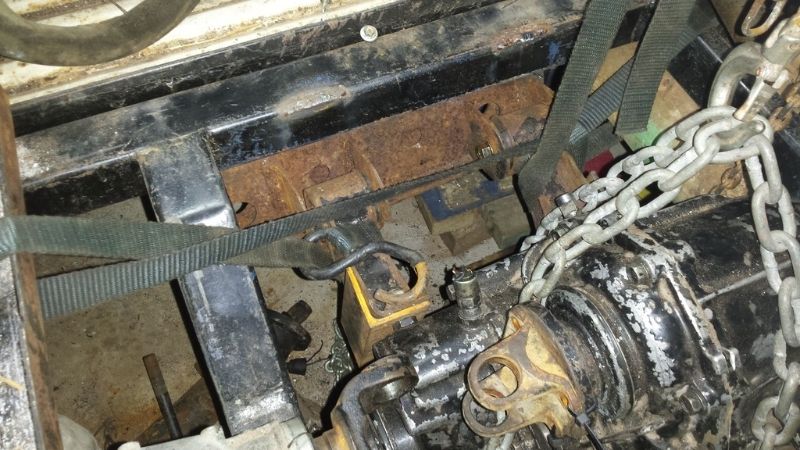
with the Nissan transfercase it drops the rear shaft under the torsion tube to line up with the diff where as most others come straight out of the
case inline with the tube
|
|
|
 roverv8bay roverv8bay
Officially Full-On Dubber
  
Posts: 250
Threads: 32
Registered: January 30th, 2013
Member Is Offline
Theme: UltimaBB Pro Blue ( Default )
|
| posted on July 29th, 2016 at 08:38 PM |
|
|
Good evening all. did some tack welding on the brackets to get the transfercase sitting in position. I have to make 3 gussets to mount onto the top of
bracket to the cradle tube. OFF TOPIC. I have been doing a 4wheel disc brake conversion on a 56 Cadillac for a mate. I'm using jeep front discs on
front & rear with home made front caliper brackets with VT commodore calipers & XE rear calipers & brackets onto the original caddy diff
for now the future is a 9inch. also fitting a 454bigblock chev & turbo400. I wanted to run a powerglide box but the owner wants a 400 so he
wins
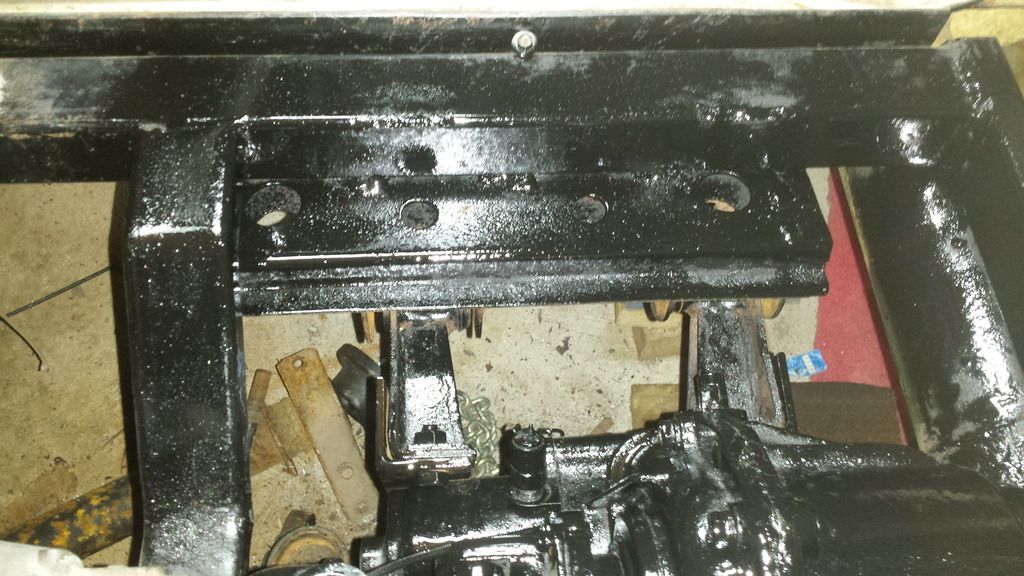
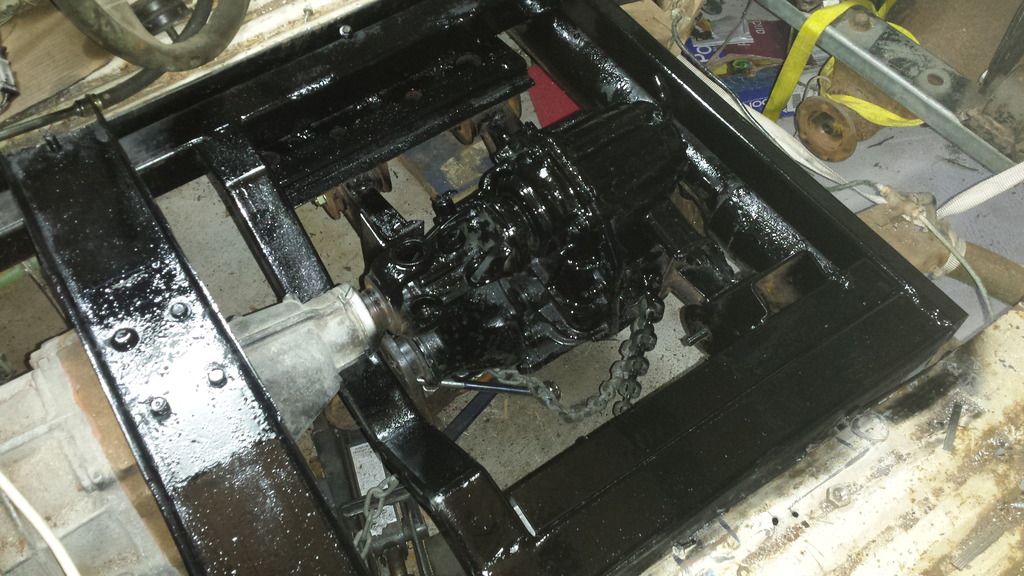
the Caddie set up pretty simple even uses the original nuts & bolts to hold the caliper bracket to the stub axle
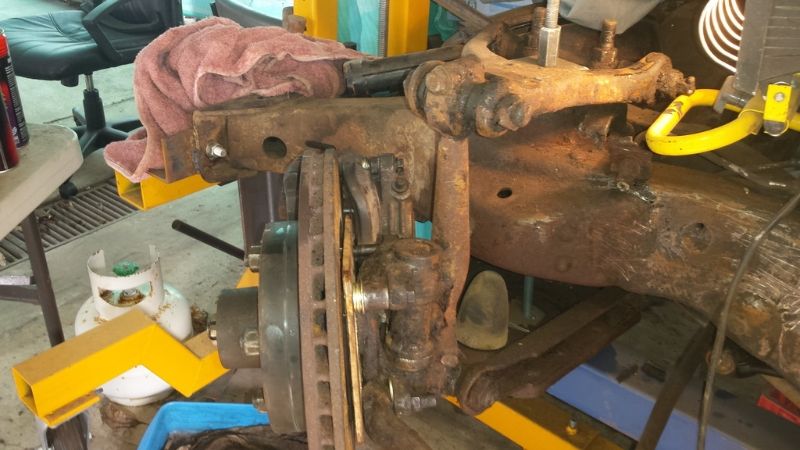
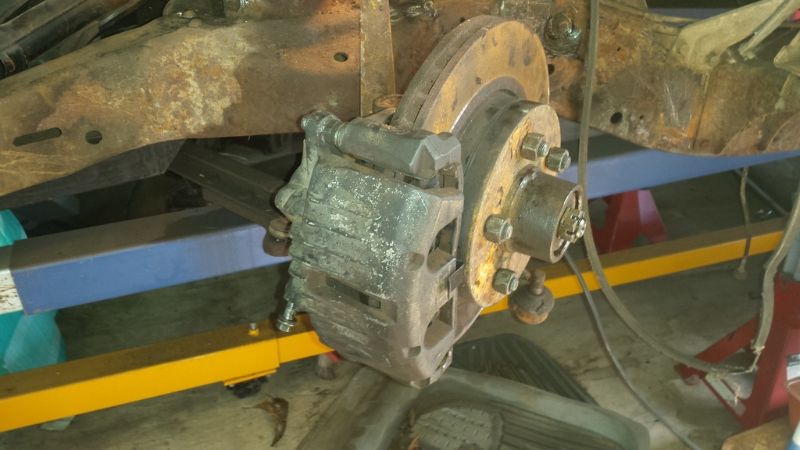
ideal location for the calipers swapped sides as the commodores mount to the rear
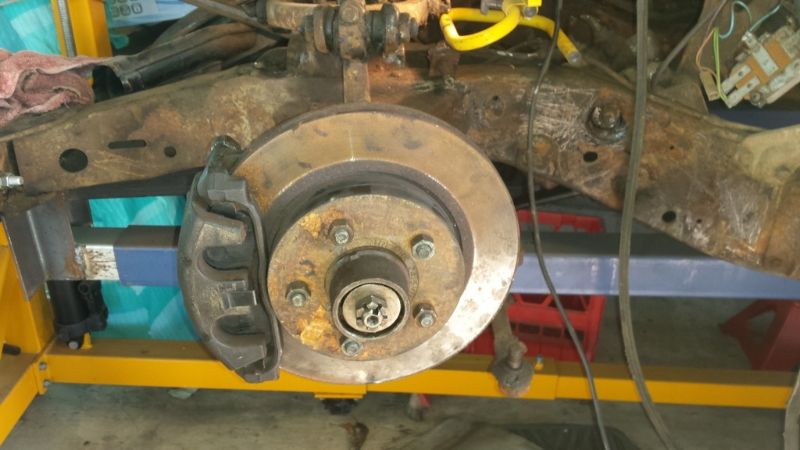
|
|
|
 roverv8bay roverv8bay
Officially Full-On Dubber
  
Posts: 250
Threads: 32
Registered: January 30th, 2013
Member Is Offline
Theme: UltimaBB Pro Blue ( Default )
|
| posted on August 5th, 2016 at 08:39 PM |
|
|
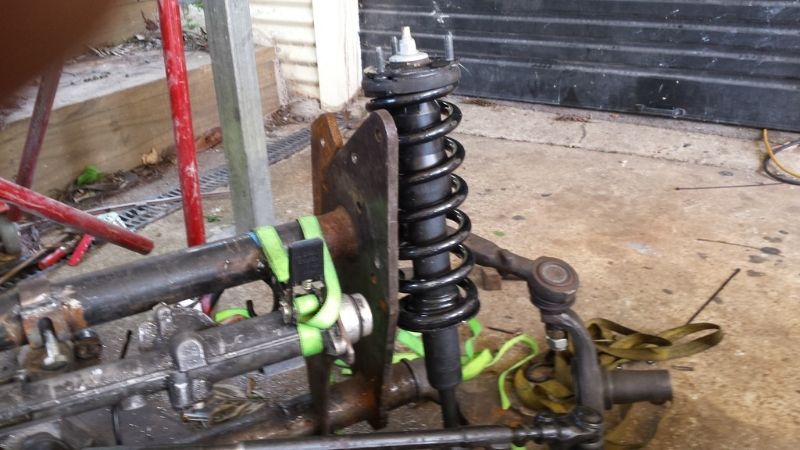
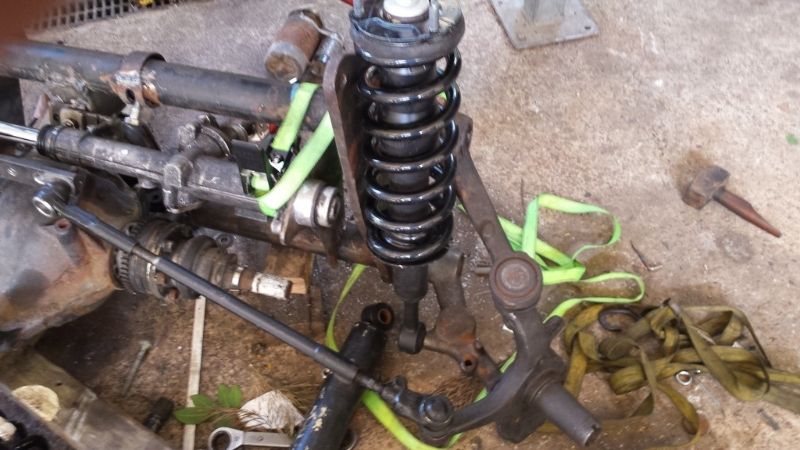
good evening all. A change in suspension set on the front dual to sag I will be setting up a set of front coilovers off the front on a current model
Ford Ranger. the torsion springs will rotate with the centre locator. a simple tube with plate on top to bolt the top of the shock to it then bolted
to the beam end plates
|
|
|
 roverv8bay roverv8bay
Officially Full-On Dubber
  
Posts: 250
Threads: 32
Registered: January 30th, 2013
Member Is Offline
Theme: UltimaBB Pro Blue ( Default )
|
| posted on August 14th, 2016 at 03:43 PM |
|
|
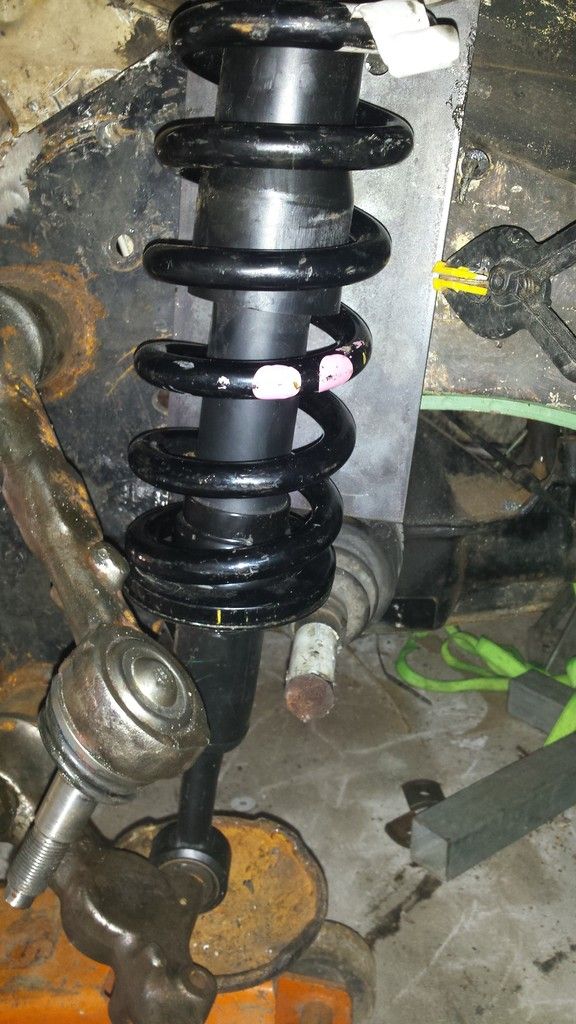
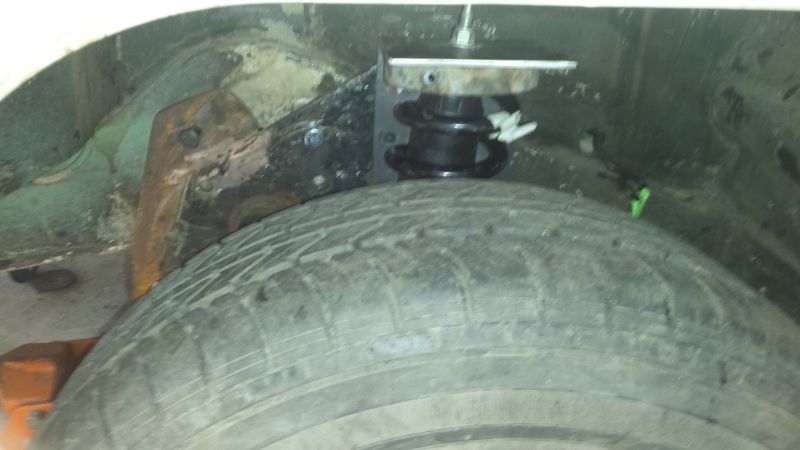
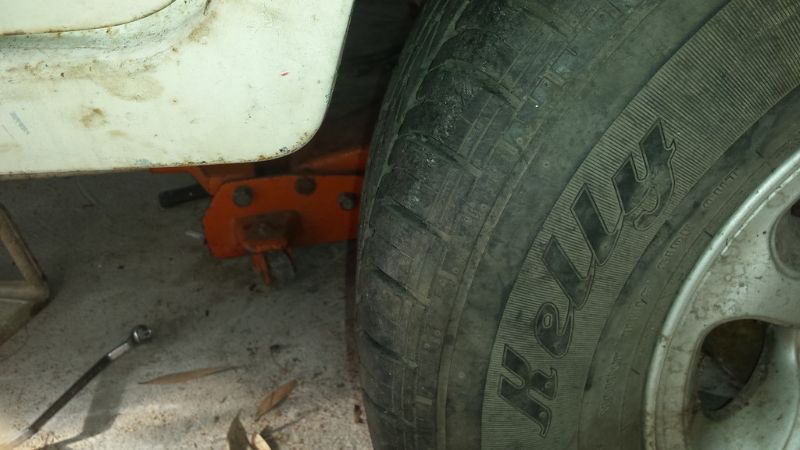
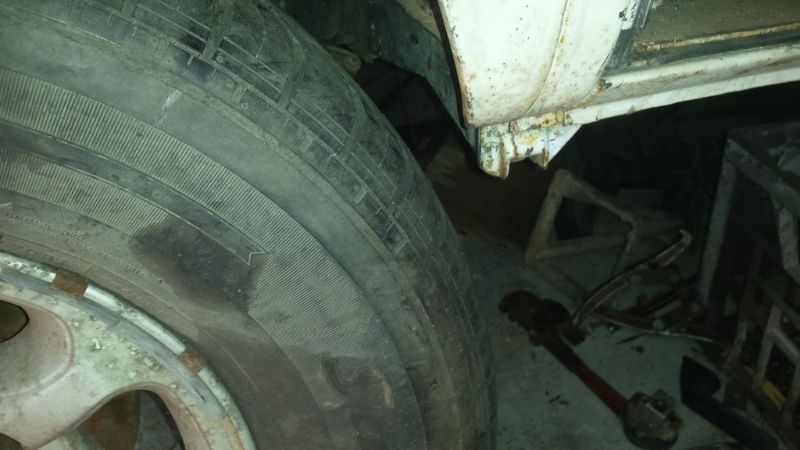
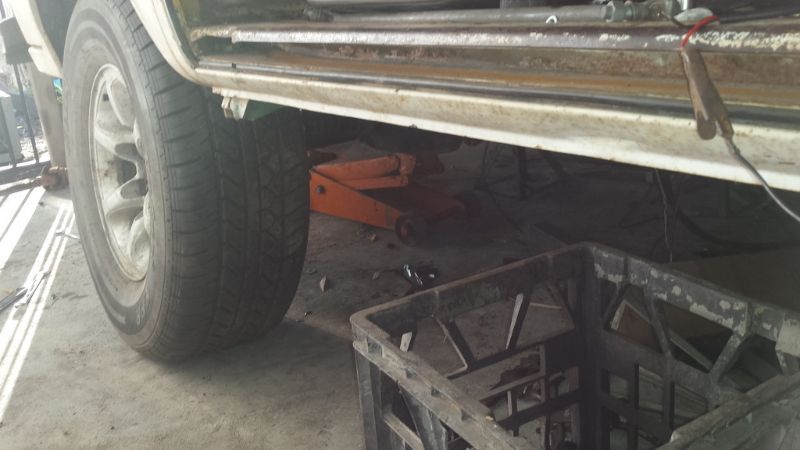
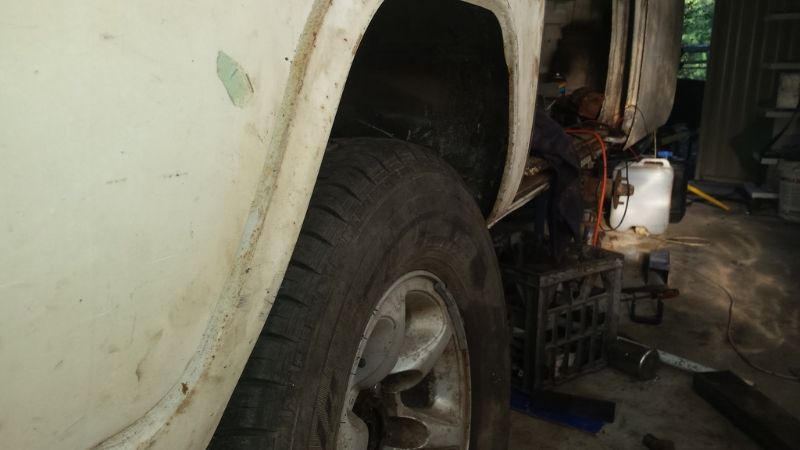
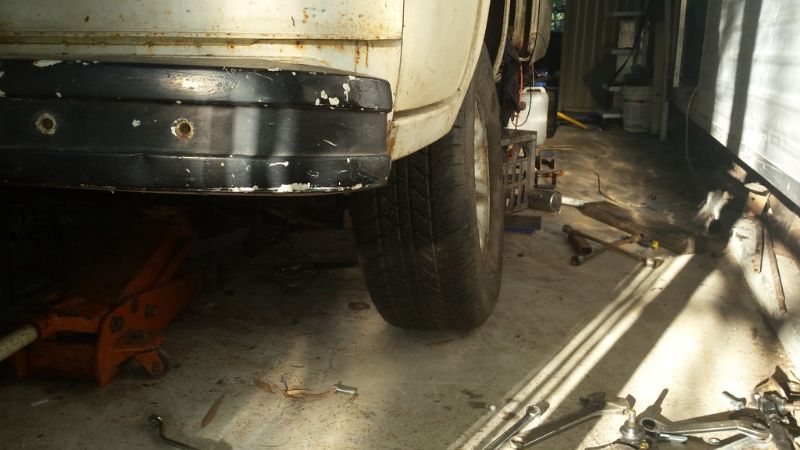
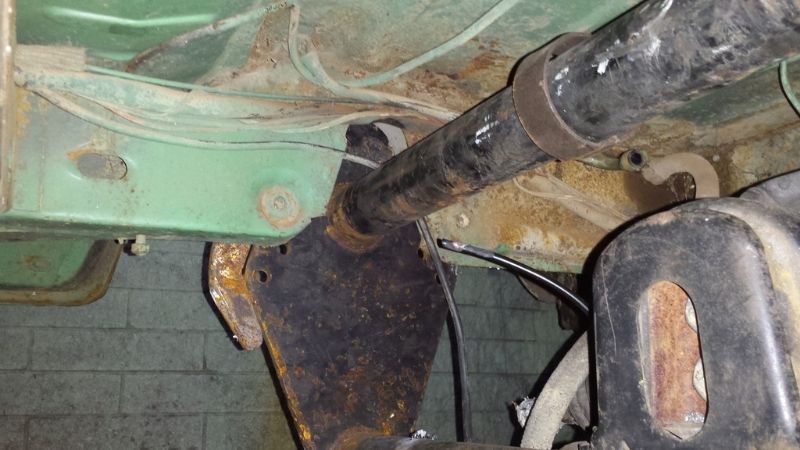
Good afternoon all. been doing the strut conversion for the front suspension> I had 6mm folded to shape. When its finished it will bolt to the
front beam plate the chassis rail. I have to cut out the gussets to strengthen the upper fold.
|
|
|
 roverv8bay roverv8bay
Officially Full-On Dubber
  
Posts: 250
Threads: 32
Registered: January 30th, 2013
Member Is Offline
Theme: UltimaBB Pro Blue ( Default )
|
| posted on August 16th, 2016 at 09:09 PM |
|
|
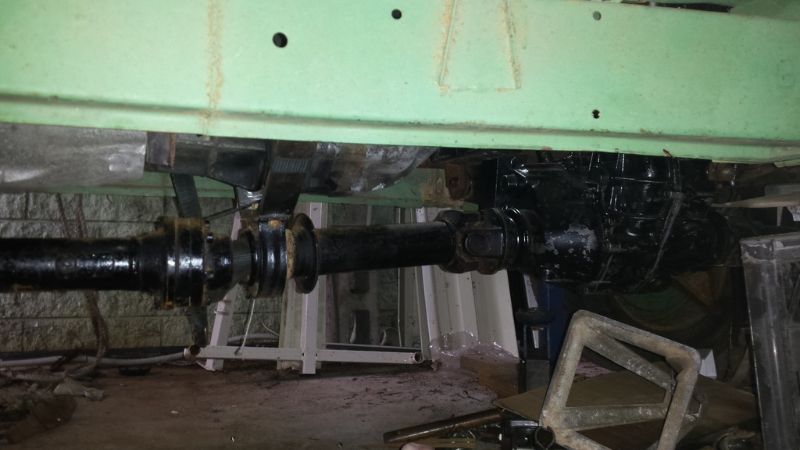
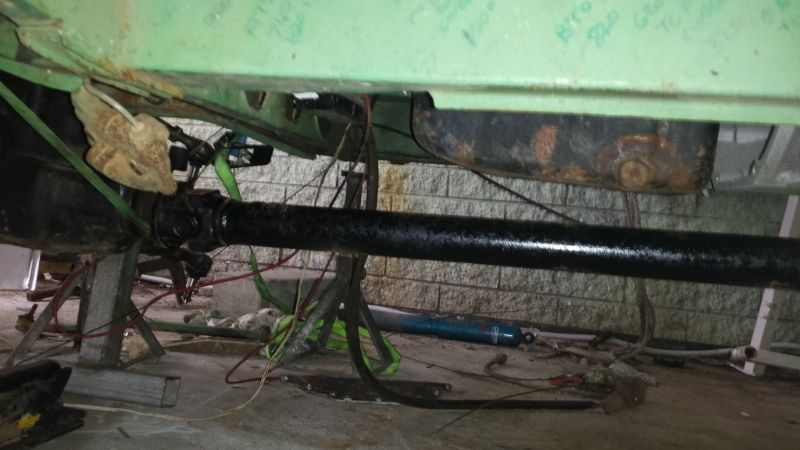
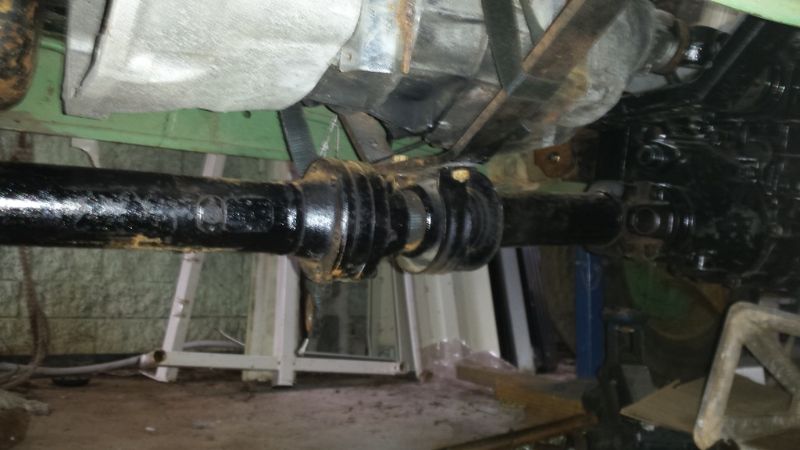
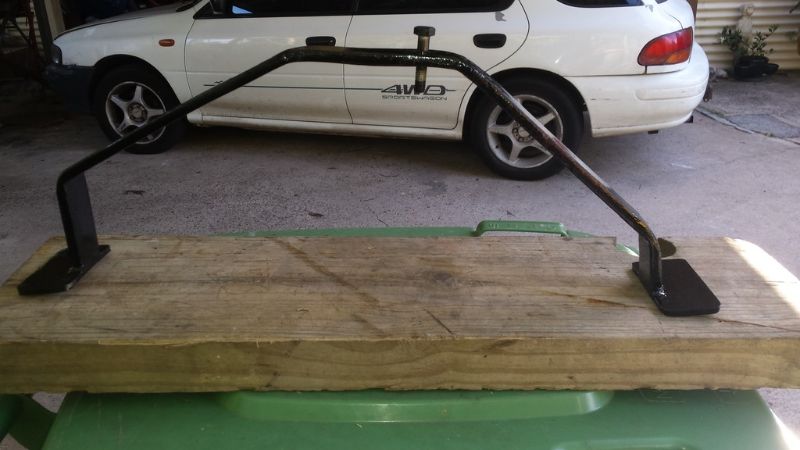
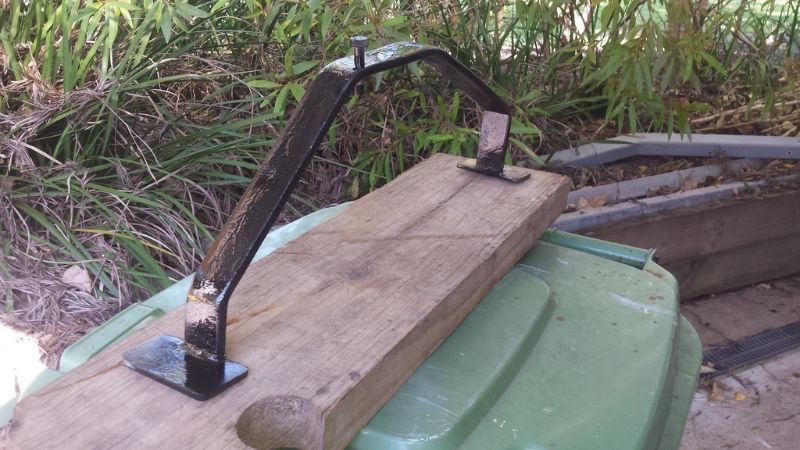
Good evening all. A bit more progress today. cut the commodore tailshaft down by 28cms & put the diff flange on it to give me a Bolt on flange
for the front diff & transfercase. The centre bearing required a formed support bracket I bent 1 up to suit. the odd shape is to clear the
gearbox. because of the lift on the front beam I can now centre the diff for better length 1/2 shafts. I will build a sump guard from The beam to
transfercase consisting of 5x5cm tube & 6mm alloy sheet.
|
|
|
 roverv8bay roverv8bay
Officially Full-On Dubber
  
Posts: 250
Threads: 32
Registered: January 30th, 2013
Member Is Offline
Theme: UltimaBB Pro Blue ( Default )
|
| posted on August 24th, 2016 at 01:39 PM |
|
|
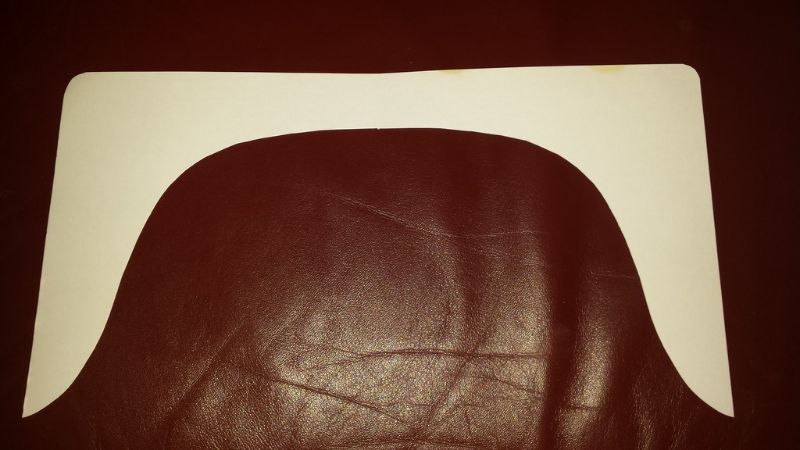
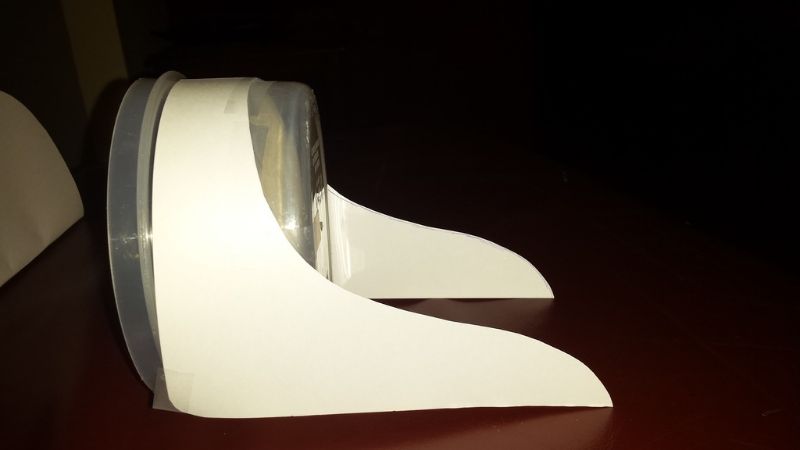
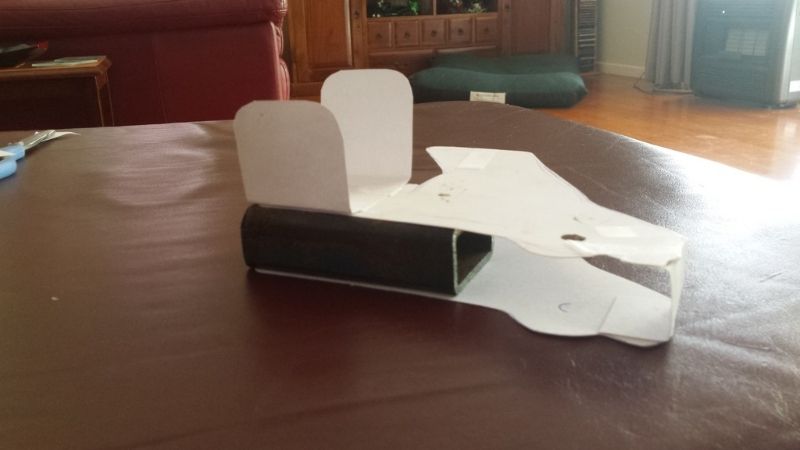
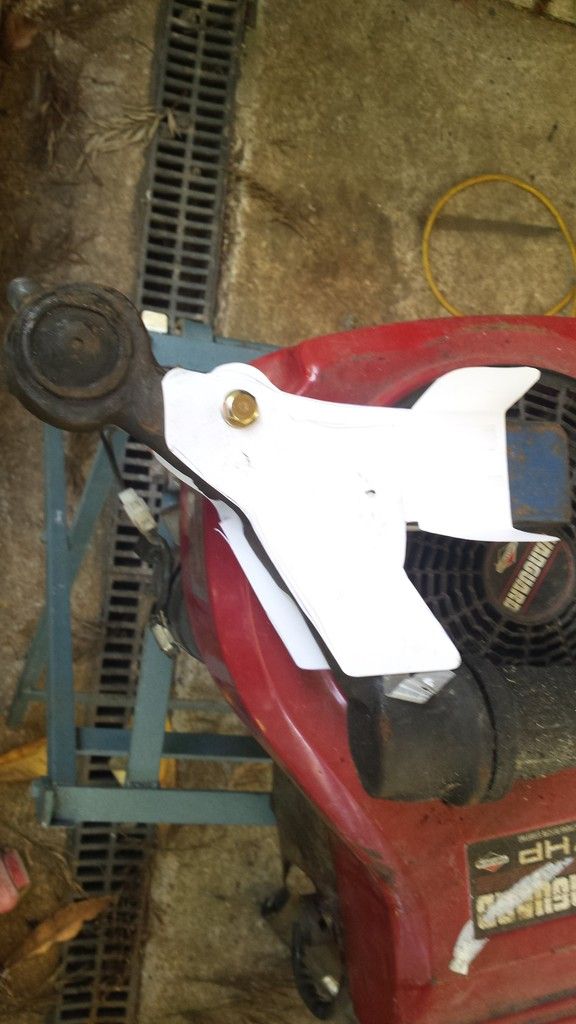
Good afternoon all. After a couple of VW blokes questioned the use of the lower shock stud & if it would be strong enough I devised this mount to
place the shock on top of the arm stud instead of straight on the stud.
paper mock up fro shape & size
How it will sit on the arm
partly assembled
I still have to devise a clamp type to secure it to arm but allow removal if needed
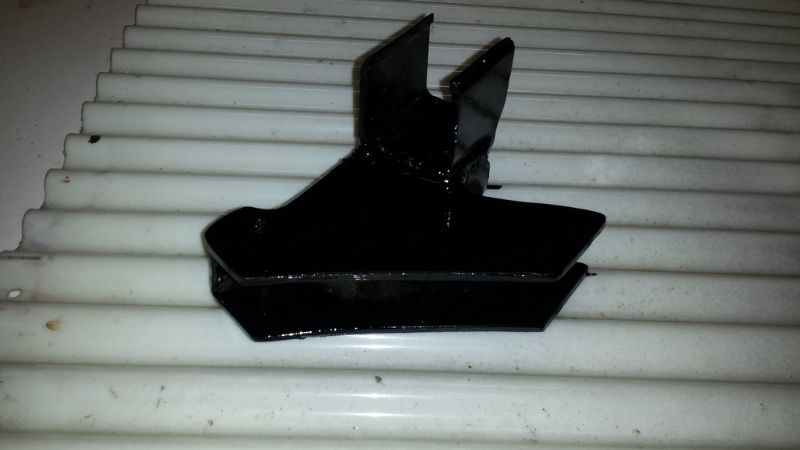
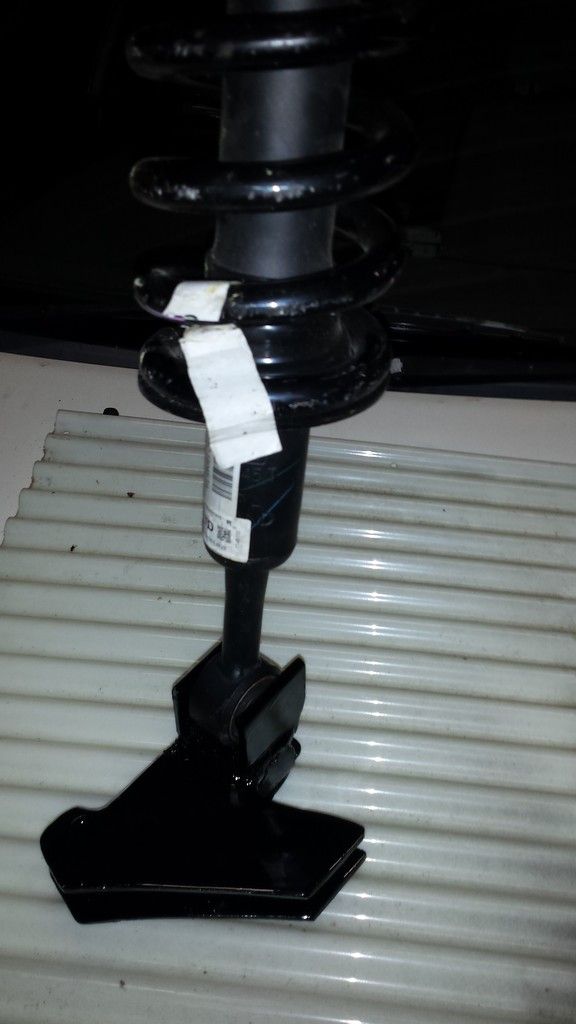
how the shock will sit on arm
|
|
|
 roverv8bay roverv8bay
Officially Full-On Dubber
  
Posts: 250
Threads: 32
Registered: January 30th, 2013
Member Is Offline
Theme: UltimaBB Pro Blue ( Default )
|
| posted on November 14th, 2016 at 07:06 AM |
|
|
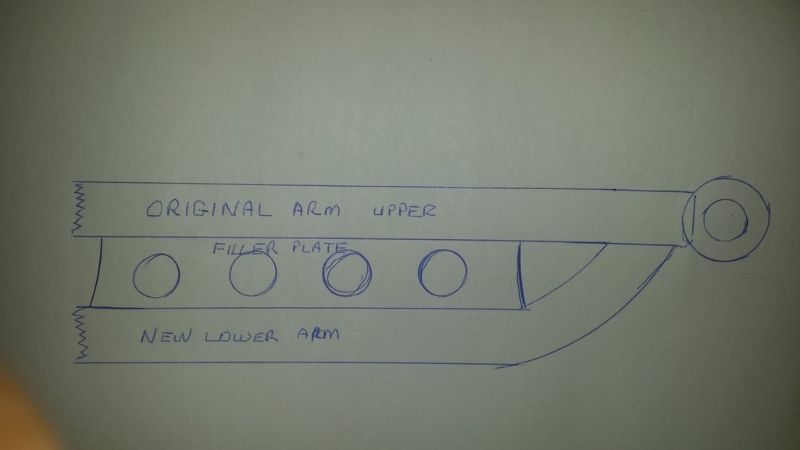
G'day all. I have started to modify the rear suspension inner arms to help strengthen the drop plates. Using a 2nd arm bolted to the plate this will
be cut shortened & the end curve rotated to join to the upper arm creating a parallel set. the sketch will give an idea of finished shape.
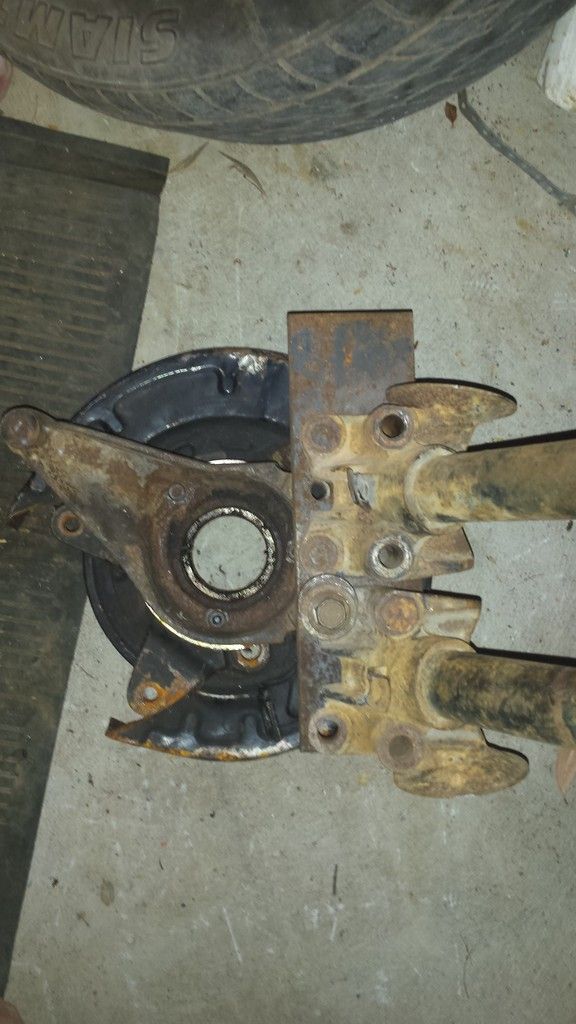
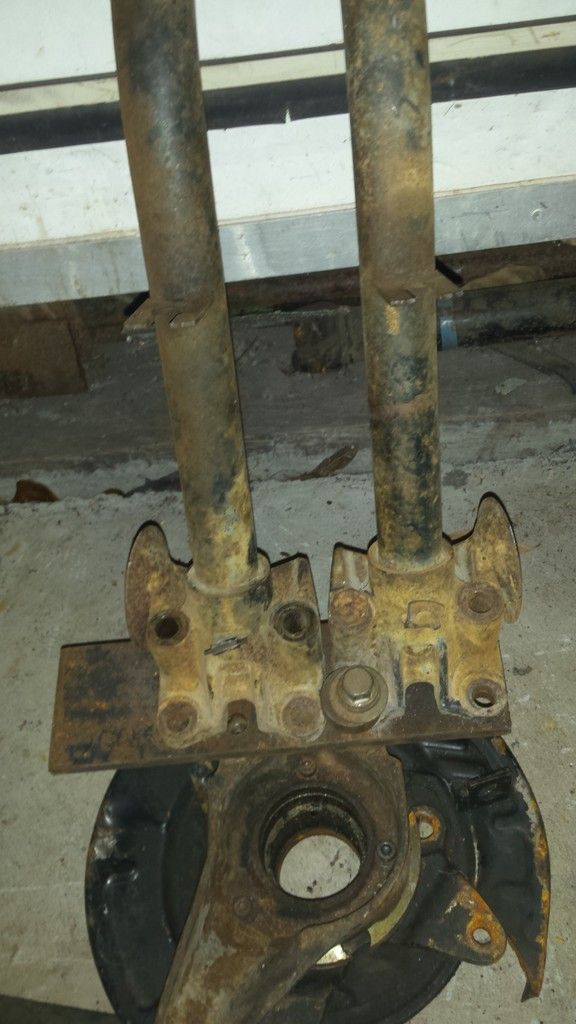
|
|
|
 roverv8bay roverv8bay
Officially Full-On Dubber
  
Posts: 250
Threads: 32
Registered: January 30th, 2013
Member Is Offline
Theme: UltimaBB Pro Blue ( Default )
|
| posted on November 15th, 2016 at 09:46 PM |
|
|
Good evening all. did the mods to the right hand side arm. this is the end product.
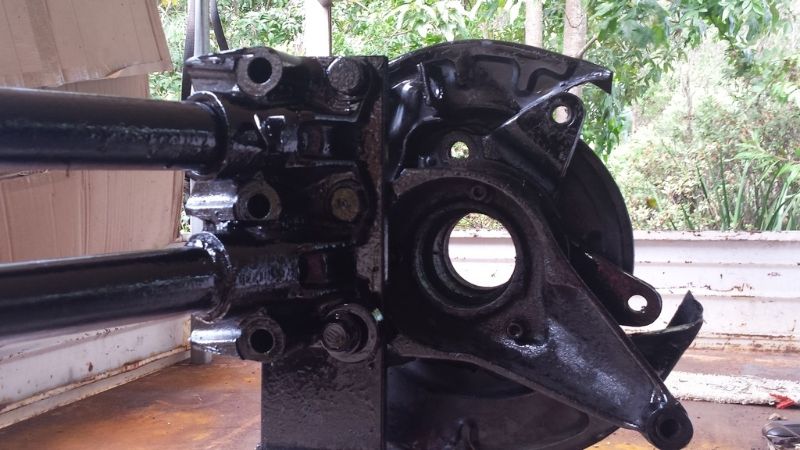
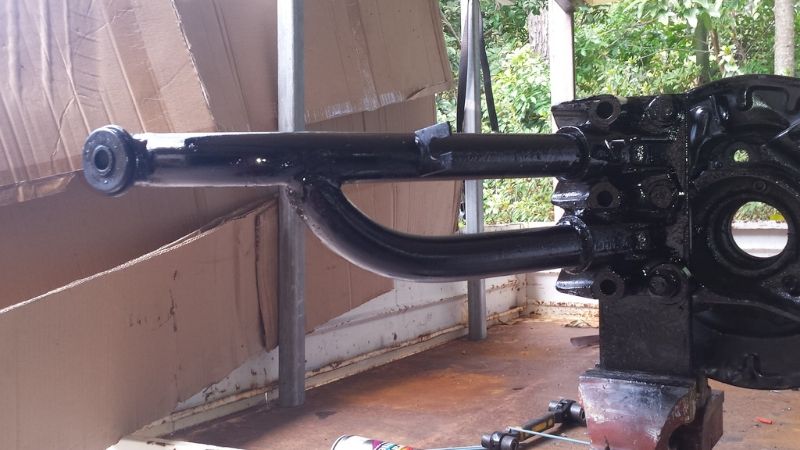
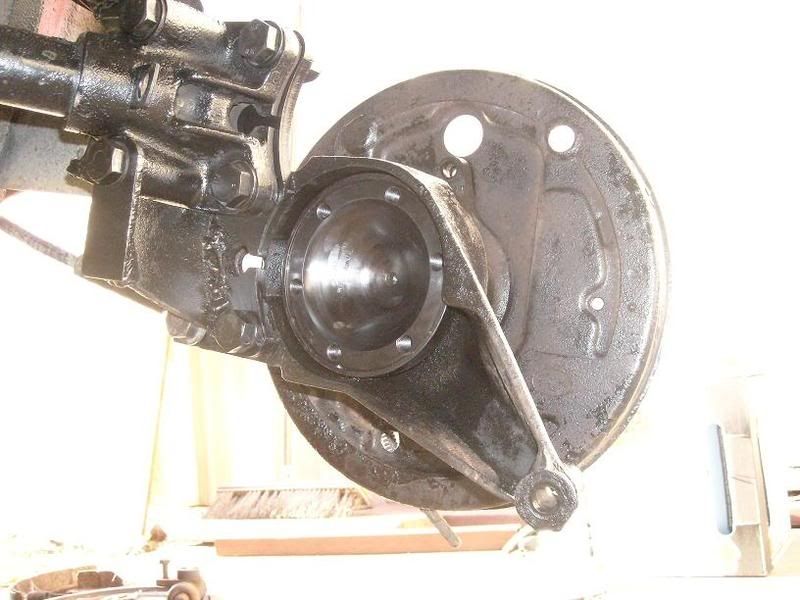
This seems to be the way a lot of people are doing there reinforcing
|
|
|
 roverv8bay roverv8bay
Officially Full-On Dubber
  
Posts: 250
Threads: 32
Registered: January 30th, 2013
Member Is Offline
Theme: UltimaBB Pro Blue ( Default )
|
| posted on December 6th, 2016 at 09:51 PM |
|
|
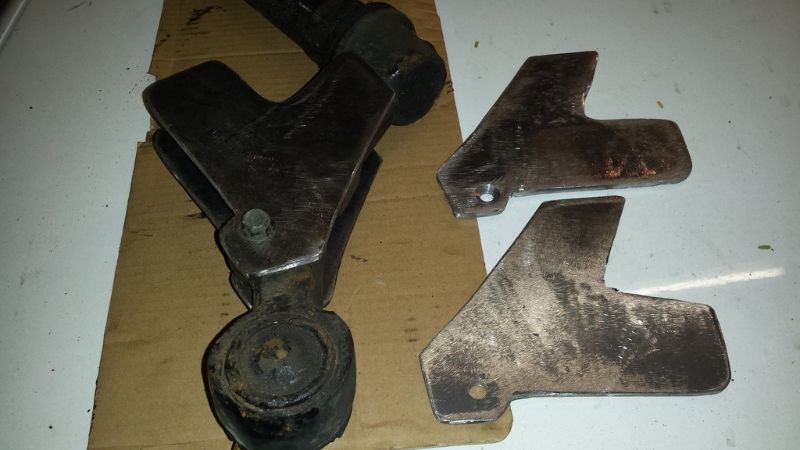
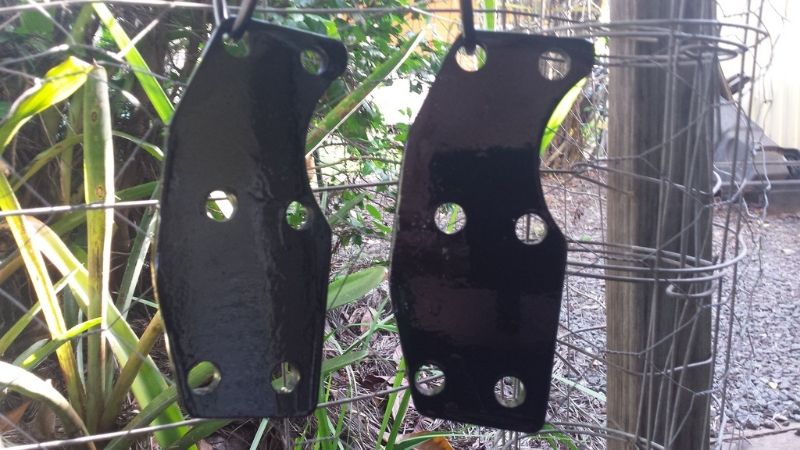
Good evening all. these are the drop plates for the rear suspension lift. Compare them in the pics above with them before & after I cut ground
& linished them
|
|
|
 roverv8bay roverv8bay
Officially Full-On Dubber
  
Posts: 250
Threads: 32
Registered: January 30th, 2013
Member Is Offline
Theme: UltimaBB Pro Blue ( Default )
|
| posted on December 17th, 2016 at 07:06 AM |
|
|
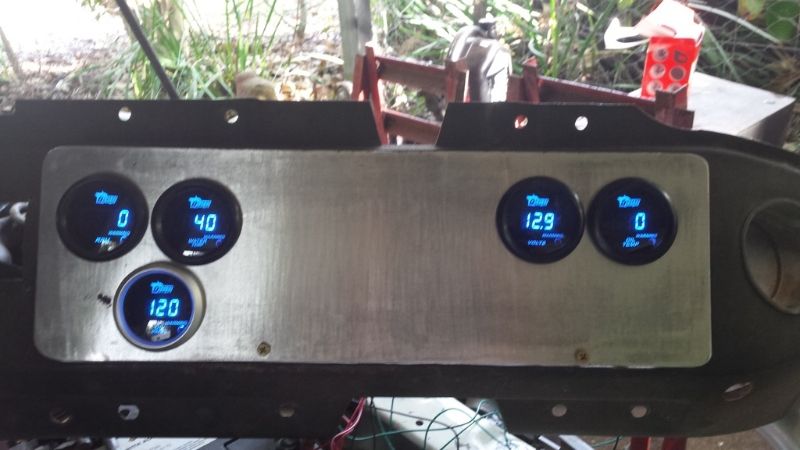
G'day all. Dash started. it will be painted in black crinkle finish & recessed into the dah 25 mm & a perpex cover.
|
|
|
 roverv8bay roverv8bay
Officially Full-On Dubber
  
Posts: 250
Threads: 32
Registered: January 30th, 2013
Member Is Offline
Theme: UltimaBB Pro Blue ( Default )
|
| posted on November 1st, 2020 at 05:59 PM |
|
|
Good evening all it has been awhile. heres where I'm up to
https://youtu.be/HKxIYIXiN8o
https://youtu.be/QtIjrVWLKuw
|
|
|
| Pages: 1 .. 5 6 7 |